
Doll House Furnishings – Phase 10
Continued from: Doll House Furnishings – Phase 9

It has been a while since I last provided an update on building the furnishings for my doll house. In the last series of posts, I had built a side table, a credenza, and a bookcase, all of which my sister had “printed out” using her laser cutter. You may recall that these were really “practice builds” for me as we had used walnut veneer that could not be sanded on the edges to create the characteristic rounded curvature of most mid-century modern furniture. Thus, I was going to need to redo each one using solid wood planks.
In the middle of October of 2024, I drove over to my sister’s house in northwest Arkansas for our annual SibSab (Sibling Sabbatical) and once there, I got to see my sister’s new more powerful laser printer that she had purchased.

While there, we found the time to cut out the miniature parts for all three pieces of furniture on her new laser printer using 1/8” solid wood panels. Once I got home from this trip, I was anxious to get started. But there was one more tool I needed to first purchase.
My sister had discovered that a fingernail drill—the kind some of you may have been exposed to if you have ever had your nails done at a nail salon—was the best tool for sanding the needed rounded edges. I purchased a cordless one along with several different grit sanding bands. Once they arrived, I was ready to build.
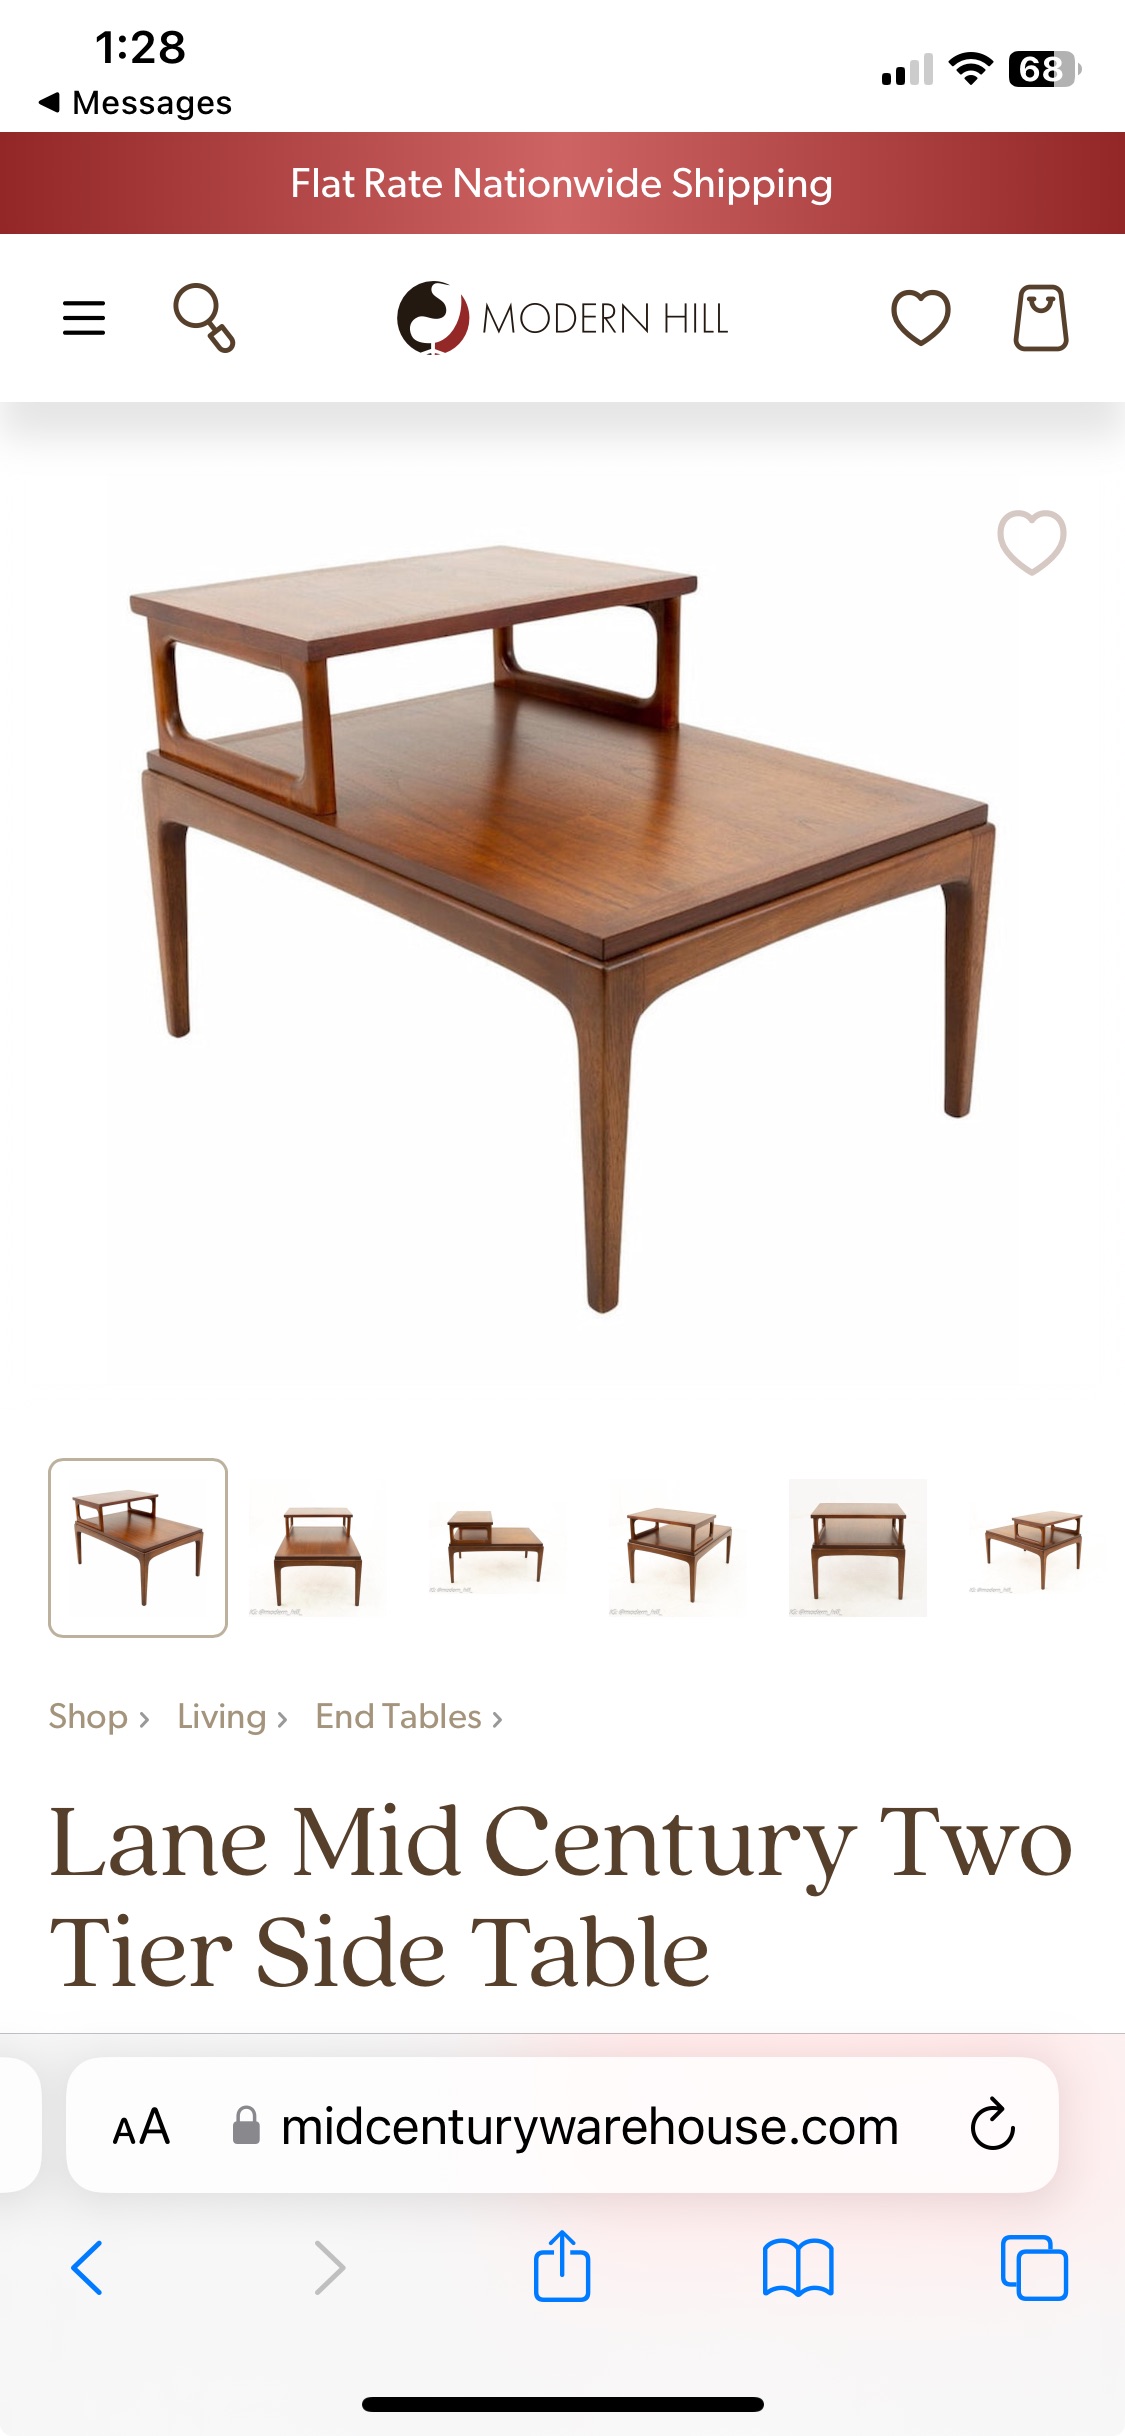
This again is a picture of the real side table that we are modeling for our 1/12 scale doll houses.
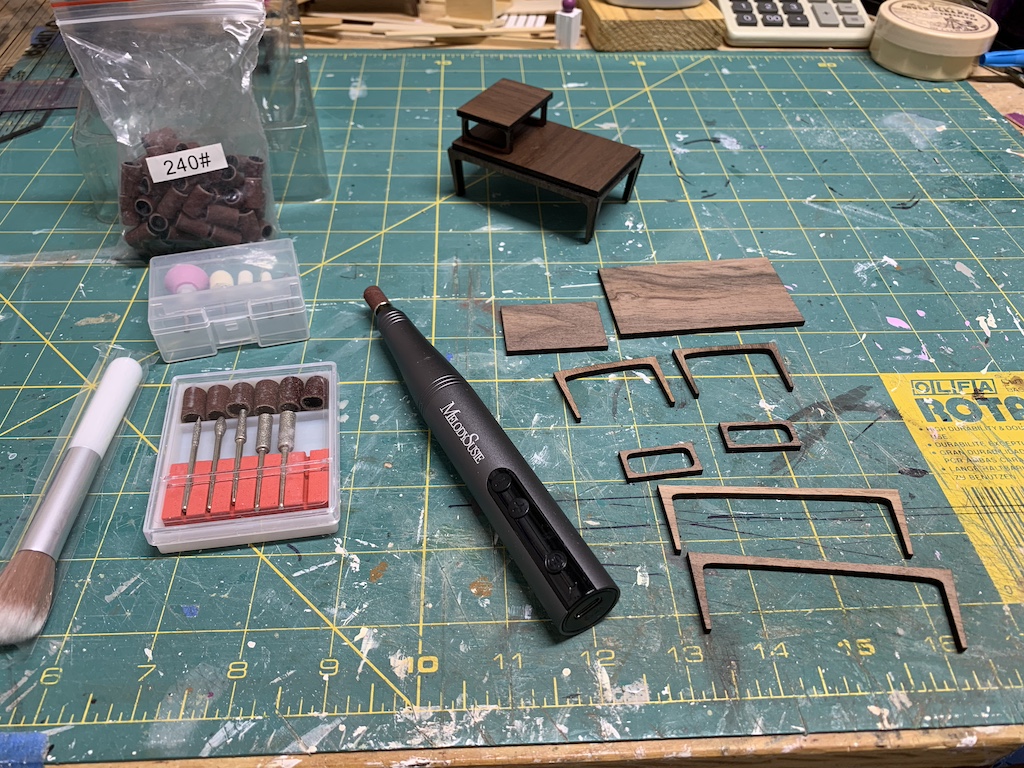
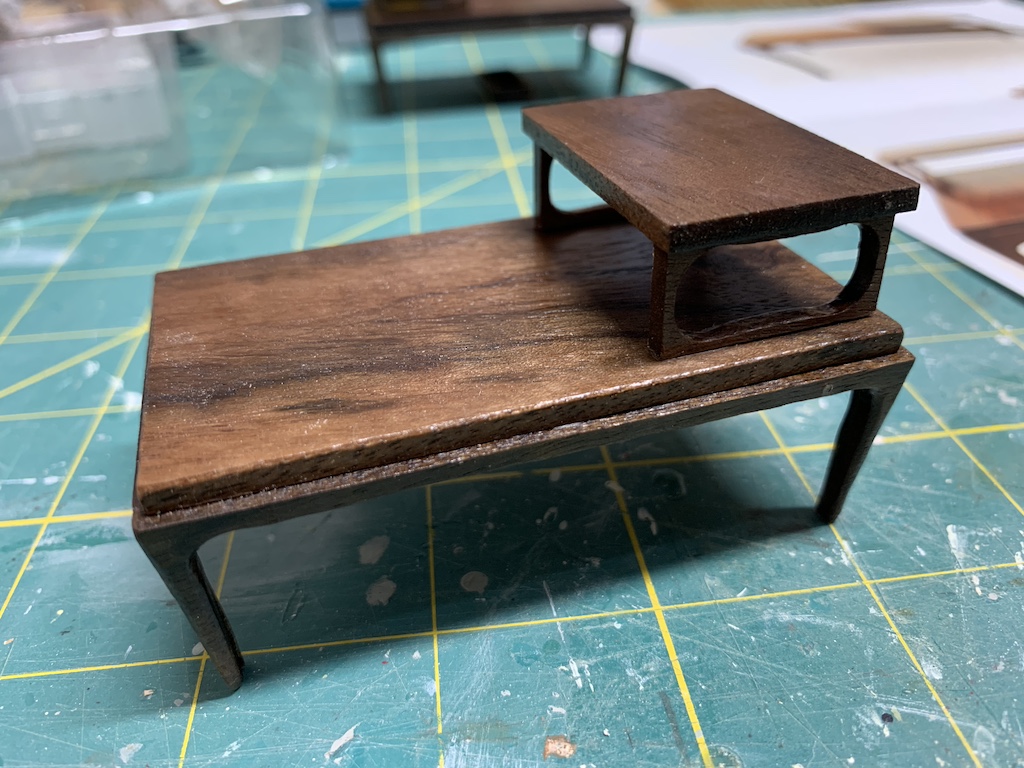
In the photo above, you can see the nail drill I bought along with the previously built practice side table and the solid walnut pieces that I needed to make it again. I decided to start with this side table as my sister had given me the pieces to make two complete side tables, and I felt I might need another practice build to master my skills at sanding with the nail drill. I found the 180-grit band did a nice job of sanding without taking off too much wood. And an added bonus of using this tool is I found I could sand off the charred edges without having to vigorously scrub them using a rubbing alcohol-soaked cotton ball (thanks again Sis for encouraging me to get one).
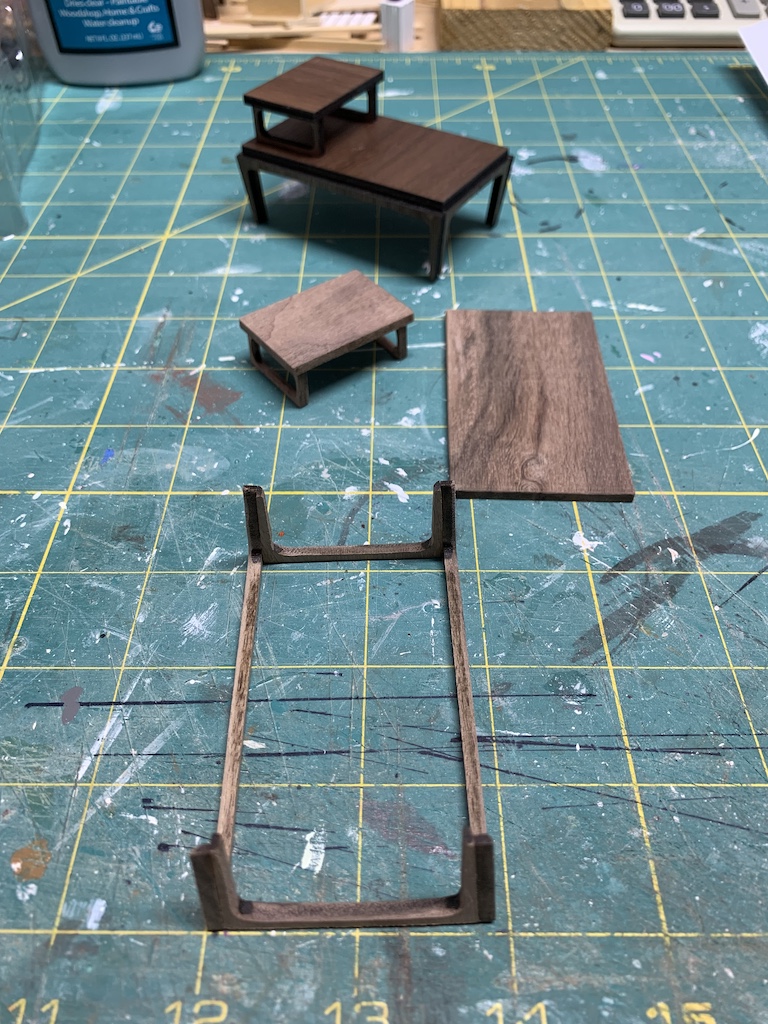
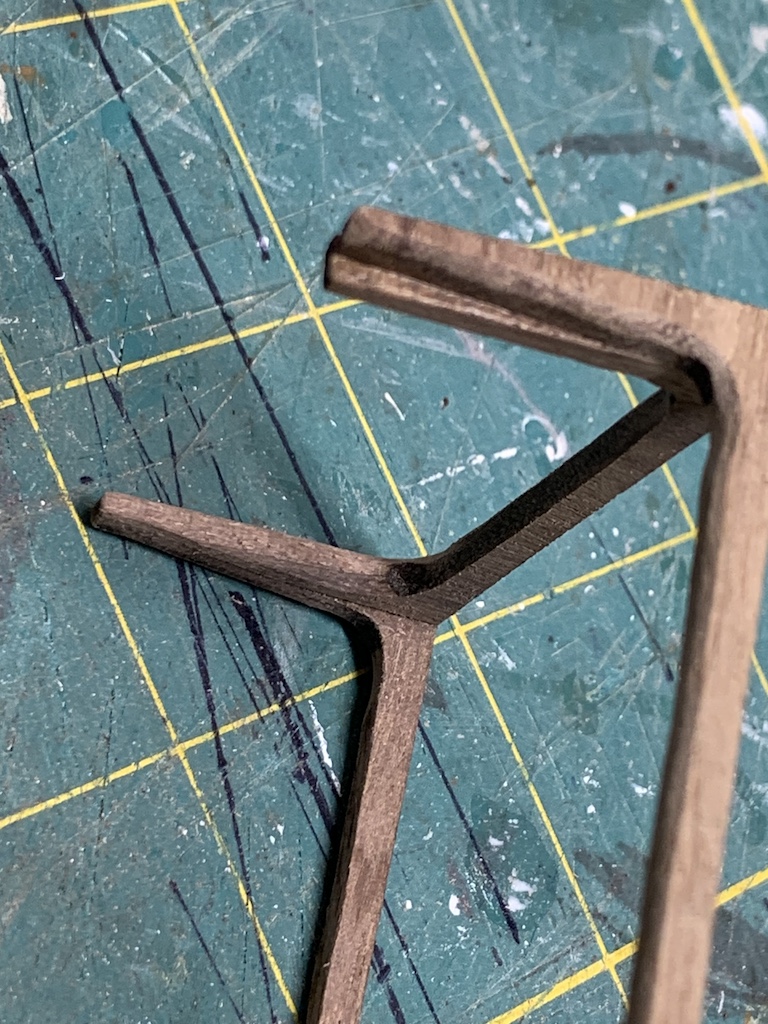
Once I had sanded the edges to match the real side table, I did a little pre-assembly to simplify brushing on the polyurethane so I would not have to try to hold such small pieces. Another reason is that once the glue dried, I needed to sand the back side of the front and back legs to create the thin, graceful taper of the legs. In the photo below, the leg resting on my work surface has already been sanded and the leg at the top still needed to be sanded.
I then applied three coats of semi-gloss polyurethane sanding between the first and second coats using a 2000-grit finger sander prior to assembling the table.
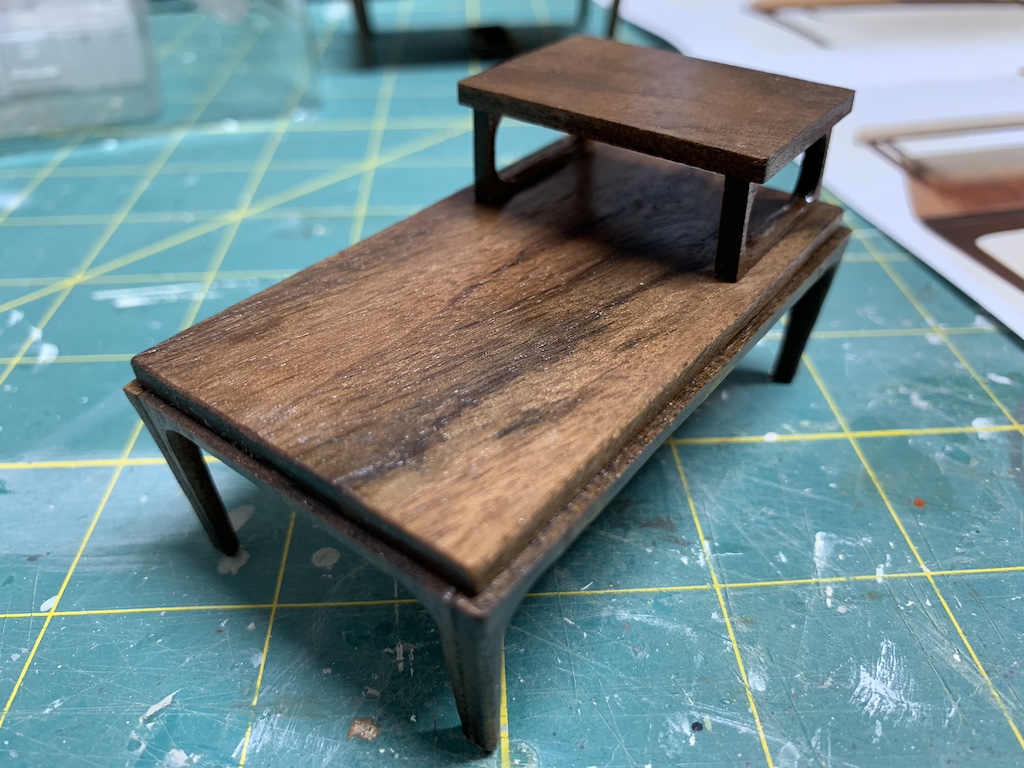
I felt like I had gained confidence in using the nail drill but looking at my workmanship, I thought that I could do better. I saw that I had not sanded the edges enough to completely remove the char and once the polyurethane was applied, these areas were darker. I think I was fearful that I would remove too much wood as I gained experience using the nail drill. So, I decided to see if I could do better on a second side table.
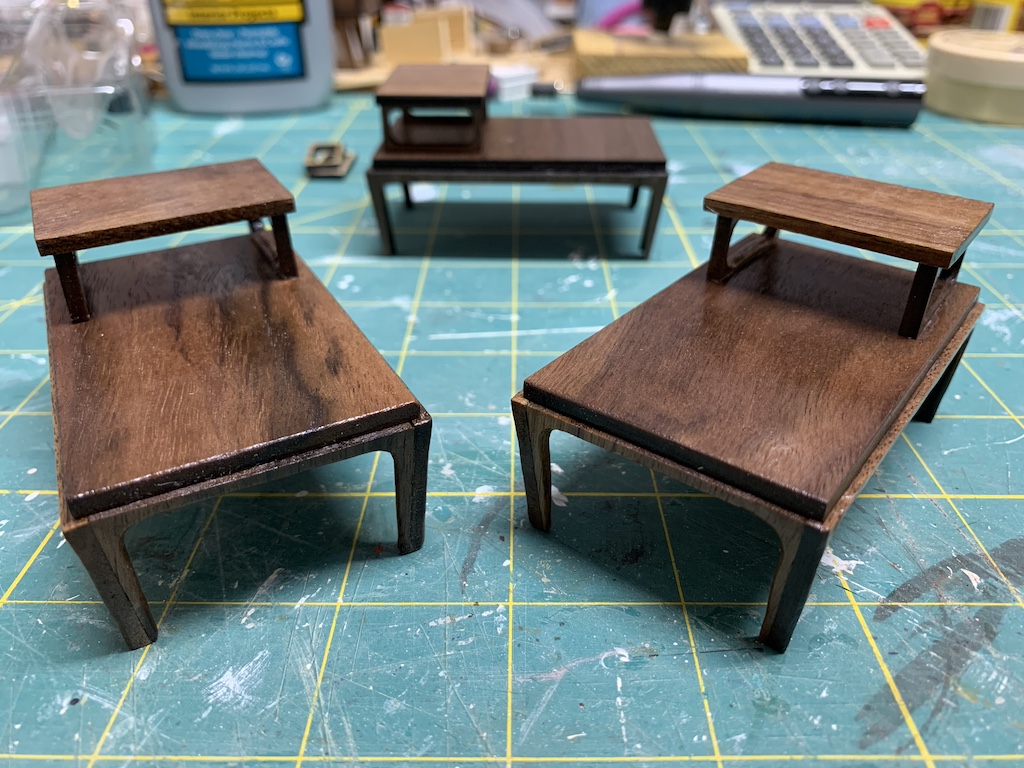
On this next side table, I tried much harder to sand off the char but in spite of more sanding, it seemed the edges were still a little darker than the surface of the wood. Other than more vigorous sanding, I built this one exactly the same way as before. When I finished and put them side by side, I really could not tell much of a difference. Now I had an extra one to give to one of my granddaughters.
With this experience, I was now ready to remake the credenza.

Recall this is the full-scale credenza that my sister scaled down and this is my practice model.

Once I put my practice credenza in the front room of my doll house, I started thinking that with dark walnut floors and dark walnut furniture, it might seem like too much dark walnut wood in that main room.
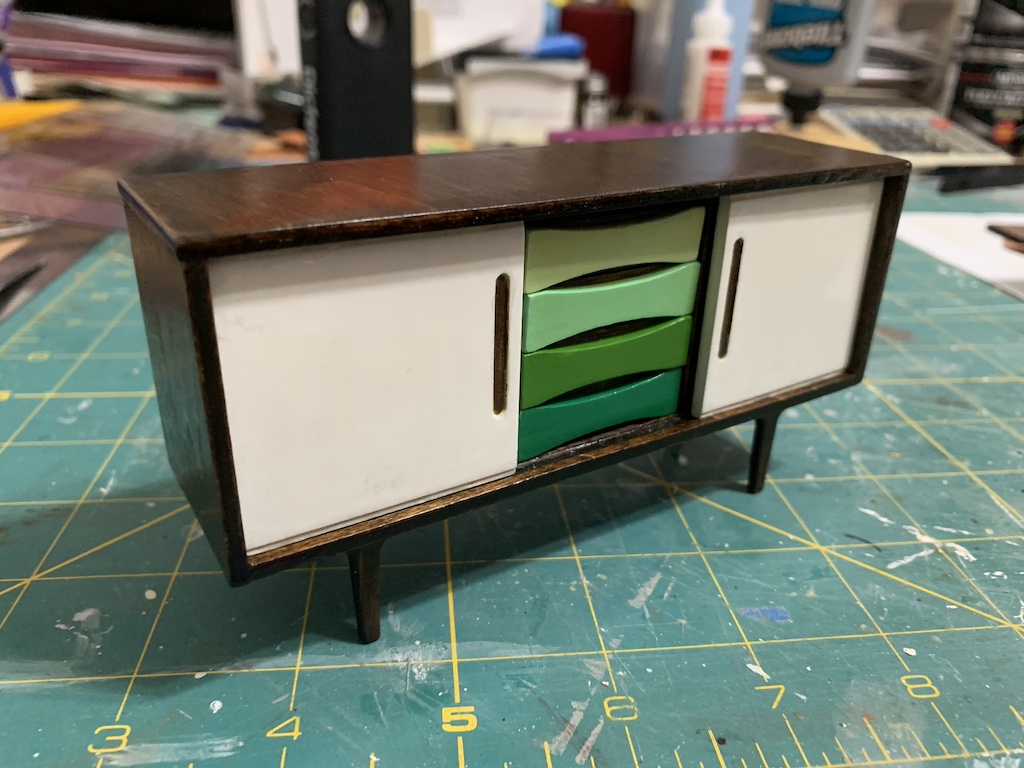
In my sister’s practice model, she had decided to make her credenza using the painted doors and drawers. When I mentioned this thought to my sister, she said she could custom mix some paints for the credenza drawers that would go with my red/orange color scheme along with mixing up some white paint for the sliding doors. So, while at my sister’s house, that is what she did.
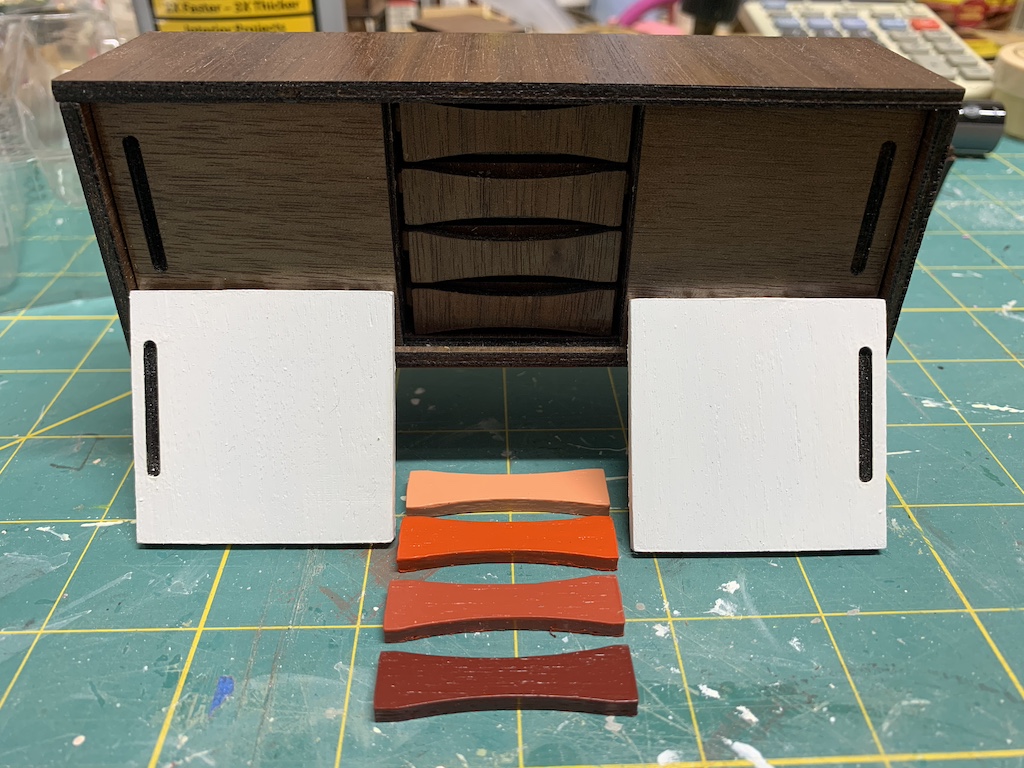
The deep red color at the bottom is the exact same paint she used to paint the cushions on my IKEA POANG chair which will also be in that front room.

Using a block sander and the nail drill, I carefully sanded all of the edges to remove the char. But before sanding the legs, I glued on a strengthening brace that my sister added to the cut template to prevent this fragile piece from breaking in half. I then contour sanded the rounded edges to match the full-scale piece and then applied the usual three coats of polyurethane with sanding with a 2000-grit finger sander between coats one and two. Once everything was dry, I was ready to begin the assembly process.

In the photo above, you will notice a much-improved work surface. While at my sister’s, I saw what a nice unblemished rotary mat on which she had to work. After so many years of cutting a veritable forest of basswood using an X-Acto knife on my existing rotary mat, the scar marks left an extremely rough surface, and I knew it was time to replace it.
Before I began to assemble the credenza, I decided to go back and read my blog about how I put the practice piece together as it had been so long since I had worked on it. With my assembly process fresh in my mind, I started gluing pieces together. But then I ran into a problem.
To be continued…
Categories

David, your attention to detail is most impressive. It’s great to share this common interest with your sister. The side tables turned out great, and I’m sure one of your granddaughters will be thrilled to get the extra one. Of course, I’m looking forward to reading about the issue with the credenza – and more of how you solved it. This is going to be a great mid-century dollhouse. I’d love to read about you building a Frank Lloyd Wright home. How about Falling Water? 🙂
Thanks Betty! Yes she and I have had a lot of fun time playing together in this miniature world. Your suggestion of Falling Water is an interesting one as I hope to get to see it next year. If I do, I can have an eye for how it could be modeled.
Hope you have a nice Sunday!