
Doll House for my Sister’s Granddaughter – Phase 3
Continued from: Doll House for my Sister’s Granddaughter – Phase 2

While the glue was drying on the house body, I worked on the upgraded stairs I was incorporating.

When I built the first two doll houses, I did not even know nicer stairs existed and simply installed the stairs that came with the kit as seen in the photo above. But since finding them, I have used them in the doll houses since. One might consider them a bit on the pricey side but when you compare them to the kit stairs, the improved look is visually worth it.

I just love how these come fully disassembled so that the stairs, the treads, the balusters, and the railings can all be painted or stained separately so as not to get paint or stain on the parts where you don’t want it to be.

And they are a vast improvement over the three-piece MDF stairs that come with the kit.

Returning to the house assembly, once all the glue was dry on the house body, it was time to marry it to the previously assembled and stucco painted foundation.
With the stairs complete and ready to be glued in, I could next begin another upgrade that I have included in all the doll houses.
When I built that first doll house for our in-town granddaughter in 2020, I was surprised it did not come with baseboards. Fortunately, our local hobby store carried ones that were very reasonably priced. They come four to a pack, each baseboard being about 17.5 inches long and so less than three packs are all it takes to complete the house.
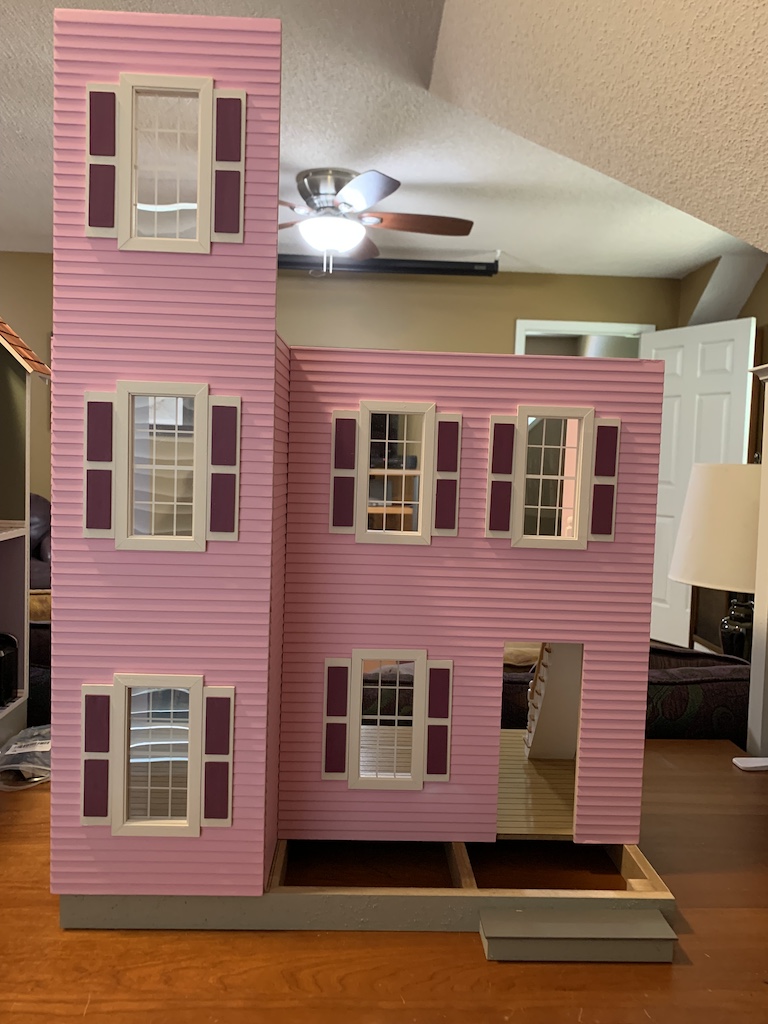
The first two floors of this doll house are identical twins so without the third floor being installed at this point (which is the ceiling for the second floor), from above I could easily measure the length of baseboard I needed to cut on the second floor and then cut the same length for the first floor without having to squeeze my hands into the tight nine inch height between the first floor and ceiling. In the partially complete photo below, you can see what a nice addition the baseboards make. You can also see the enhanced look of the upgraded stairs.

Once I had the baseboards installed on the first two floors, I could then glue on the third floor.
But then I ran into a problem. The instructions indicated: “The top floor must overhang the house body evenly (11/16”) on each side.” On the left side of the house, I was a bit under that and on the right side I was a bit over. Overnight, I pondered what I might have done wrong, but it wasn’t until I checked with a right angle that I discovered in several places that while I had worked hard to ensure a tight fit when joining walls to walls and walls to ceilings, I had failed to check that the two joined pieces were exactly perpendicular.
Now understanding what caused my issue, there was nothing I could do about it and so figured I would wait and see what impact my violation would have.
Fearlessly moving ahead, I installed the painted front door and was now ready to install the second-floor balcony along with the railings, posts, and trim. And I was so glad I had previously painted all these parts as I did not have to stop and paint them at that point. As I had suspected, it made the assembly go very quickly.

Following the instructions, I taped together the left side third-floor walls to test their fit (left side facing the house front). These walls are angled in towards the interior forming the mansard roof on their exterior. I discovered that the small triangular piece on the left side was too wide to fit, but by shaving it down just a tad at the bottom, I was able to get it to fit.

That unsightly bare streak is the edge of the tower side wall where it joins with the interior wall. On the outside edge of both tower sides, you can see the milled clapboards. Some of the other doll houses I have built have also had this same type of joint and what I have done to hide it was to smear spackling onto the joint to fill in the gap where the clapboards were, sand it smooth and then paint it. Despite my best efforts, there was still a hint of the clapboards visible.
But this time I had another idea. What if I put a strip of wood to cover the joint? I just so happen to have a 1/16” X 1/2” length of basswood. I painted it to match the room and then cut it to fit over the joint. This I thought was a much more elegant solution.

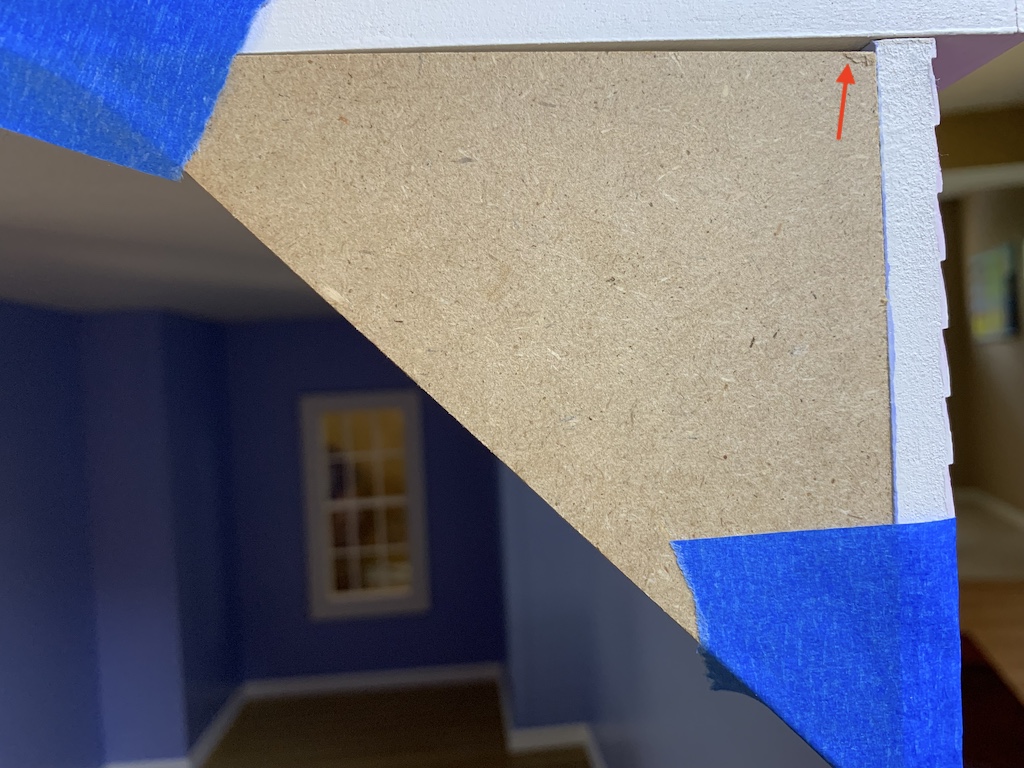
Pleased with myself for thinking of this, I then taped together the right side of the third floor. Here is likely where I would learn how bad my mistake was. Unfortunately, I immediately found I had a really BIG problem.

Now I knew why the instructions had underlined the word “must.”
My first thought was I could just use a wider piece of 1/16” basswood to hide the edge of the tower side and to cover the gap. But then, to me, it would look odd why one side was a 1/2” width and the other side was a wider width. Then I next thought I could fill in the gap with a small piece of leftover MDF of the same thickness as the wall (why I always save extra pieces). However, this solution would likely leave a seam between the wall and the extra MDF piece that no matter how hard I tried, I could never make it look seamless. And I previously learned when filling in the stair hole on my sister’s doll house, that MDF (medium density fiberboard) is extremely difficult to cut through.

Then I had a better idea! I could fill in the gap with a small piece of basswood which is a much easier material to work with. And since it is a softer wood, I figured I could clamp it tightly to the wall and make it appear seamless.
To be continued…
Categories

David, this is why I will never build a dollhouse from a kit. The precision it requires is beyond my talents and skills. You do have that talent; however, and this dollhouse is looking fabulous. I look forward to seeing how your latest issue is resolved – as I know it will be up to your standards. I looked at my dollhouse yesterday. It is nowhere near the same class as the ones you build, but perhaps I can compare it to an old house with quirky charm. Remember the show – “This Old House?” Houses with uneven floors and other flukes? Well, that’s my dollhouse. 🙂 Your posts remind me of how much I love the world of miniatures. Have a blessed Easter!
Thanks Betty for your compliments on my work, I mean play! And a very happy Easter to you as well!
Also – if I ever make stairs again, they will be ready made. The stairs you put in this house are gorgeous!
Thank you again!