
Doll House Furnishings – Phase 2
Continued from: Doll House Furnishings – Phase 1
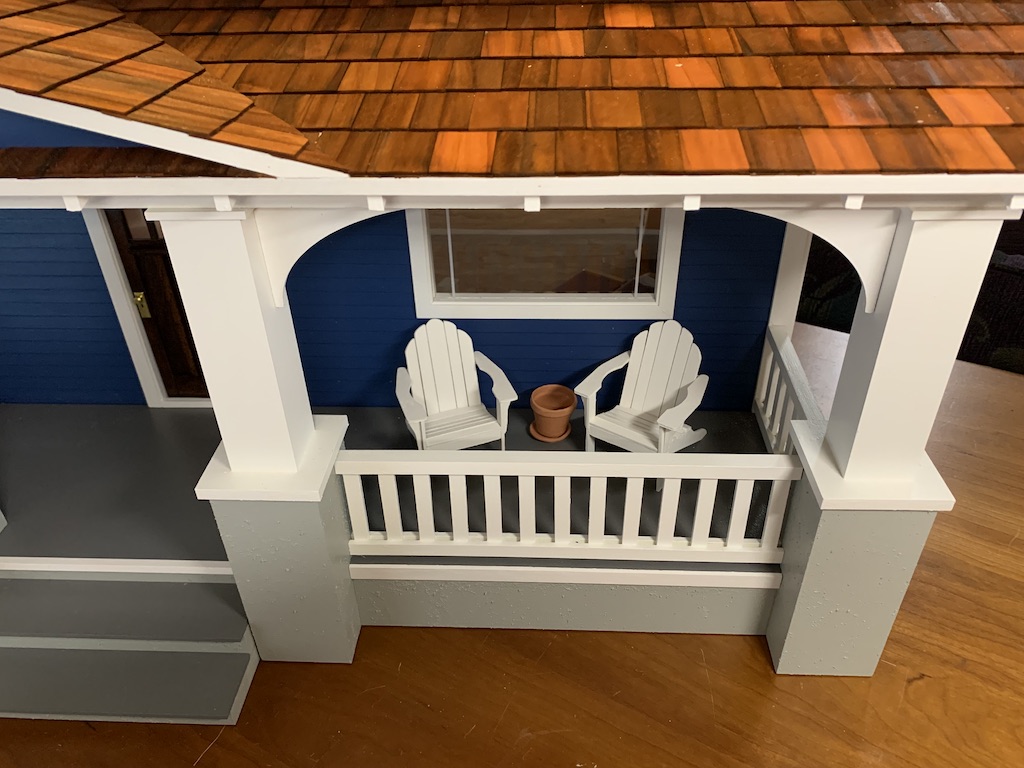
With these chairs completed, I could then return to my initial goal of furnishing the bathroom.

My sister had tried without success to 3-D print bathroom fixtures for the doll house for her grandkids; some of the small pieces were just too fragile. I had no intentions of trying to make my own, so it came down to finding something online or in a store. I searched for some options online, but seeing nothing better, I decided to just go to my local hobby store to purchase the same fixtures I had bought for the doll houses I had built for my two granddaughters.

With the bathroom now functional, I could figure out the kitchen cabinets and appliances, the other major items required before the house could be considered “move-in ready.”
I wanted to continue the craftsman style theme of the house into the kitchen as well. I knew from my searches for a craftsman style door, that I would likely never find 1/12-scale fixtures ready-made. But based on my success in building my own door, I decided I would build the cabinets myself.
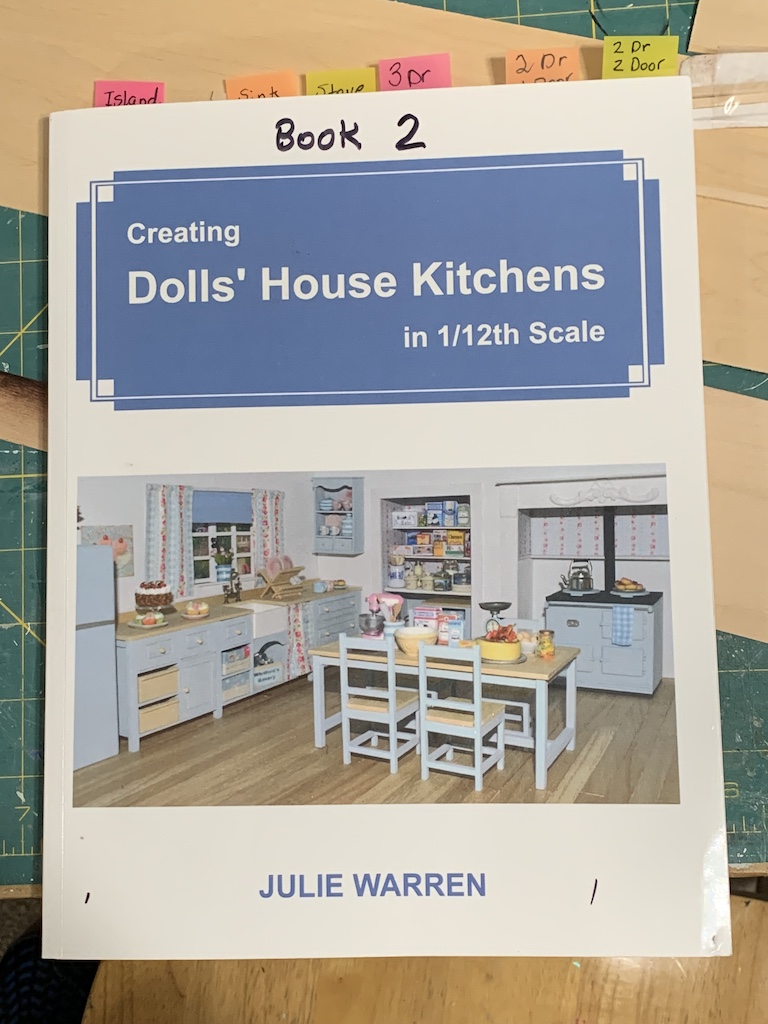
My sister loaned me this book that she had used to build the kitchen cabinets for her grandkids doll house. It is very nicely detailed with meticulous instructions and parts lists. The only downside is it only features fixtures for three style kitchens: Cottage, Farm, and Modern.

The Modern fixtures would be the closest to what I would want but they still were not craftsman style. Also, these instructions included all the details to make the cabinets fully functional such as doors opening and drawers pulling in and out. Since I would not be “playing” with my doll house, I only needed fixtures that had the look, not the functionality.
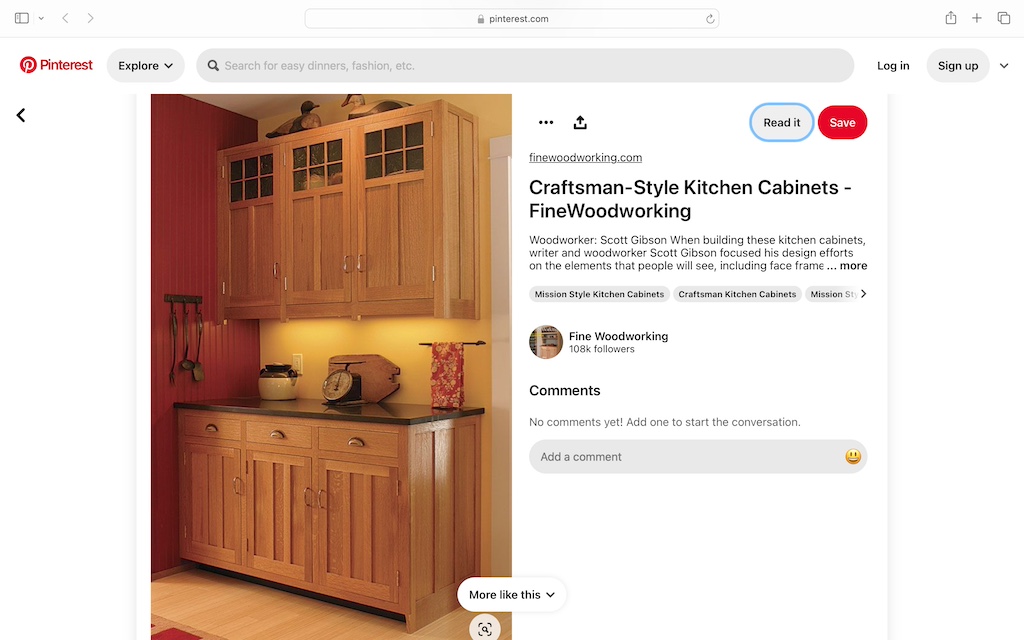
I searched online for some craftsman style cabinets and after seeing a few, I found this one I particularly liked.
I next ran off to our local hobby shop where I purchased a number of different sizes of Basswood.

I thought it worthwhile to see if it was even realistic for me to build my own cabinets with these standard dimensions of Basswood, which would be easier than having to custom cut each cabinet piece. I decided to make the lower cabinet end first. I took the dimensions of our own kitchen cabinets and then converted them to 1/12-scale (recall 1-foot equals 1-inch, so it was an easy conversion from approximately 3 feet high and 2 feet deep). Other than the backboard which I cut from a 1/16 inch sheet, the only piece I had to trim down was the bottom piece which I cut from a standard 1/2 inch wide down to 3/8 inch wide.
This seemed to match well to the full-scale cabinet. I then needed to see if I could get a similar finish. I had two different light wood stains and after finding the first (Ipswich Pine) to be too light, I stained the wood twice with the second slightly darker stain (Colonial Maple). After two coats of polyurethane, I was pleased with the result and ready to forge ahead.
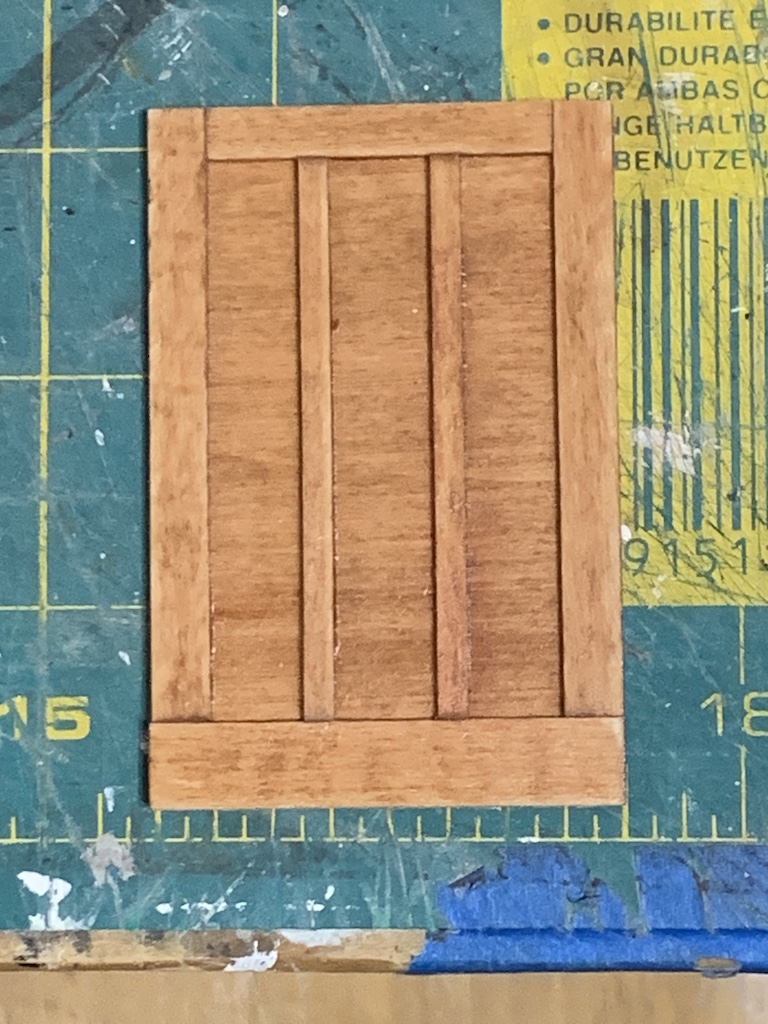
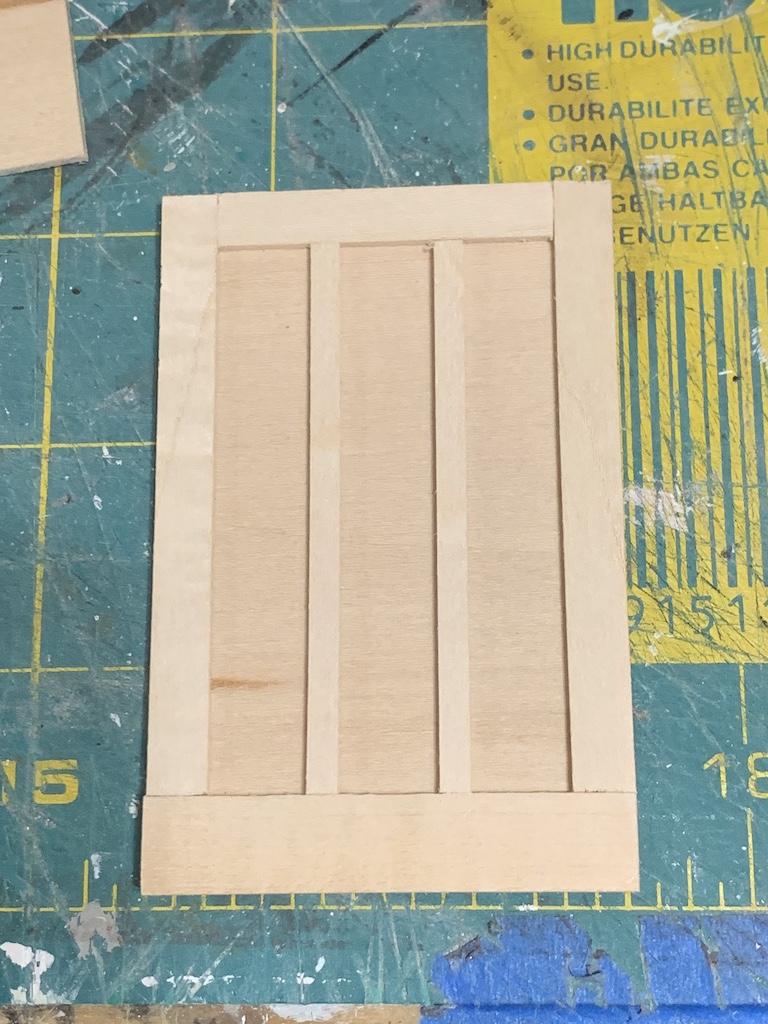
Now I needed to figure out the front of the cabinet.
I measured the cabinet door dimensions in our kitchen, and all were 24 inches tall, but I was surprised to find three different widths: 14, 16, and 18 inches. I decided to make my life easy and only use an 18-inch width door (thus 1.5 inches in 1/12-scale). I measured the drawer height and found it was 5.5 inches tall. This would mean my stock 1/2-inch-wide Basswood would be close but when I laid a piece above the door, proportionally it looked to tall relative to the height of the door. Since there would be a 1/8-inch strip above the drawer and below, I decided to make the drawer 3/8 of an inch tall rather than 1/2 inch tall.
I mocked up how a door and drawer would look and adding up the height of the individual pieces, I came up with an overall height of 2 3/4-inches.

This left 1/4 inch for the toe kick (that recessed space at the bottom of your cabinets for, you guessed it, your toes). I went downstairs and measured our toe kick. It was 3-inches tall which is exactly 1/4 of a foot or 1/4 of an inch in my scale. Perfect! The front of the cabinet would thus add up to exactly the same height as the side piece—3-inches.
Now I could design different lengths of cabinets based on how many doors I included. Plus, I needed to include a sink in one of the cabinets which I figured out would be 2 inches wide and 1 1/2 inches deep (front to back). Without getting heavy into a bunch of math summation of fractions, I determined the following lengths for cabinets:
2-door cabinet – 3 7/8”
3-door cabinet – 5 1/2″
4-door cabinet – 7 1/8”
But before I could figure the right size cabinets to build, I needed to know the dimensions of my appliances and dining table.
I went online to find a stove and refrigerator and one website I frequent just so happened to have recently added 1950s-era appliances. They came in red, white, or black. I have an affinity for all things red (cars, shirts, furniture, etc.) but I thought the black would better blend with the black countertops I planned to use that matched the full-scale cabinet picture. The same website also just so happened to have a 1950s-era dining table and chairs.
With those items purchased and, on their way, I was ready for the next step—drawing up an overall plan.
To be continued…
Categories

I still have these to make for my house. Maybe your instructions will help me. Good blog.
Thanks and when you’re ready I can work with you on them.
So cool!! This is next-level dollhousing! I love seeing the cabinets come together.
Thanks sweetie! Wait till you see the finished cabinets.