
Doll House Furnishings – Phase 1

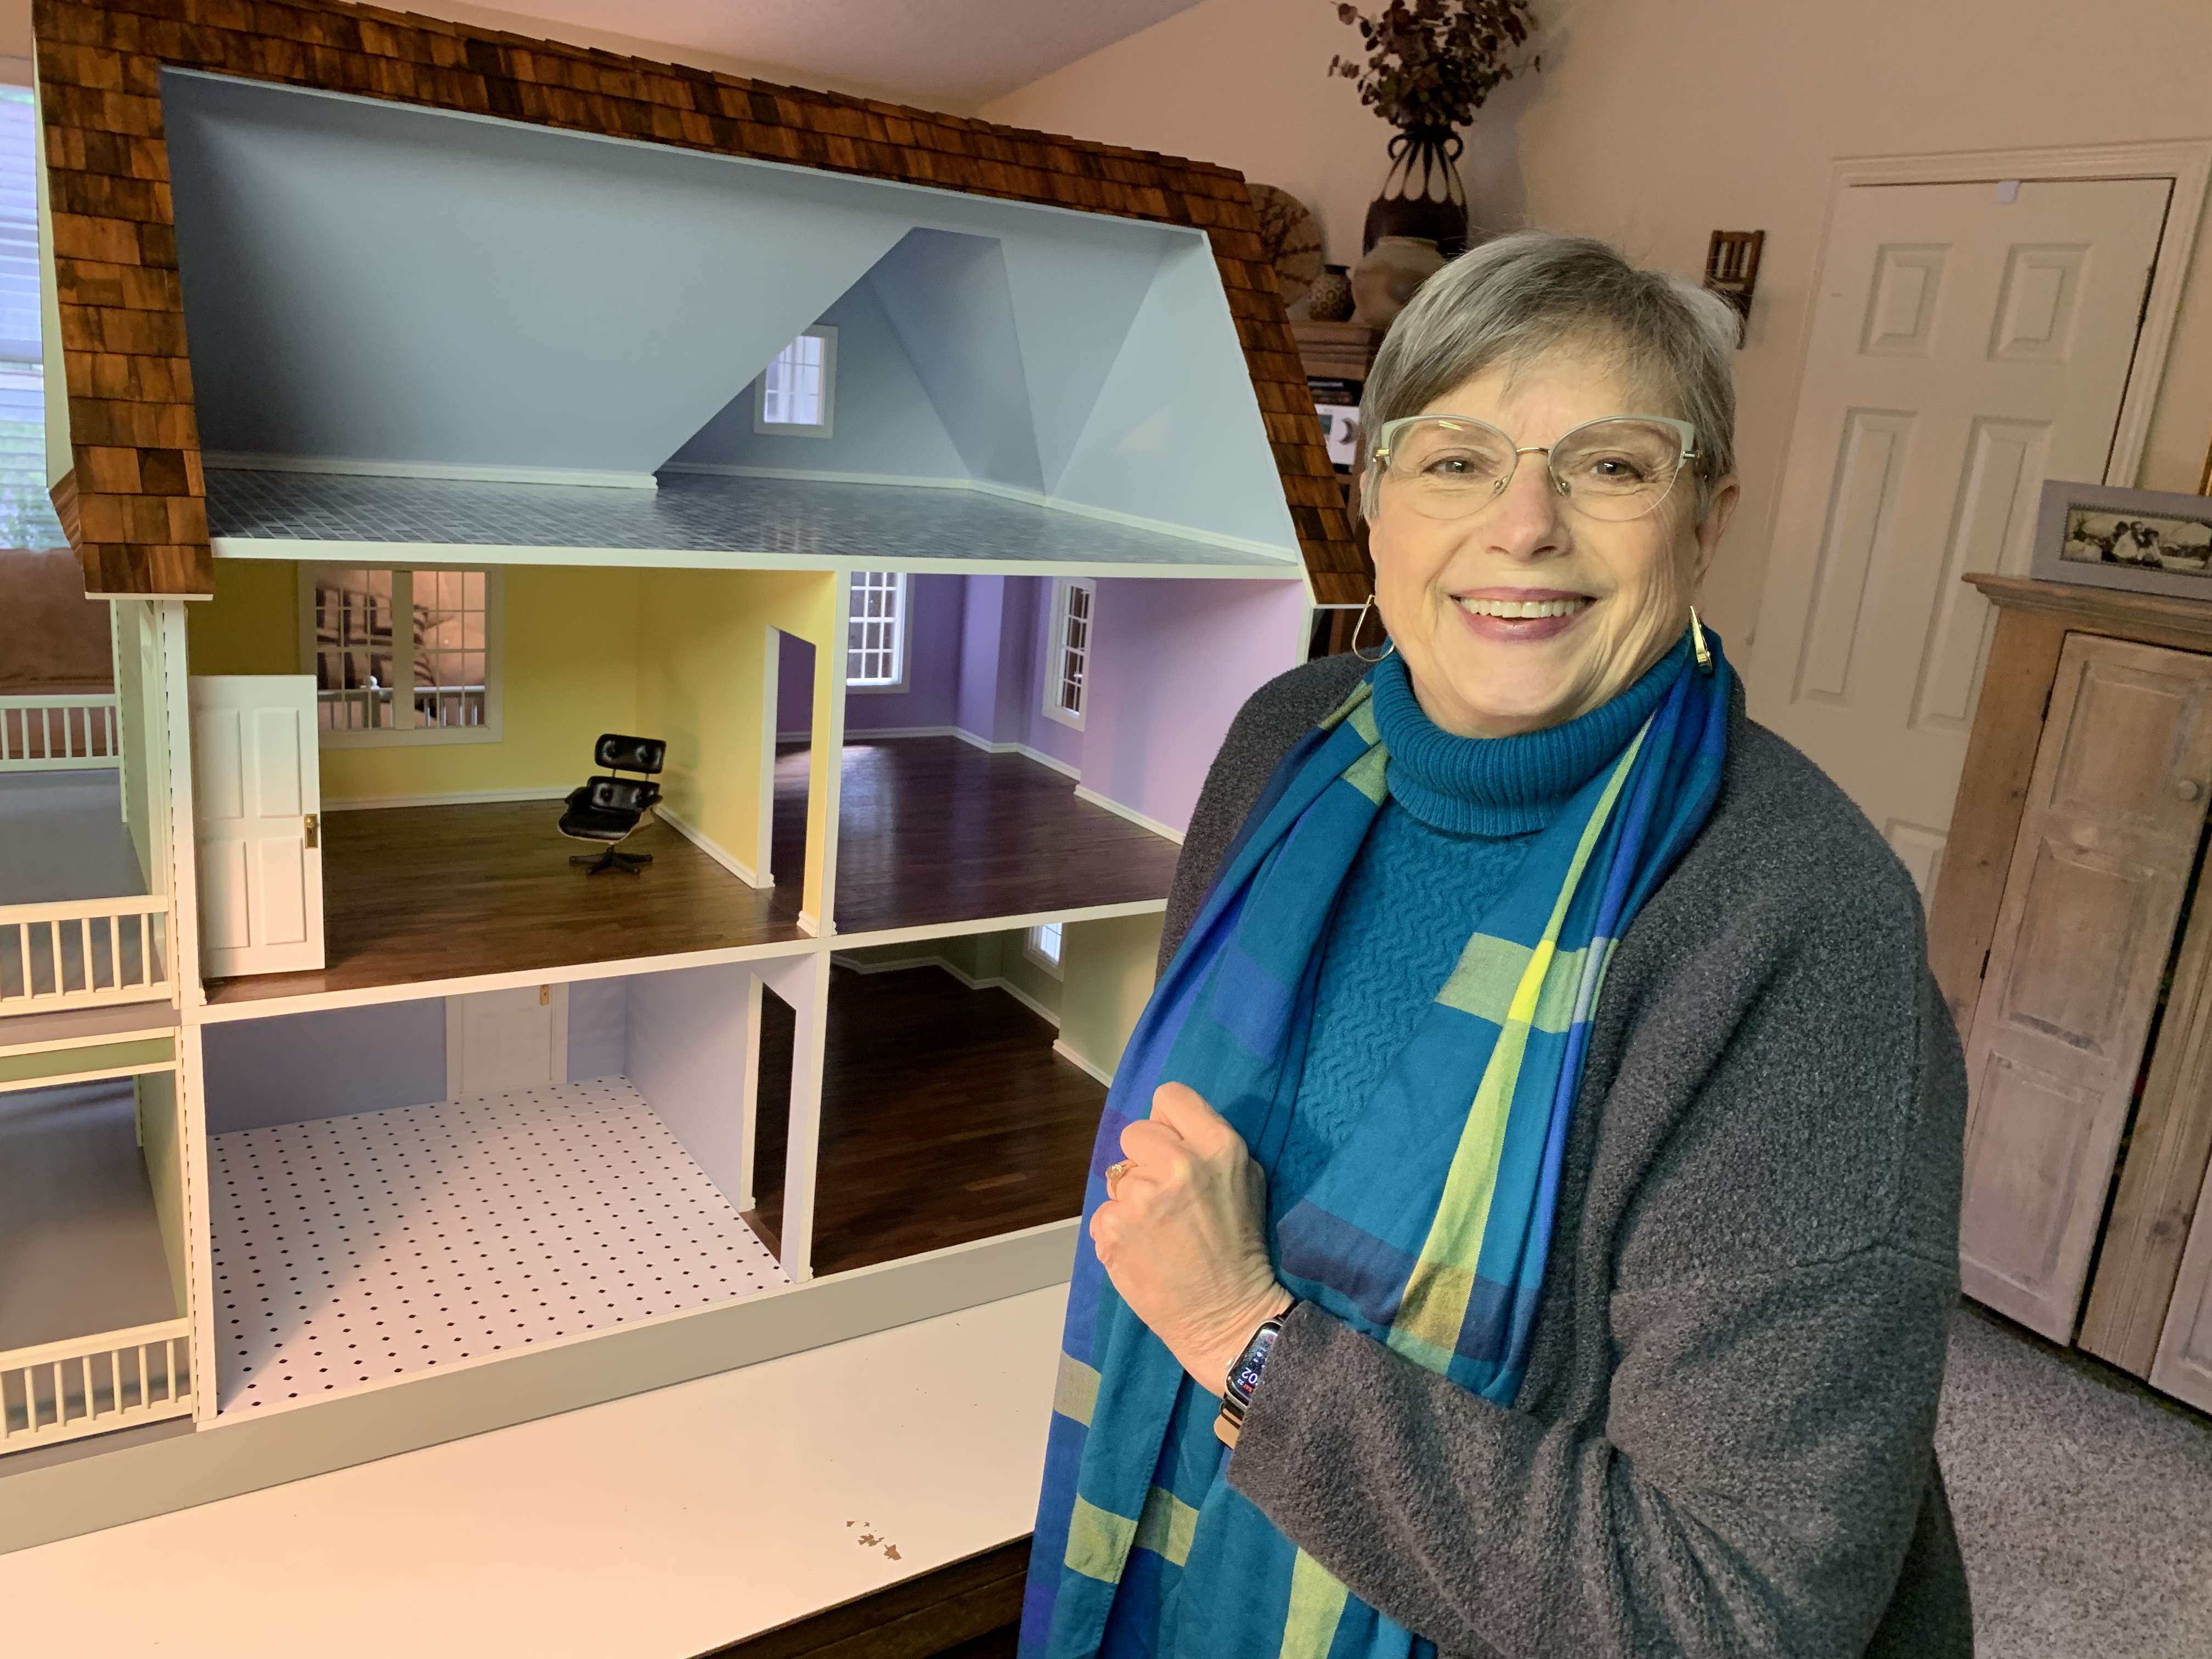
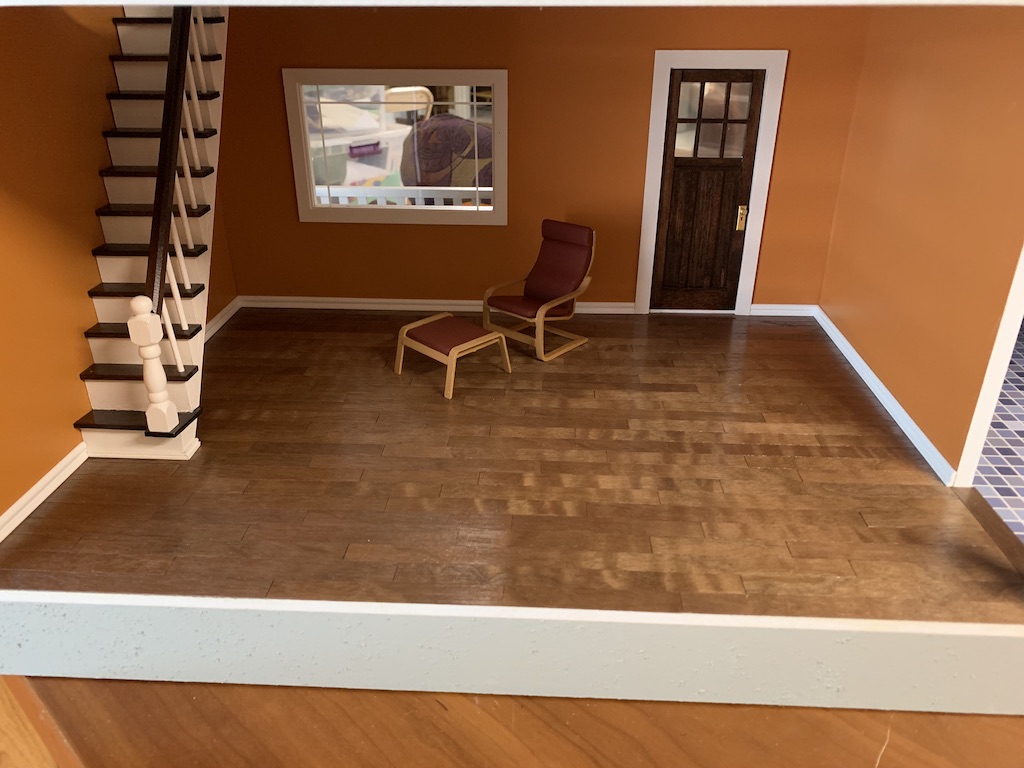
In my final post about building a doll house for myself, I left you with the image above of a mostly empty house with just this chair. As soon as I finished the doll house, I knew I needed to furnish it. And first up was selecting the bathroom fixtures followed by figuring out the kitchen cabinets and appliances. But even before I did that, my sister provided me with some unexpected help.
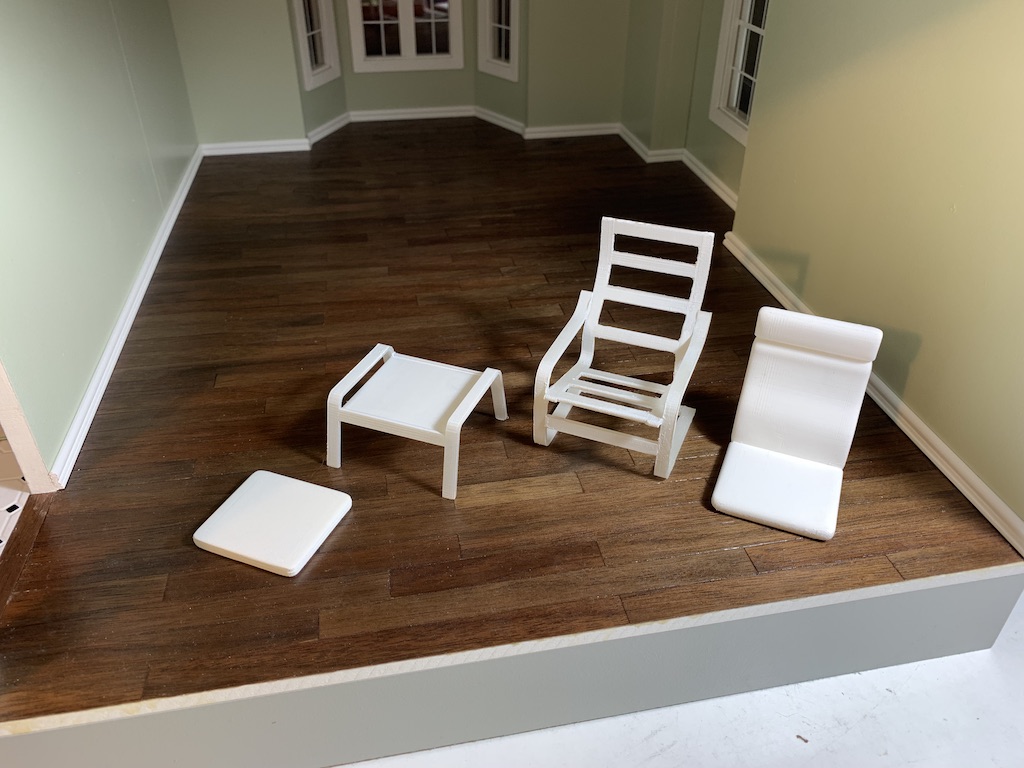
I have written before that my sister has two kinds of 3-D printers that she has been using to “print” furniture. Using her resin 3-D printer, she made herself an IKEA POANG chair and ottoman, printed in separate pieces.
She then painted and assembled it to go in her house.
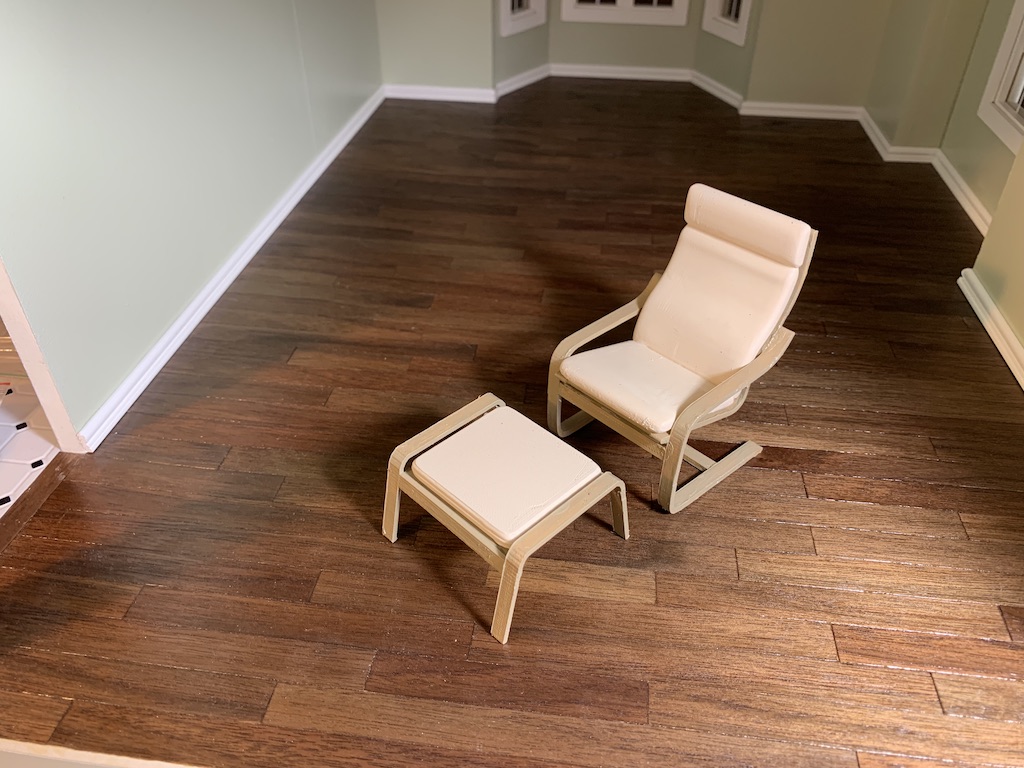
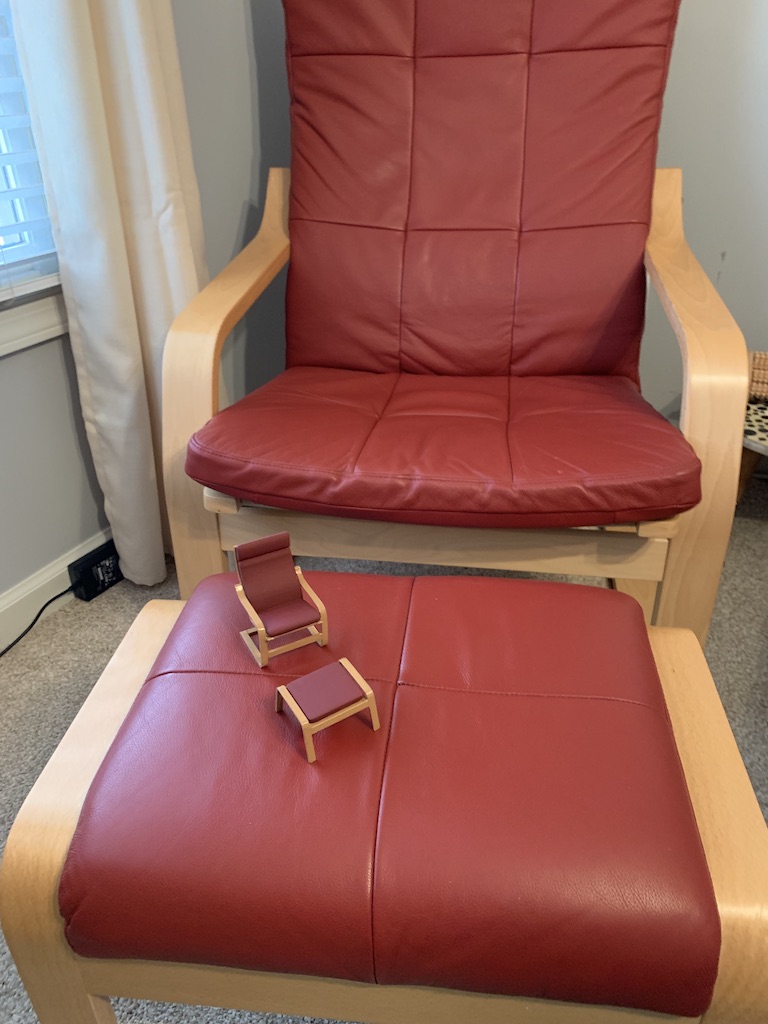
When I was delivering my eldest sister’s doll house and I saw this little chair, I fell in love with it. She suspected I might and so had already printed one for me as well. I told her I had a full-size chair that I would love for her to model it after.
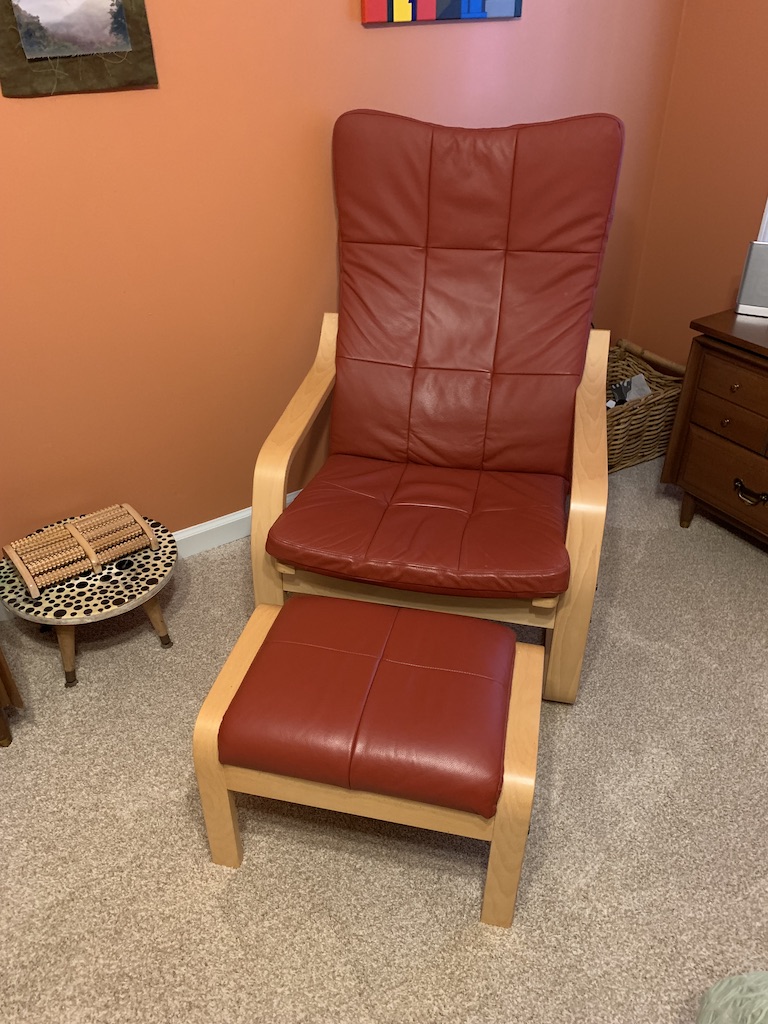
When I returned home, I sent her the photo of my chair. She then painted it to match the chair that I had in my orange bedroom. She came over last year for Thanksgiving and when she took it out its box and placed it on the full-size chair, I knew she had made a perfect miniature match.
Of course, I knew it should go in the first-floor room of my doll house which I had painted the same color.
When she came over for Thanksgiving, she surprised me with another gift.
If you read the post about me building my own doll house, you also know that my sister has a Cricut printer that she used to cut strips of walnut veneer for my flooring.
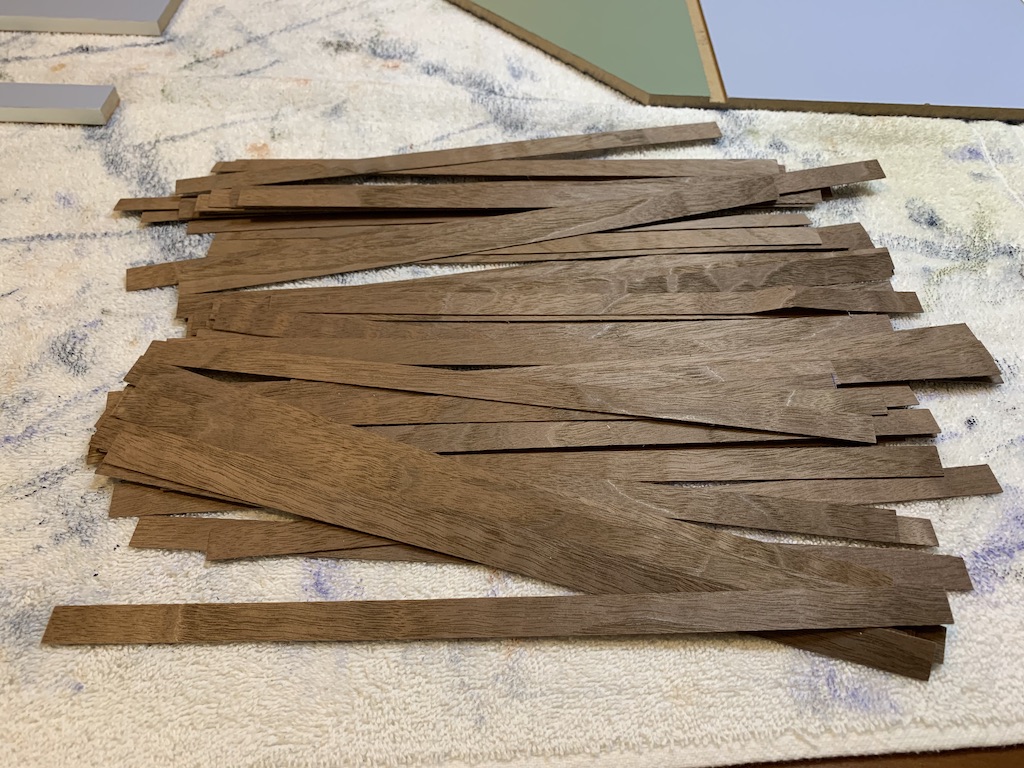
When my sister cut the walnut strips for my custom flooring using her Cricut, she also cut the parts needed for three Adirondack chairs.
It was over ten years ago that I built these miniature chairs for holding our cellphones using reduced full-scale drawings I had found online.

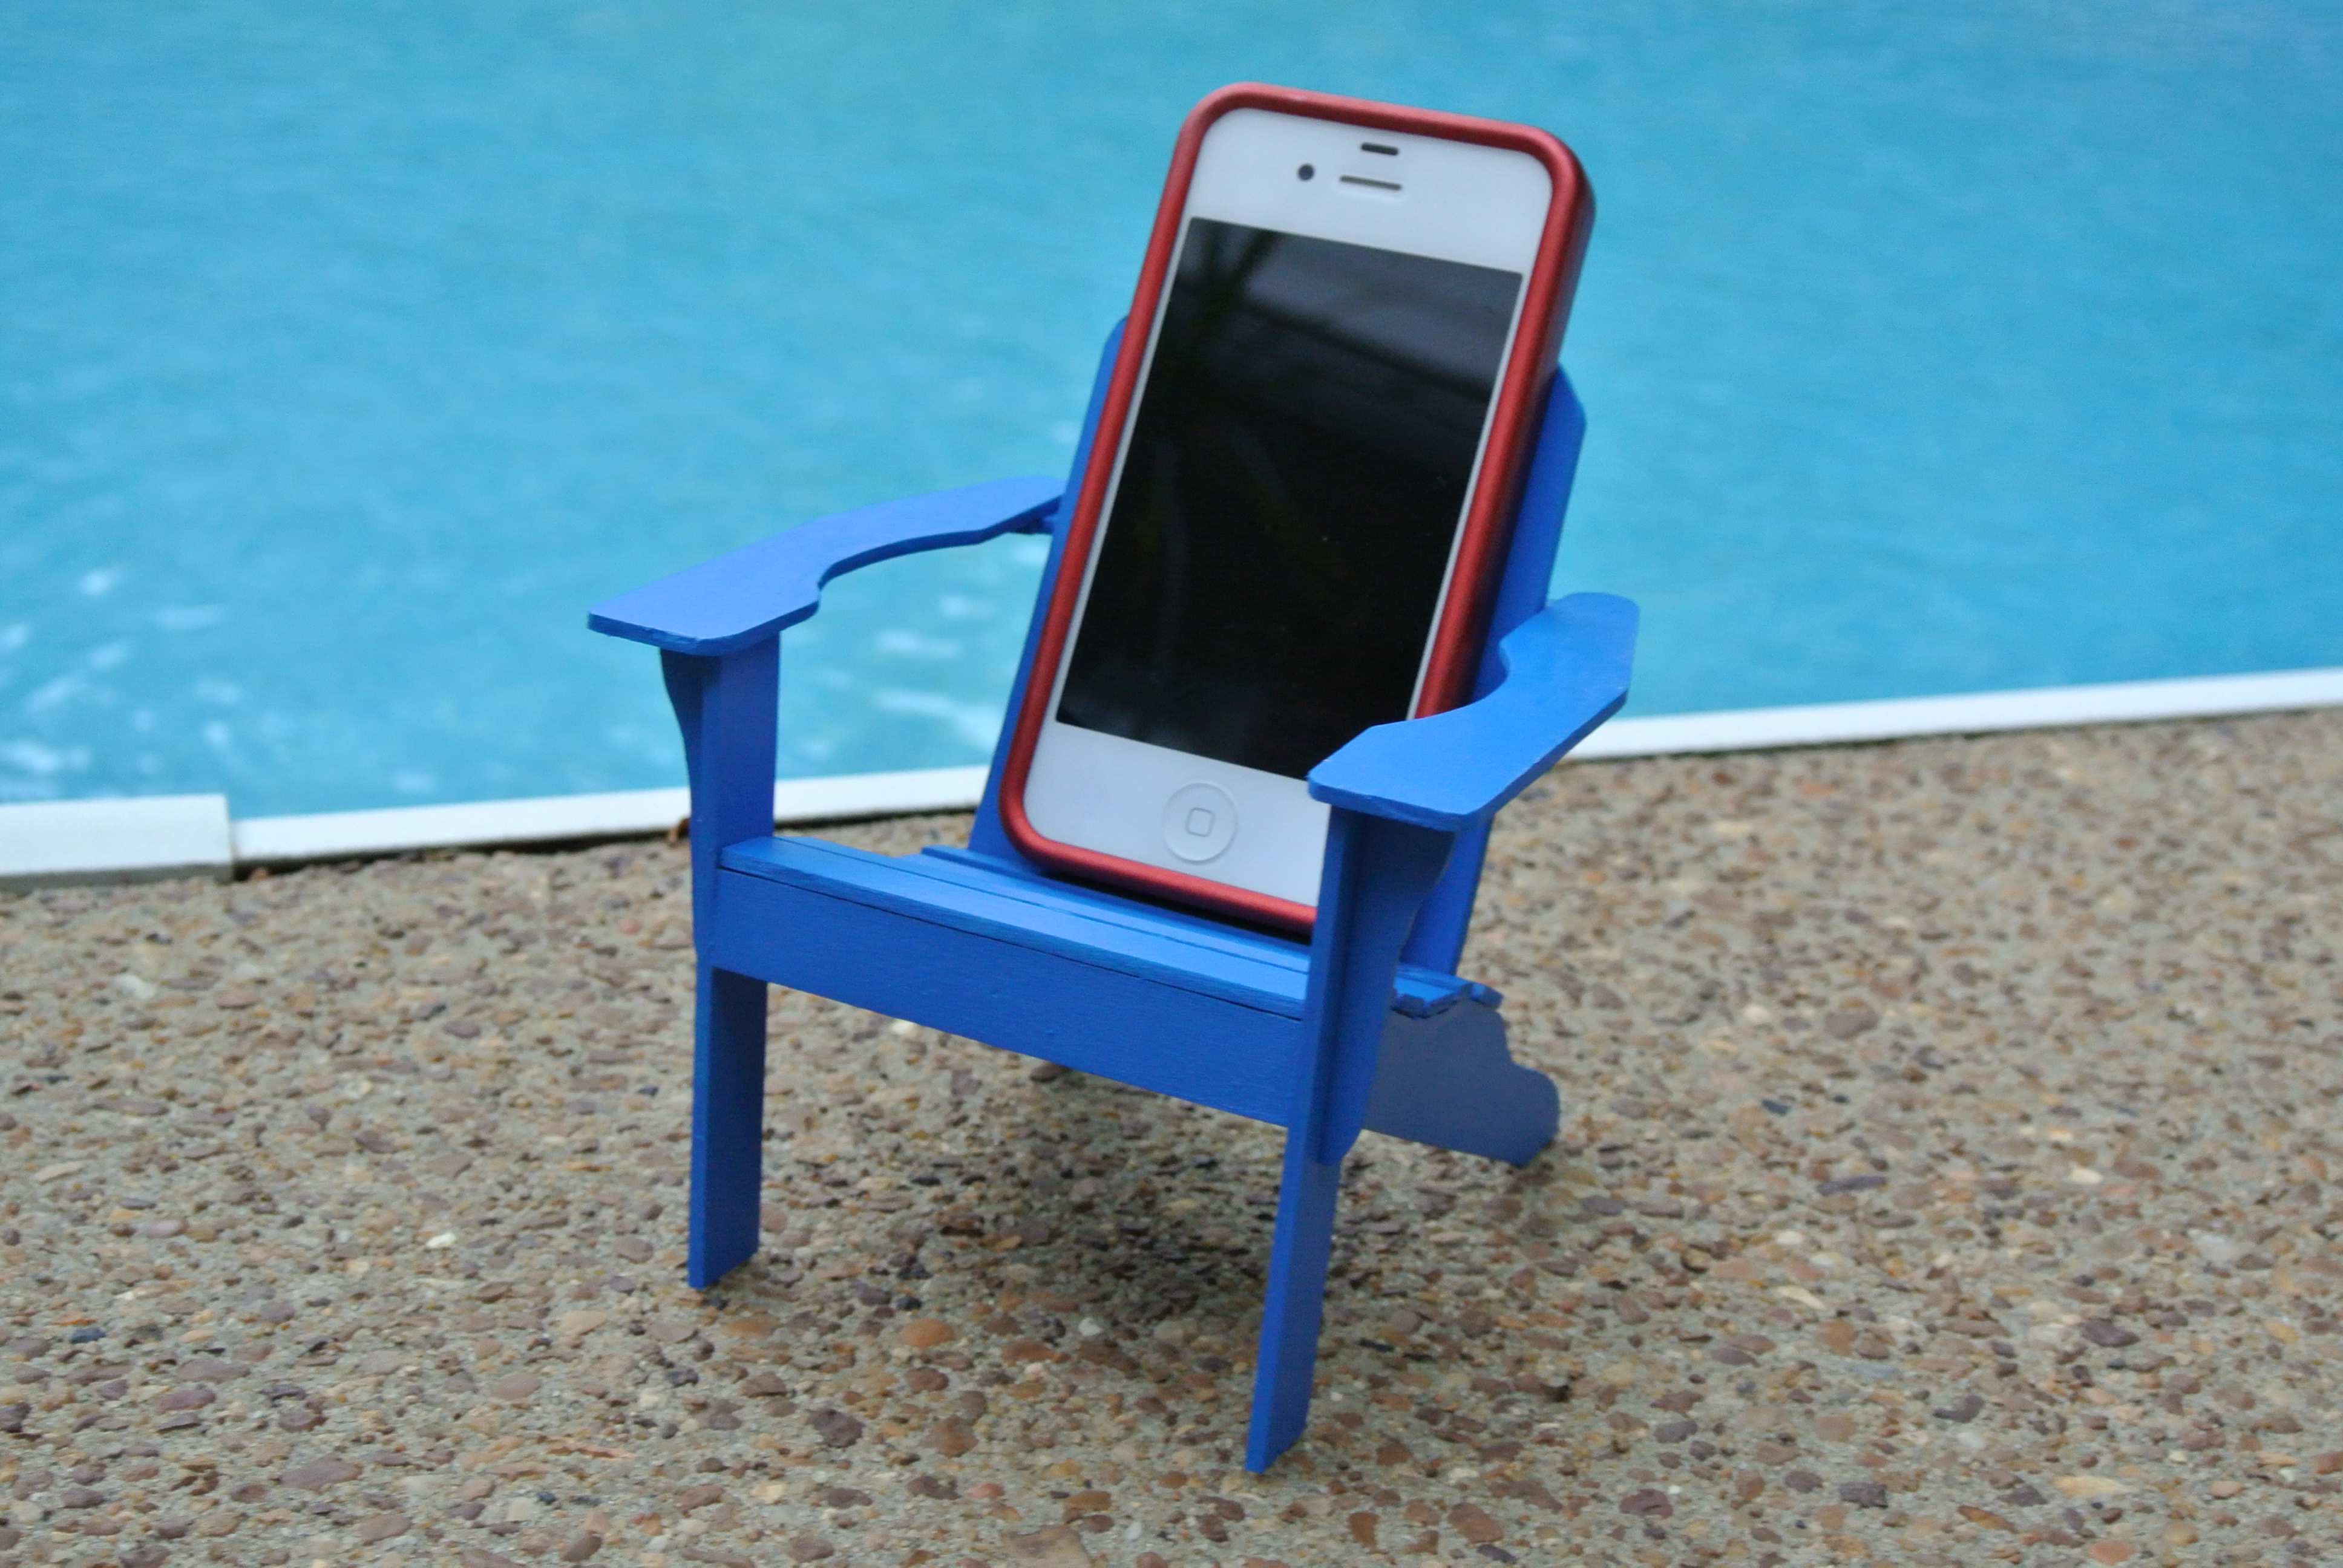
When we were building the doll house for my sister’s grandchildren, she scaled the plans down further to achieve the 1/12 scale of the doll house.
So, even with my doll house still incomplete, I decided to try to assemble these chairs for my front porch.
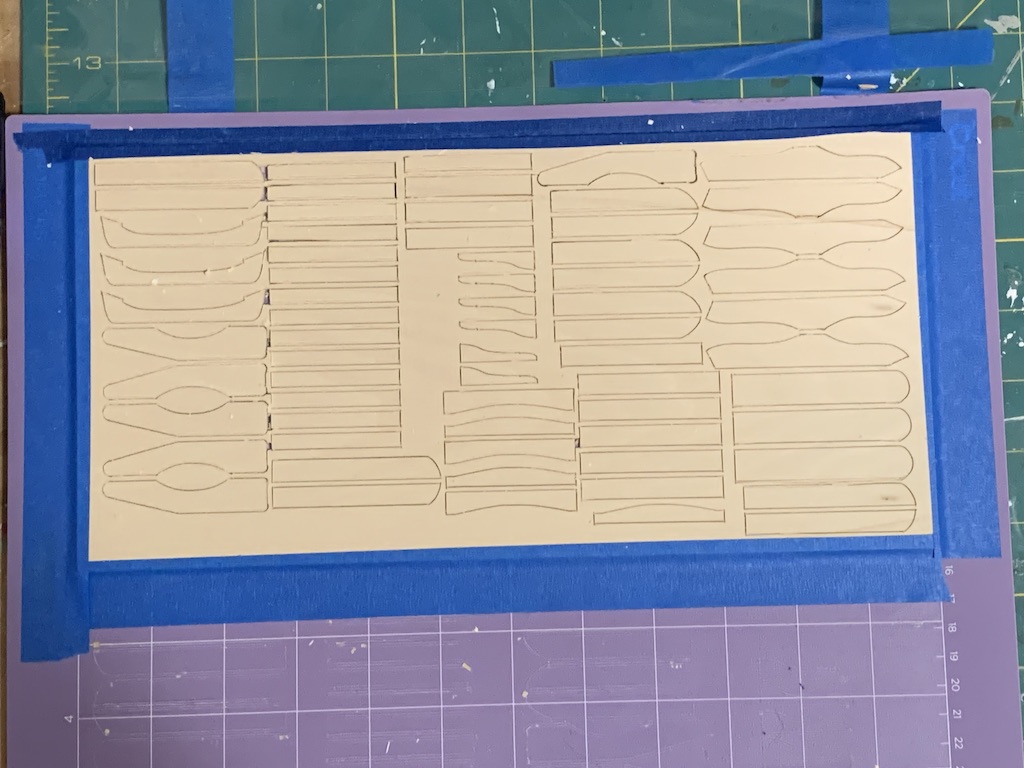
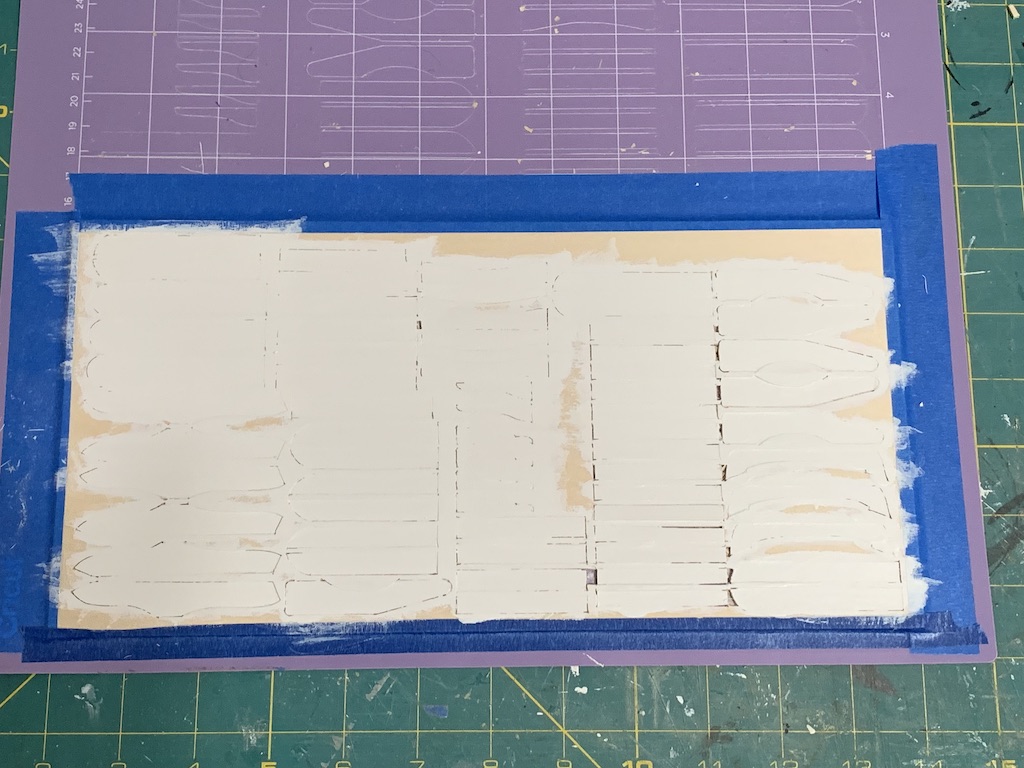
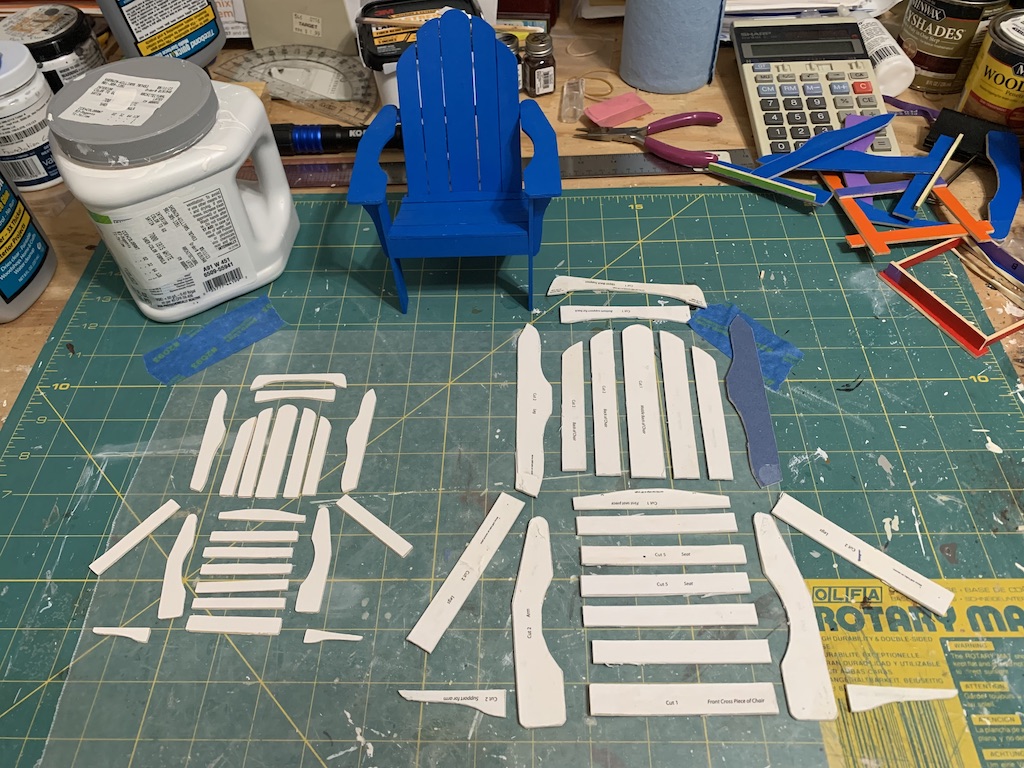
My sister had chosen to assemble the chairs and then paint them, but my original technique was to paint the piece of basswood first and then cut out the parts. This way, all I had to do prior to assembly was to paint the edges where the cuts had been made. Using this same approach, I painted the parts while still attached to the sheet of wood.
As I was painting both sides, I got out everything that I had used to assemble my original phone chairs.
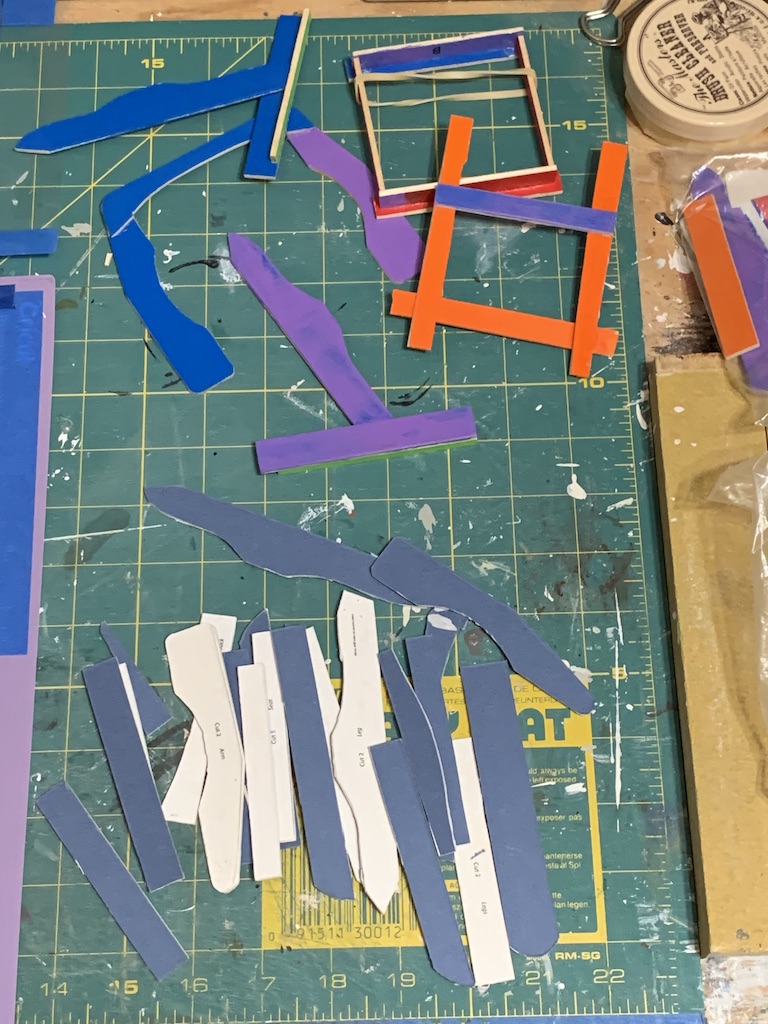
Those pieces at the bottom are the templates I used to cut each of the needed parts from the pre-painted sheet of basswood. Above those, are the jigs I built to simplify the assembly process. Over about a year, I built a number of these chairs and along the way came up with better jigs and better methods of construction. Since it had been so long since I had built any, I actually had to go back and read my old blog posts to familiarize myself with how I built them (you can click here if you are interested).
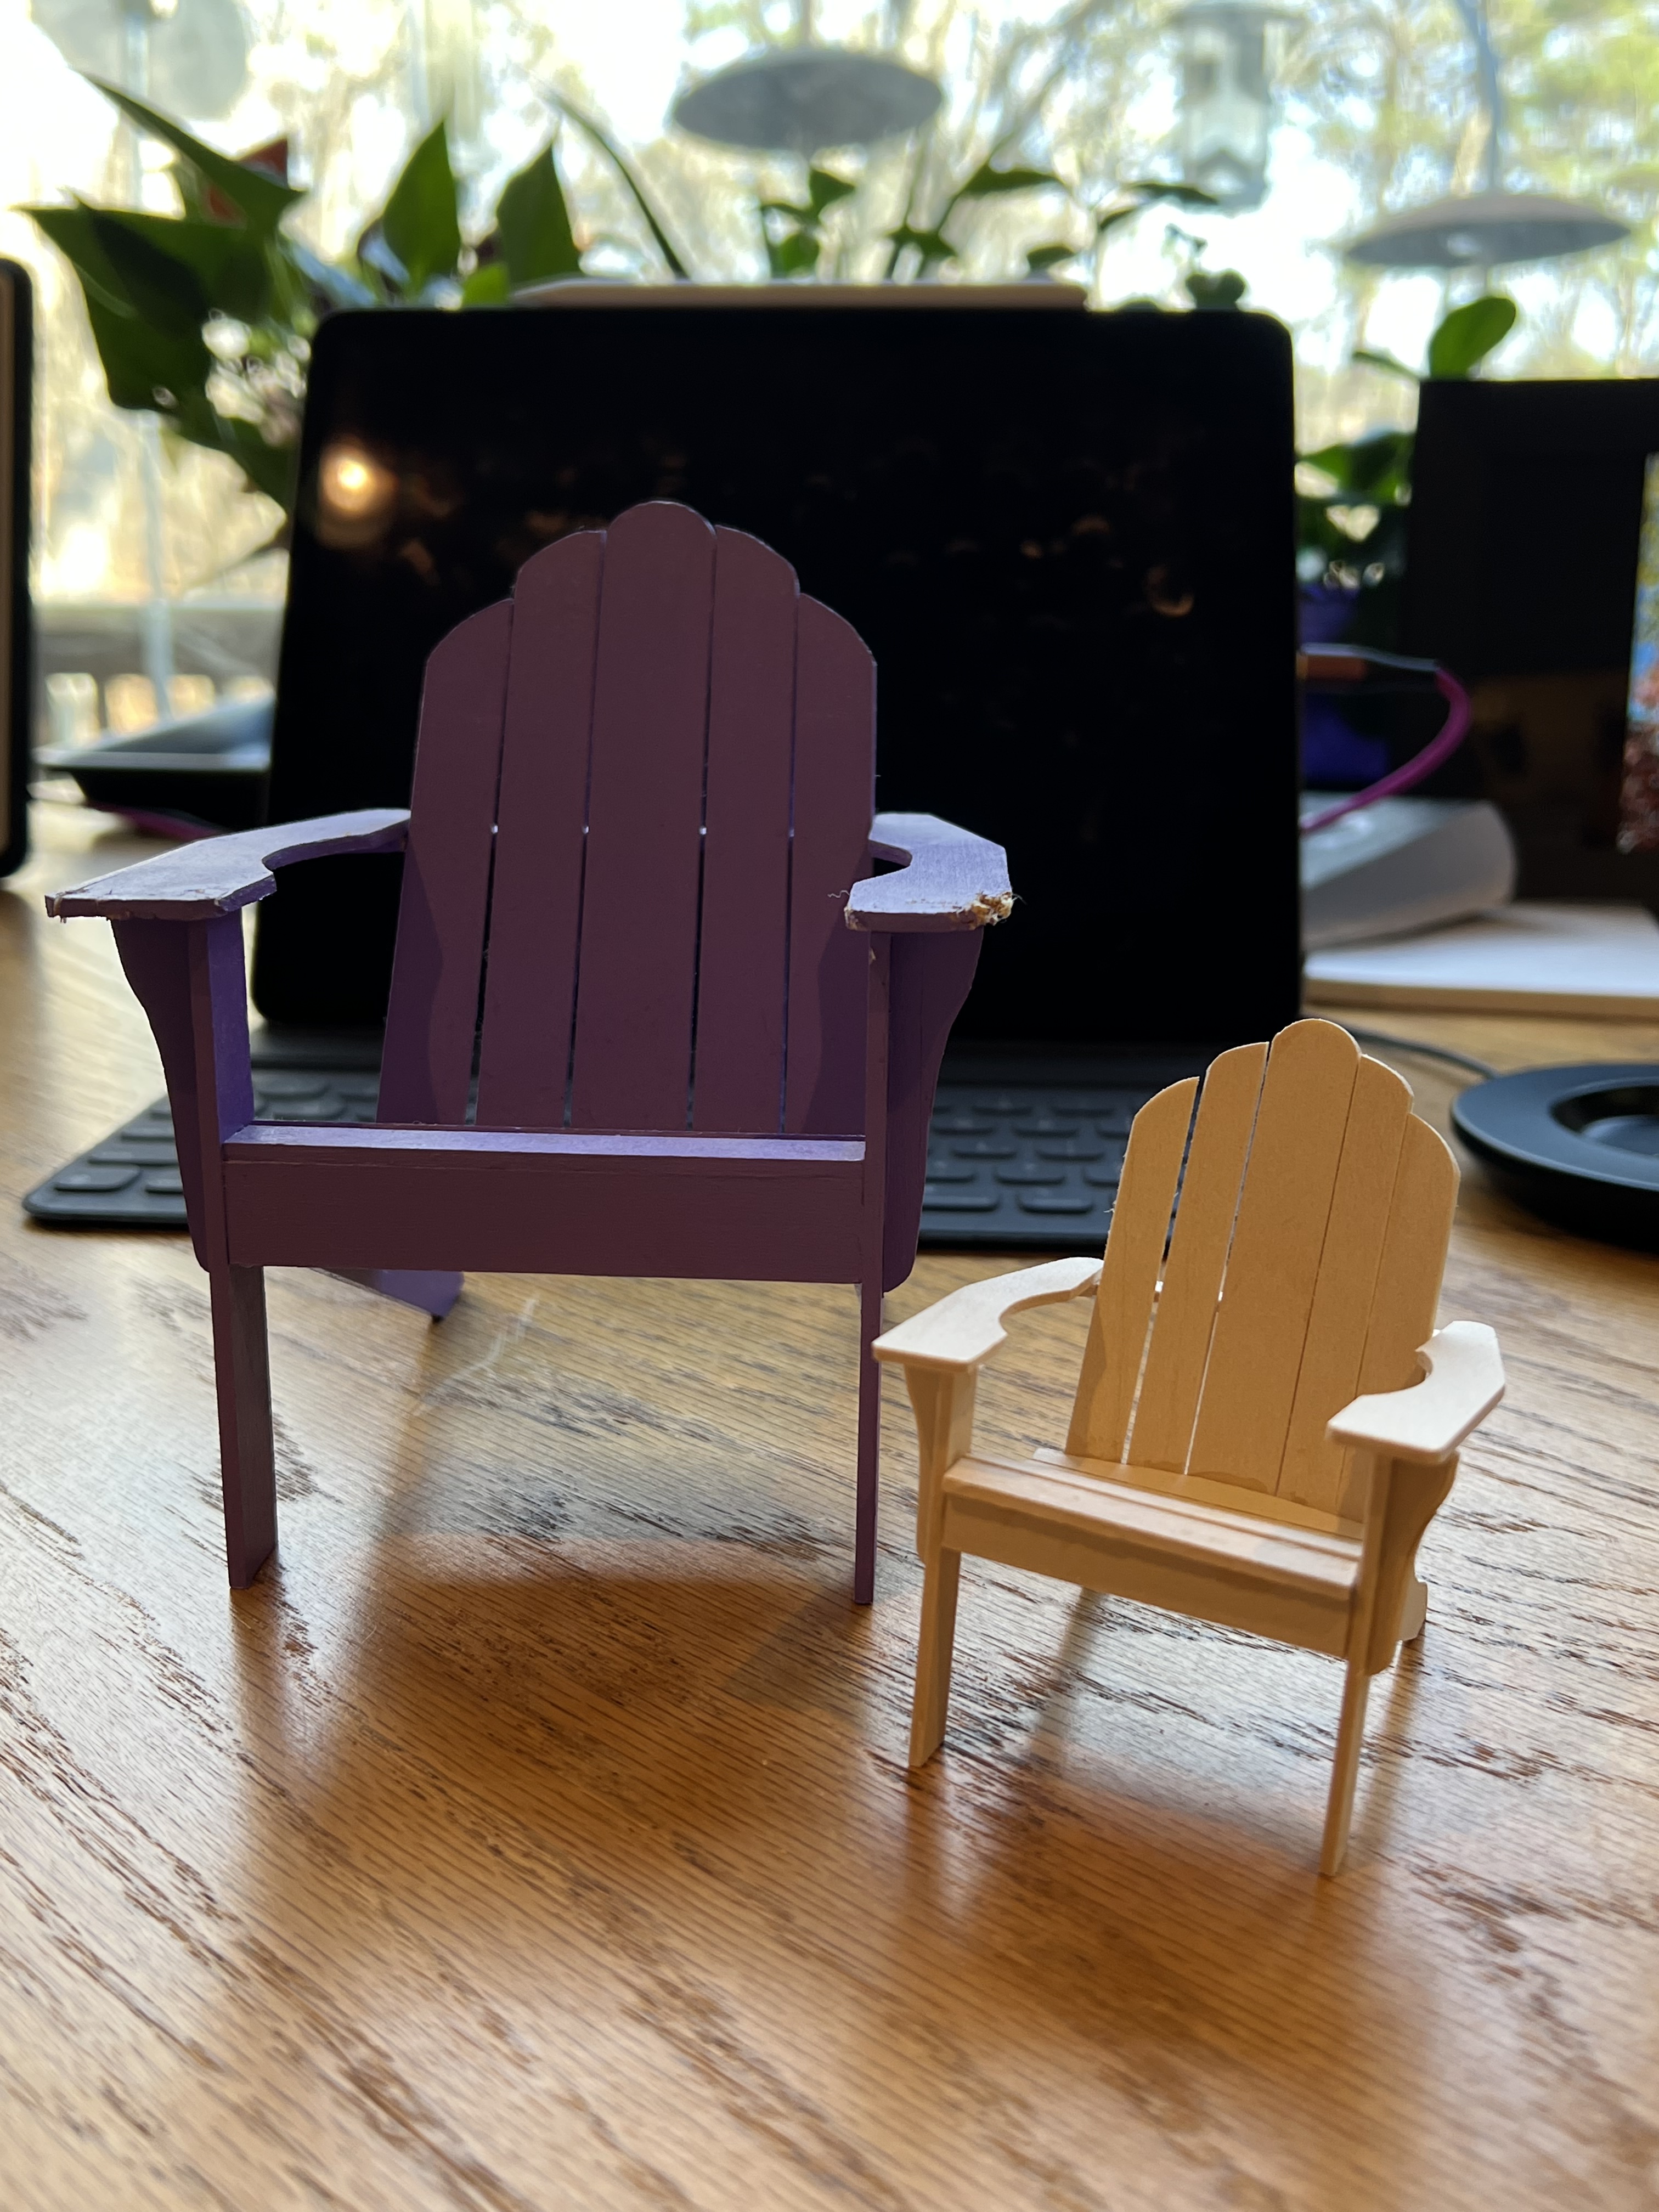
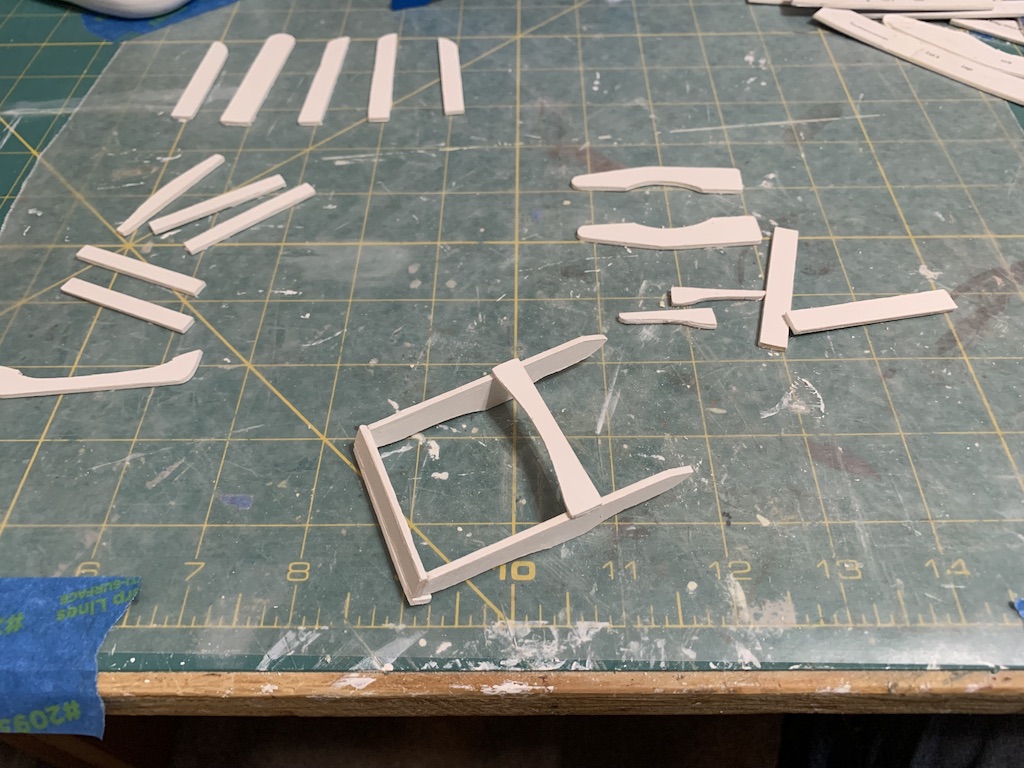
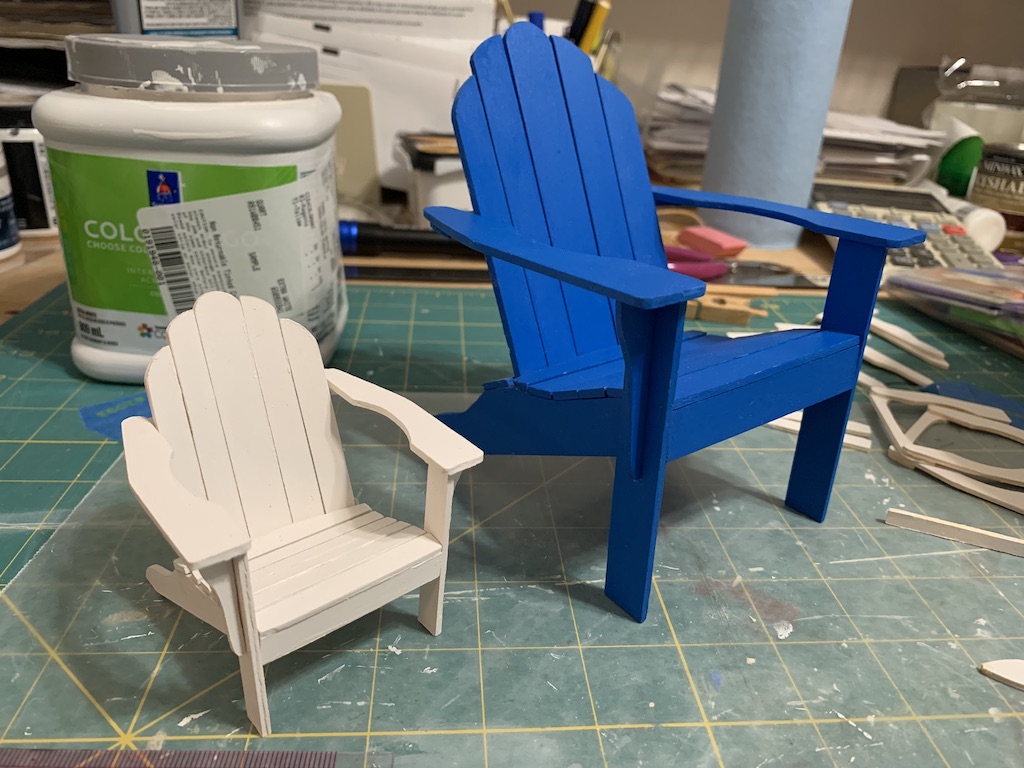
Once the paint was dry, I then punched out all the parts I needed for the first chair and for your benefit, I set these side-by-side for comparison with the parts for the phone chairs.
I at first thought about building scaled down version of the jigs but that would consume many of the parts for one of the chairs. Even though I knew my sister had had trouble building the chairs from these tiny parts, I decided to give it a try. Of all the improvements that I developed over the building of these phone chairs, I recalled that the two most important steps were to ensure that all four legs touched the ground so there was no wobble and that the two arms of the chair were perfectly parallel to each other at the front and the back.
I chose to use super glue for its quick setting since I had no jigs to hold pieces in place. The only downside is this glue is unforgiving. Since it bonds in seconds, there is no time to tweak how the parts are aligned. When I had the two long legs glued together with the front piece and first seat slat, I thought I had achieved this but when I turned it over, I found I had not and had to pull one off and reglue it.
Taking measurements of the smaller chair compared to the phone chair, I calculated the reduction in size was right at 55% which then told me how high up the front legs, the back legs needed to be glued.
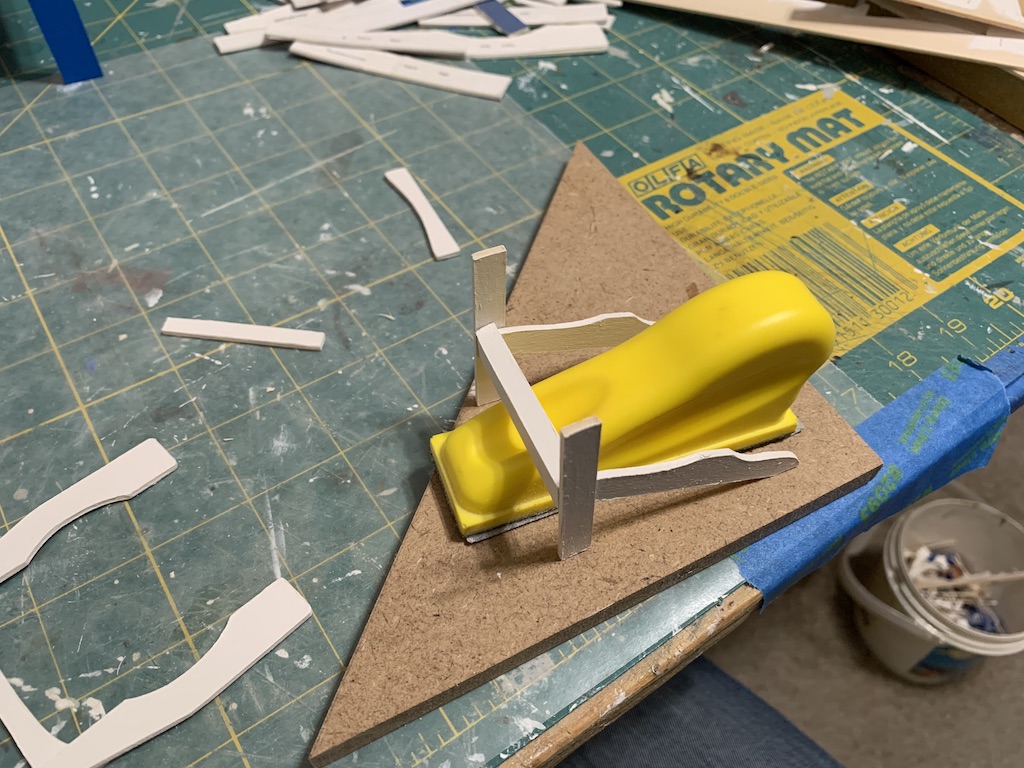
I used my handy little finger sander to ensure all four legs touched the ground with no wobble. But before I proceeded with this first chair assembly, I had a great realization. I could use this chair as a jig for the other two ensuring that the arms would be properly aligned, and the legs would be flush with the ground.
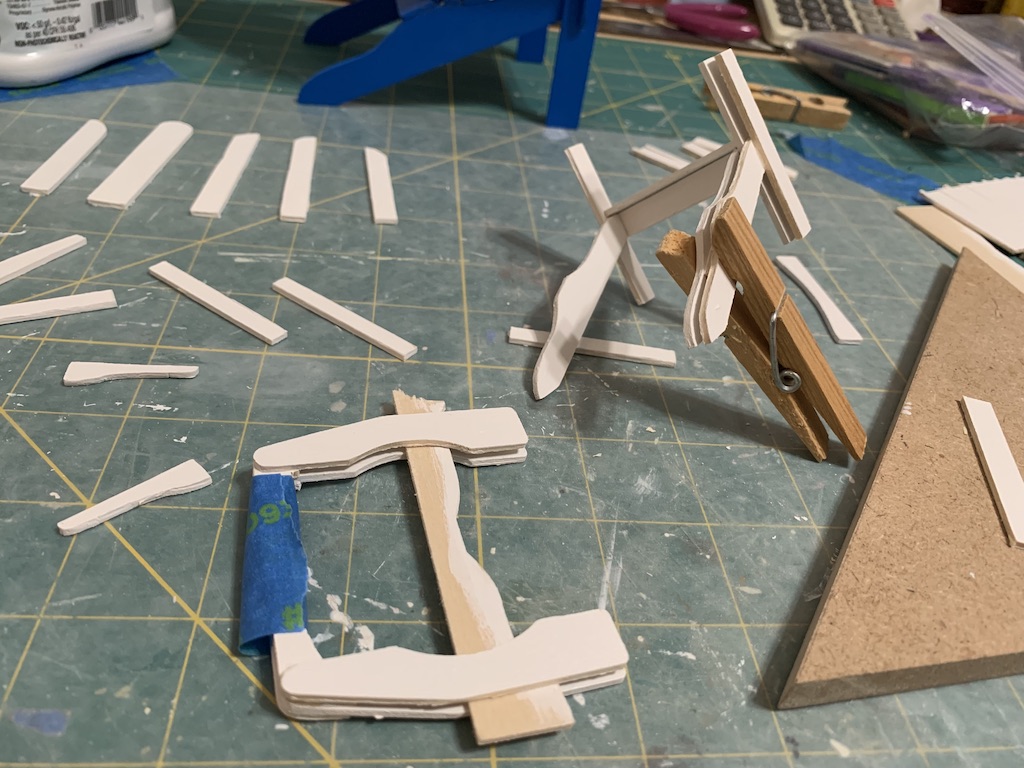
So before finishing the first chair, I used it as the template for gluing the other two.
With that done, I could finish the first chair.
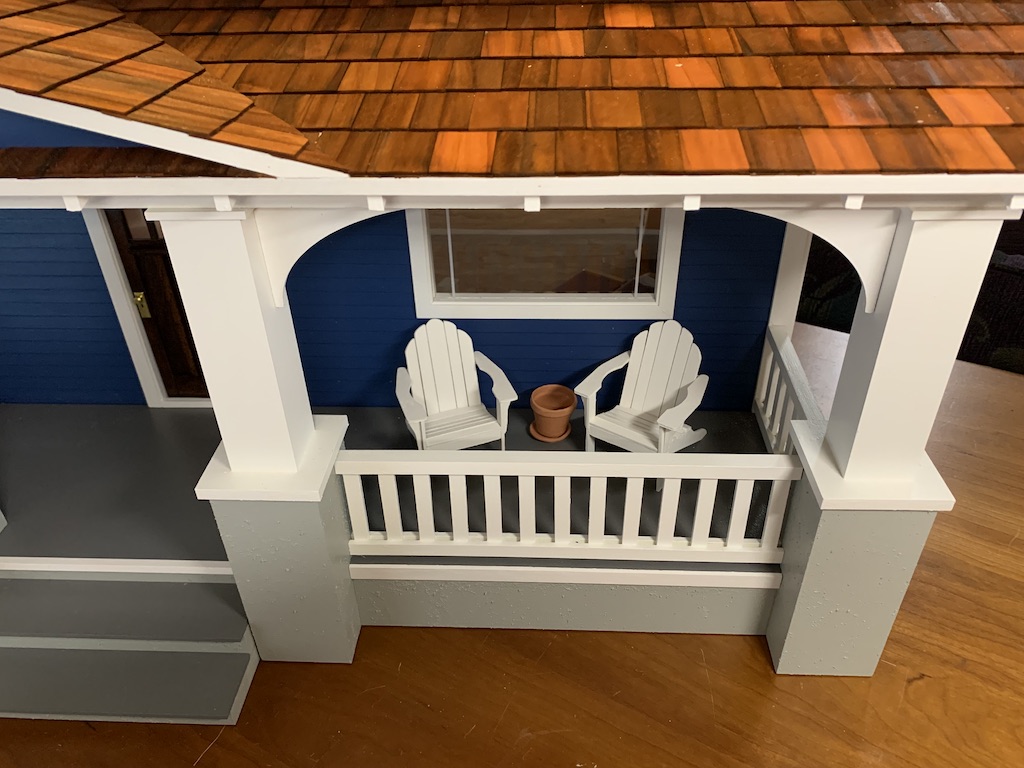
I was very pleased with my first attempt and so proceeded to assemble the other two chairs, of course painting the cut edges first. Once I had all three and I had finished building my doll house, I placed them on my porch.
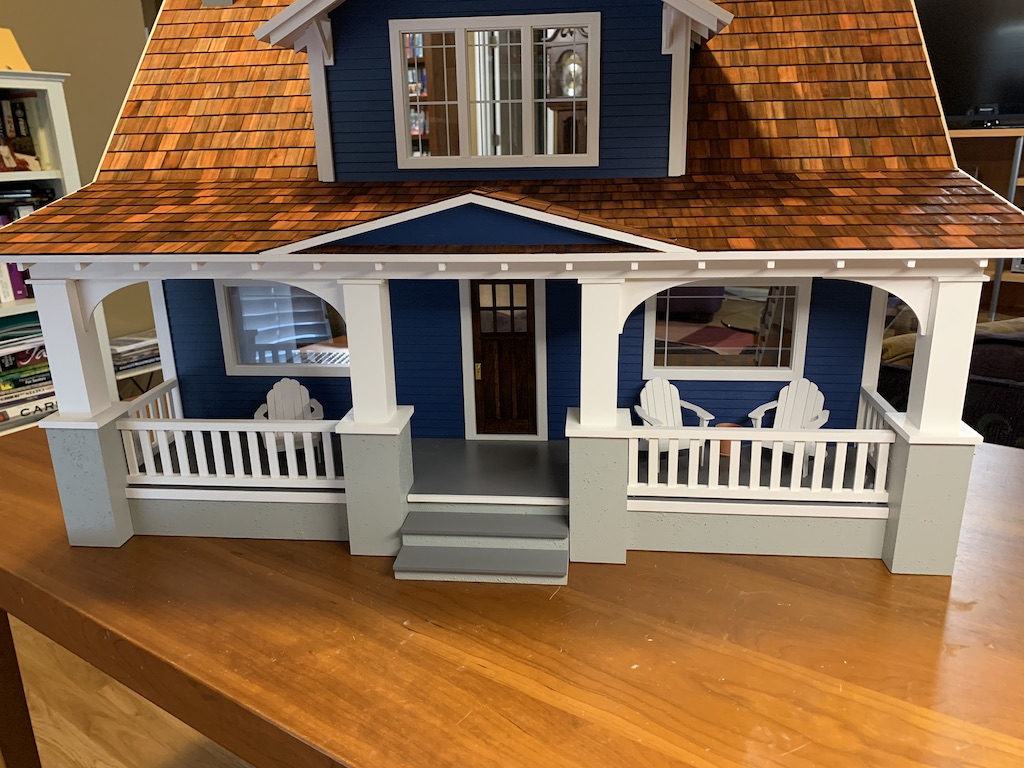
This way even though the house was still unfurnished, one could sit on the porch in these fine chairs and await the miniature delivery truck bearing the furnishings.
To be continued…
Categories

Your doll house is gorgeous!! (Actually, all of them are!) I just wish I was small enough to be the proud owner awaiting the tiny delivery truck bringing more furniture. Great post, Bro! Your attention to detail – and the successful outcome – in building the Adirondack chairs is extraordinary and made for a fun story. And your patience in the process is certainly quantum leaps beyond my own. Looking forward to seeing the next bits of furniture. And who knows, perhaps a grand piano?!?
Thanks for your words of praise! Yes there are more posts to come.
David, this is amazing. I am impressed that you had all the notes/pieces from a project from 10 years ago. You are the master of organization. I am also impressed with your sister’s talent for 3D printing and using her cricut printer. These chairs are beautiful. In my imagination, I am sitting there waiting for the furniture truck to pull up. I can’t wait to see what’s next!
Thanks Betty, I do pride myself on being organized. And yes my sister has really added a lot to our miniature fun with her computer and printer skills. There is more coming. Hope you have a nice Sunday!
You, too, David !
David, I am so impressed with your post and your furniture creating! I look forward to more posts as you decorate your house!
Thanks Sis and thanks for leaving a comment. You’ll get to see it all in person before I even publish all the posts.