
Doll House for Me – Phase 3
Continued from: Doll House for Me – Phase 2
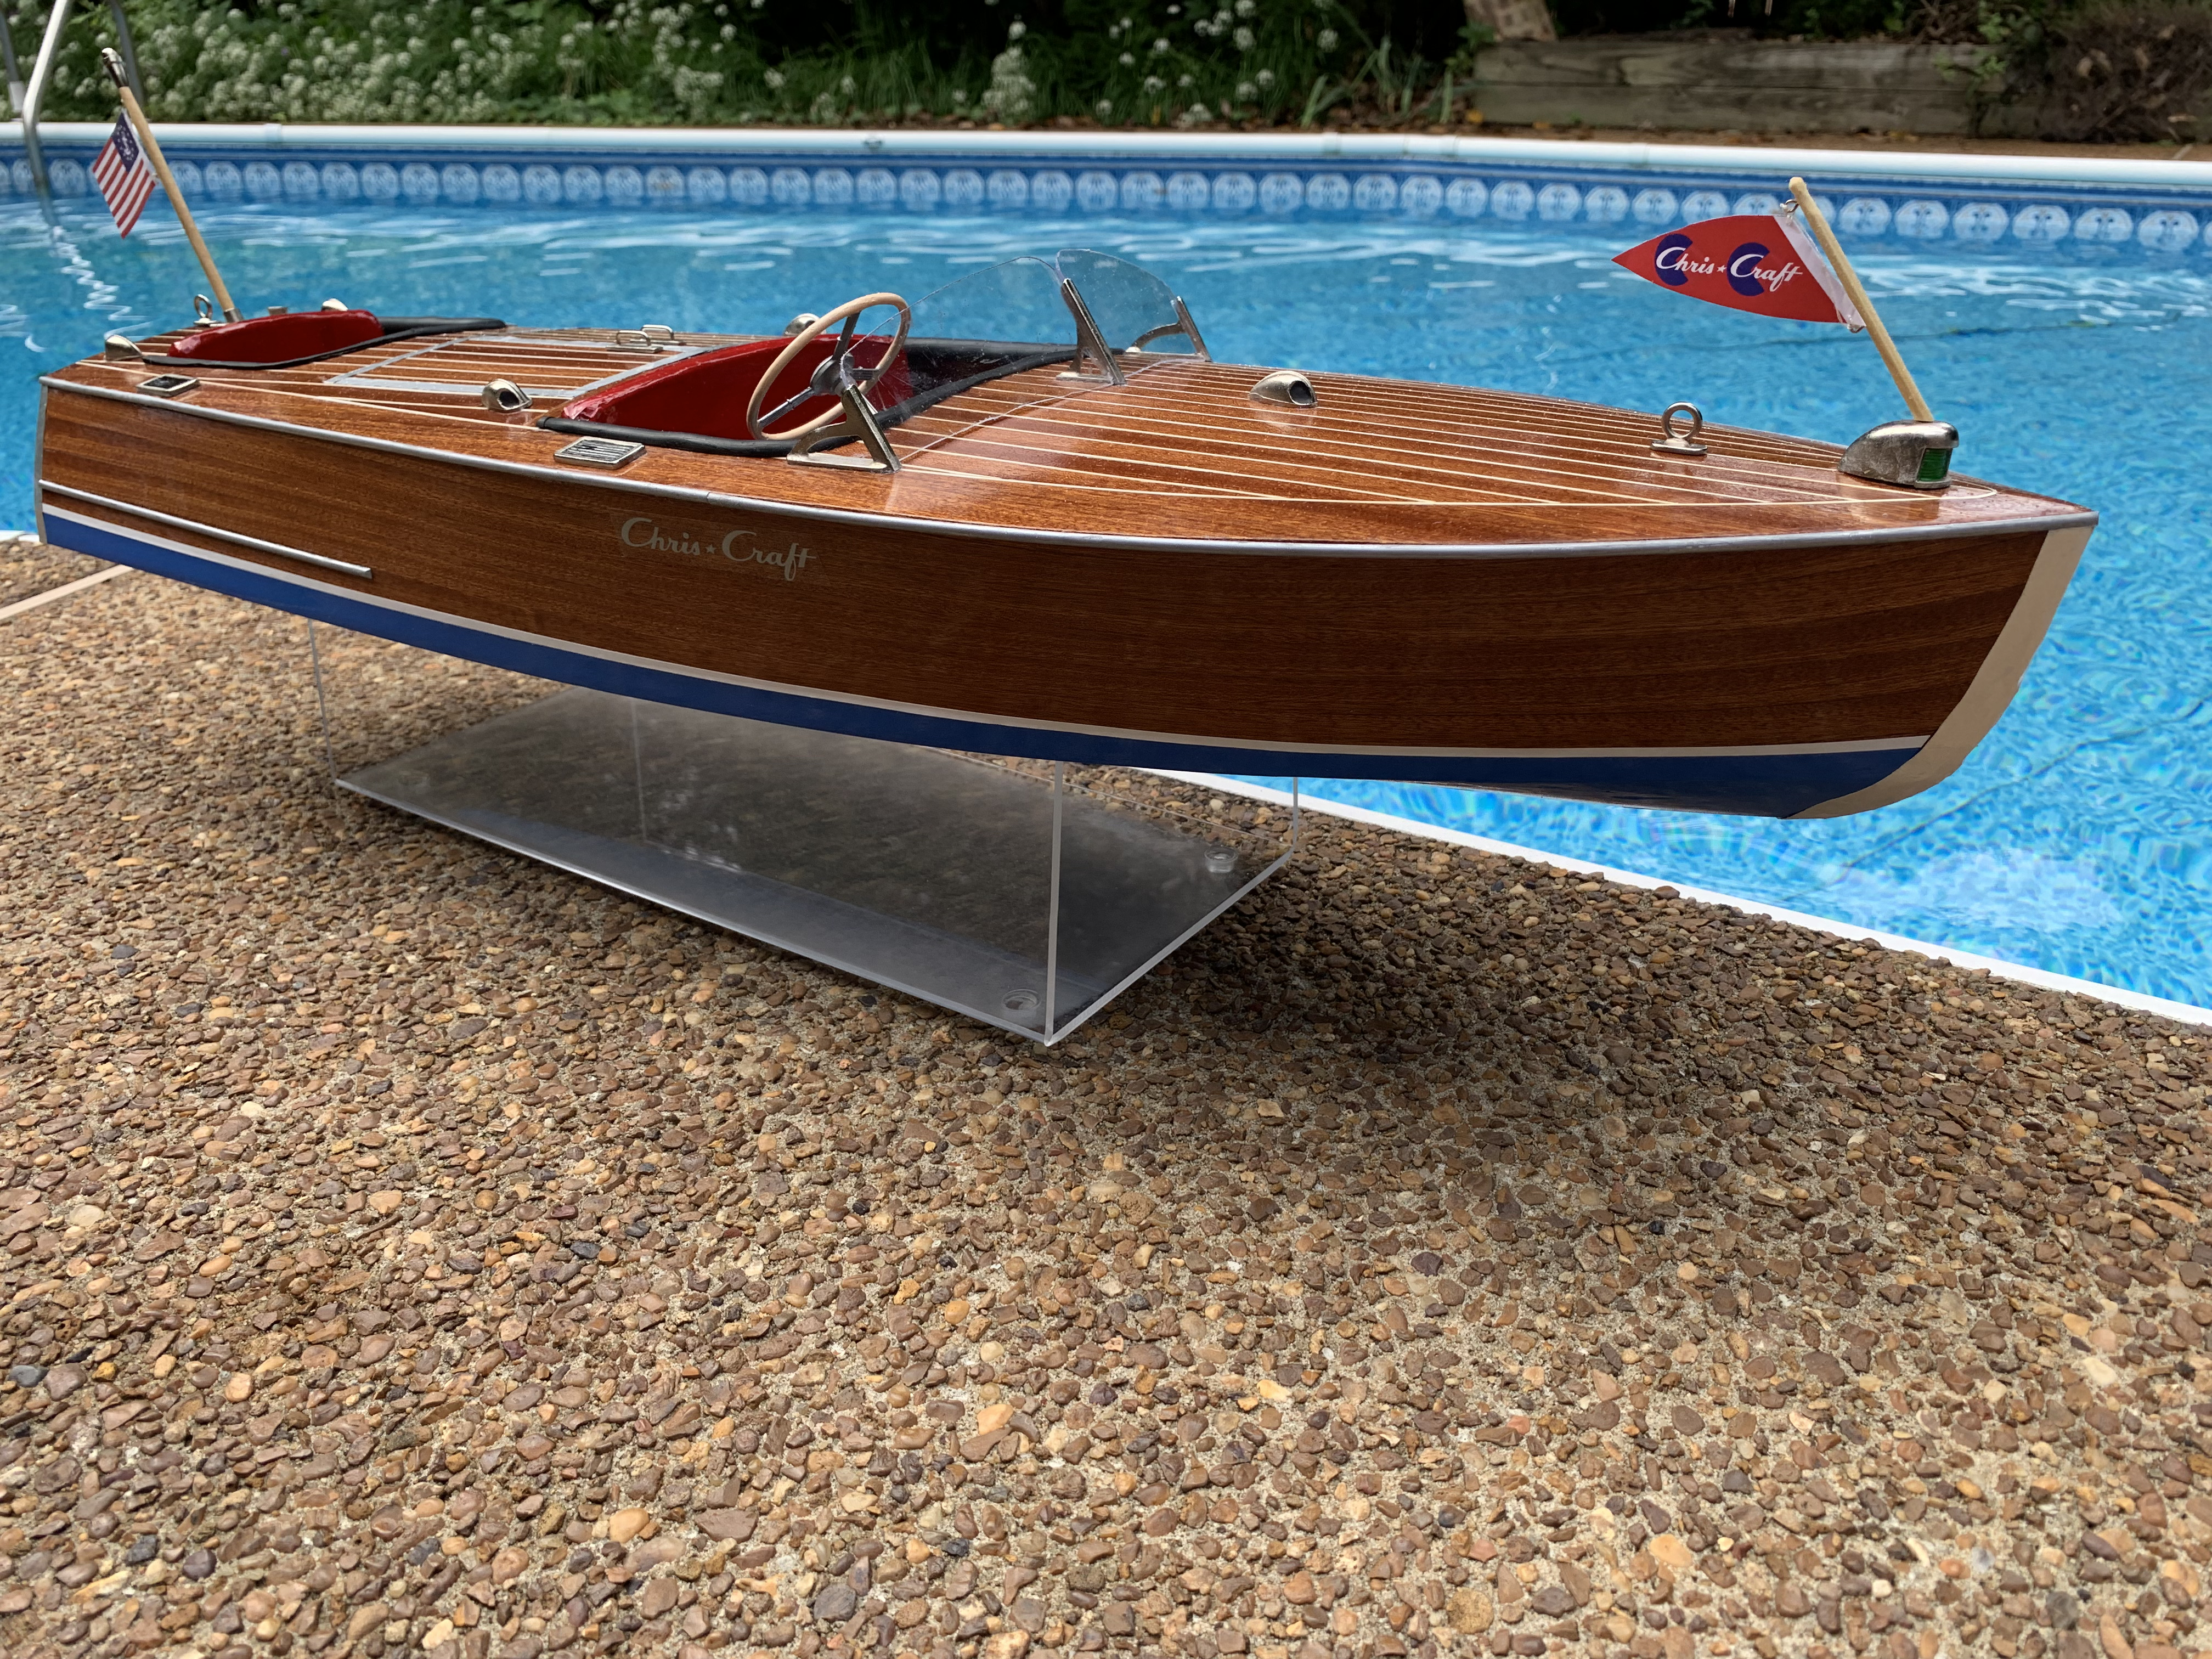
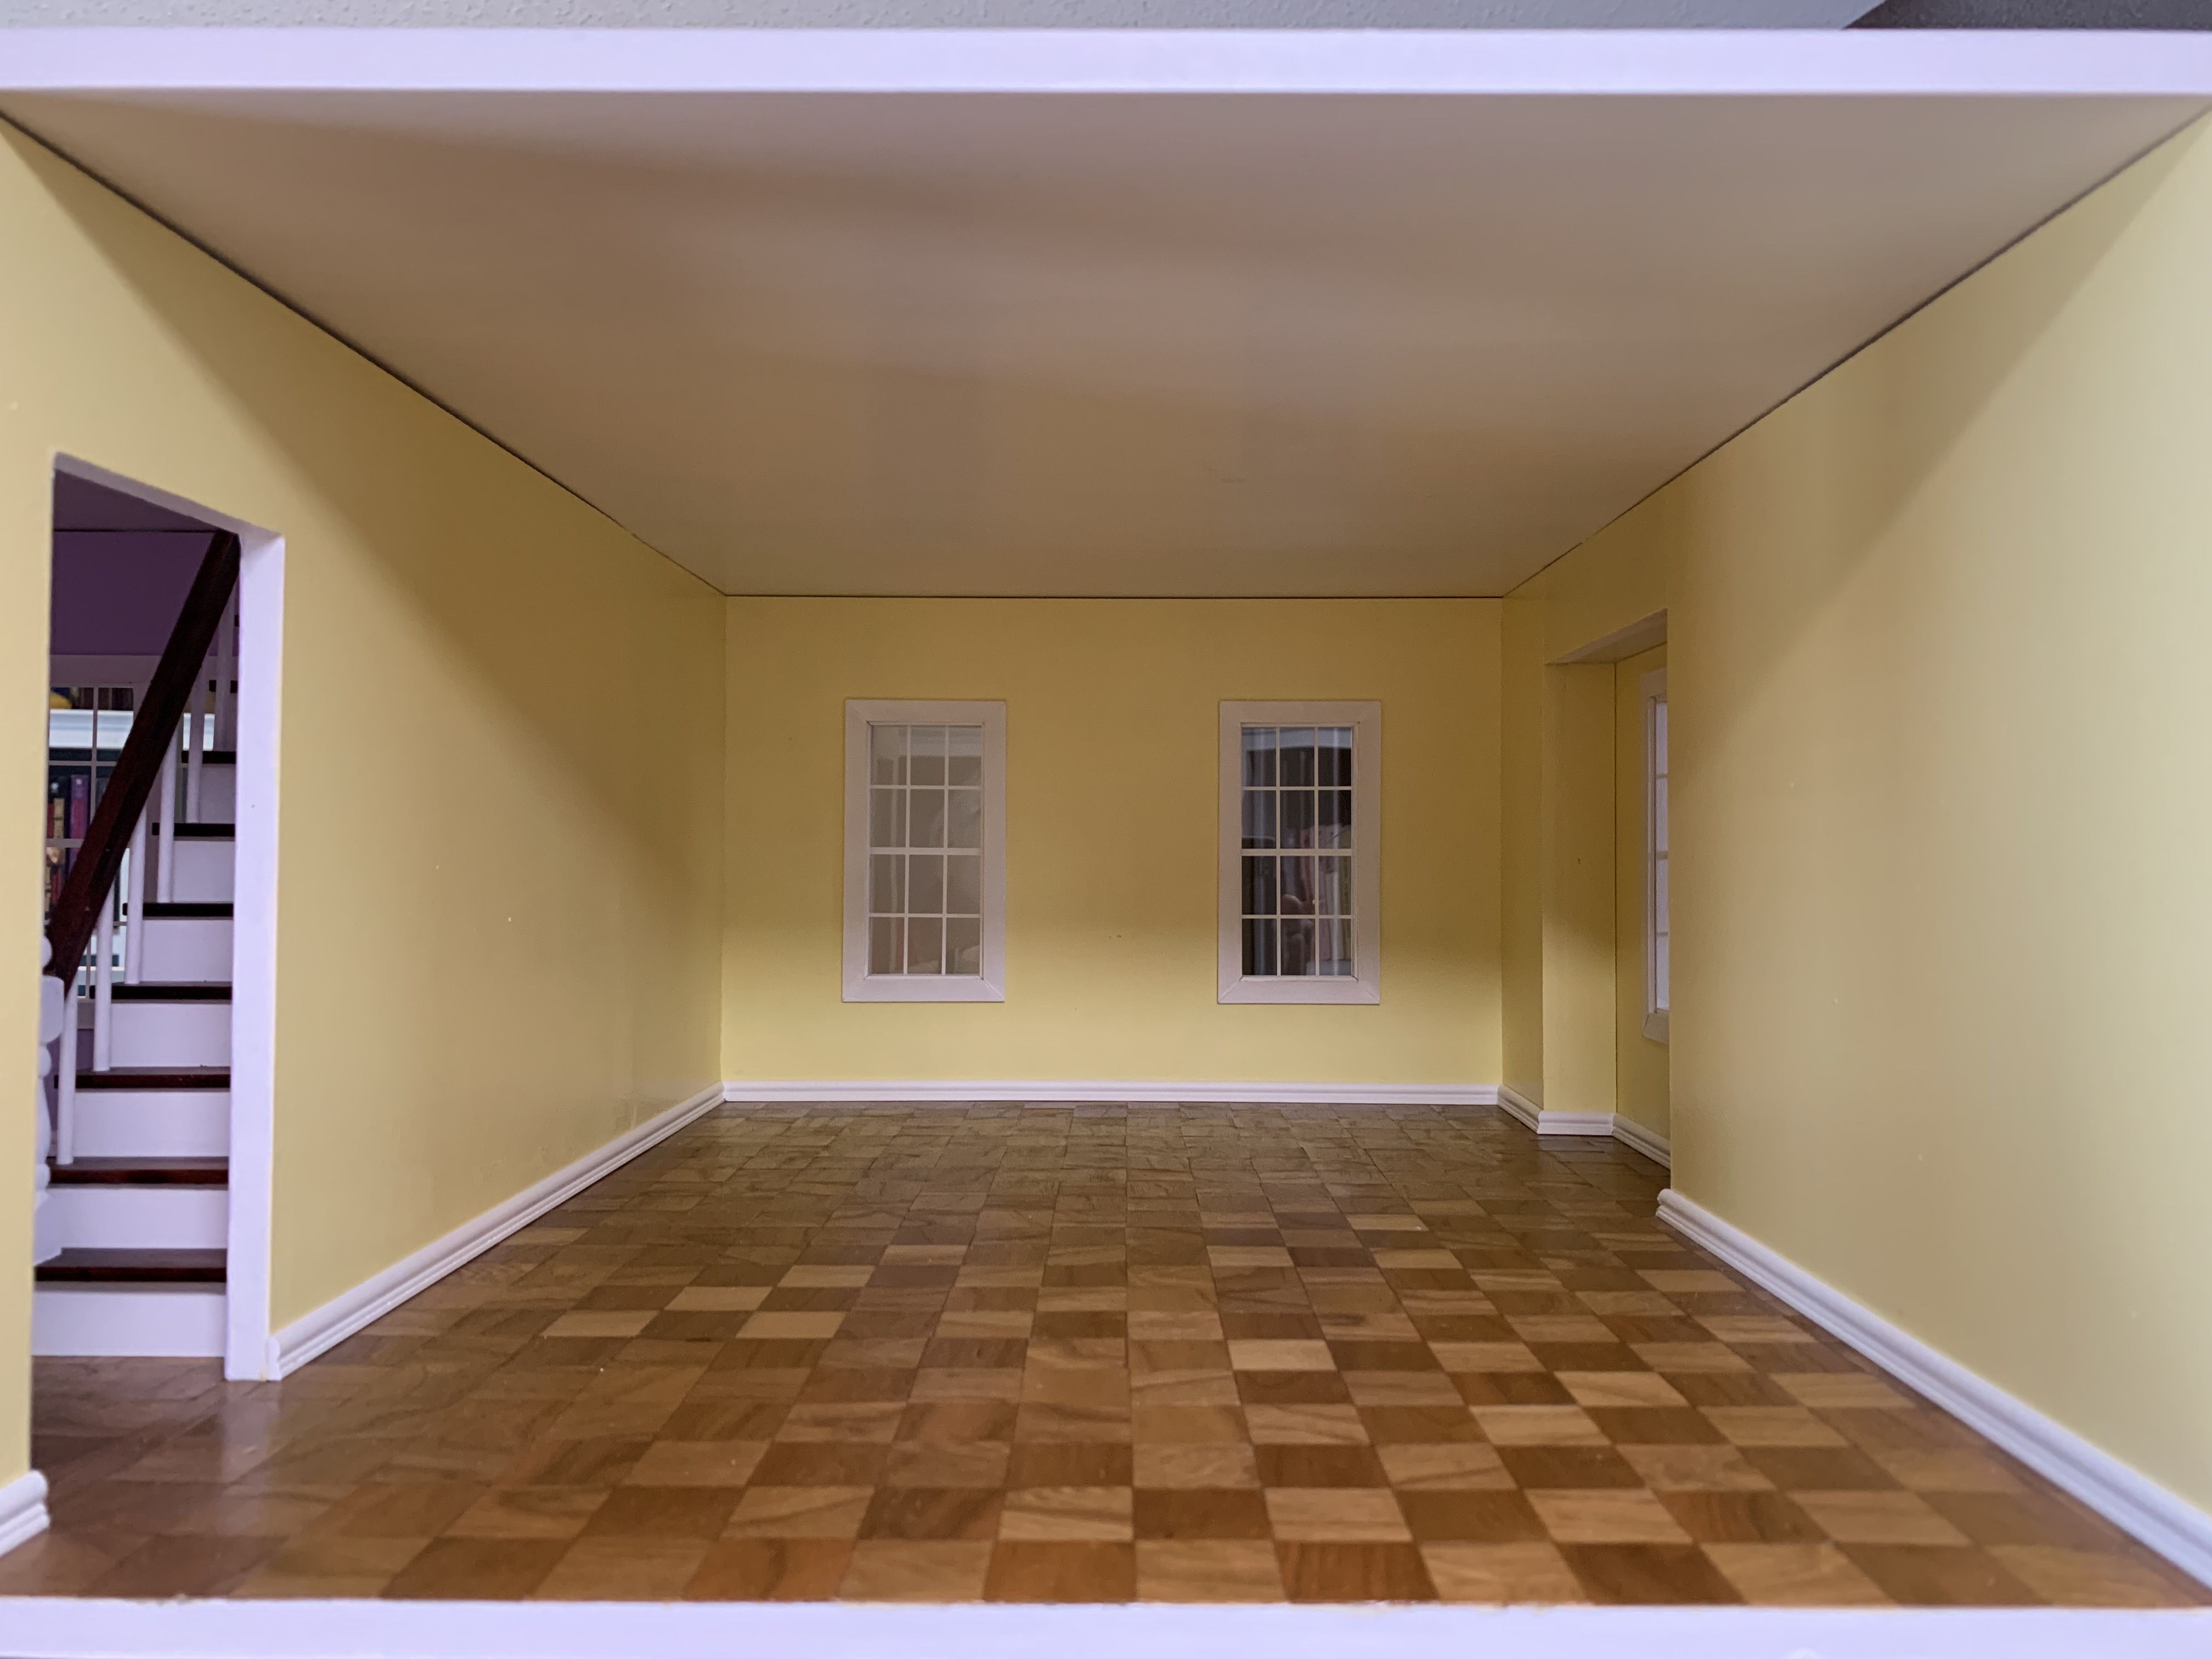
In the doll house my sister and I built for her grandchildren and in the one we built for her which was almost exactly like it, we used three different wood flooring options. In the one for her grandchildren, I used some mahogany strips I had left over from my Chris-Craft boat for the first floor…
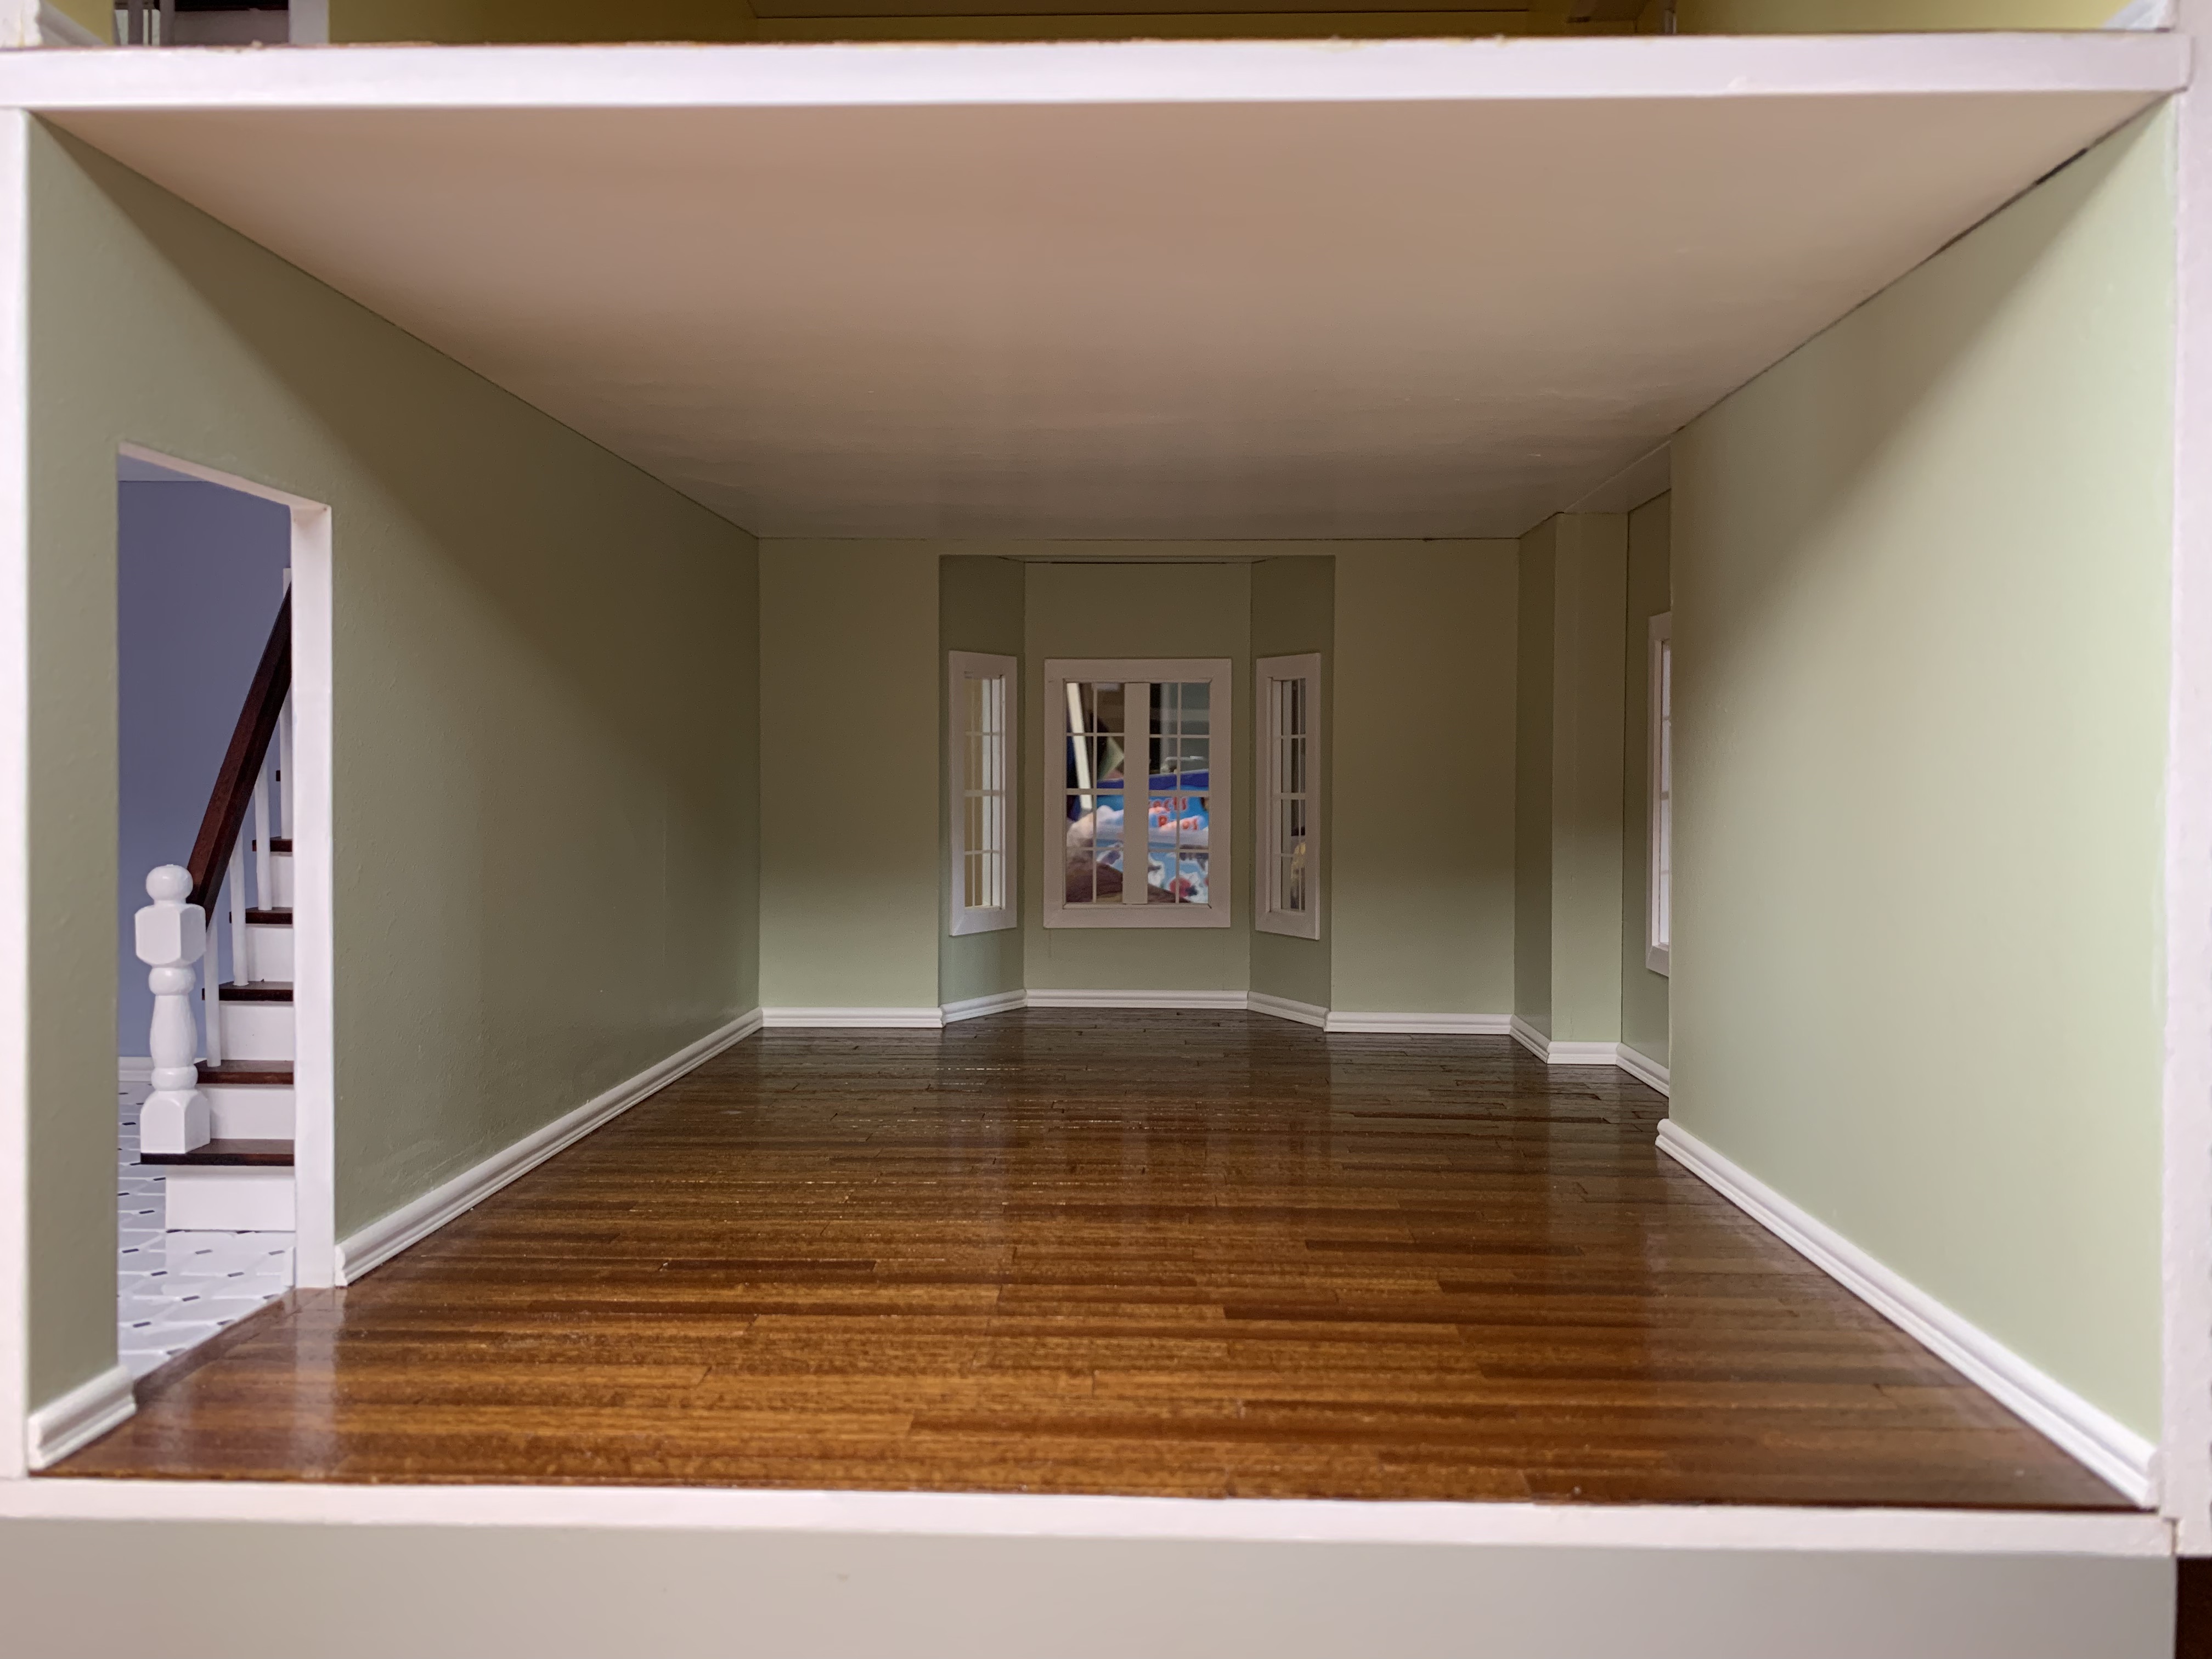
…and some cherry veneer that my sister cut into squares for the second floor.
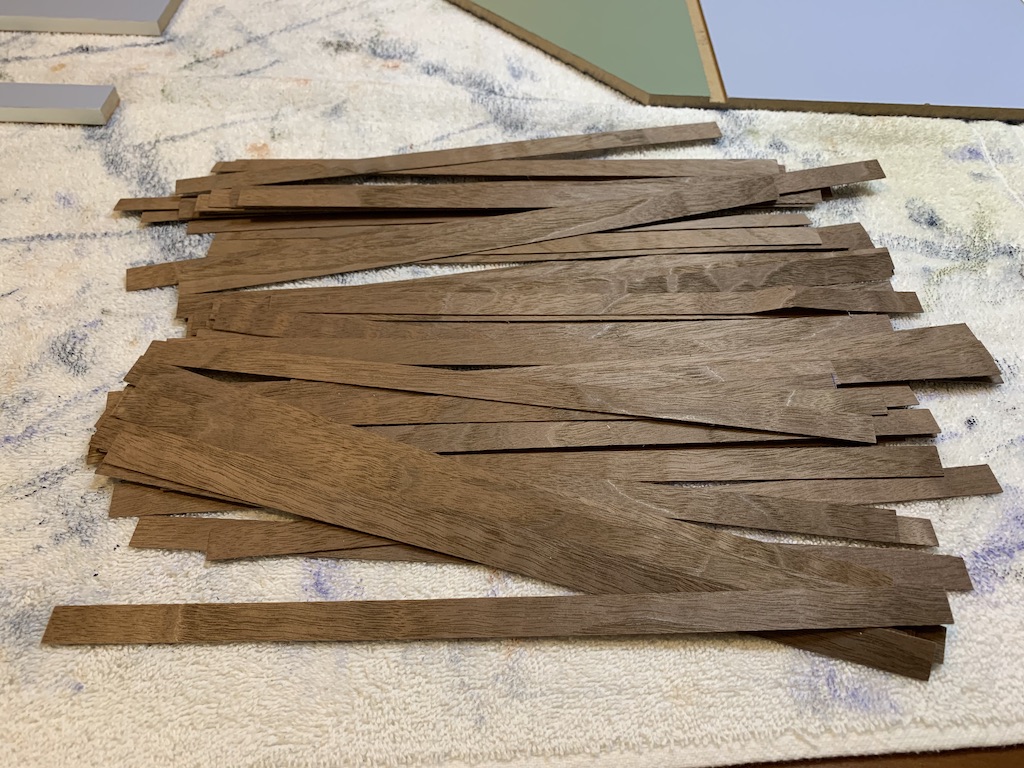
In the doll house we built for her, we used walnut veneer that she cut into ½ inch strips that I subsequently cut into individual planks of varying length.
 It was this latter flooring that she and I both liked the best and so I chose this for my flooring. I purchased the veneer sheets and had them shipped directly to my sister. She then, once again cut them into ½ inch strips using her Cricut.
But unlike those two doll houses that had unfinished floors necessitating installing some kind of flooring, my doll house came with pre-finished floors.

To accommodate my modified flooring option, there were several steps that I needed to do.
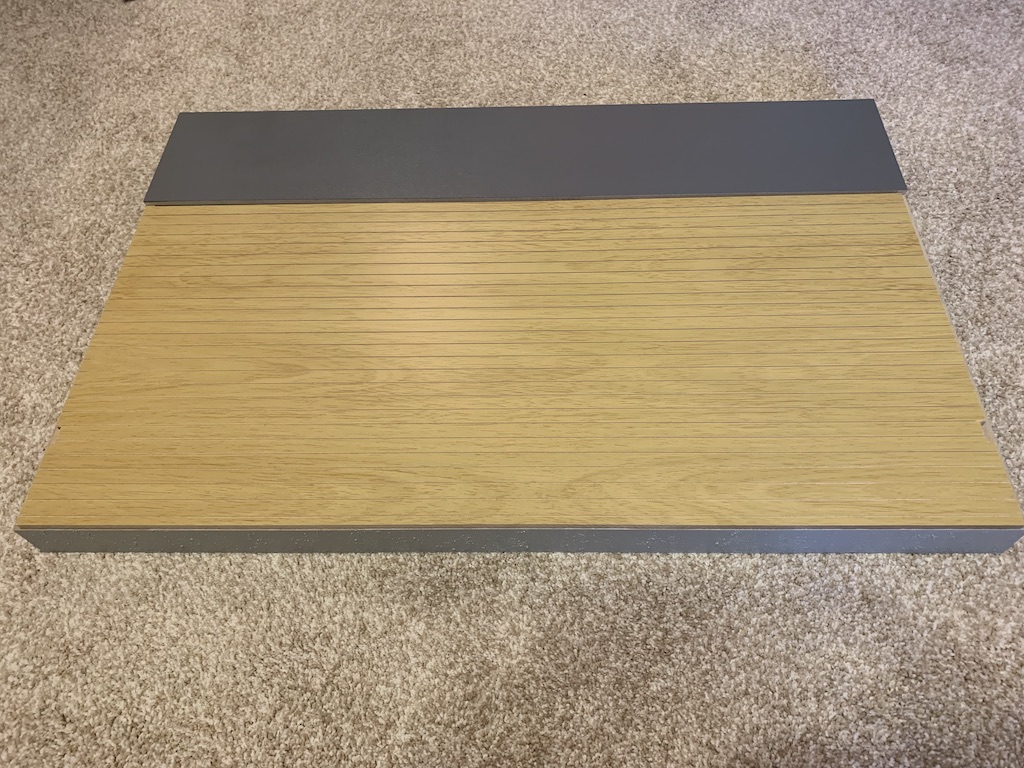
For the first floor, I knew it would be easy as all I had to do was flip the floor upside down and use the unfinished bottom (the pre-finished floor thus facing down inside the foundation).
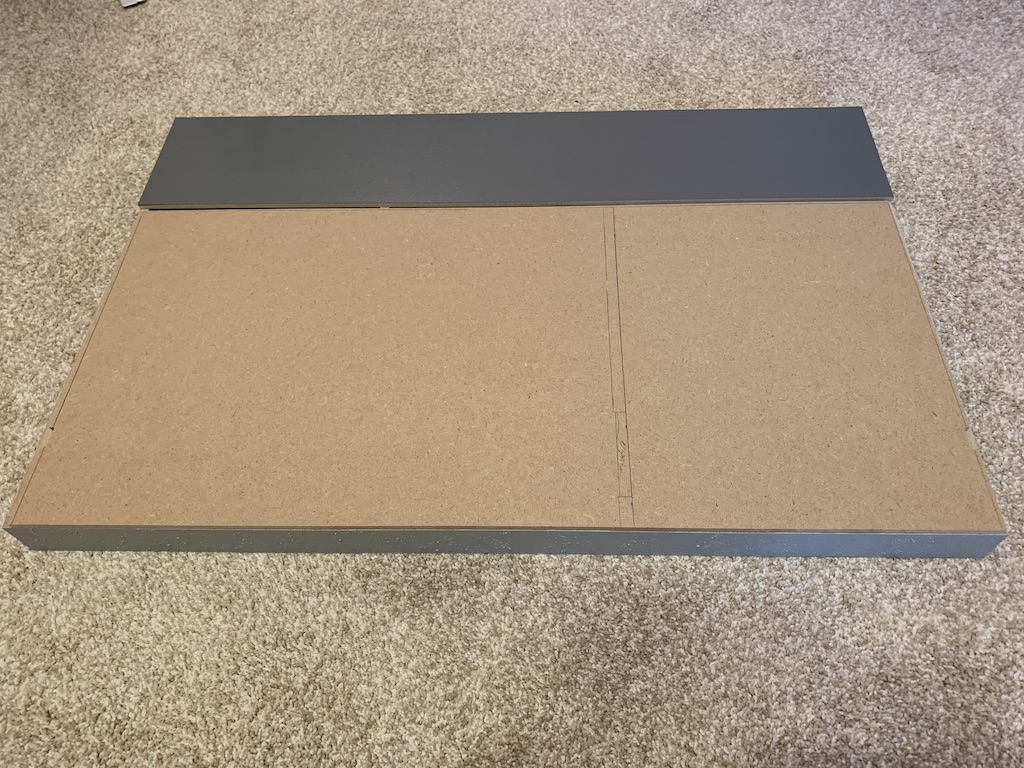
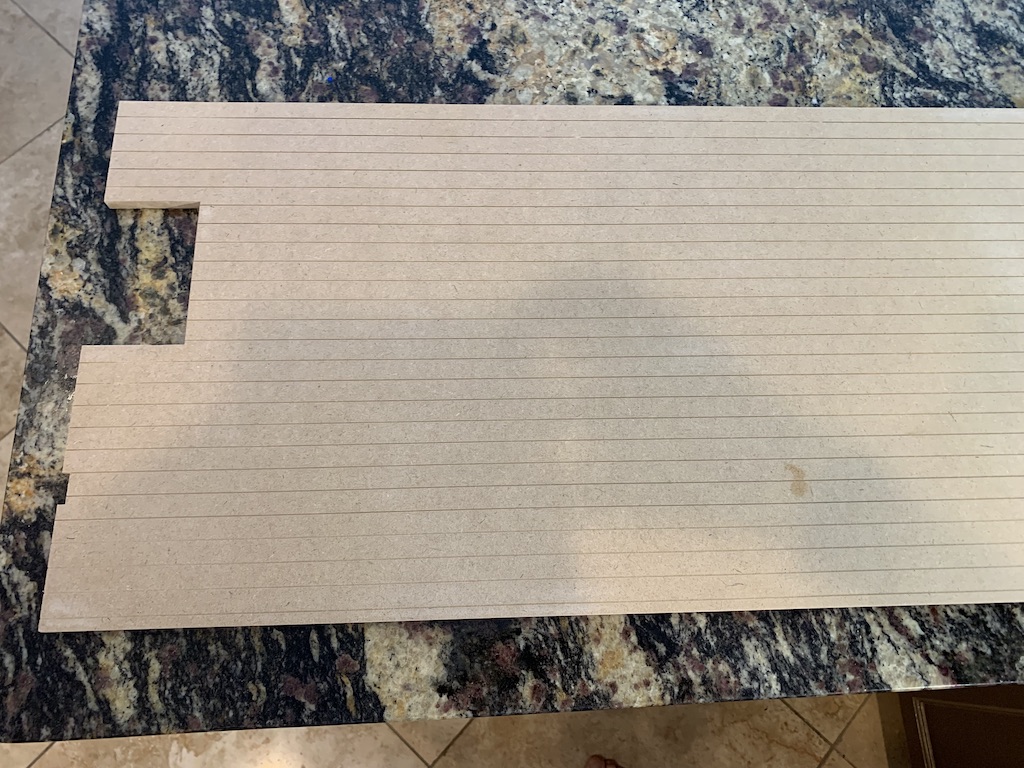
For the second floor, it was a bit more challenging since I could not just use the floor upside down as the cutout for the stair opening would be at the wrong end of the house. Plus, the lengthwise cuts that created the individual planks in the faux wood finish left a ridge along each cut that I would need to sand down so as not to have peaks and valleys in the floor. I used my electric palm sander and with very little effort, it not only sanded down the ridges, but it also completely removed the paper faux wood finish yielding a perfectly flat unfinished surface for my custom flooring.
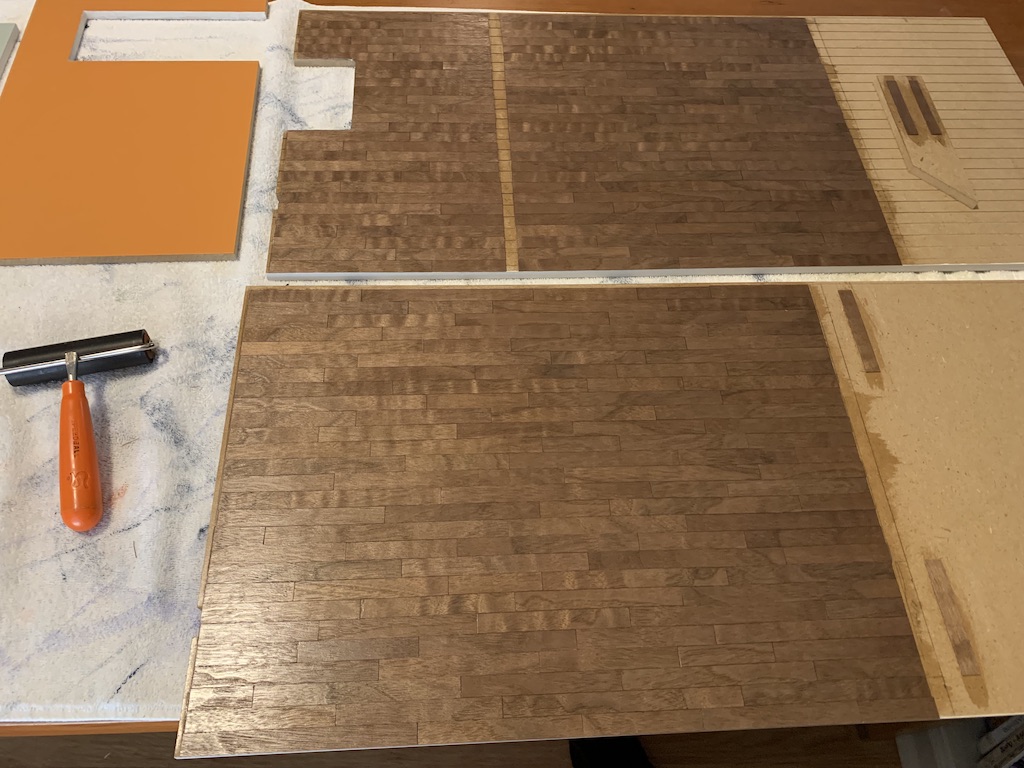
With both floors now ready for my alternative flooring, I employed the same technique as before. I first laid down strips of two-sided carpet tape, followed by applying individual strips of the ½ inch walnut veneer that I had cut into various lengths from 2” to 6” to give a random pattern with offset joints. The final step was to run over them with the Brayer roller to ensure the strips were perfectly flat and secured to the tape.
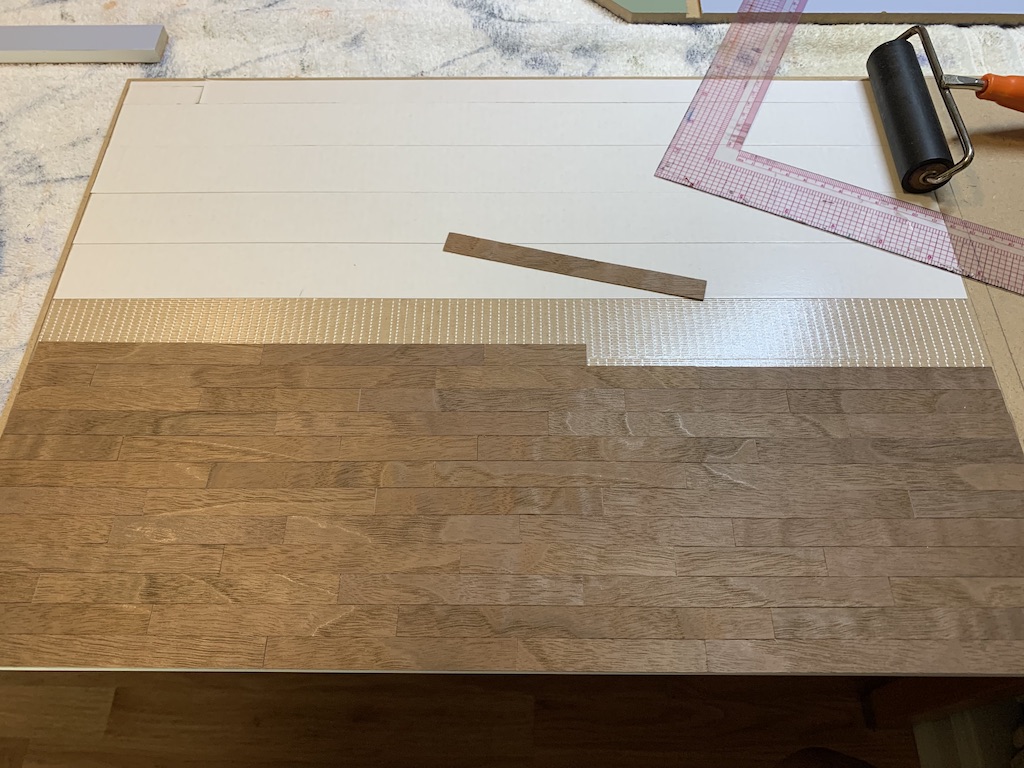
Once I had used the same technique on the second floor, they were both ready for sanding smooth and applying polyurethane.

On a nice warm fall day in October, I took the floors outside, sanded them first with 400-grit sandpaper followed by 800-grit sandpaper, carefully removed the sawdust, and then applied two coats of polyurethane (those little strips of wood to the right are door thresholds).
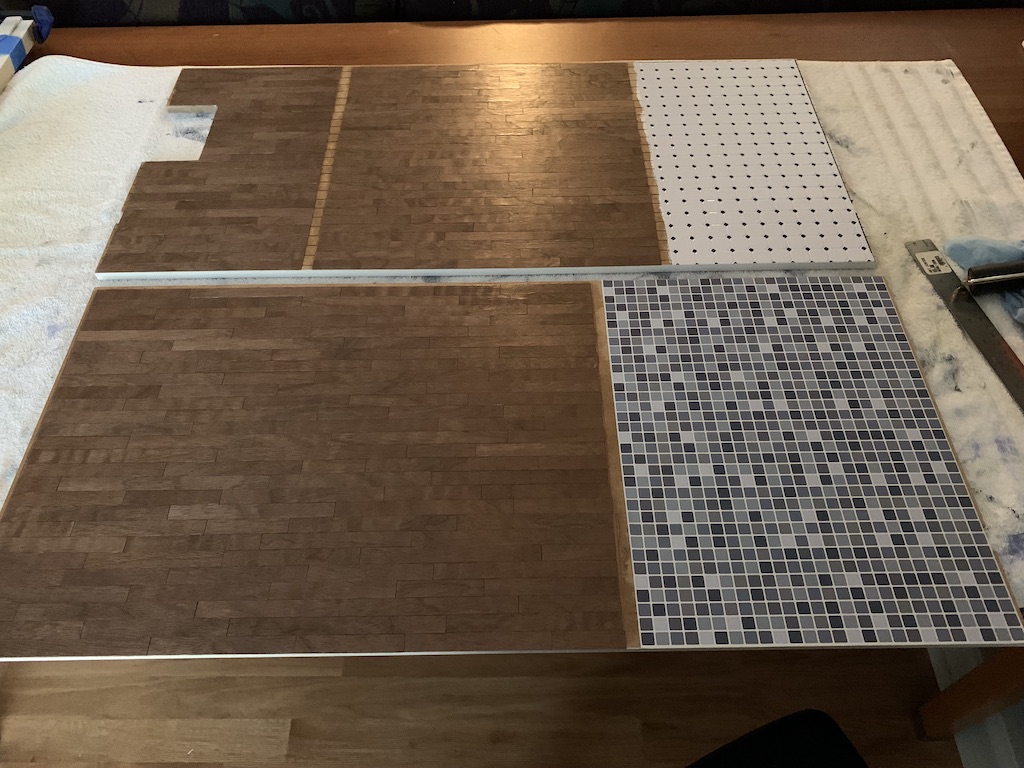
With these custom floors finished, I could then install the kitchen and bathroom flooring.
I chose to use the same flooring that we had used in my sister’s house, just reversing them using the black and white faux tile floor for the second-floor bathroom and the multi-colored tile in the first-floor kitchen.
After one final step of painting the bottom of the second floor white since it was the ceiling for the first floor, I was ready in earnest to start the assembly of the doll house.
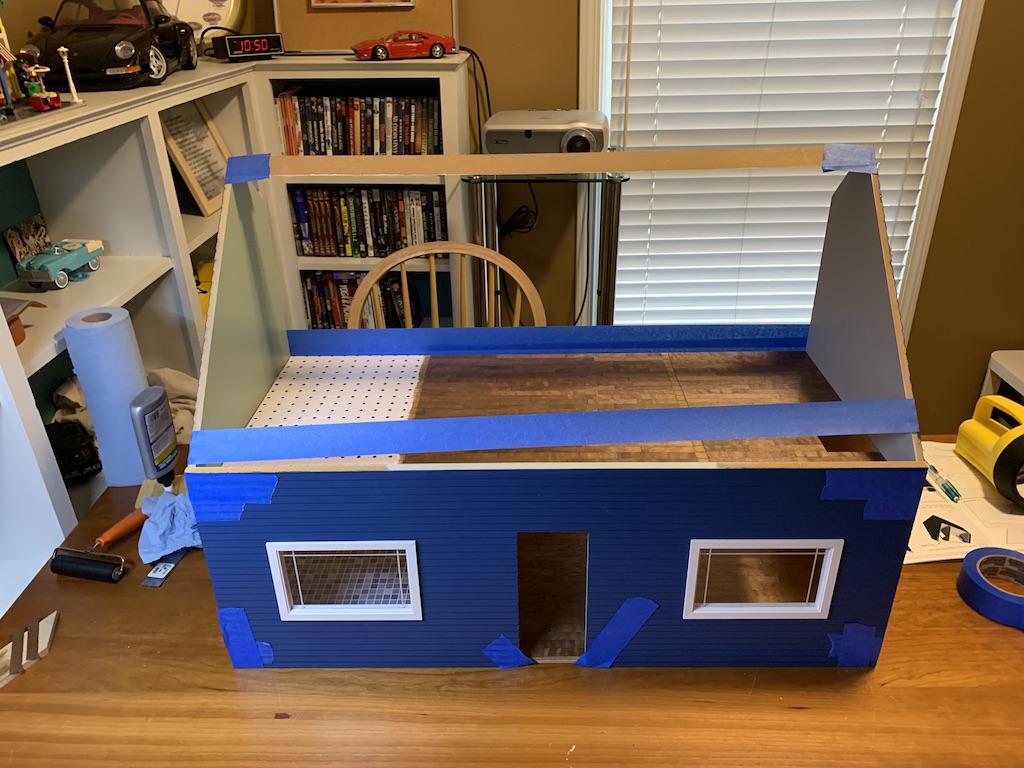
After months of painting, sanding, painting, building subassemblies, and then installing all of the floors, it was nice to see the house really begin to take shape.
Once the doll house was completely dry, I could then begin to build the porch using the railings and post bases I had previously painted and assembled.

But before I added the porch columns and the porch roof, I needed to do something about the door.
The door that came with the house was not really a Craftsman Style exterior door. While it had looked nice on my oldest sister’s Beach Bungalow doll house…

… it really did not fit with the Craftsman Style of this doll house. My sister the artist correctly pointed this out to me and encouraged me to use a different door. We searched online but could not find a suitable alternative. Then she said, “you know you could build your own door.”
Woah, I had not thought of that. I pondered her suggestion for a while and then decided she was right. I searched online, this time for a full-size Craftsman Style door, and after looking at many options, I found one I liked.
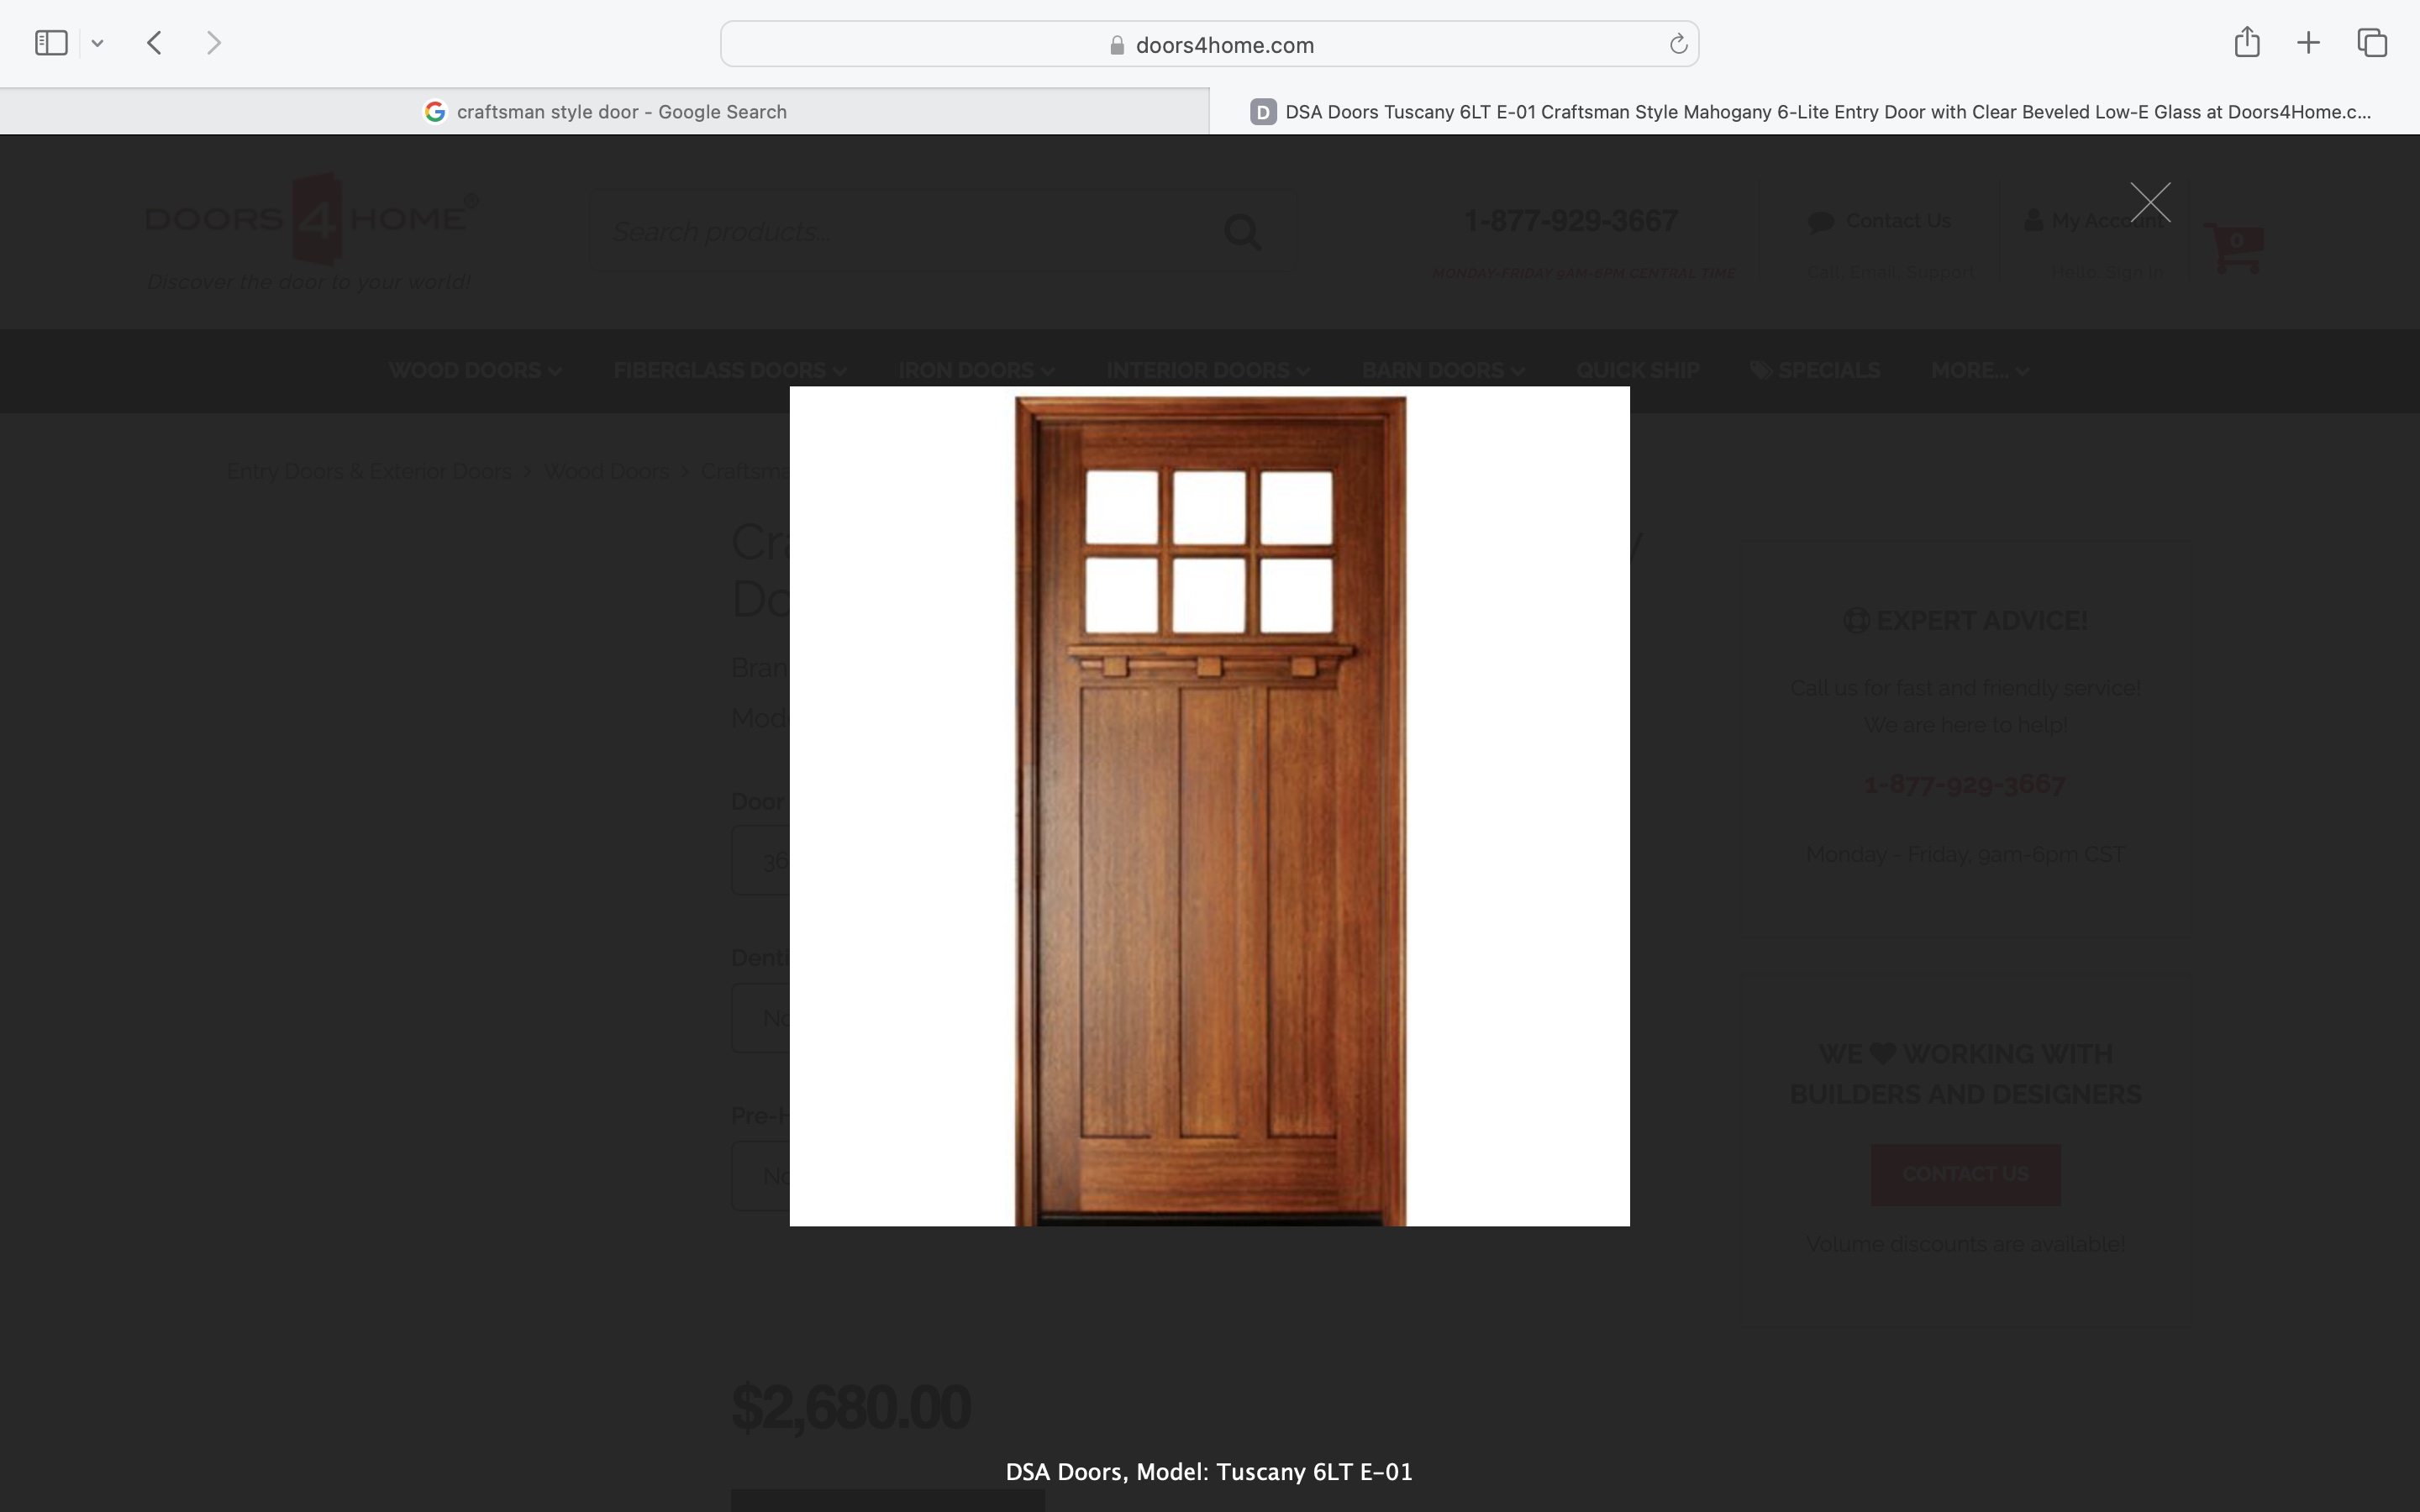
On my computer screen, the door measured three inches tall and so I used proportions to scale this up to my 1/12 scale door. I removed the existing kit door to measure its dimensions as I planned to use the door frame that came with the kit. Searching through all my scrap pieces of basswood (I always save leftover pieces), I found what I thought I needed. But when I started piecing it together, I discovered the door would be too thick. Then I recalled a helpful video I had seen on the doll house manufacturer’s website how you could warm up dried glue with a hairdryer and then pry the pieces apart. I managed to do this successfully without breaking any pieces.
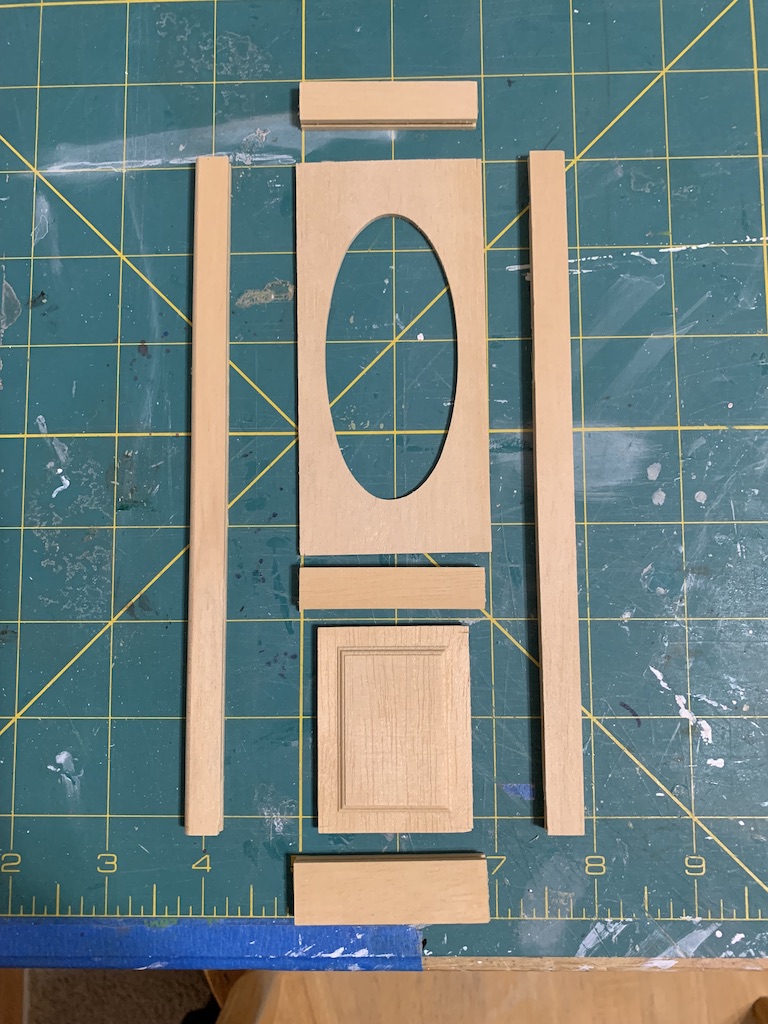
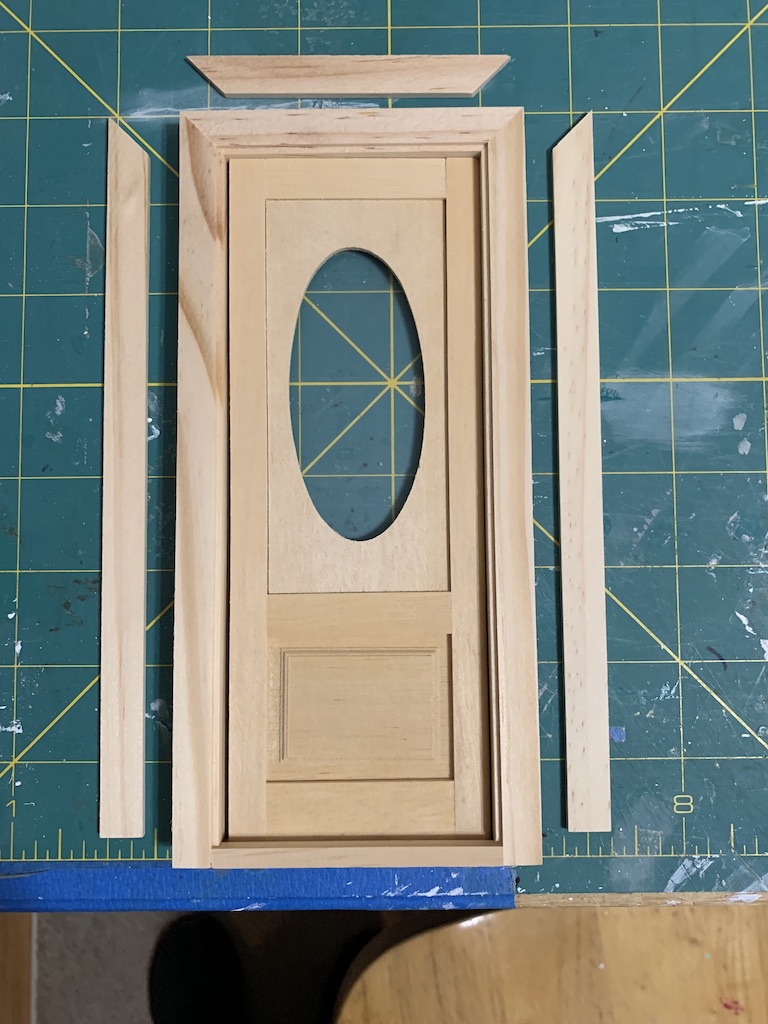
With these parts, I could basically just add the bottom solid piece with vertical strips and create a six-lite window at the top. I had the pieces I needed for that but then I noticed an unsightly gap between the door edge and the door frame of almost an 1/8 of an inch (in full scale, that’s almost a 2-inch gap)! So instead of reusing the horizontal cross pieces, I cut new ones that were just a tad longer.
My sister learned the hard way when assembling some wooden furniture that if you got any glue on the exposed wood surface, it would not accept stain. So, I stained the pieces individually before gluing the door together. I stained them with a Mahogany stain that almost matched the walnut flooring I had installed. Once assembled, I applied polyurethane to give the door a nice semi-gloss finish.

I am so glad my sister suggested I make my own door as this really is a Craftsman Style door. In hindsight with some of the challenges I met when custom building the door (which I did not bore you with the frustrating details), it would have been much easier if I had just lived with the door gap and reused most of the kit door pieces. But being a perfectionist, I couldn’t do that which meant I only reused the two long side pieces of the kit door.
To be continued…
Categories

David, this was an interesting read. Your sister gives great advice, as I’m sure you know, of course. The flooring is beautiful. The door is perfect. As someone who has visited Frank Lloyd Wright houses, I agree – the door with the oval window would have been “way off” in a Craftsman style home. And that gap would have bothered you until the end of your days. After building it, is there something (beside just living with the gap) that could be done, so there wouldn’t be a gap – i.e. a tip that would help for the next time? I look forward to the next post, and I’d love to read about how you furnish it. And, I have to add, based on the feature photo for the post, I thought perhaps the residents of this Craftsman dollhouse were also going to be the owners of a nice boat. 🙂
Thanks, Betty for all your kind words. Yes my sister does give great advice and I much appreciate it. The gap in the original door surprised me as I have not had that problem with other kits from the same manufacturer. Hopefully it was an anomaly.
One more post will finish the house and then you will get your desire as there will be a number of posts on furnishing it.
Hope you have a nice day!
Thanks, David! Have a nice day, too.
David, it is so much fun reliving all the adventures we are having with these doll houses. Who knew these two kids who never got along could grow up and be play buddies?! Growing older has had a few surprises for us, hasn’t it? BTW…the house is so very beautiful and you are such a fine craftsman! (Get it?)
Thanks, Mare! I am really enjoying all of our “miniature play time” together and so glad we discovered this passion.
So cool how you did the floors! And very neat that Mare can cut the boards for you. I imagine that would be super tedious otherwise. Love the Craftsman door!
Thanks I do love the floors and couldn’t have done them without Mare’s help. And I wouldn’t have thought to make my own door if she hadn’t suggested it.
Fun post, bro! Love the floors, the door, and the attention to detail. Also nice to have an artistic genius sister in the family. I bet if you posted those first two interior shots of the grandkids’ dollhouse, you would have offers to buy pouring in…as if it were a real house! Glad ya’ll are having such fun with the miniatures. Thanks for the story. Looking forward to our next BroGo and/or SibSab. Cheers!
Thanks Bro, yes it’s great to have such an artistic sister. She has provided great advice and made it a better miniature home.