
Miniature Bookshelf Restaurant
My daughter was in town in May to help me celebrate my birthday and over dinner, she presented me with another bookshelf kit similar to the ones she had previously given me.
At the time I was working on building some furnishings for my doll house, so it wasn’t until the third week of June before I was ready to start the building process.
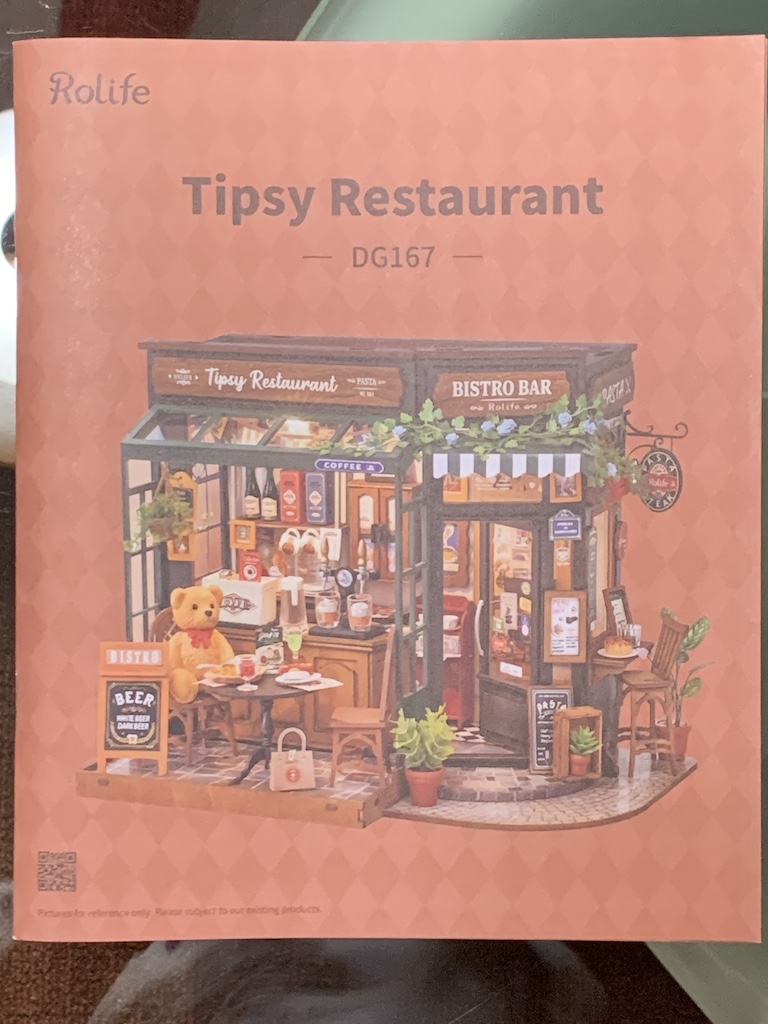
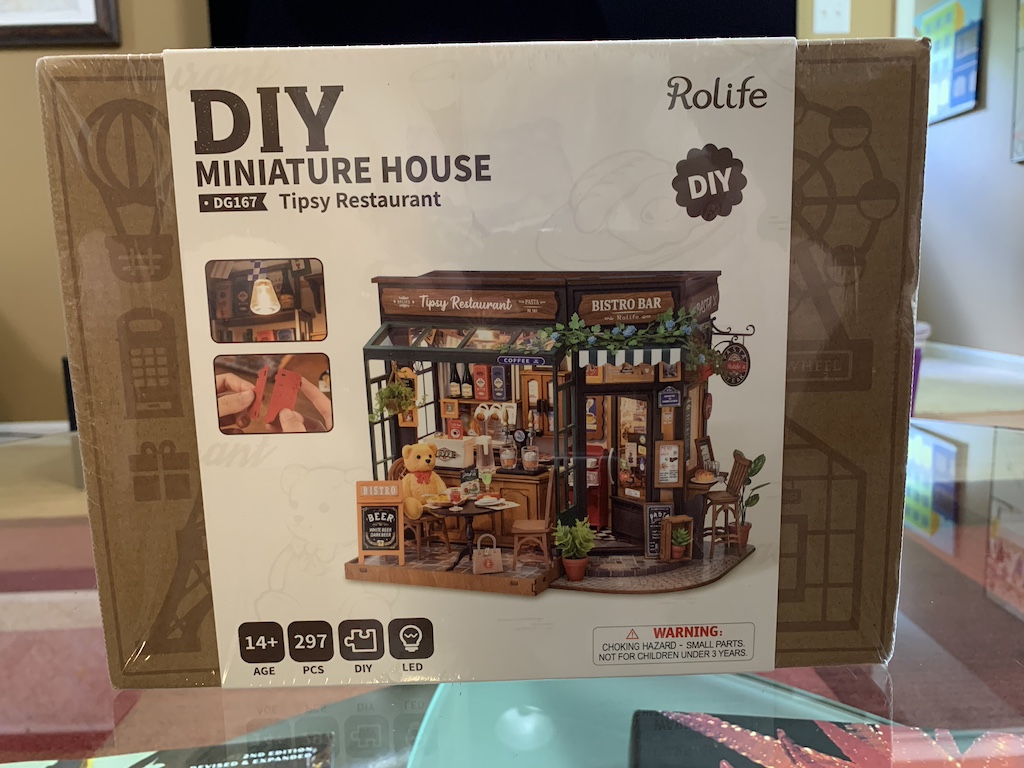
When I opened the box and lifted out the instruction manual, I got a closer look at the interesting “Tipsy Restaurant” that I would be building.

As I removed bags from the box, I was pleased to discover several things. First, unlike the previous kit, there was only a small amount of wire (thankfully). Second, I was very pleased to see that the LED light was already attached to the tiny wires, no doubt in response to numerous complaints about how challenging it was to securely attach the light leads to the thin wires. Third, I saw that many of the patterned flooring was already attached to the wooden structures obviating the need to cut these out and glue them down. Fourth, the paper patterns that were needed were already die-cut making them a breeze to remove. Fifth, it included no paint. And finally, it included no glue but rather small pre-cut double sided tape strips.
Feeling more confident about how much easier this kit would be to assemble, I immediately started the building process and in no time, I had a number of fixtures made.
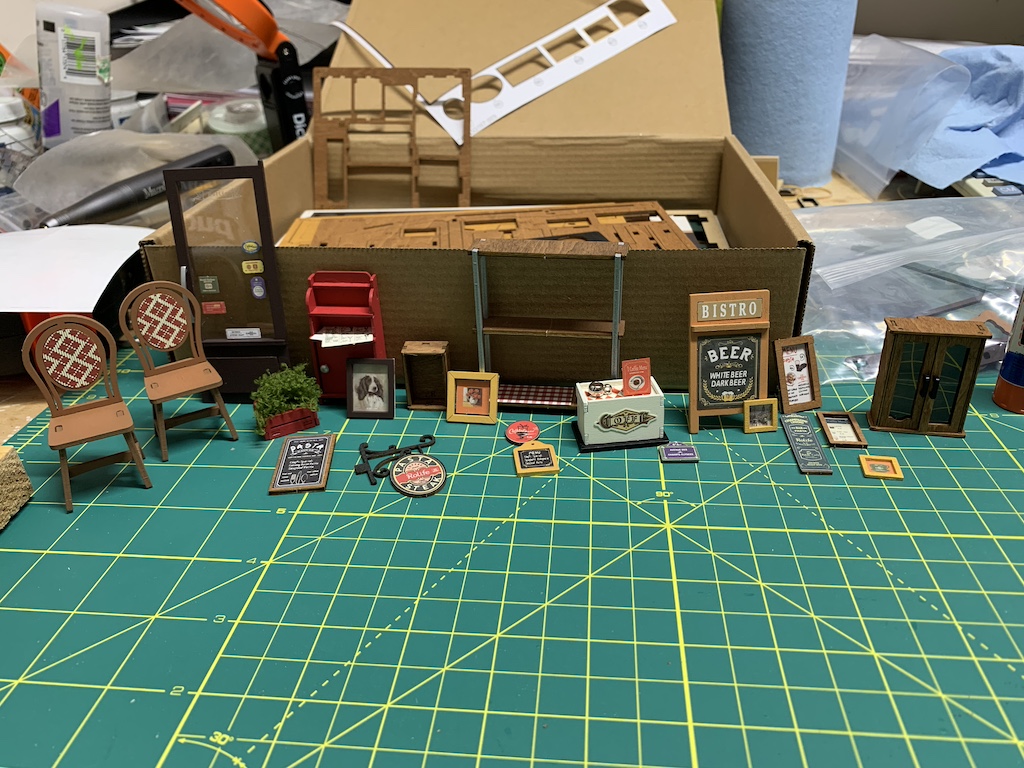
As I worked, I was pleased to find that many of the furnishings (chairs, cabinets, etc.) were so well engineered, they simply snapped together tightly without the need for any glue. I did find using the double-sided tape a bit challenging at first and so rather than using them to attach the different signs to their wooden support, I used a glue stick which made the process much easier. I was actually surprised how quickly everything came together, certainly aided by how easy it was to remove the die-cut artwork.
After building a few more fixtures…

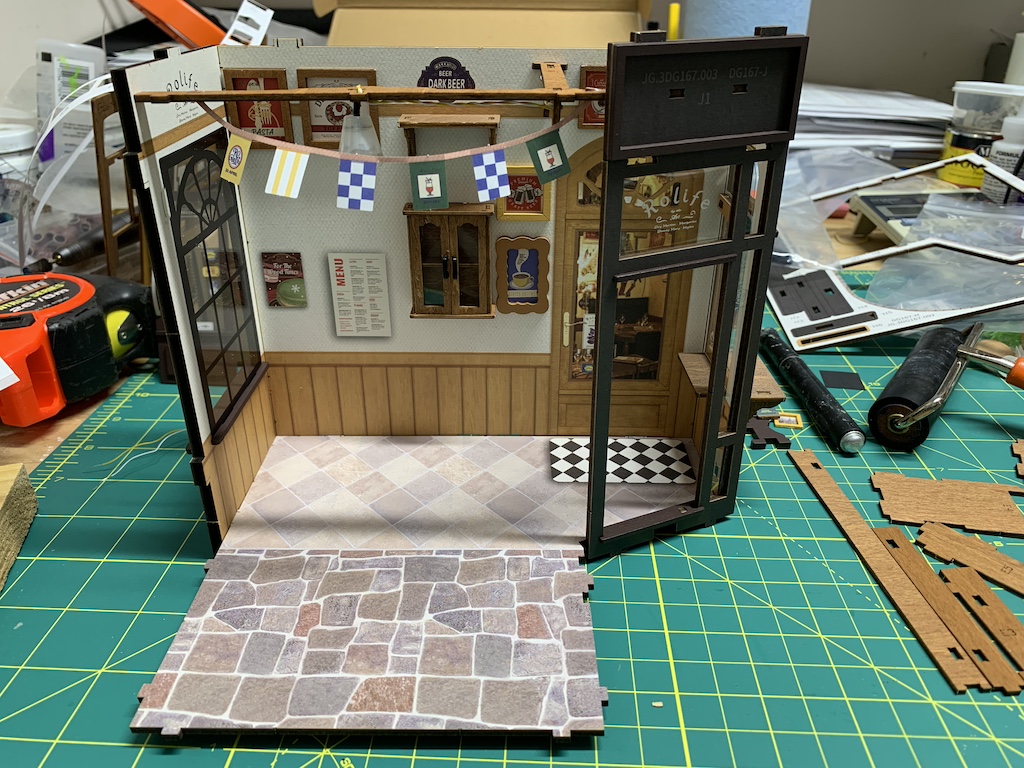
… I was soon ready to start building some of the walls which also went quickly as the printed patterns were already affixed to the wooden walls.

And then I was ready for the next step—the light fixture.
If you have read my previous posts about these bookshelf kits, getting a working light has been my greatest nemesis and in the first kit, I totally left it out. But in this kit as I mentioned, the light came pre-attached to the tiny wires. But knowing the problems I have had, I wanted to make sure it worked before I spent time assembling the light fixture. I installed batteries into the battery box and twisted the wires together. Flipping the switch, I was most pleased to see that the light shone brightly. Now I could assemble the light fixture with confidence.
I was surprised that the very next step was to assemble the previously completed walls together making three of the four restaurant walls.
Continuing with those intermediate steps, I finished out the restaurant’s interior and exterior.
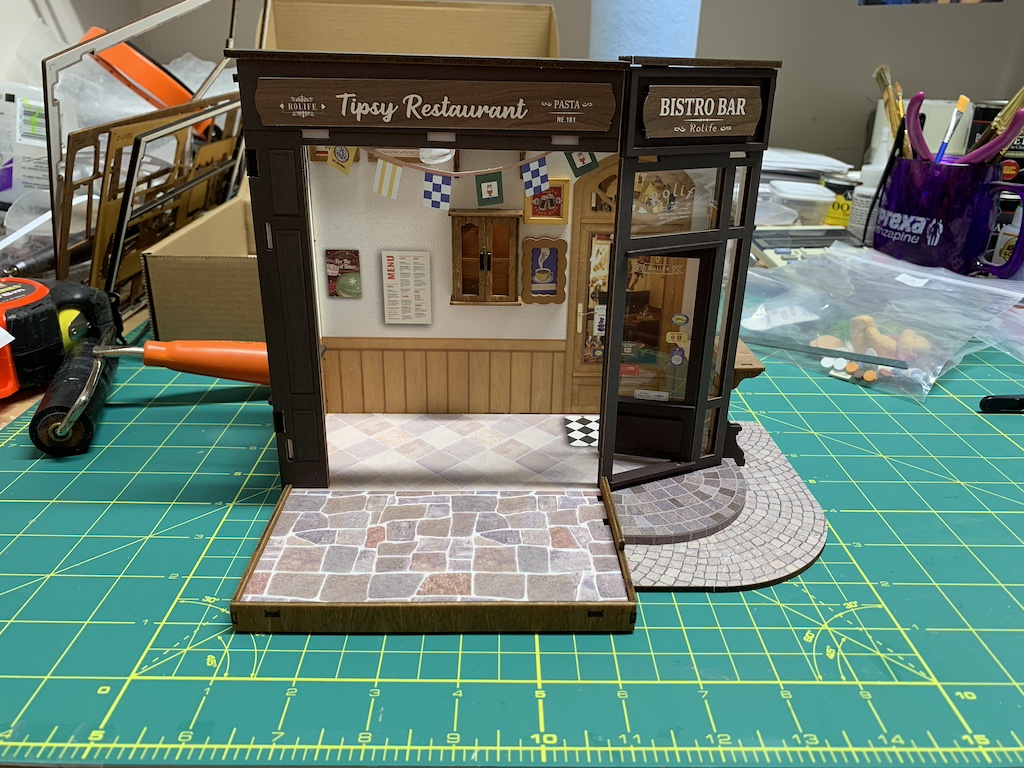
These steps also included wiring together the battery pack for the light which worked nicely.

This was by far the easiest process to get a working light of the four bookshelf kits I have built so far.
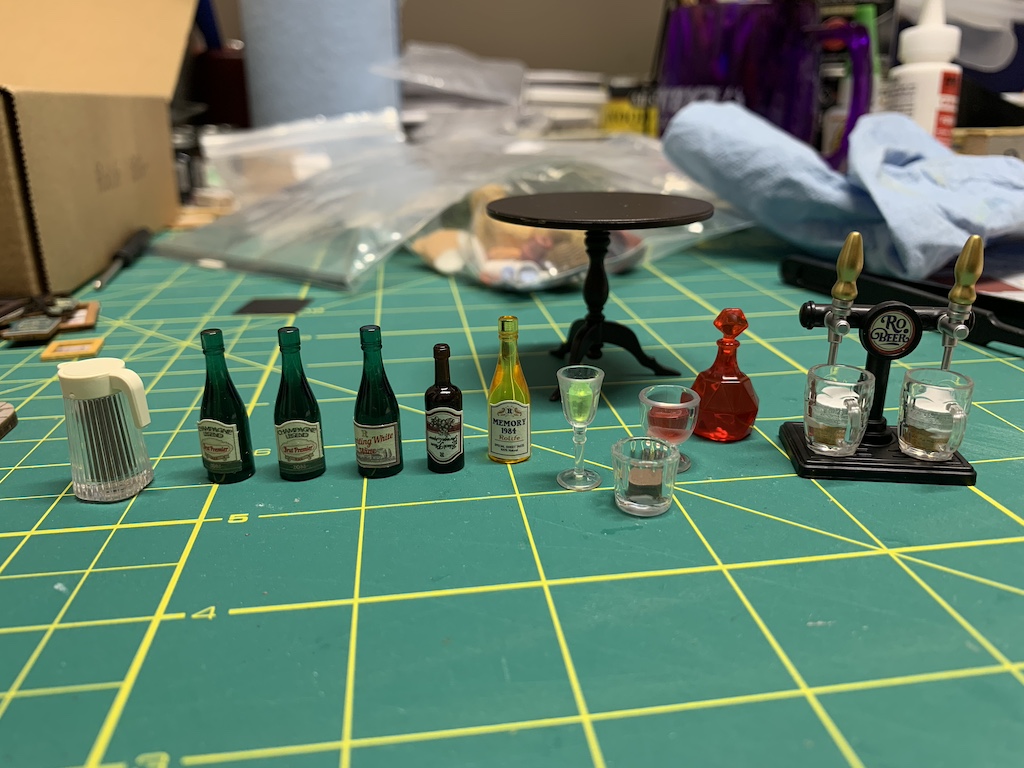
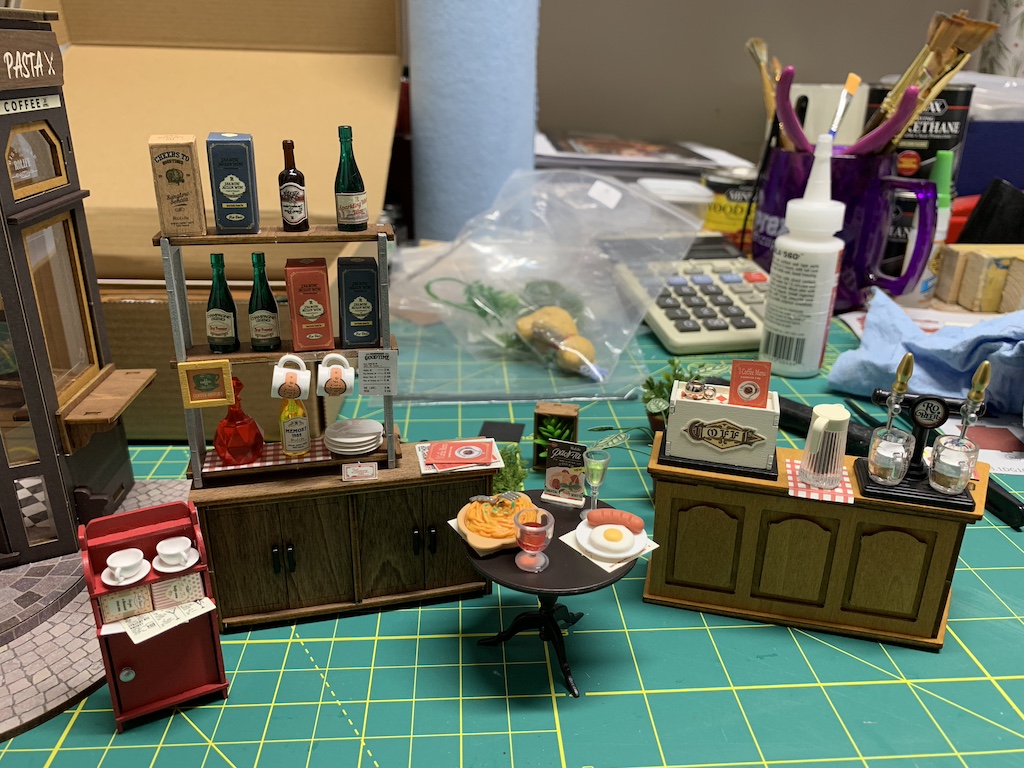
Now I was ready to add all of the previously assembled furnishings as well as building some more restaurant fixtures.
But first, I needed to assemble some bar appropriate items including a beer tap with frothy poured beer mugs.
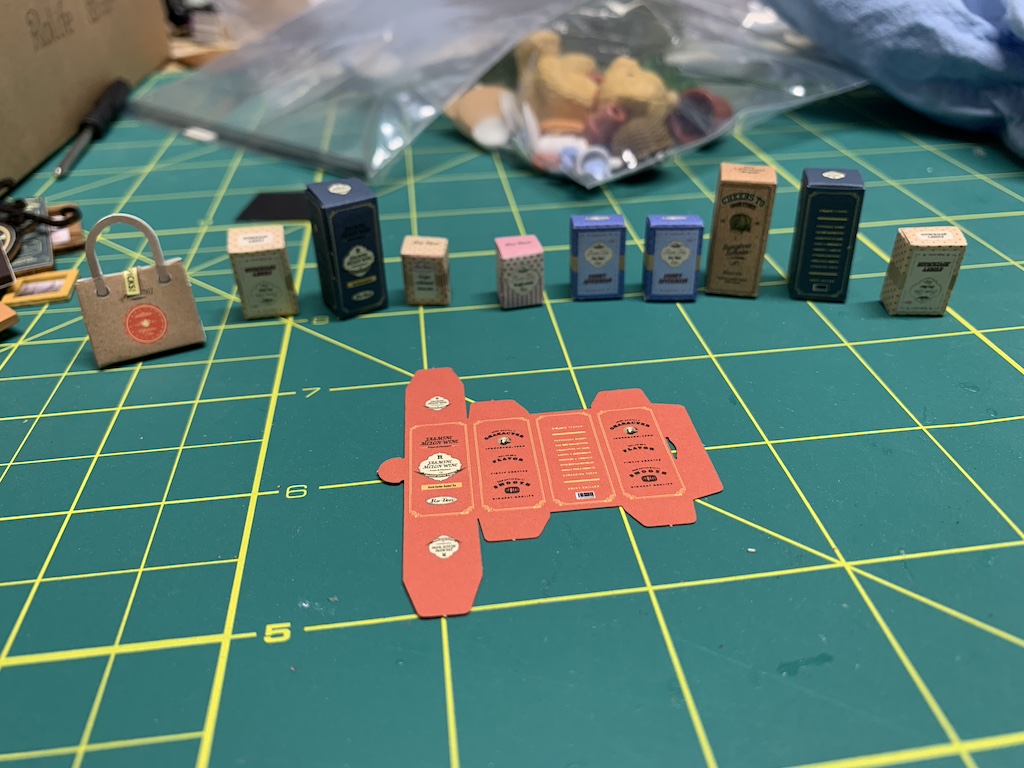
When I went to make the little cardstock boxes, I was pleased with how simple they were. Being pre-die-cut, I simply punched them out of their sheet and folded them along the score lines on the backside. The little circular tab then inserted into the side forming the box and the top and bottom flaps simply folded in securely with no glue necessary.
The last step before beginning to assemble all of the fixtures together was creating some potted plants. These were easy and very straight forward and when it came to attaching leaves to florist wire, another nemesis of mine in the last kit, the double-sided tape included in this kit made their attachment a breeze. I will definitely save the leftover double-sided strips for any future project.

I next added a number of items to the interior cabinets…
… and then glued them in place in the interior of the restaurant.

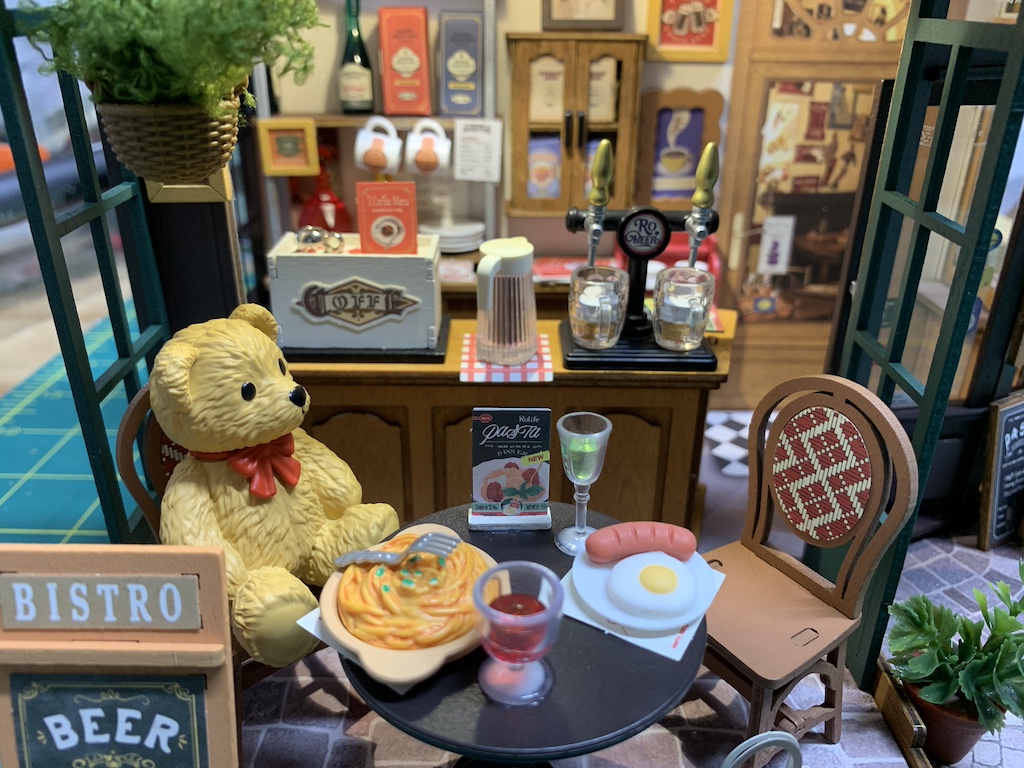
The final series of steps was to add all of the furnishings and fixtures to the exterior of the restaurant making the kit complete.
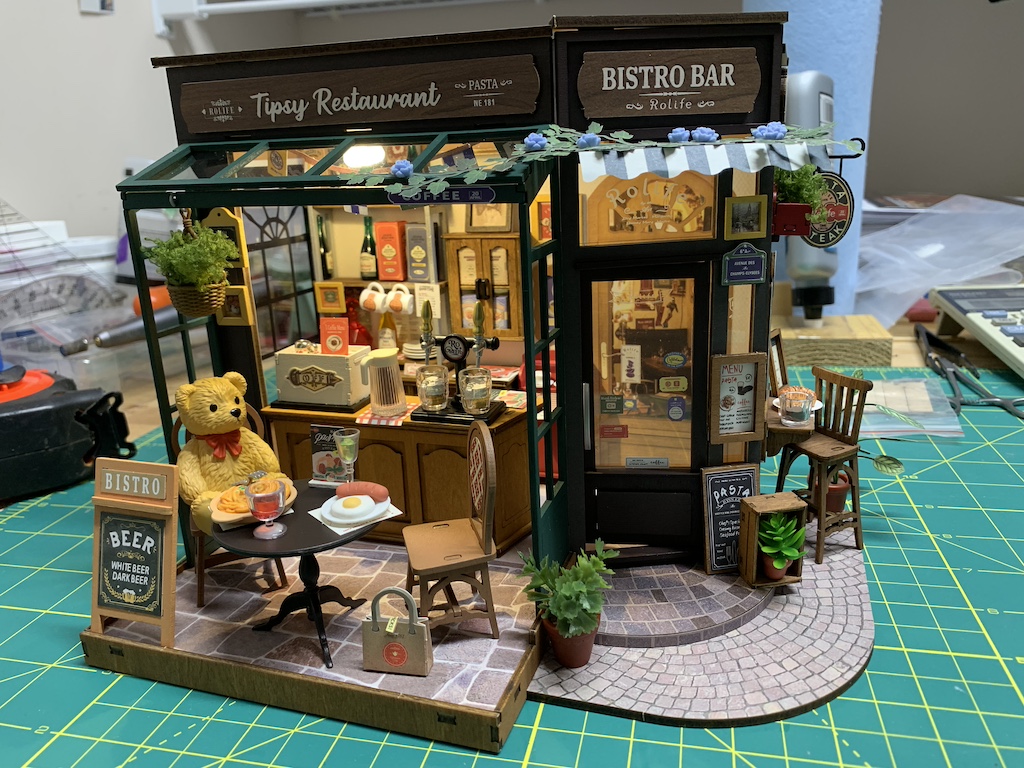
And a nice feature of his kit is the roof is left open so you can gaze down into the interior.

I must say this was by far the easiest and most enjoyable of all of the kits I have assembled to date. I experienced none of the occasional frustrations I had felt before, and I was quite pleased with the advances in assembly technique the company has made. I don’t know what other kits this company offers but if there are any more like this one, they too would be a blast to build!
Cheers!
Categories

You finally made one of these tiny wonders seem like fun. Glad the companies making them realize their shortcomings. Because if the most patient and chill man in the universe could be frustrated by the assembly process, then there was definitely something wrong with how they were manufactured. I look forward to seeing this little beauty up close soon!
Thanks, it really was the easiest and most fun! And I used those leftover double sides tape pieces to create the windows in your kitchen cabinet.
I loved this one, Dave! Nice to hear the ease and joy you felt assembling this kit.Especially love the little teddy bear! I almost wanted to make a kit after reading this one—Nah—
Thanks, it was fun. Instead of building one, you can stick with LEGOs.
Awesome!! I’m so glad this one was easier, and it looks great!
Thanks! Yes it was the easiest one so far.
David, I am so glad to hear how the company improved the process. I know you are, and I bet your daughter is also. This looks great! With these improvements, I think even I could make a kit. Not that I need another project. I went to the website and searched for camper. I didn’t find one, but maybe in the future. Of course, you did a fabulous job. I looked forward to seeing what she gives you for your next birthday!
Thanks Betty! Yes it was my favorite so far. Hope you have a nice Sunday.