
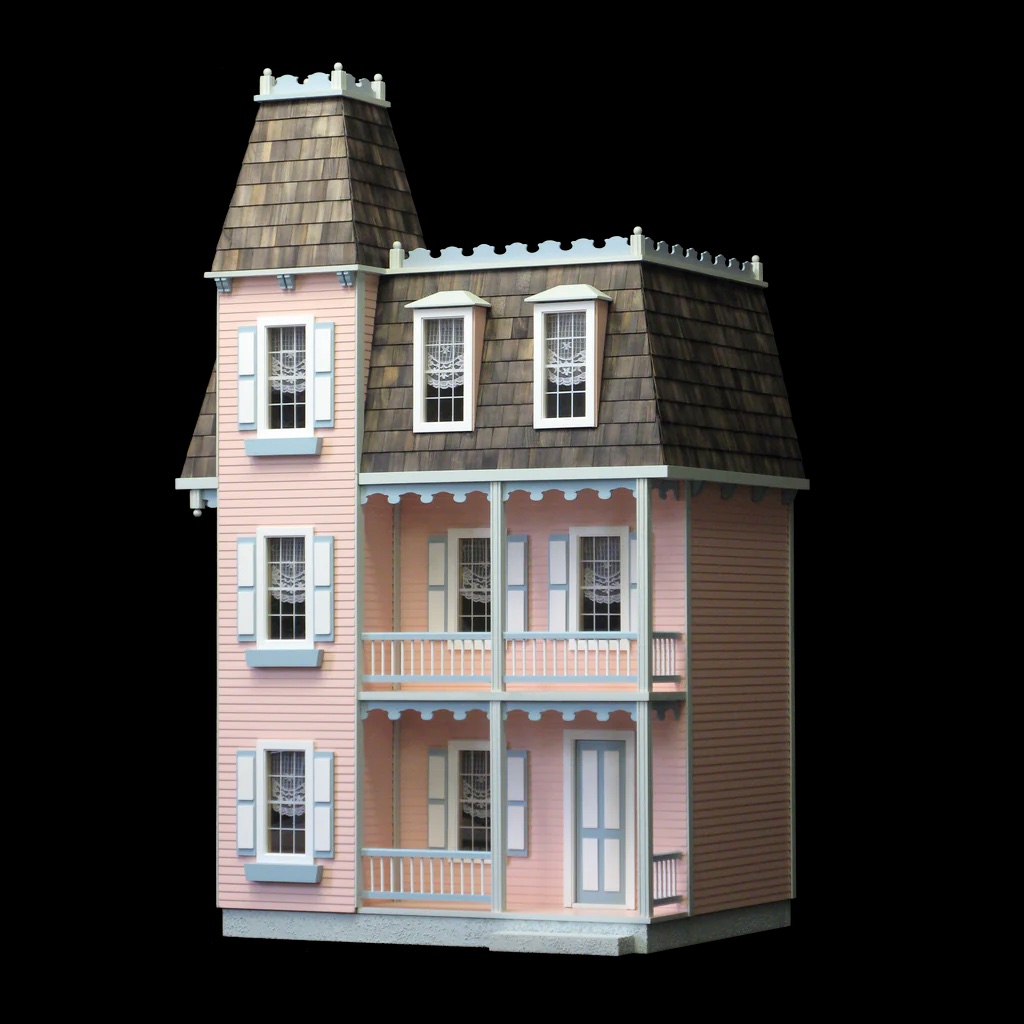
Doll House for my Sister’s Granddaughter – Phase 2
Continued from: Doll House for my Sister’s Granddaughter – Phase 1
PREFACE: My apologies to all my doll house fans out there for keeping you waiting for over three months before continuing this series of posts. Not to make excuses but to simply offer an explanation that it was the need to publish certain year-end posts as well as my new year annual posts about books, travel, and puzzling that caused this delay. But I promise that no other posts will interrupt the completion of this doll house.
Now back to the miniature construction site…
In the photo of the kit from the website, the shutter core was painted the blue accent color with the two shutter panels painted white. To make the purple accent color stand out more, I suggested to my niece that we reverse that color scheme. She readily agreed and so I painted the dozen shutter cores white and the 24 shutter panels purple.
Based on the success of my window frame jig on that first dollhouse, I also built a jig to properly align the shutter panels on the shutter core. I just so happened to still have that jig from my granddaughter’s dollhouse, so I used it to build these shutters. Using it made assembling the shutters a breeze.

After completing the dozen shutters, I decided to tackle the porch railings. Unlike the last five dollhouses I have built most recently where the balusters and railings were separate pieces, in this kit, the railings were already assembled. This would not be a problem if both were to be painted the same color but just like this same dollhouse I built for my granddaughter, I planned to paint the railings the purple trim color while the balusters would be white.

On that first dollhouse, I taped off the railings with blue painter’s tape and then spray painted the exposed balusters white before then painting the railings blue with a brush.
While building these dollhouses, one thing I have learned in buying multiple sample jars of white paint is there are about a million shades of “white” with each jar being slightly different. Since the porch posts to which the railings would be attached would also be white, I decided to brush the same white paint onto the balusters rather than use white spray paint that likely would not match. As before, I taped off the railings to keep white paint off them and then brush painted the balusters.
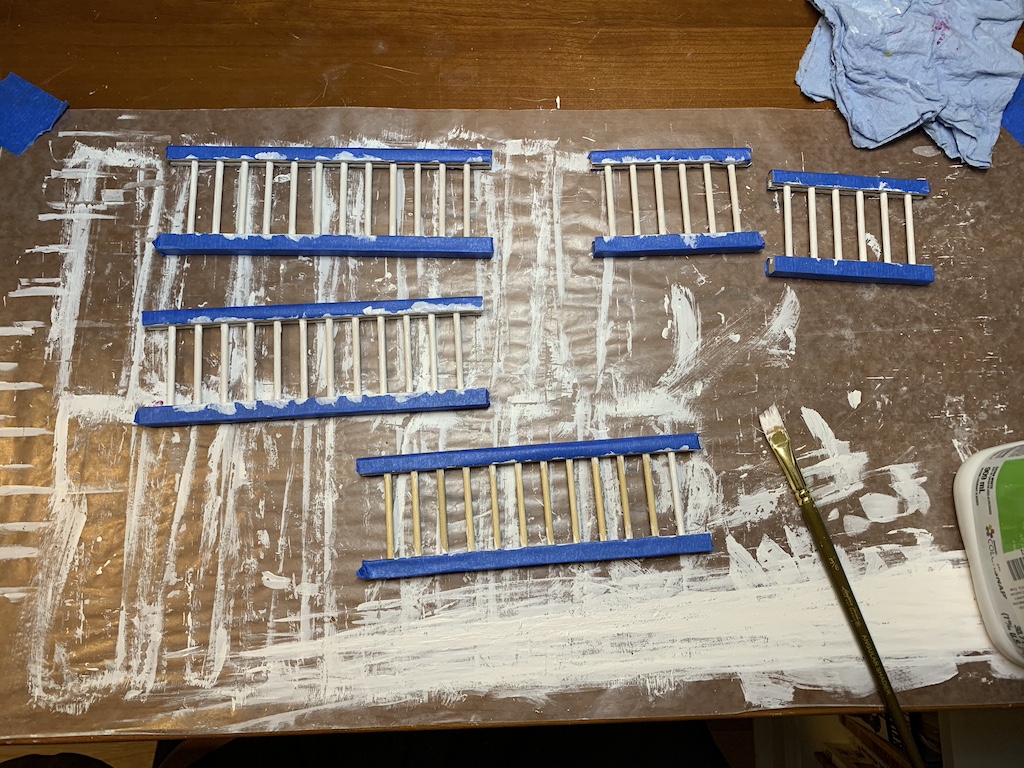
I have written before that I am not an artist and I do not have an artist’s touch in precisely controlling where the brush goes. In fact, at this point I wished my sister who is an artist were in Memphis so she could expertly paint the railings. But alas, she was in California visiting relatives at the time.
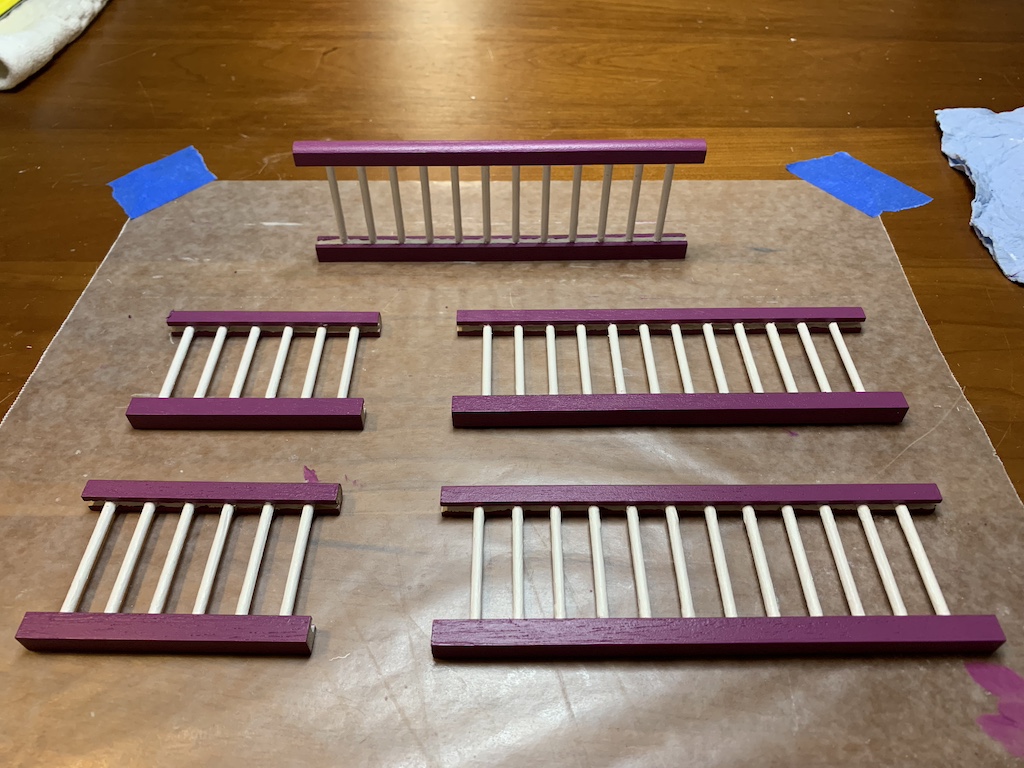
I started by just painting the strip of railing right next to the balusters using a very small brush. What purple paint that did get on the balusters, I was able to scrape off with an X-Acto knife. After repeating this process twice to get good paint coverage, I then used a teeny-tiny model Q-tip to touch up the balusters with white paint where I had scraped too hard and had uncovered the base wood. I then painted the rest of the railings with a larger brush. Although not perfect, my usual standard, the railings looked nice enough still.
I then proceeded to paint all of the other trim pieces either white or purple as I knew when I returned to assembling the dollhouse, I would appreciate that all of these pieces were already painted which would make construction progress run smoothly without delays.
One morning a few months later, I got a FaceTime call from my niece and her daughter (the eventual recipient of the doll house) to say they were ready to pick wall colors. My niece suggested I show them the paint samples I still had from all of the doll houses I had built over the last four years. I did and the two of them together picked out all the colors they wanted.
The day I was ready to start, I had to orient myself to which wall pieces went to which room. I even went back and reread part of my blog from the doll house I built for my in-town granddaughter to help me sort everything out. With this figured out, I got started.
I first painted the two rooms on the right side of the house…
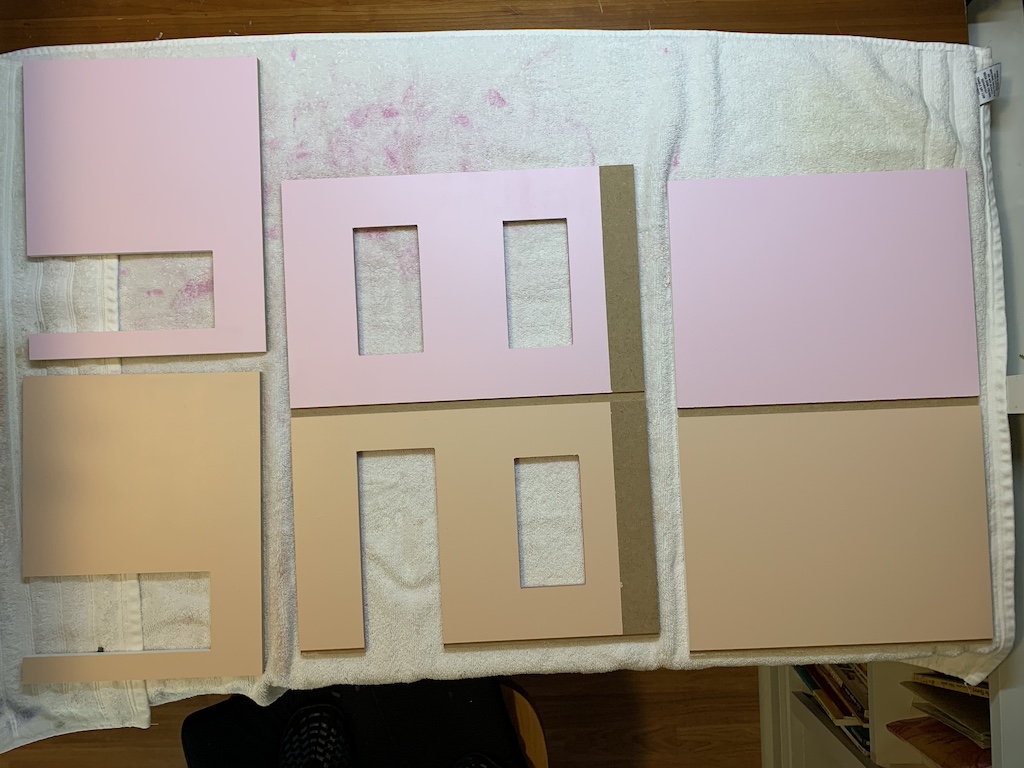
… followed by the two rooms on the left side of the house.
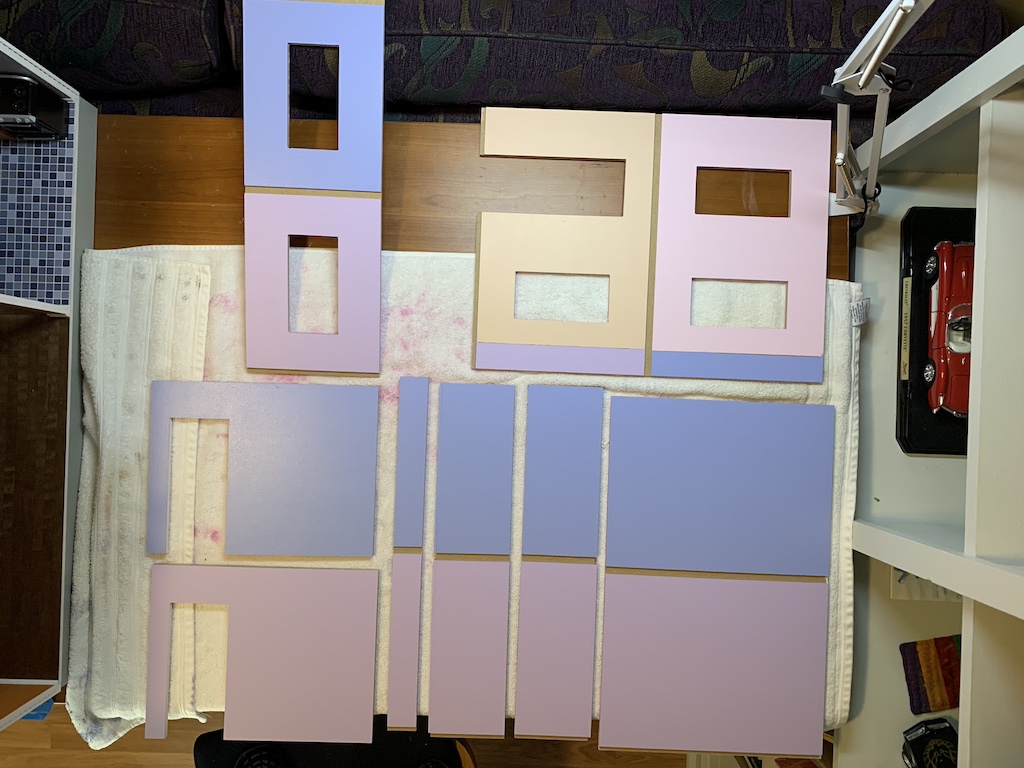
With these four rooms painted, I could actually begin to assemble the house.
When I built this same house for my in-town granddaughter four years ago, I deviated slightly from the instructions. I thought the interior walls would be easily knocked down and so I went through an elaborate process to secure them with screws from below and above. I have since learned that adequate glue is all that is necessary to maintain the interior wall integrity. But one thing I have learned is that it is quite difficult to insert an interior wall when both floor and ceiling are glued in, and it is much easier when one or the other has not been glued in.
So, the deviation from the instruction I did this time is I did not glue the bottom floor in place but merely taped it to the walls to ensure the house was square.
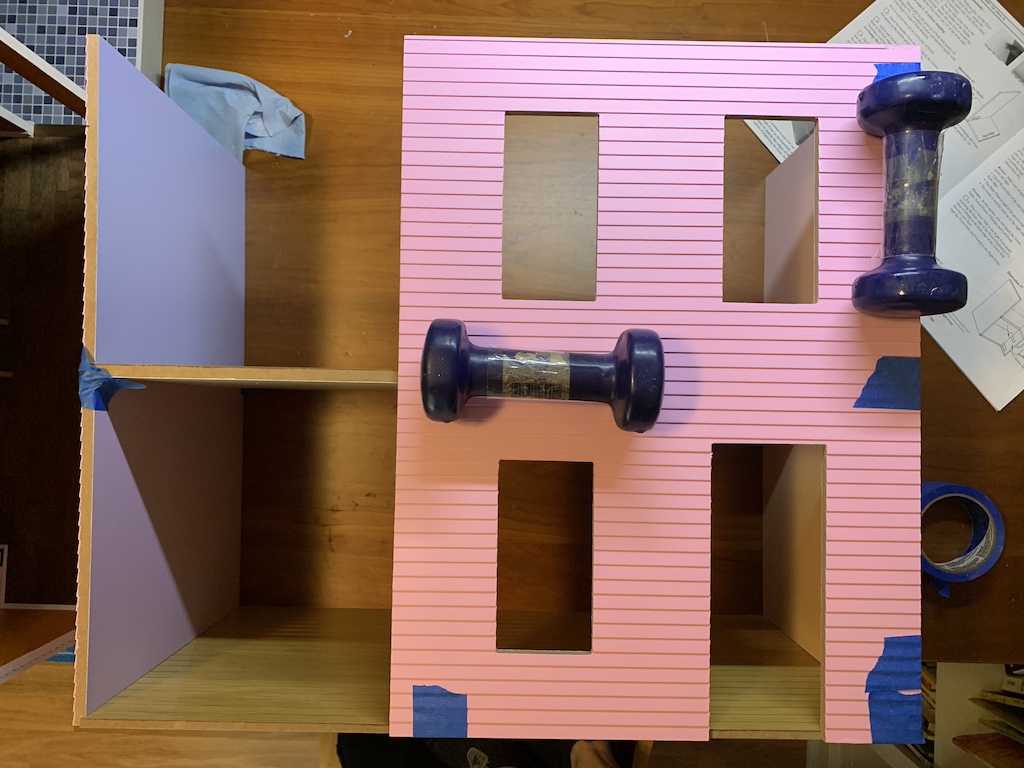
According to the instructions, the placement of the interior walls is flexible and not performed until the end of assembly but since I painted each room a different color, I already knew where the interior walls needed to be. After letting the taped and glued together house sit over night to ensure a securely glued structure, I untaped the bottom floor. Since I had previously painted and assembled the windows and shutters, I next added those as gluing them in when the wall is flat on the work surface is much easier. I then turned the house upside down and glued in the first-floor wall in place before then gluing the first floor to all the walls. This made the interior wall’s addition much easier and less messy since I avoided trying to slide a wall smeared with glue on the top and bottom edges into a tight space which invariably gets glue everywhere you don’t want it.
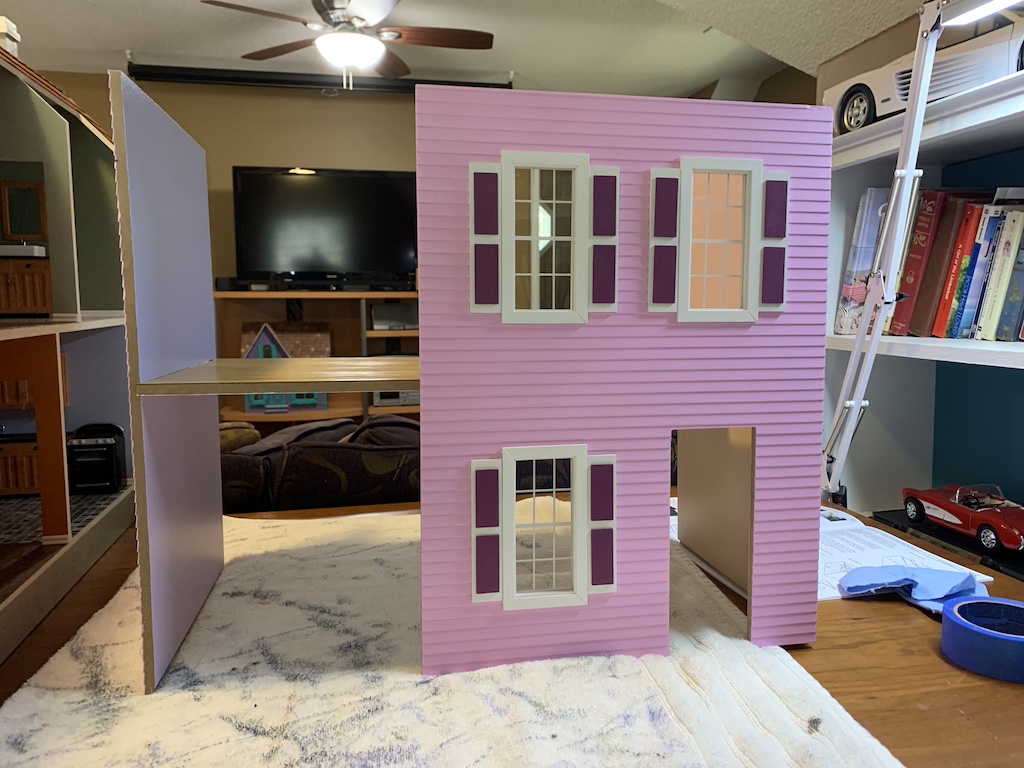
Once the right side of the house was dry, I could add the different parts that formed the left side of the house, again with the windows and shutters pre-installed.

To be continued…
Categories

It is so cool to hear how you constructed the dollhouse for my granddaughter! I’ll have to go look at it today to marvel at all the intricacies. Great blog Dave!
Thanks Ann! It was a lot of fun building it.
Makes me want to start playing again! I think we are ready for a F. L. Wright house, don’t you?
Yes that would be a lot of fun!
It is coming along beautifully! I am sure the recipient will be thrilled, and it will be a life long keepsake. I look forward to the next installment!
Thanks Betty and she was thrilled. This is the doll house I delivered to my sister’s granddaughter last October on our SibSab and provided a sneak preview when I posted about that trip.