
Doll House Furnishings – Phase 8
Continued from: Doll House Furnishings – Phase 7
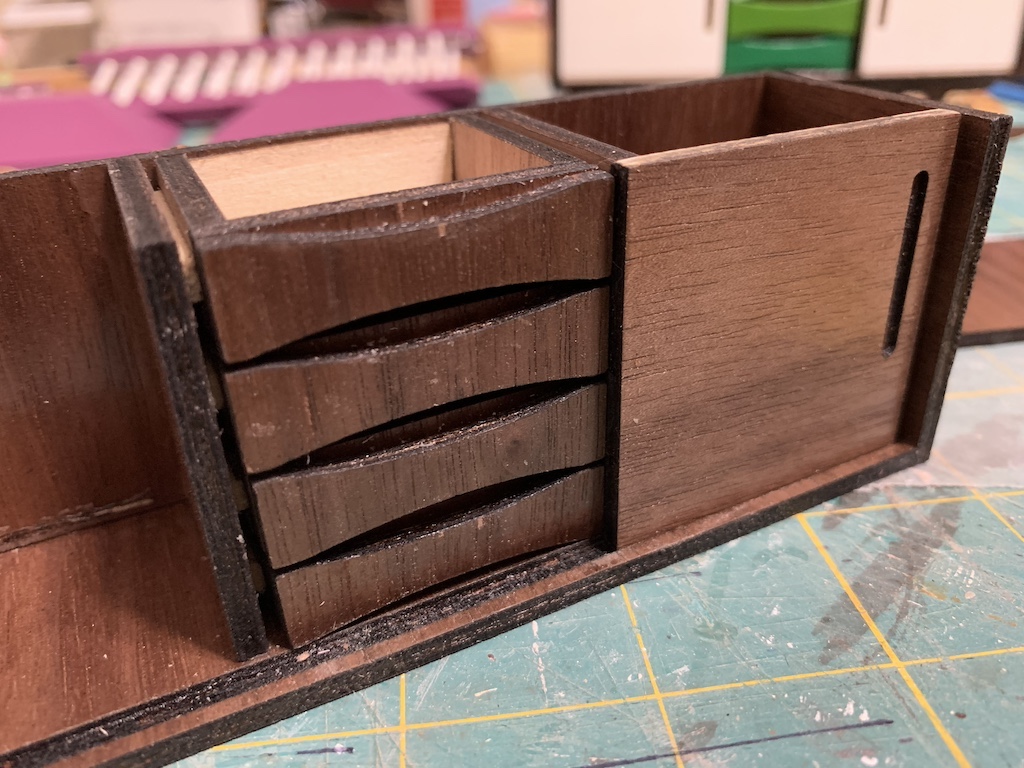
Sorry to have left you with another cliff hanger but I suspect some of you may have guessed what the issue was based on the last photo that I left you with in the previous post. What happened was when I tried to slide the door, it hit the side edge of the drawer front sticking out beyond the cabinet divider and thus would not allow the door to slide in front of the drawers. The issue is not as visible in the photo above but when I put one of my sister’s drawers in and then one of mine, it was more obvious that her drawers were not as deep.
I texted my sister to ask if she had sanded the backs of her drawers, but she said she could not remember. I said no problem, I could sand them but maybe we could tweak the template. She said sure, just tell her by how much. I measured and the drawer was 1/32” too long, not that much but just enough to block the door sliding. When she said she could adjust it, I was just so amazed at how she could do all this computer work to create these fun miniature furniture pieces.
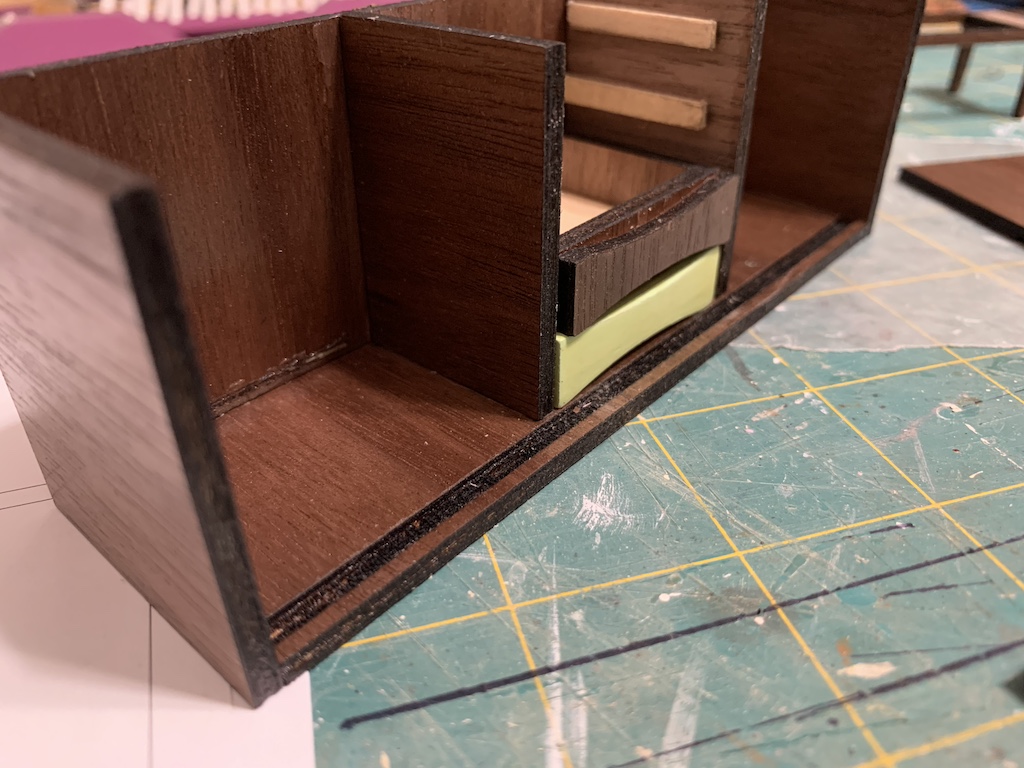
I removed the drawer back so as not to sand it too thin and then sanded the drawer sides and bottom. It took a good bit of sanding for all four drawers but once I had them done and rechecked to make sure they did not prevent the door from sliding, I reglued in the drawer backs. I was now ready to finish the assembly.
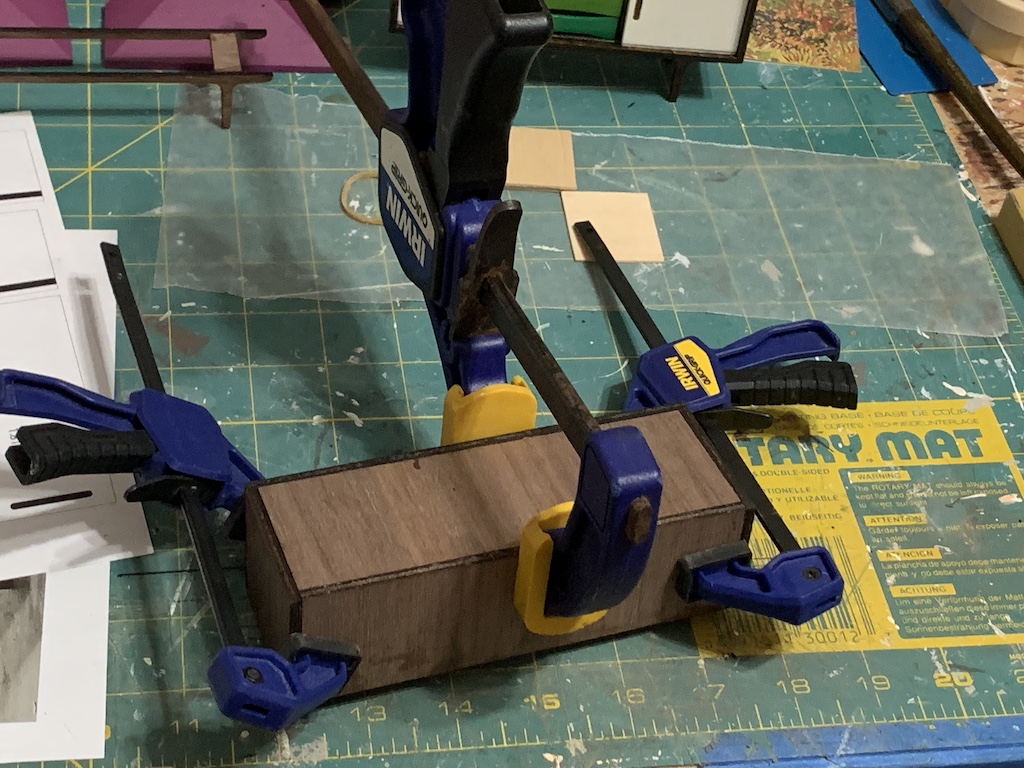
I inserted both doors and then applied glue to the top of the cabinet where the cabinet top would contact the cabinet body. I added the cabinet top making sure the door tops fit nicely in the groove cut into the bottom side of the cabinet top. I then clamped everything together and left it to dry overnight.
The last step was to glue on the pre-assembled legs. It just so happened that a 3/16’ wide strip of basswood was just what was needed to center the legs evenly front to back. So, I taped a piece to the back side of the cabinet and then glued the legs in place flush up against this piece of basswood.
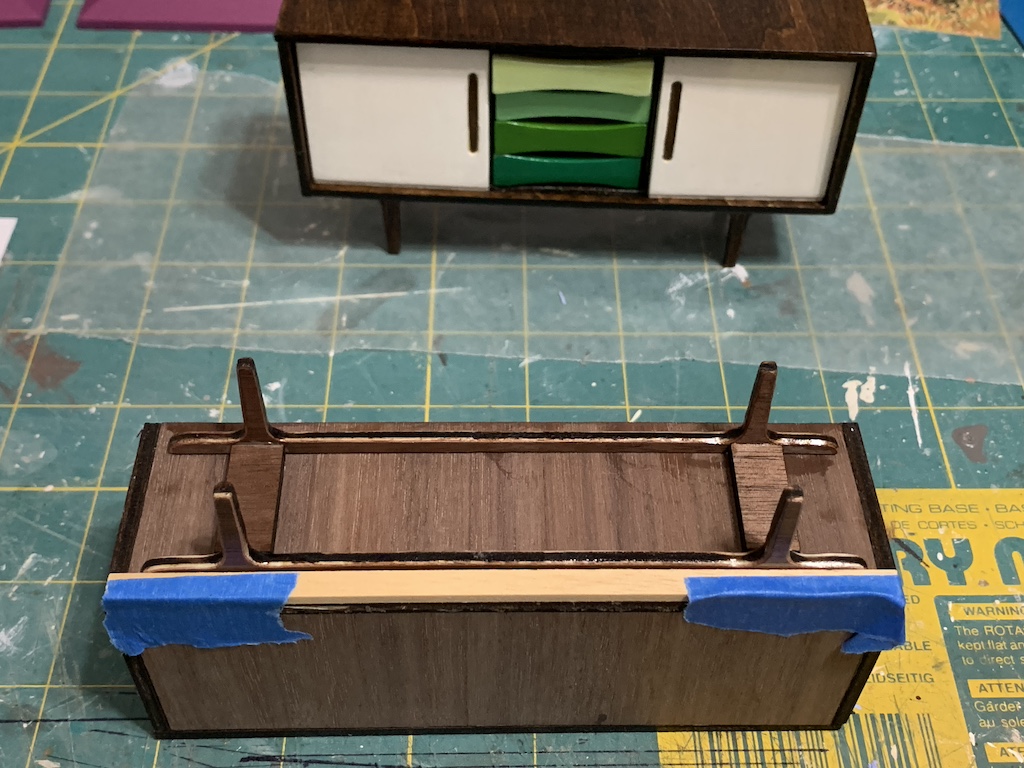
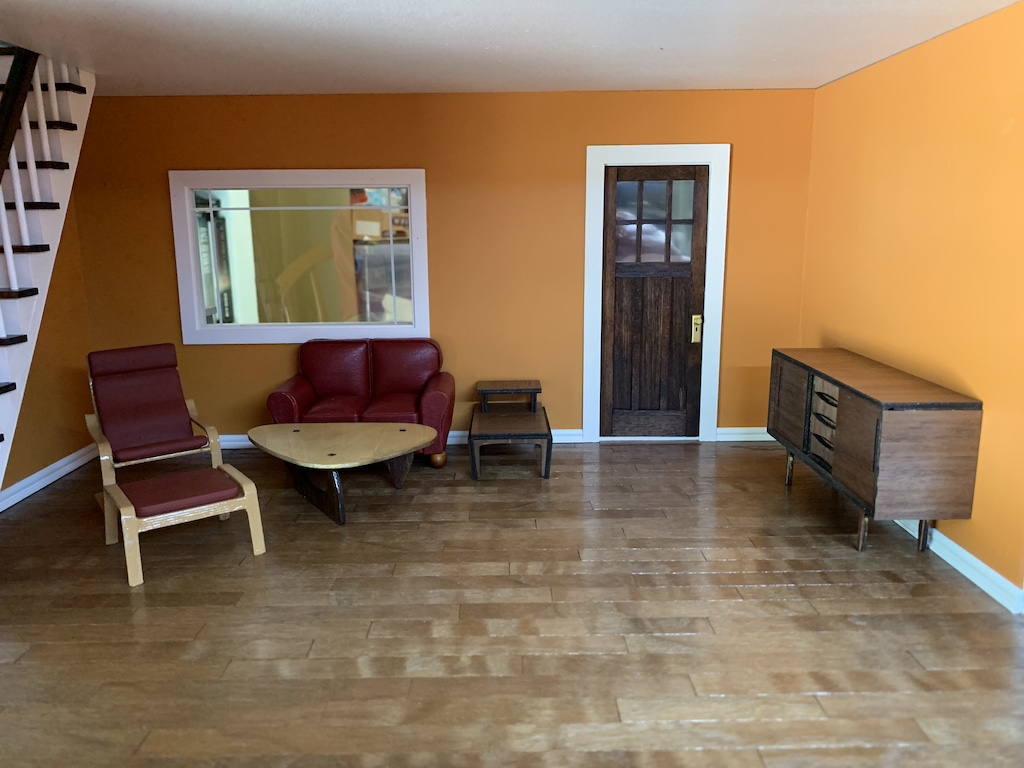
Once dry, I had my finished cabinet with sliding doors and removable drawers…

… and side-by-side with my sister’s original credenza.
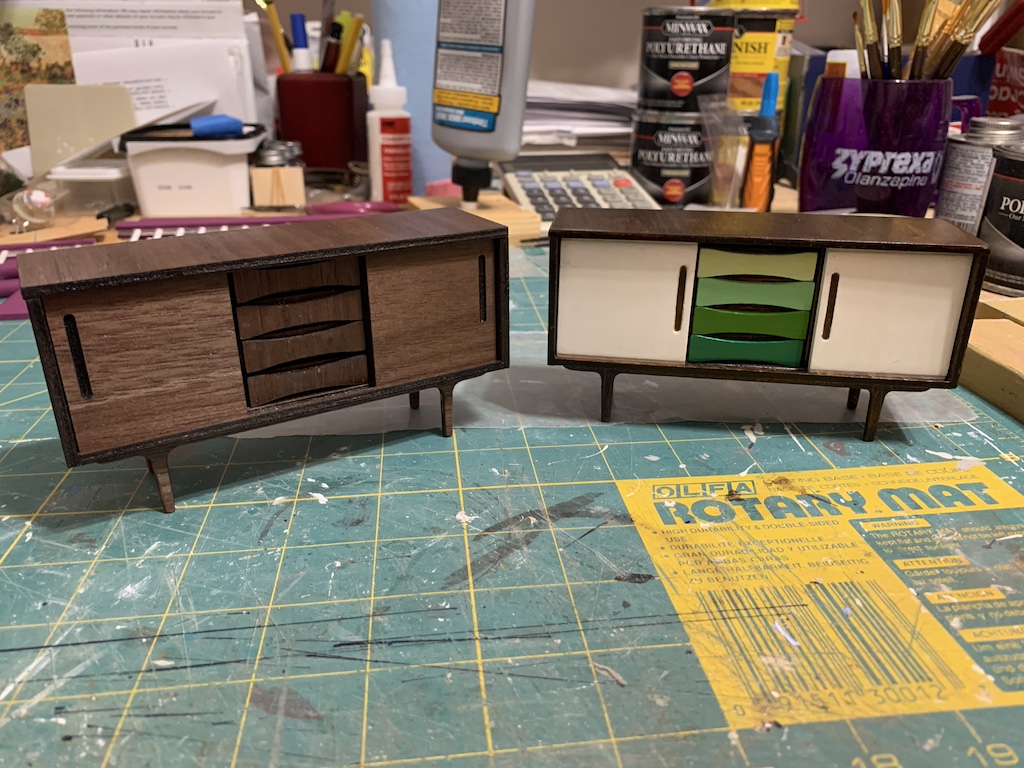
Even though the wood grain was going in the wrong direction, and I could not sand the edges, it still looked pretty impressive. I knew I would be building two more once we got the solid wood, but I thought this one would still be good enough to give to one of my granddaughters. And I must credit my sister with finding the piece to begin with and doing all the artistic creative computer work to “print” the credenza pieces.
With my sister’s success at creating the credenza, I asked her if I found other full-size pieces of furniture online that I liked, could she make 1/12-scale versions for me? Her reply was yes. So, then I started looking for other mid-century modern furniture I liked.
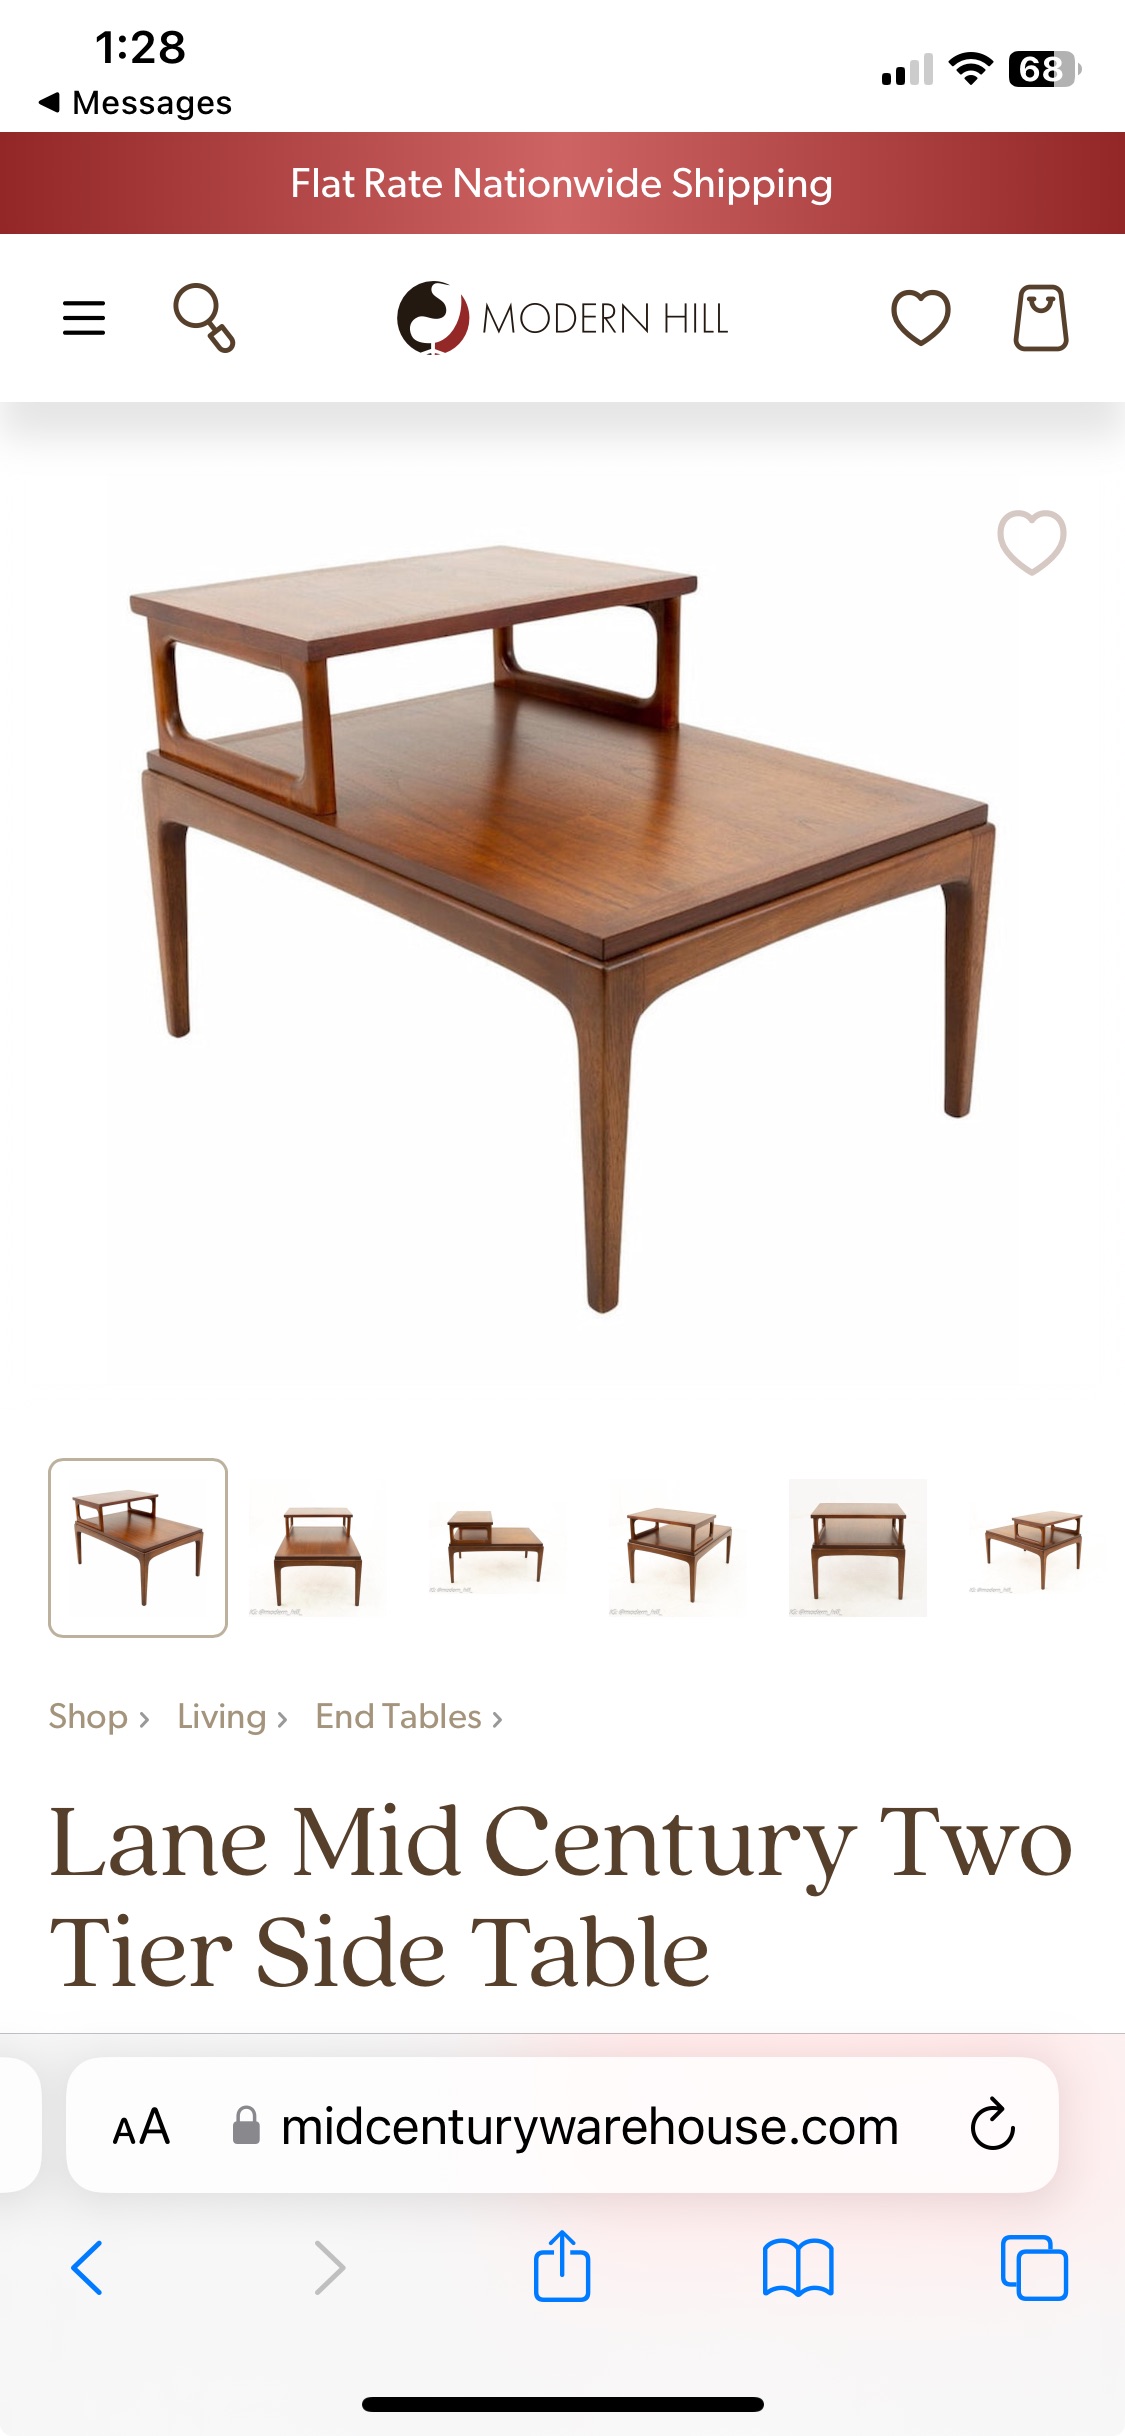
Still thinking about the main first-floor room, I thought it would be nice to have a side table next to the couch. I found this one and sent it to my sister. She said that would be easy.
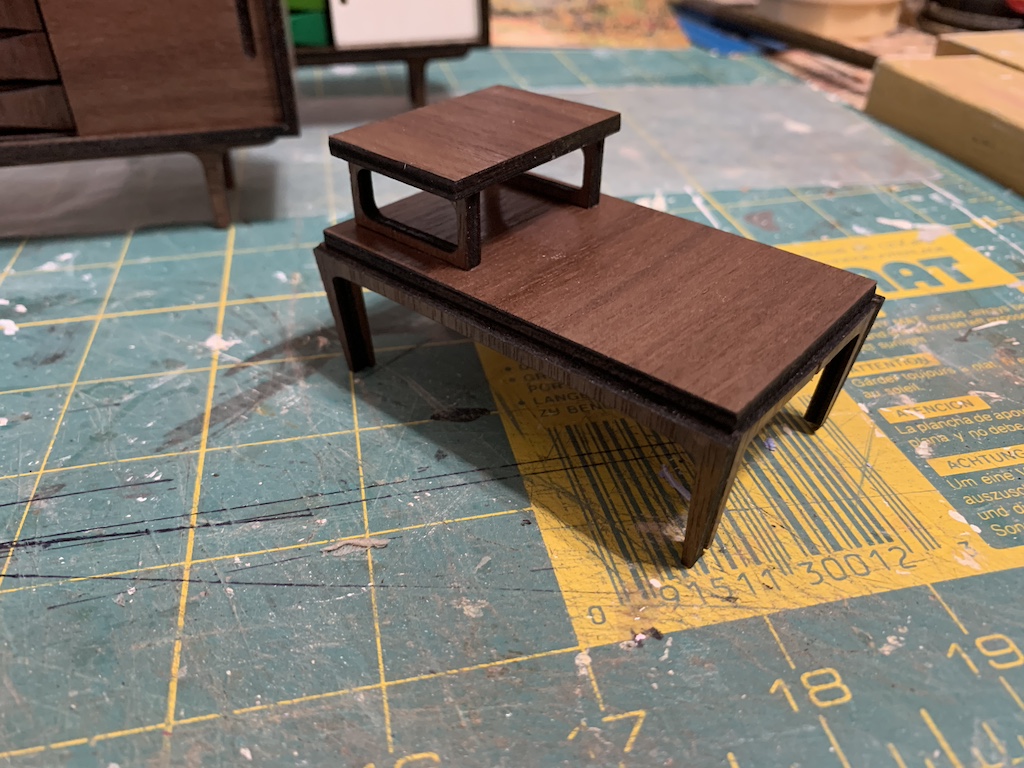
When she came over on the 4th of July, she brought this one to me also.
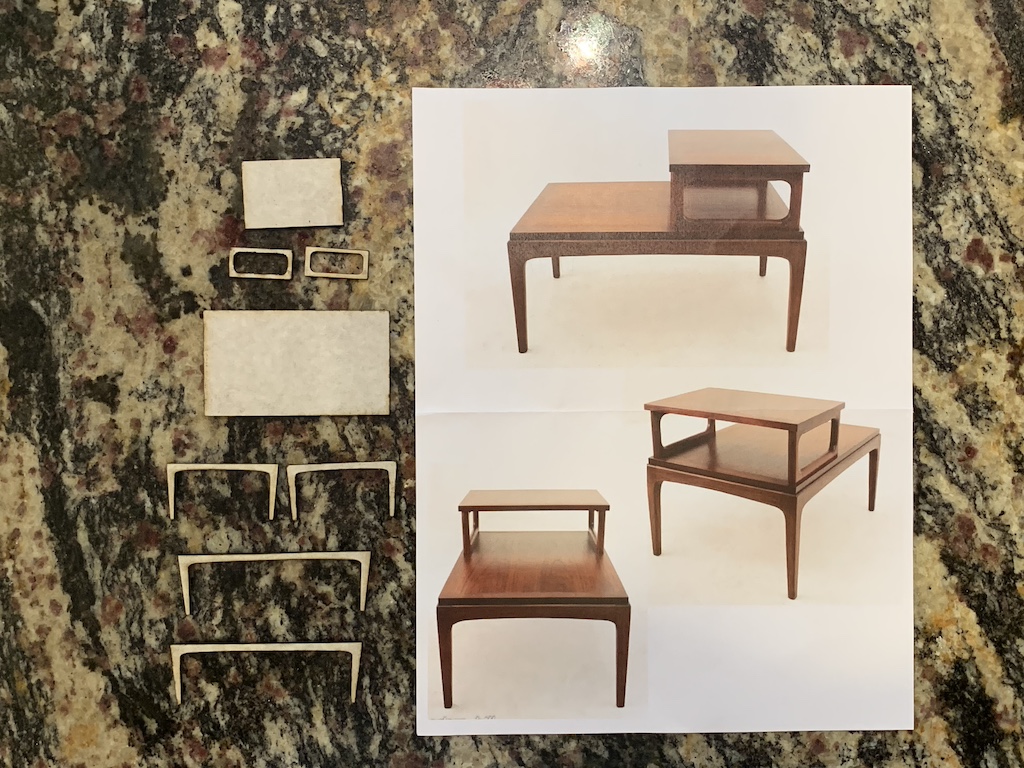
This “printing” had the same issues as the credenza, wood grain going in the wrong direction and the inability to sand the edges of the plywood veneer. But my sister thought it would also be instructive learning to put it together. So, I worked on it at the same time as I was building the credenza.
In the future, with the addition of a solid wood credenza and a solid wood side table, I thought of a couple of other items that would add to the first-floor room.
When my sister was here in July, I mentioned to her that since I had successfully made a mirror for my bathroom, that I had thought about framing some 1/12-scale prints of famous paintings to adorn the walls in my doll house. When she said she could print me miniature versions, she asked what I would want. I thought of a couple of well-known ones before thinking of the painting below.
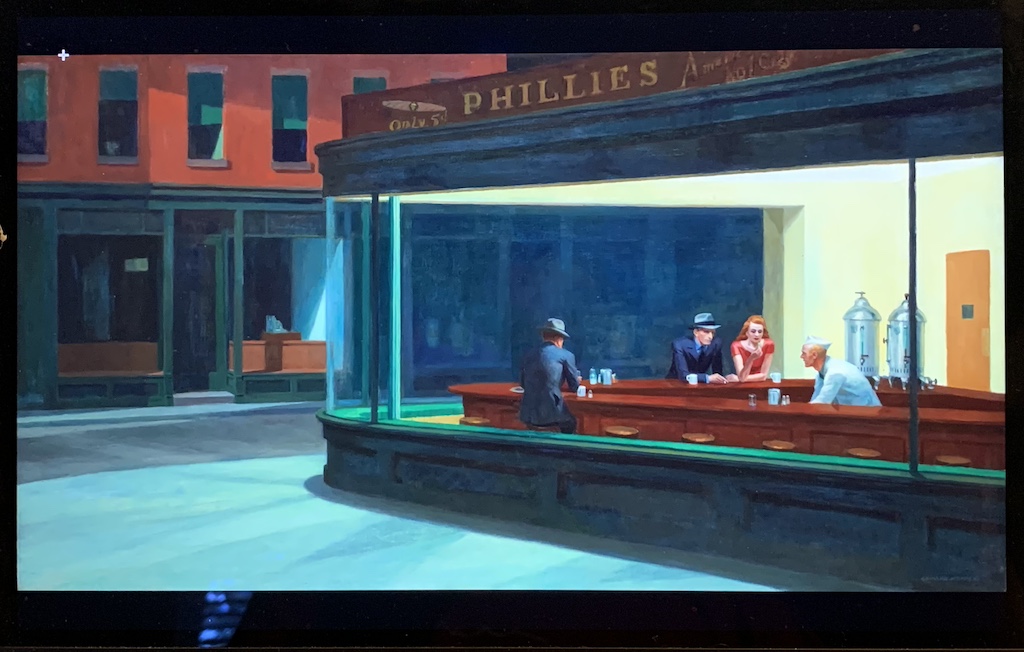
I have always loved Edward Hopper’s Nighthawks ever since I saw it for the first time at the Art Institute of Chicago and I thought a miniature of this painting hanging over the credenza would look especially nice, fitting in with the mid-century modern decor and Craftsman style of the home.
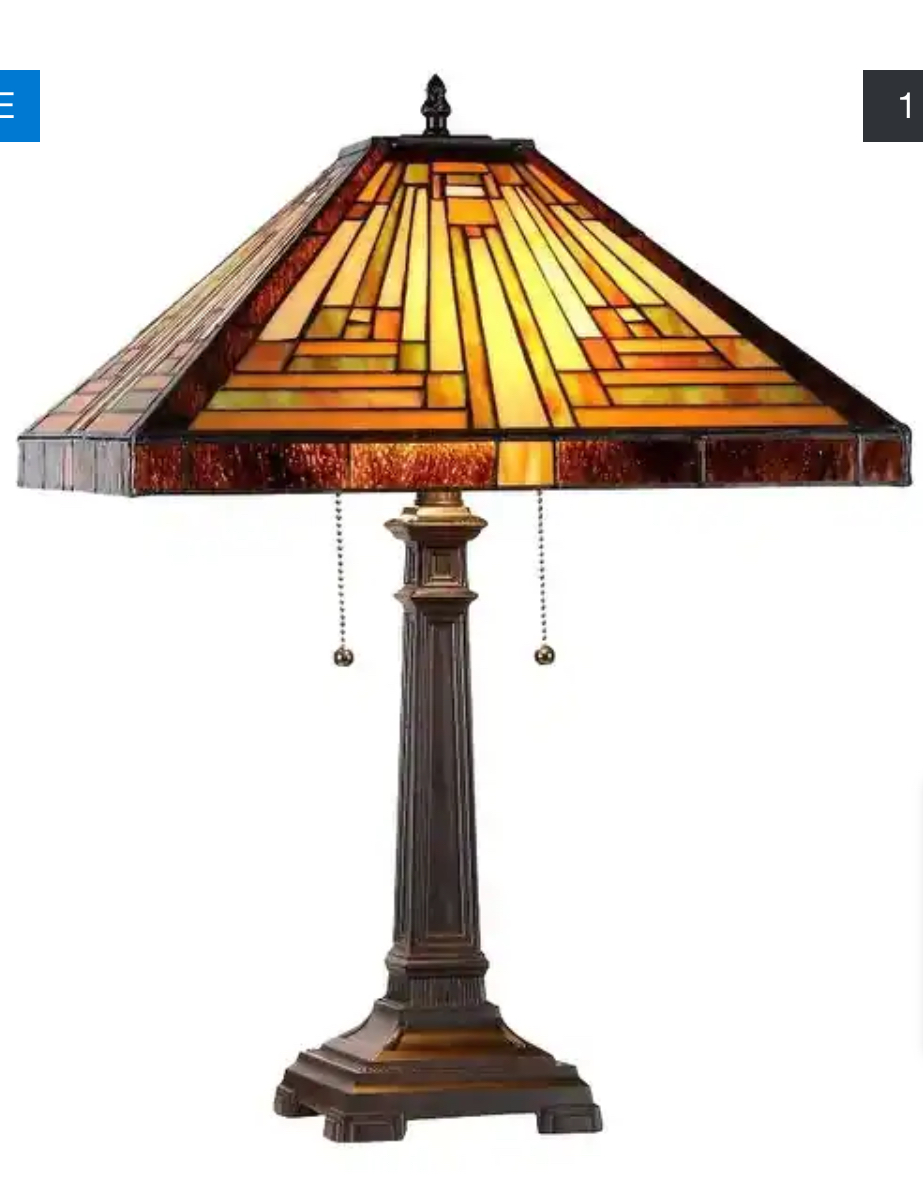
And then of course, I would need to find a table lamp to sit on top of the side table…
… before adding other items that would make the room look lived in. Maybe a classic novel sitting on the side table…

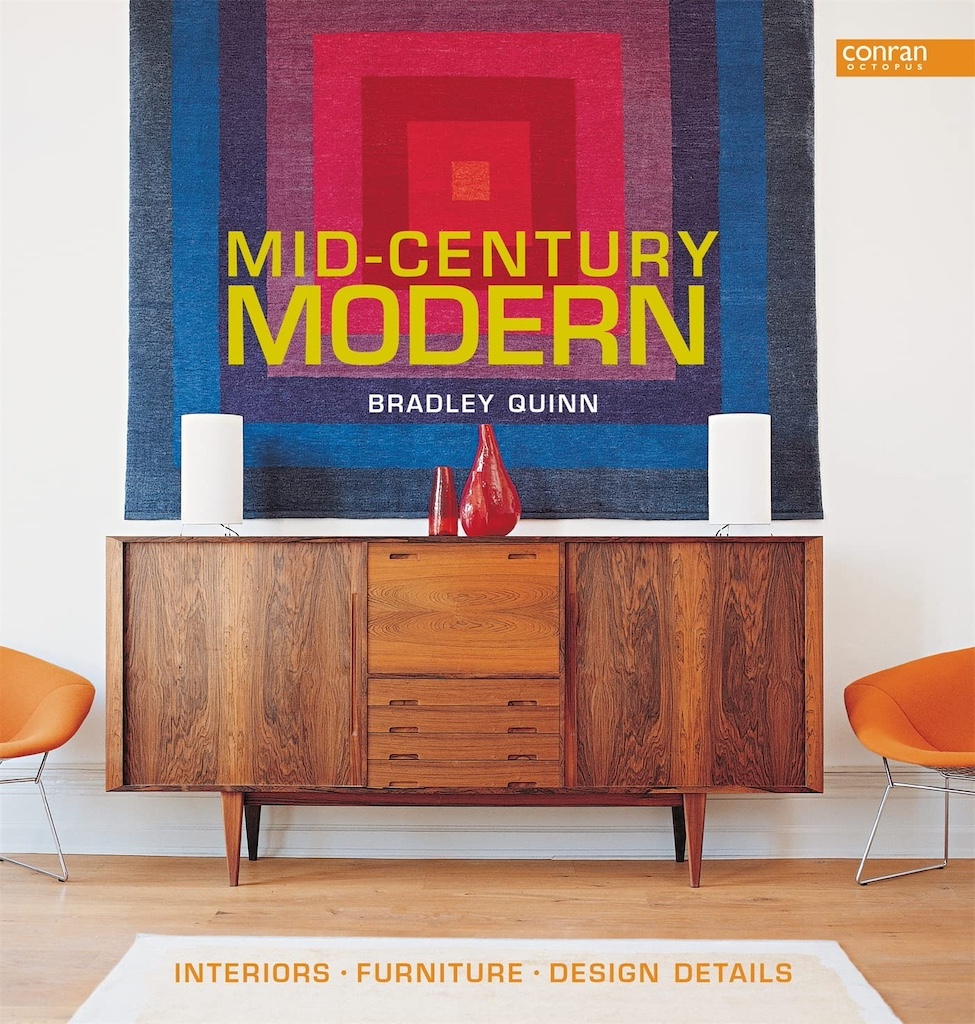
… and a coffee table book resting on the…ahum, coffee table along with the prerequisite coffee cup.
But I am getting ahead of myself.
When I found the side table, I also started thinking ahead to the second-floor office which was currently empty.
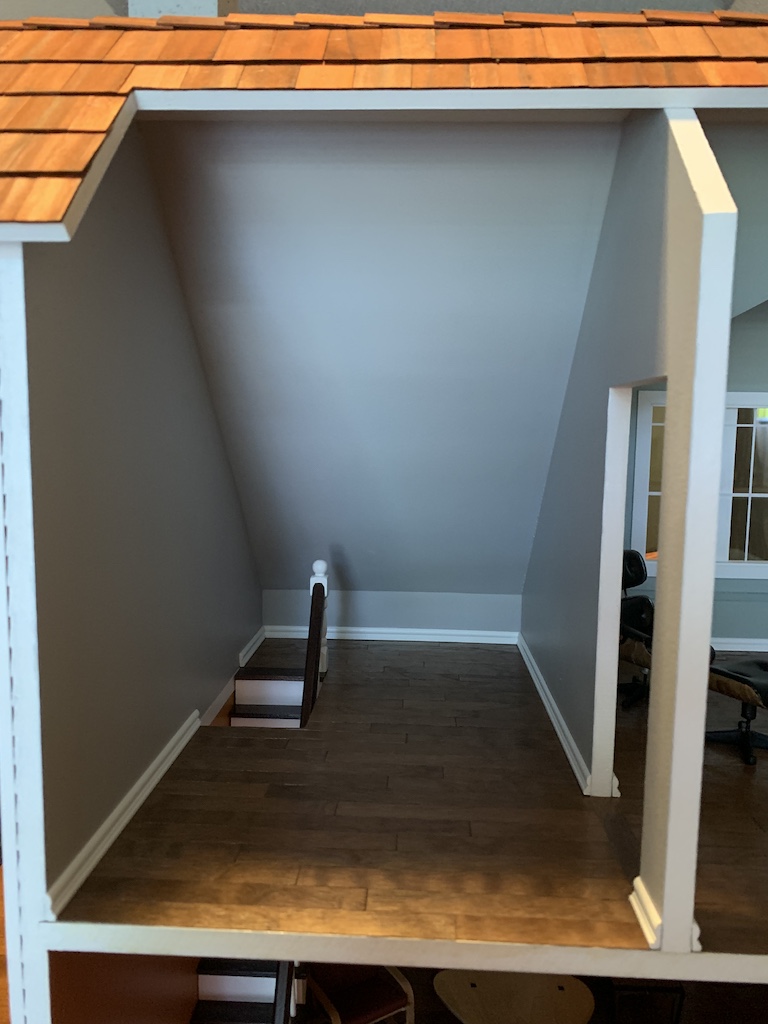
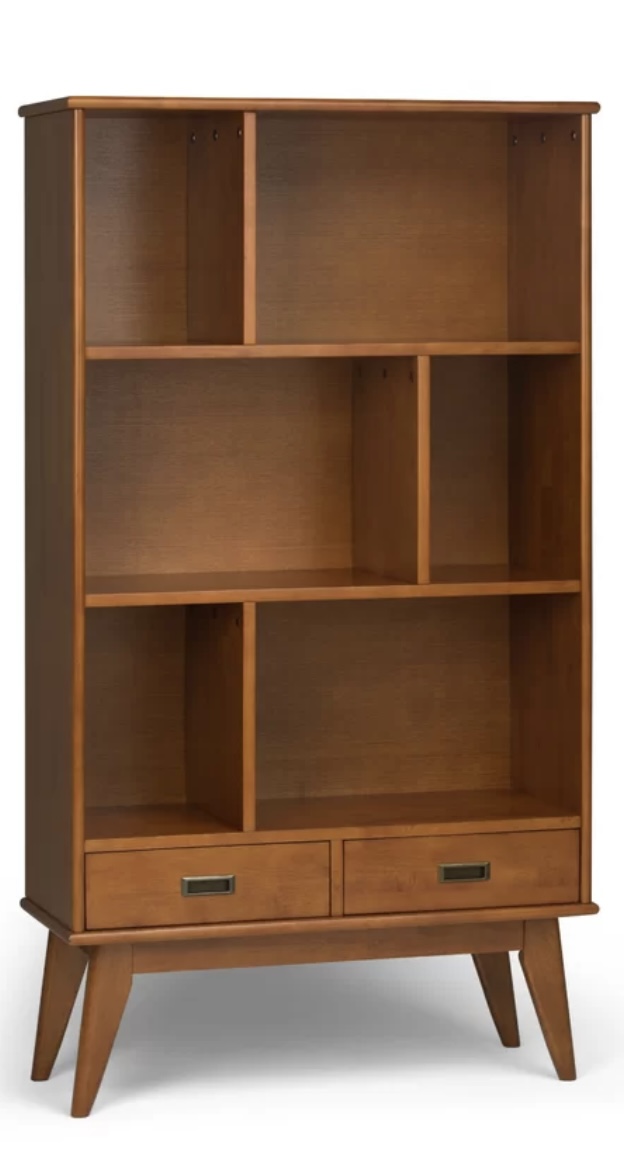
I thought a mid-century modern bookcase would look nice in here. I found this one also and asked my sister about it. She said yes that would not be a problem either.
To be continued…
Categories

David, so very impressive! You and your sister are a dynamo team! I do have to wonder though, if there will be a “fix” for the pieces that have the grain going the wrong direction. Believe me, I am not critiquing, but I know how much you strive for perfection – so I’m just wondering. I can’t wait to see how you make that lamp, and I love your choices for the artwork and the books. Looking forward to the next installment! P.S. Your sister should give classes!
Thanks, Betty, I also think we make a great team. Rest assured, there will be a future fix. And we have actually talked about her filming me while I work through the steps of assembly. But she is busy now teaching art classes at a local community college so it will have to wait.