
Model Engine

Many years ago, as a pre-teen when I was at the peak of my model building age, I built a working 1/4-scale V-8 engine. At that point, I was very much in love with cars but other than seeing pictures of individual engine parts, I had not handled individual parts. As I recall, building this model taught me a lot about the names of the parts. And since the engine block on this model was clear plastic, I further learned their functioning inside a 4-stroke internal combustion engine (ICE).
My model building days ended when I entered high school. But the learning from that model lingered. When I bought my own car in my junior year, I was able to perform basic maintenance on a real engine (e.g., changing the oil, replacing the spark plugs, and adjusting the timing).
In my 40s, I resurrected my love for building models and even once considered buying this same engine (no idea what happened to my original model). But the desire quickly passed, and I never thought about it again. At least that is, until my youngest grandson started showing a tremendous interest in looking under the hood of our cars.
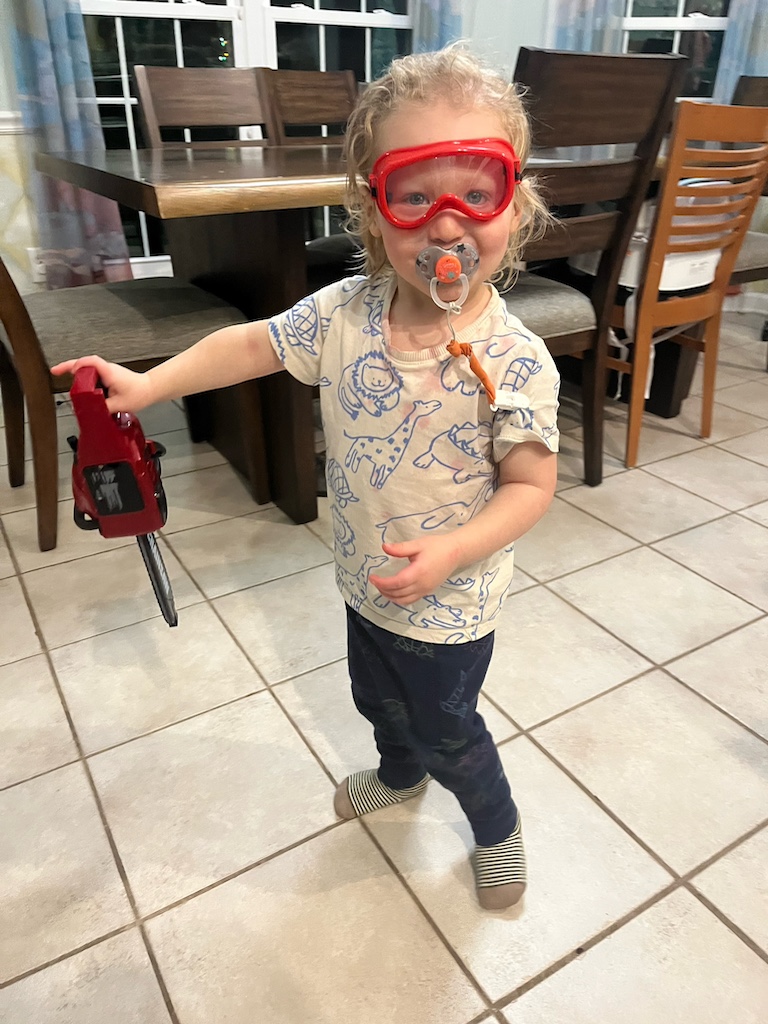
He already enjoyed playing with toy power yard tools: a lawnmower, a hedge trimmer, a weed eater, a leaf blower. I often joked that all he needed was a truck and trailer to start his own lawn business. But as he got older, he began to ask my wife to open the hood of her car so he could see the engine and a thrilling day for him was the day the battery died in his mom’s car, and I went over to jump start it for her. He was fascinated at what I did.
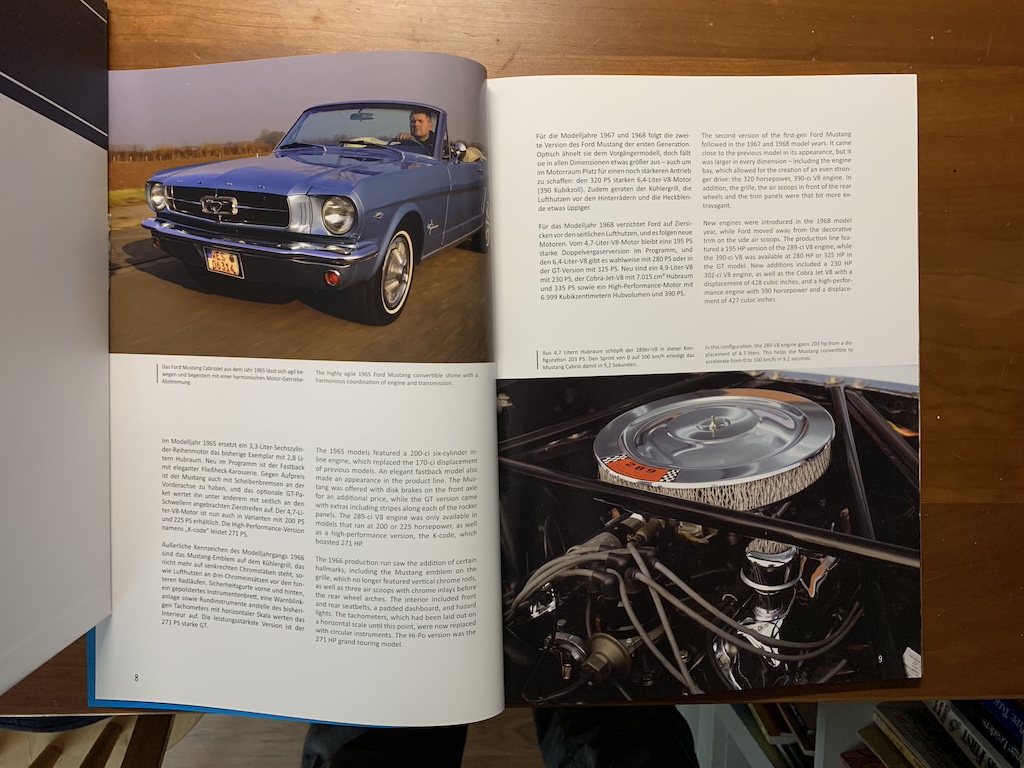
Fast forward to December 2023 when a STEM catalog came in the mail. Flipping it over, I came across another model engine that looked much cooler than the one I had built so many years ago. Flipping to page 21, I discovered a 1/4-scale Ford Mustang engine.
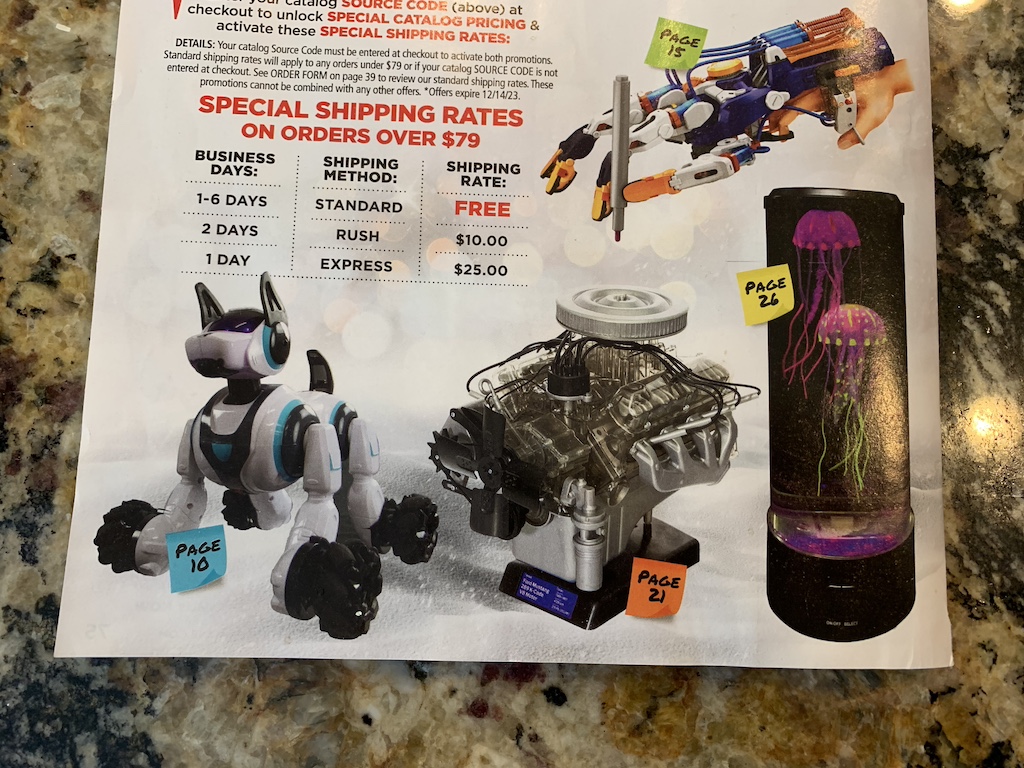
Immediately I thought of my grandson and how with this model, I could show and explain to him how an engine works. My wife had previously asked me what I wanted for Christmas and so I immediately took the magazine to her. This I exclaimed was what I wanted and further commented on what fun it would be to share with our grandson. She readily agreed.
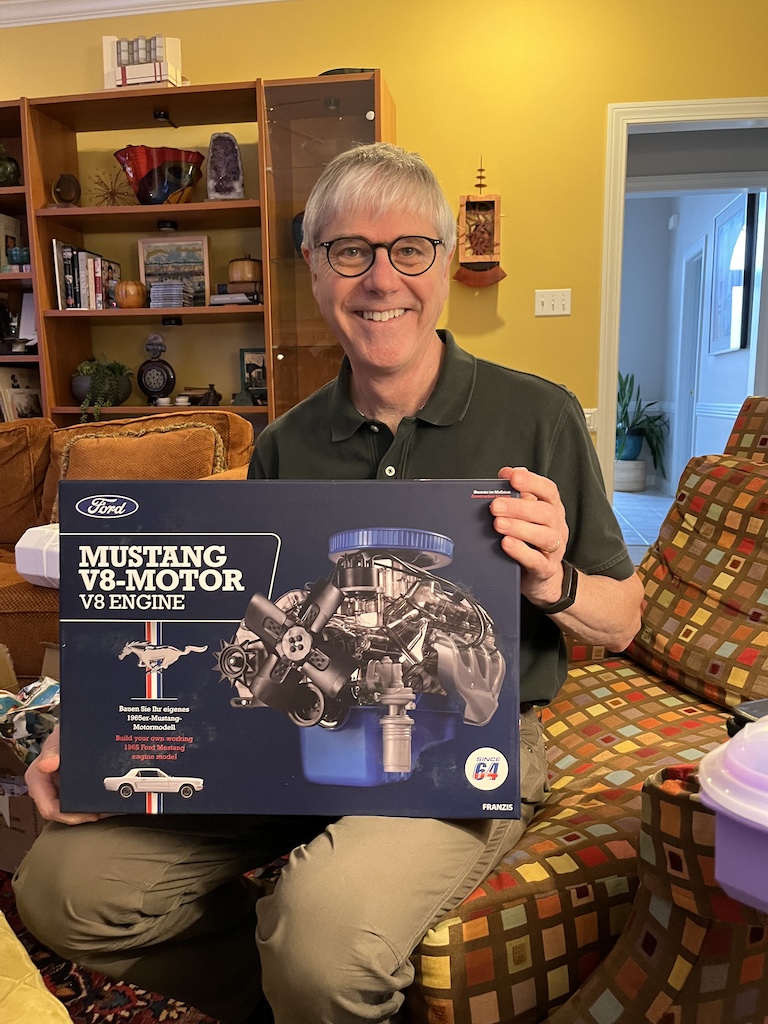
Boy was I surprised when I opened this on Christmas Day (not!), and three days later, I brought the box up to my worktable.

Cutting the tape that secured the top in place, I found a thick booklet and a box stuffed with plastic parts.
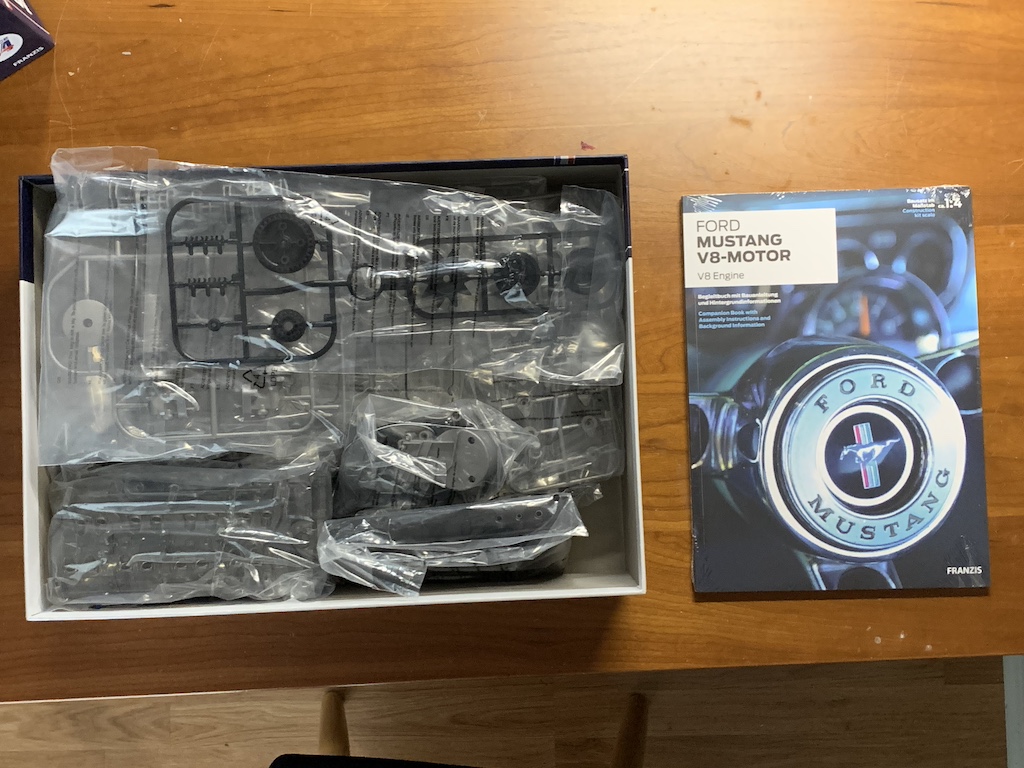
When I opened the booklet, I discovered that the first 60 pages was a history of the Mustang and the progression of its engines over the decades of its production.
Since I was anxious to begin the assembly, I skipped over those pages knowing I would read them later. Following that text was another 45 pages of assembly instructions. I had read in the catalog that the model manufacturer had used the original engine blueprints to accurately model the parts. Flipping through the pages, I could see this was going to be a very realistic assembly.

Removing the parts from the box, I was ready to begin.
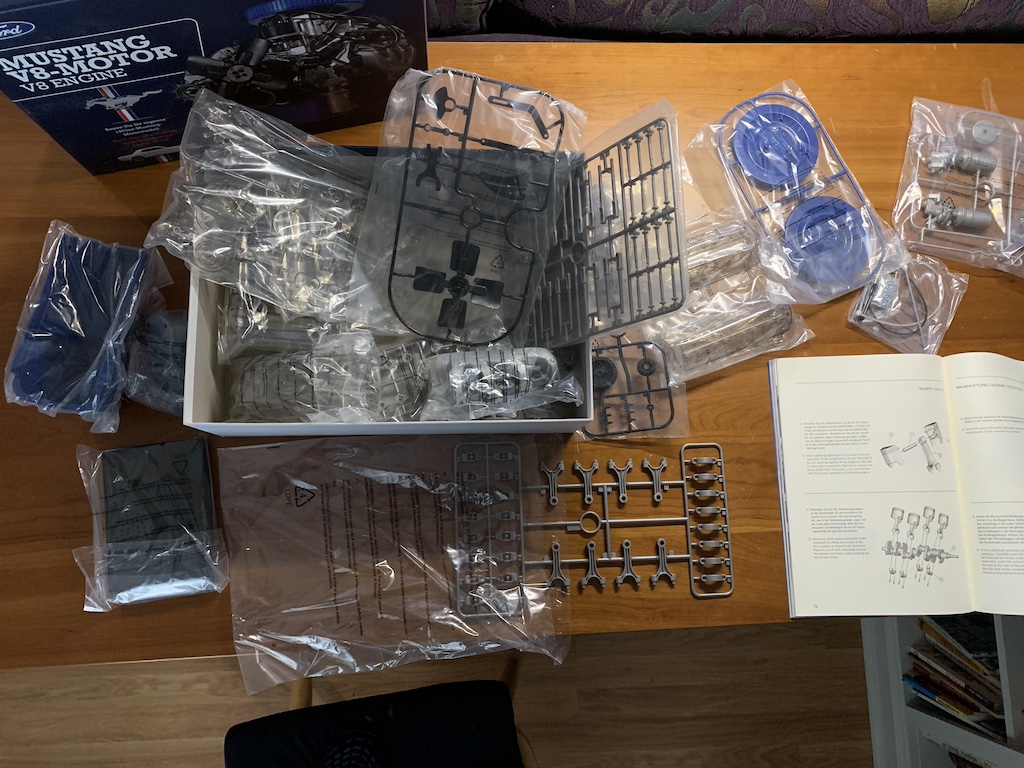
The first step was the pistons and I quickly learned that the parts were attached very well to the plastic molding tree requiring quite a bit of effort with an X-Acto knife to remove them.

Assembling each of the pistons from their individual parts and then assembling the crankshaft, I next had an assembled engine block…
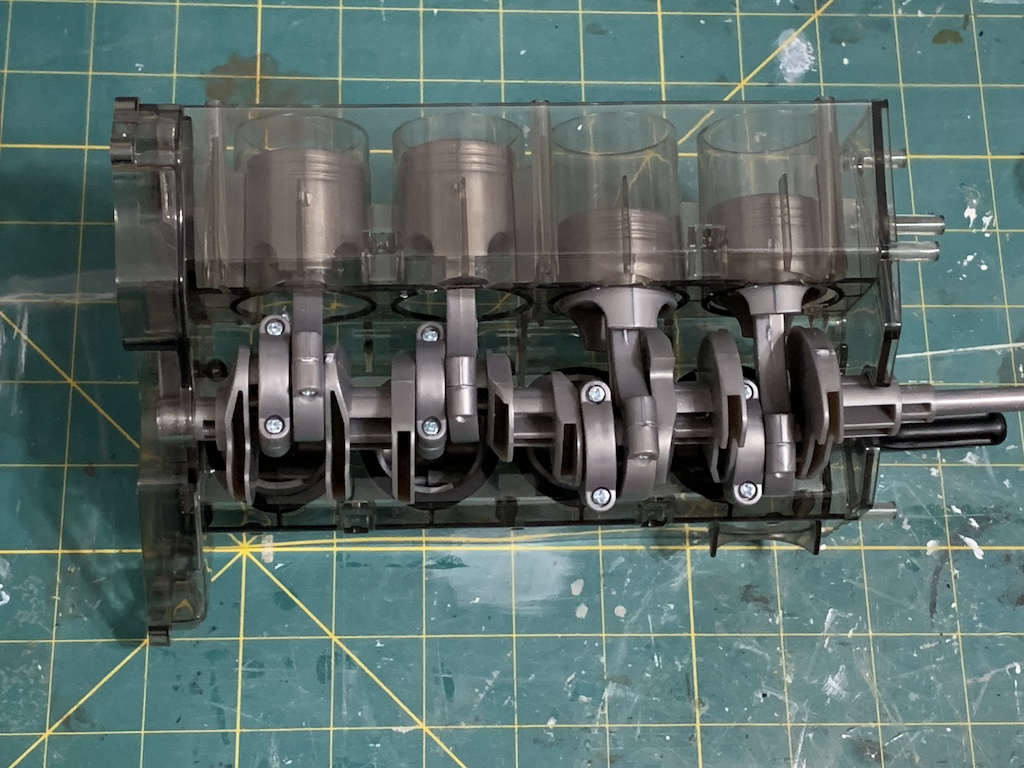
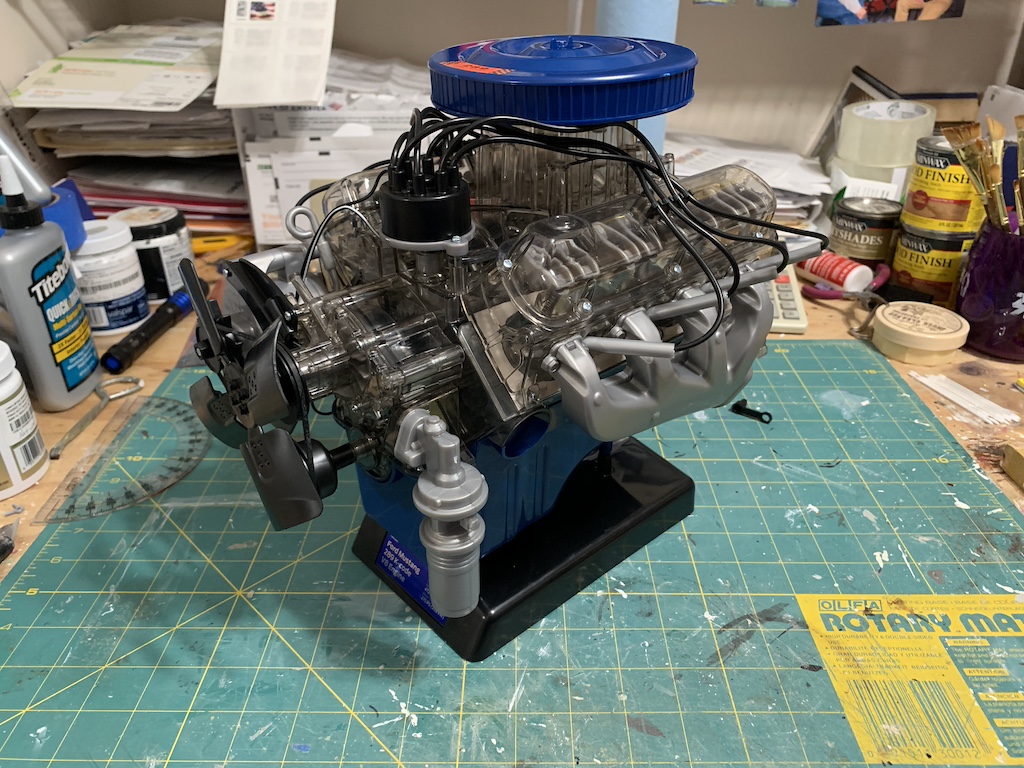
… prior to attaching the blue oil pan and mounting it on its base.

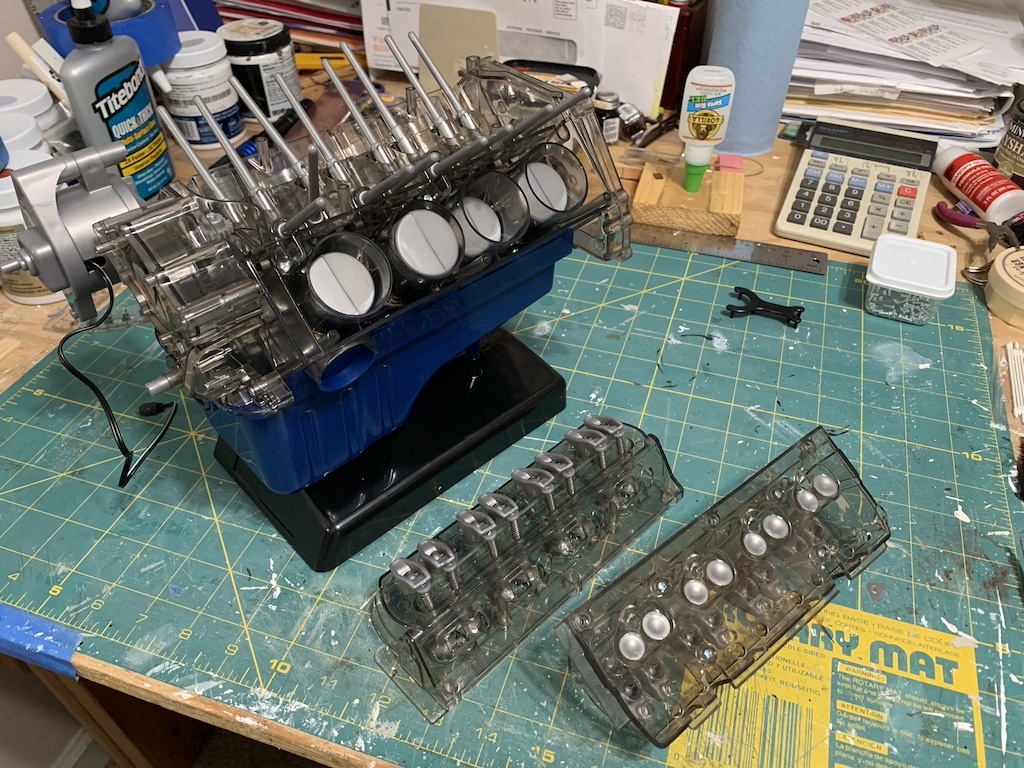
When I was building the heads with spring loaded operating valves, I encountered my first difficulty. One of the 16 rocker arms would not spring back up after being depressed. If you are not familiar with how an ICE works, in the photo below, the rocker arms are the eight grey pieces on the header next to the engine base that push down to open the valves when the rocker arm is pushed up by the pushrods (head farthest to right shows the eight valves and the grey rods sticking out of top of engine are the pushrods). After unsuccessfully working with it for a while, I eventually carved out some of the plastic where the rocker arm was seated in the head to get it to move freely.
Throughout the assembly, one feature I admired was that the little screwdriver included in the kit was magnetized.

This made inserting the metal screws into deep slots a breeze.
The other feature I enjoyed was how realistic the assembly was. In the photo above, you can see a small black plastic piece near the top of the engine (one of two required during assembly). This is a timing tool to ensure that the crankshaft, the camshaft, and the distributor rotor are all in their proper alignment for normal operation. If you have ever had the misfortune of having a timing belt break, you may have experienced the nightmare of having an open valve driving itself through top of the piston. If that happens, usually the engine is toast.
When I took the photo above, I had just overcome my second challenge. The black tool properly mates the gear on the camshaft with the gear that turns the rotor inside the distributor. The turning distributor rotor completes the electrical connection to fire each sparkplug sequentially at just the right moment, a component that is no longer needed on modern cars with computer-controlled, electronic ignition. My problem was I could not get the two gears to mesh properly and ended up having to remove the tool and slightly rotate the gear to get them to mesh, knowing I might be creating my own nightmare.
In spite of this fear, I forged ahead and in short order had completed the model.
Once complete, it was with quite a bit of trepidation that I first pushed the starter button.
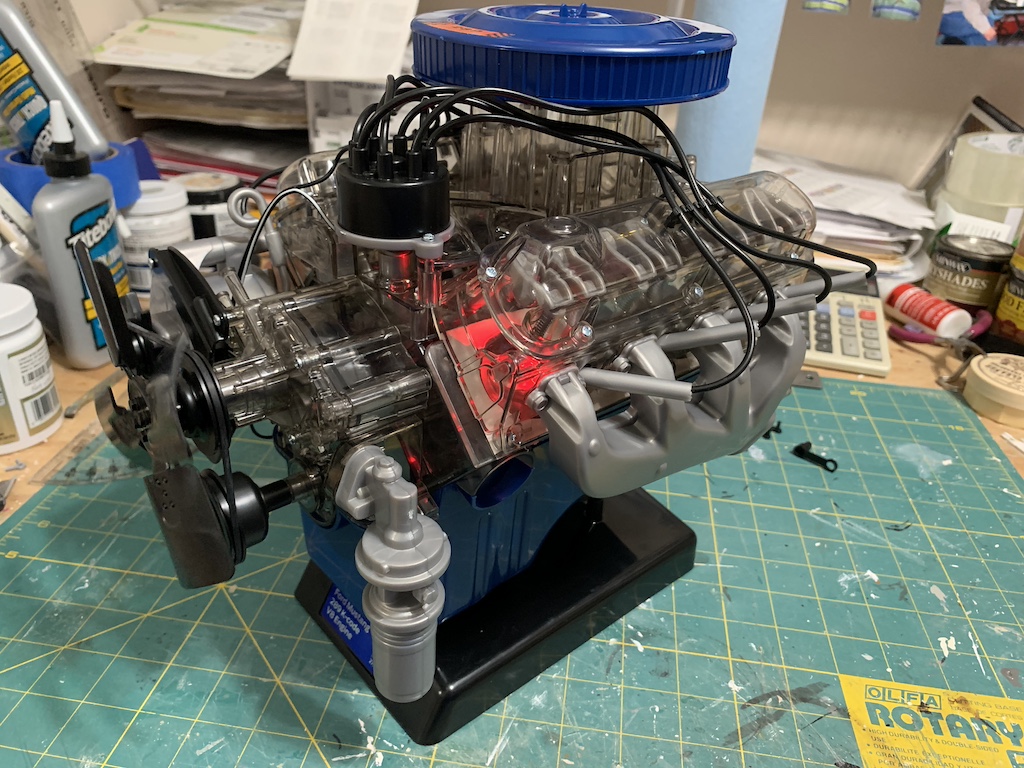
It worked! The fan rotated while the intake and exhaust valves opened and closed at the right time and the spark (red light) occurred when the piston was at its maximum compression position and the resultant explosion forcing the piston back down. It even included realistic exhaust sounds of the engine being revved!
Now all I had to do was show it to my grandson and I got a chance to do just that one day in February when he came over for a visit.
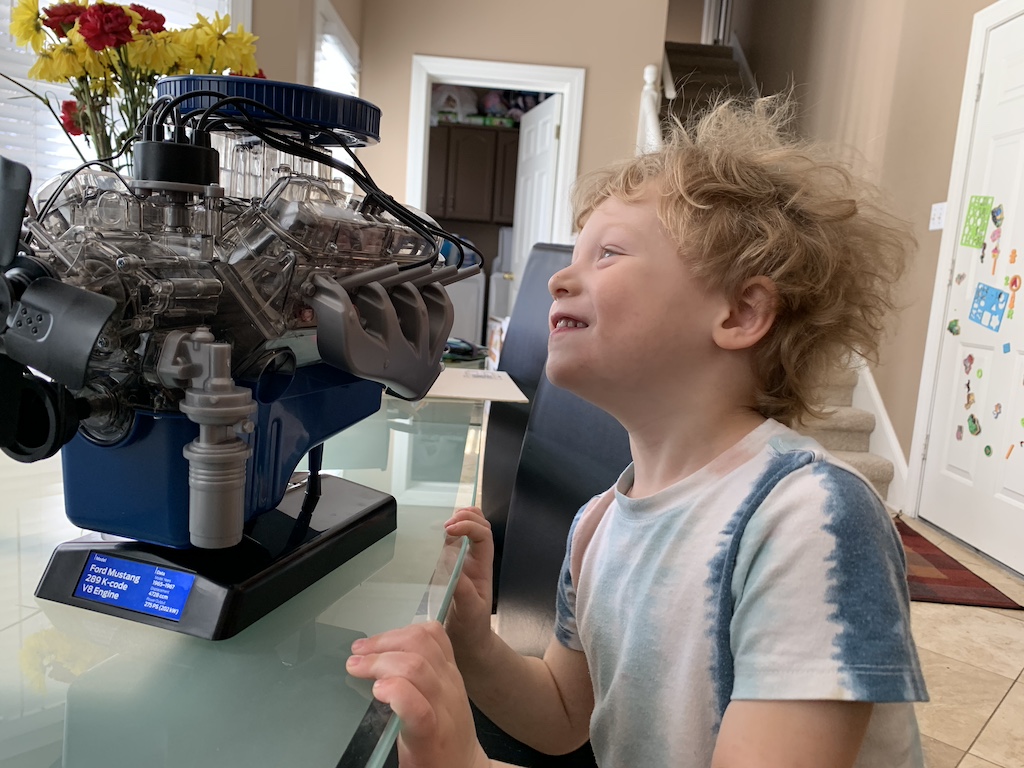
He was most pleased to see the engine sitting on the table when he came in the door.
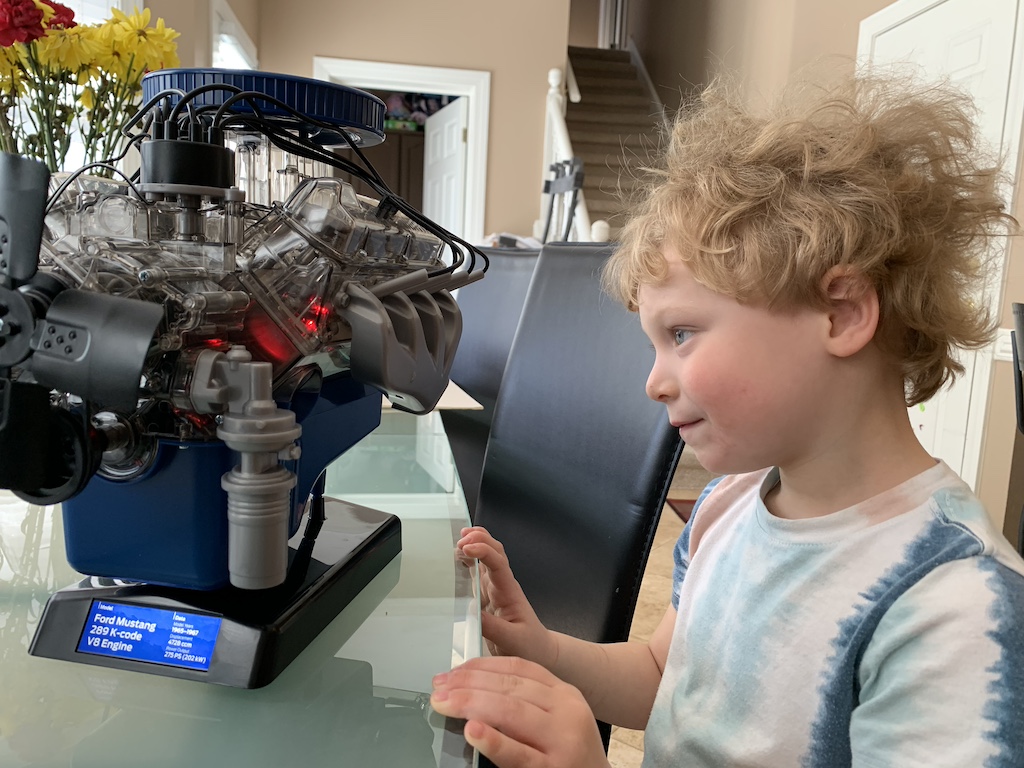
And when I showed him how it worked, he was mesmerized.
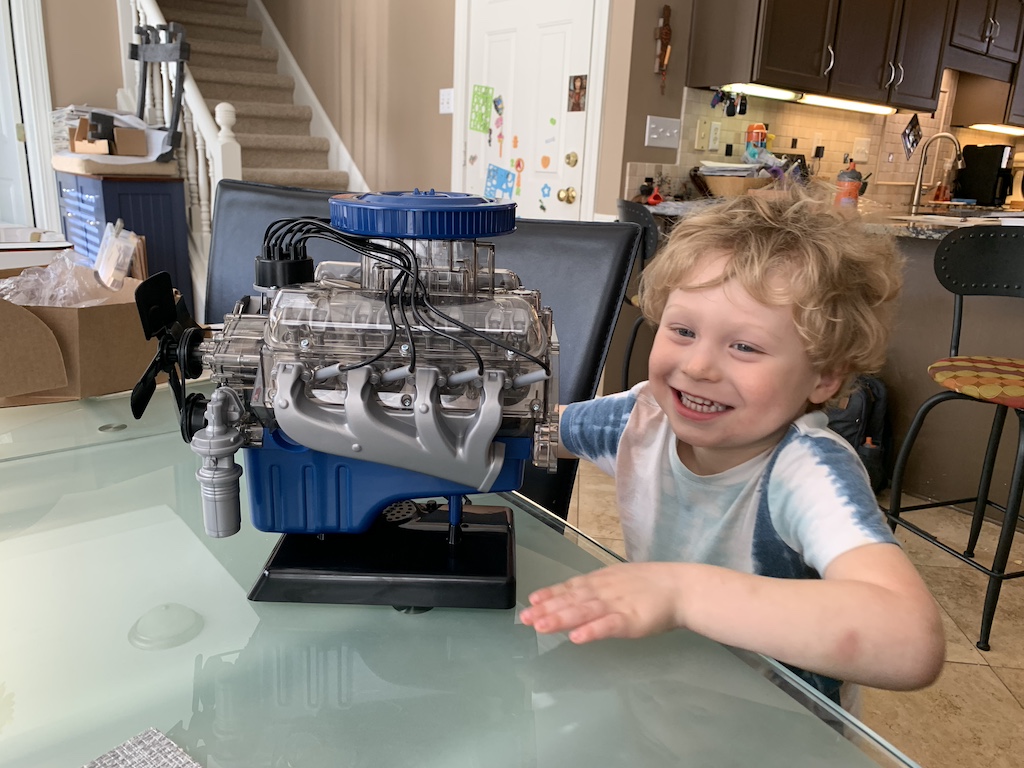
After he began pushing the start button over and over, watching the fan turn around, gazing at the pistons going up and down, and seeing the spark plugs light up all while hearing the exhaust sound, I knew it was a hit!
It was like the little engine that could! Maybe one day when he is older, I can buy this engine again and we can build it together. Then it can help him learn about how to work on his own car one day—just like his granddaddy.
Categories
