
Doll House for Me – Phase 2
Continued from: Doll House for ??? – Phase 1
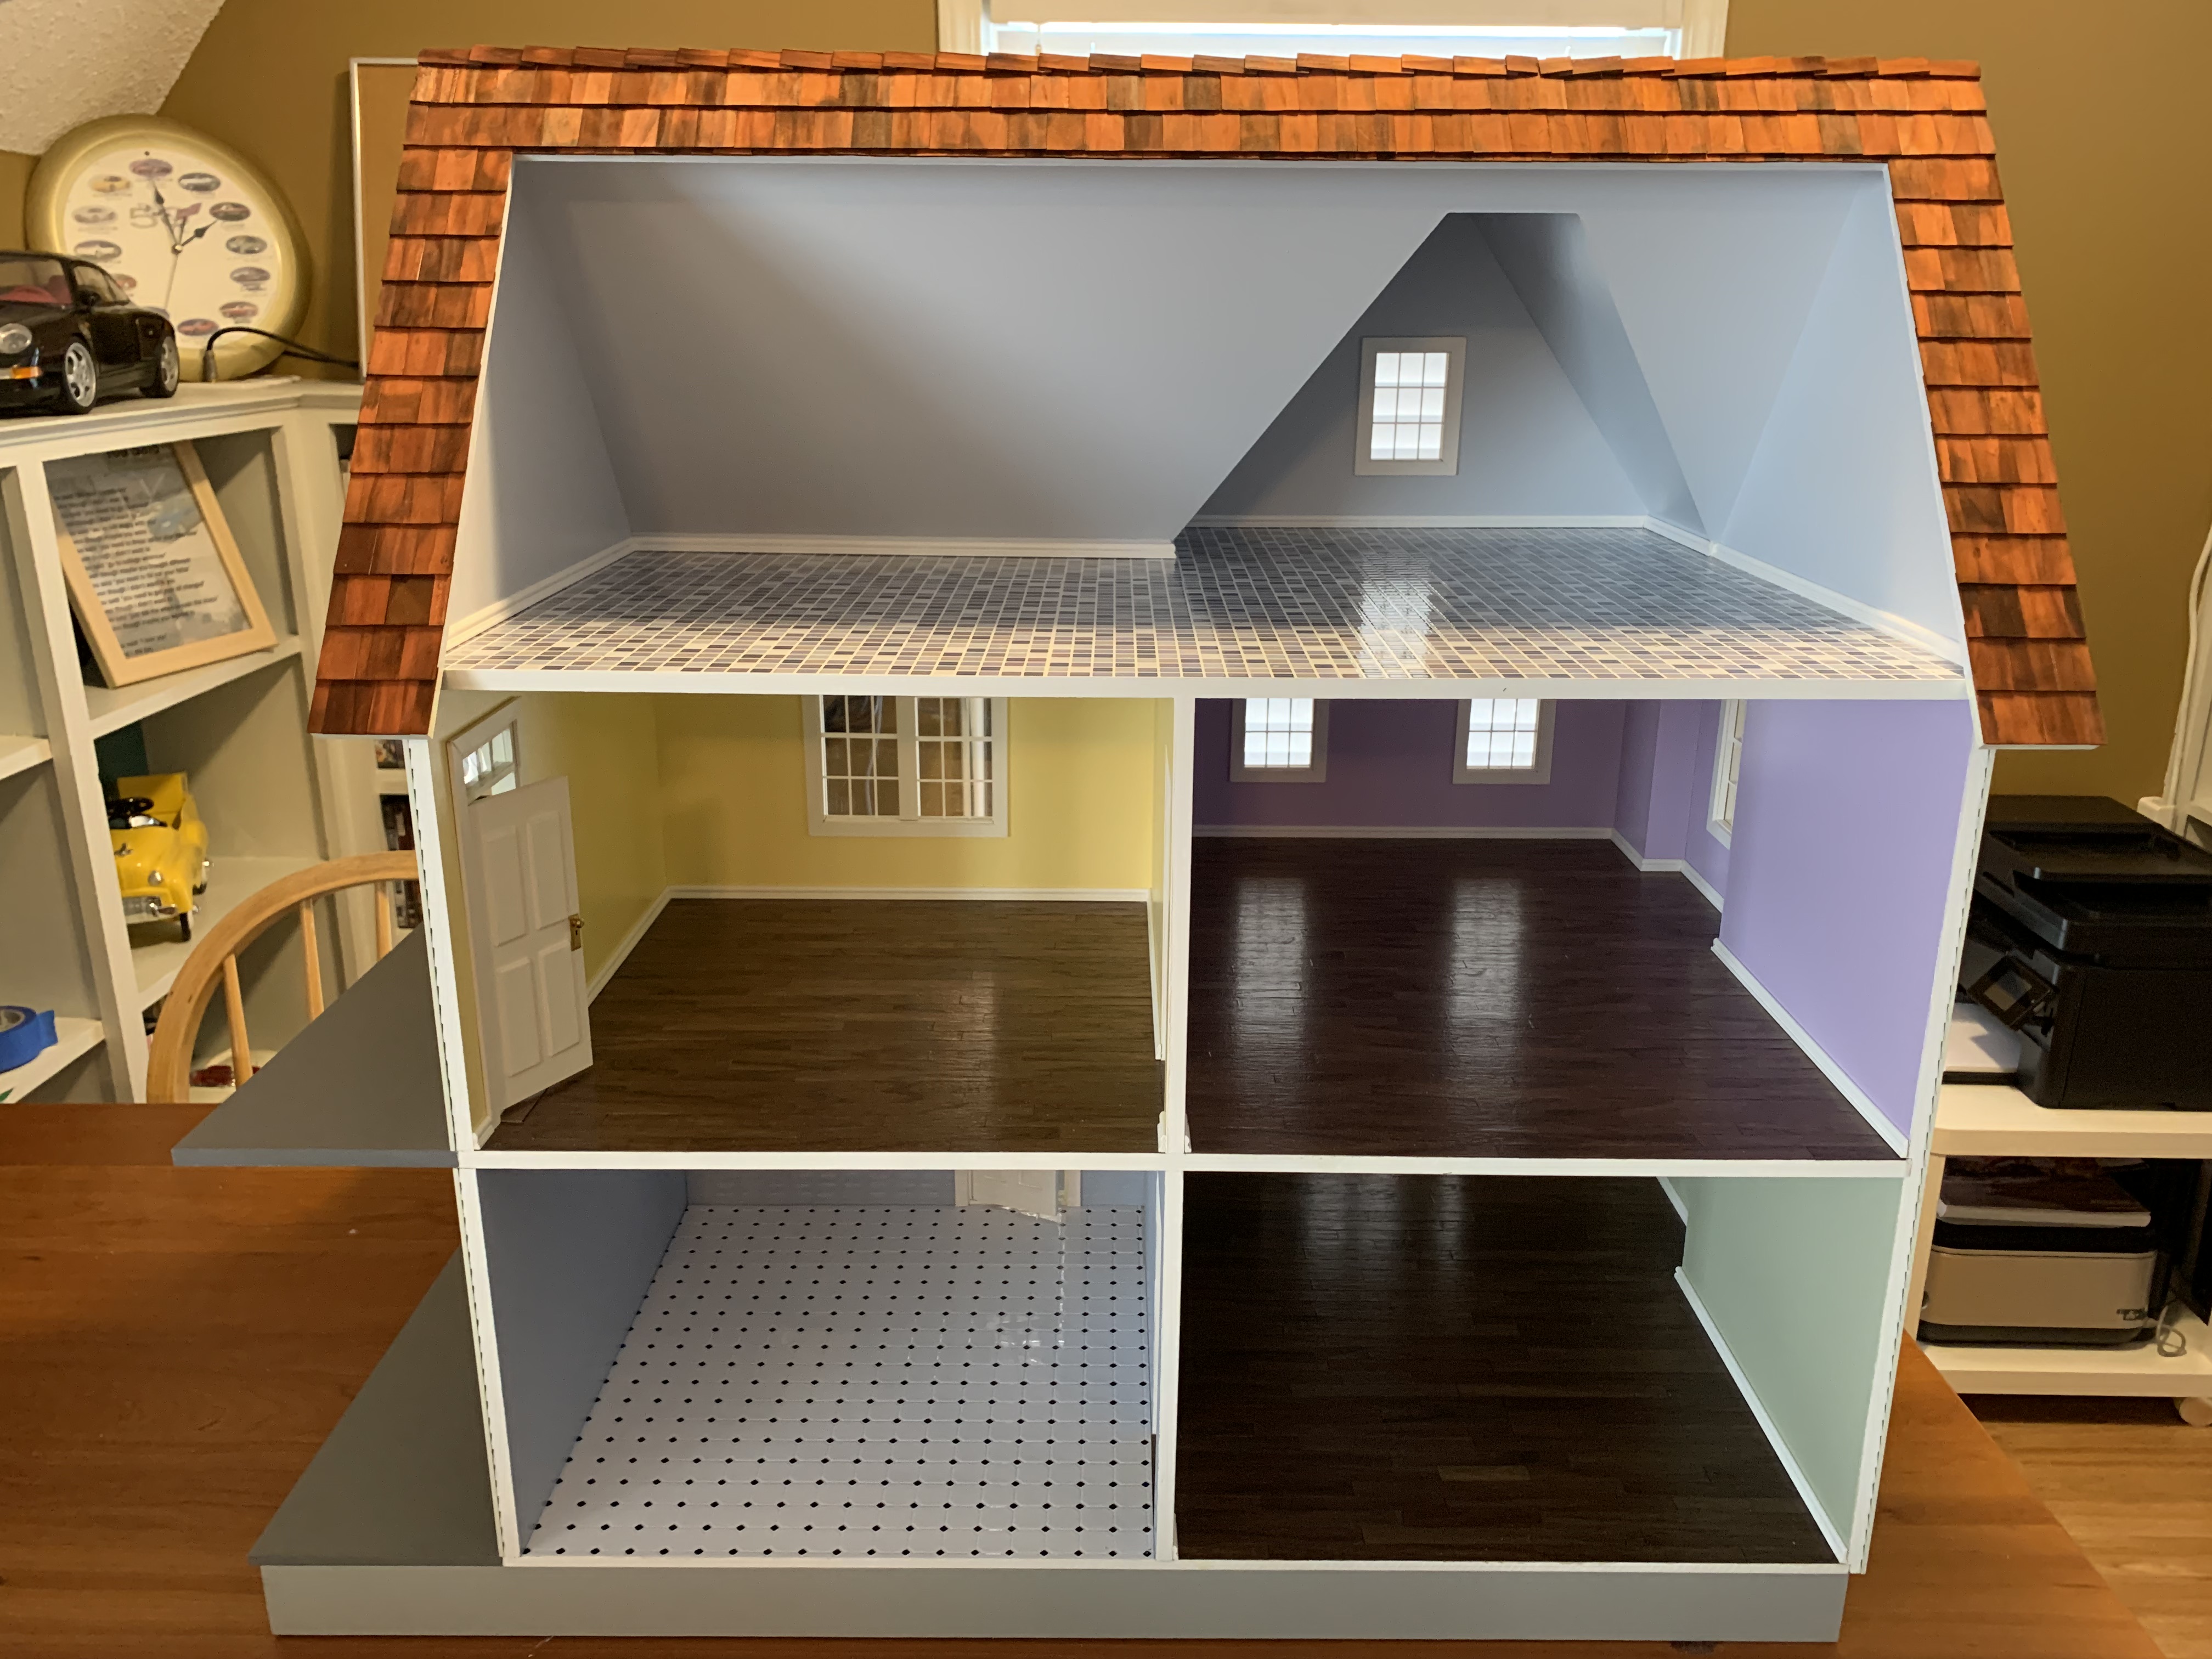
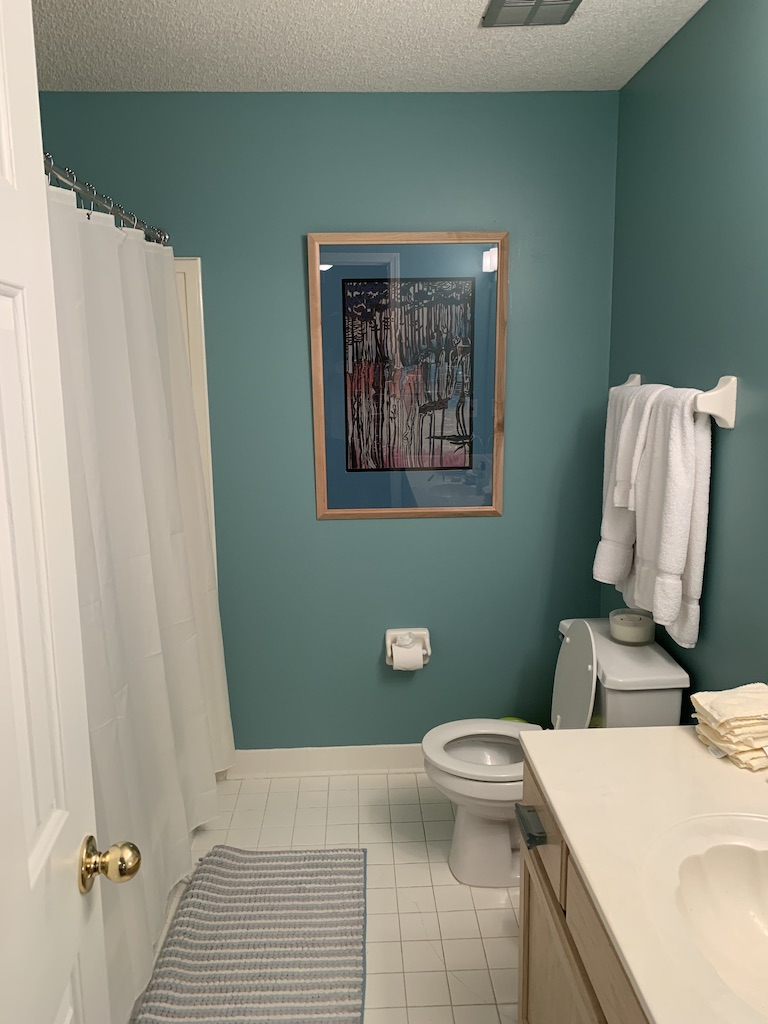
I previously wrote that my sister picked out all the interior colors for the doll house we made for her grandchildren and the one for her. I thought about getting her to help me pick colors but then I realized there were a number of paint colors that I particularly liked in our own home. With the floor plan I decided on, I would need to select two colors for the first floor and three colors for the second floor.
I decided I really liked the blue that my sister had picked out for her kitchen and so I decided to use that for my kitchen as well.
For the doll house living room/den, the color of our oldest son’s bedroom is one of my favorites, almost a Texas burnt orange, and it is where I spend a lot of time as it is where I have my computer.

This was one of the first rooms we had painted after moving in over twenty years ago and that paint bucket is long gone. I first tried buying a paint sample that I matched to the color from a photo I had of my son’s room…
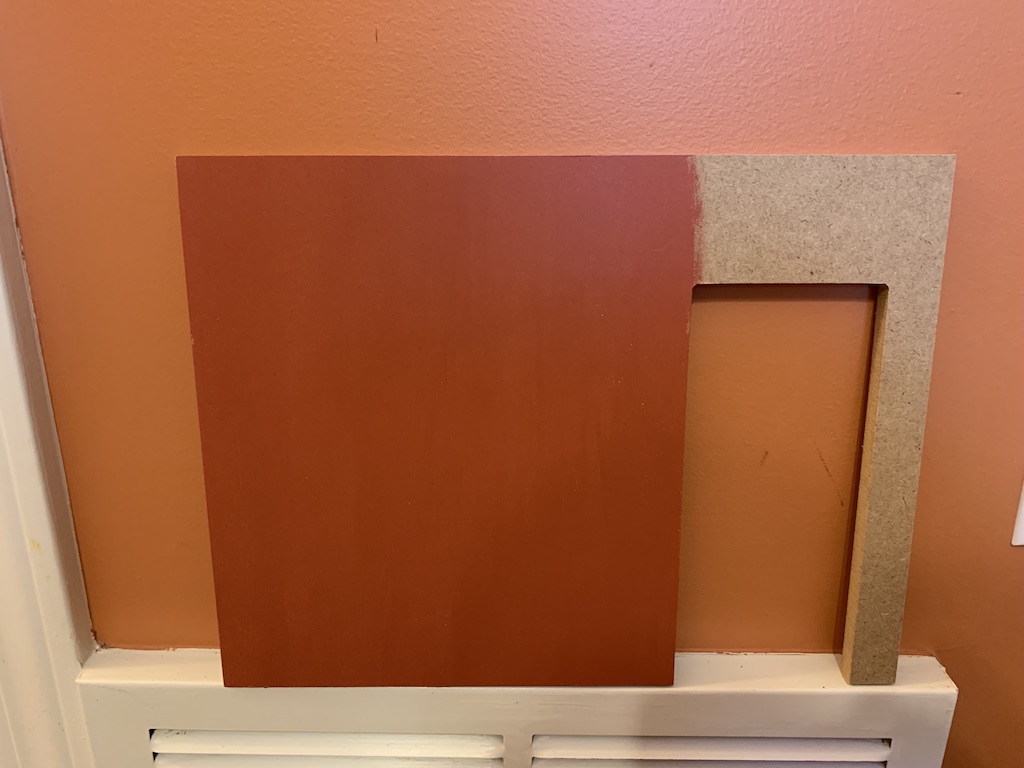
… but that failed miserably (my sister later told me it was not possible to match paint from a photo). Thus, at her suggestion, I obtained several paint chips from where I usually buy my paint samples. The one in the middle was the closest I could find…
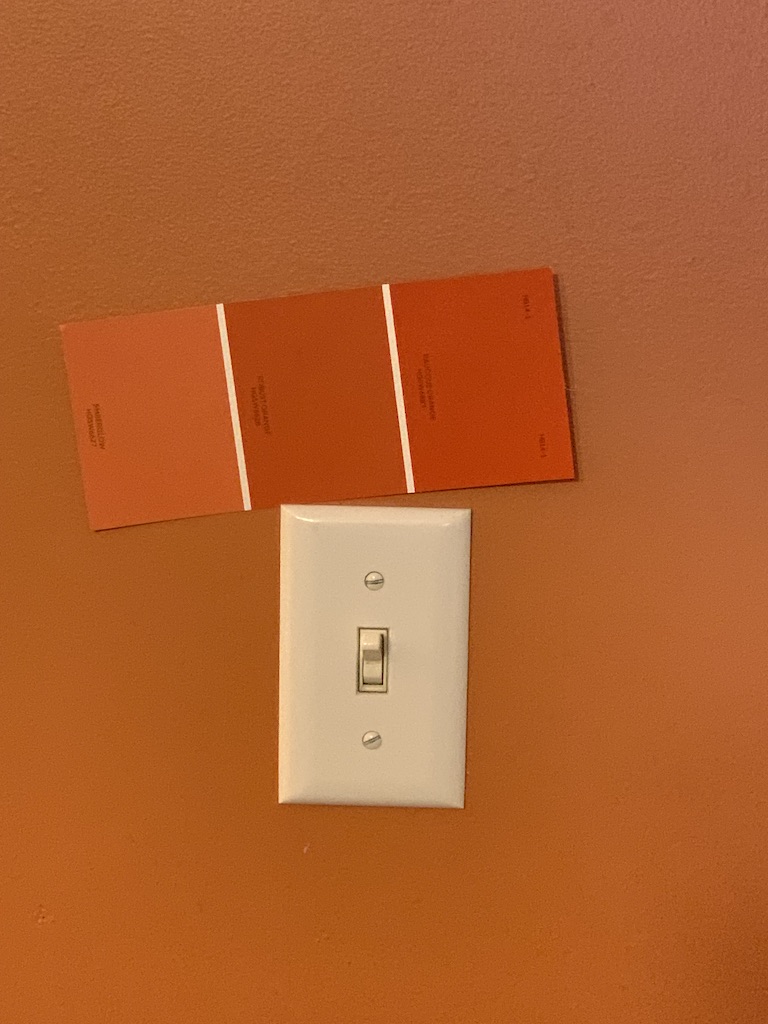
… but once painted, it too did not match; turned out a bit too orange for me.

My youngest son happened to have a color fan deck by the same paint manufacturer which included an expanded color pallet beyond what was sold at the big box hardware store I frequent.
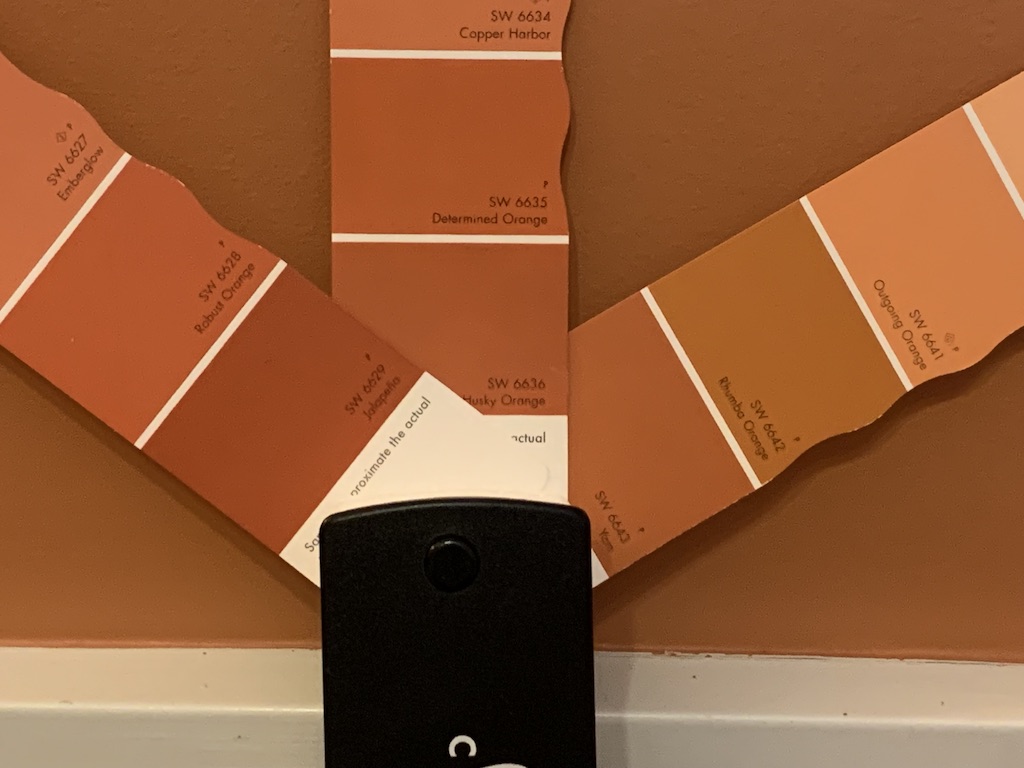
The second color I had painted is the second from the bottom on the left (if you zoom in, it is Robust Orange). It seemed to me that the second from the bottom on the right (Rhumba Orange) more closely matched the existing room color. I consulted with my sister, and she concurred that it would be closer although possibly not an exact match and so off I went to buy my third orange paint sample. I think it came out very nicely.

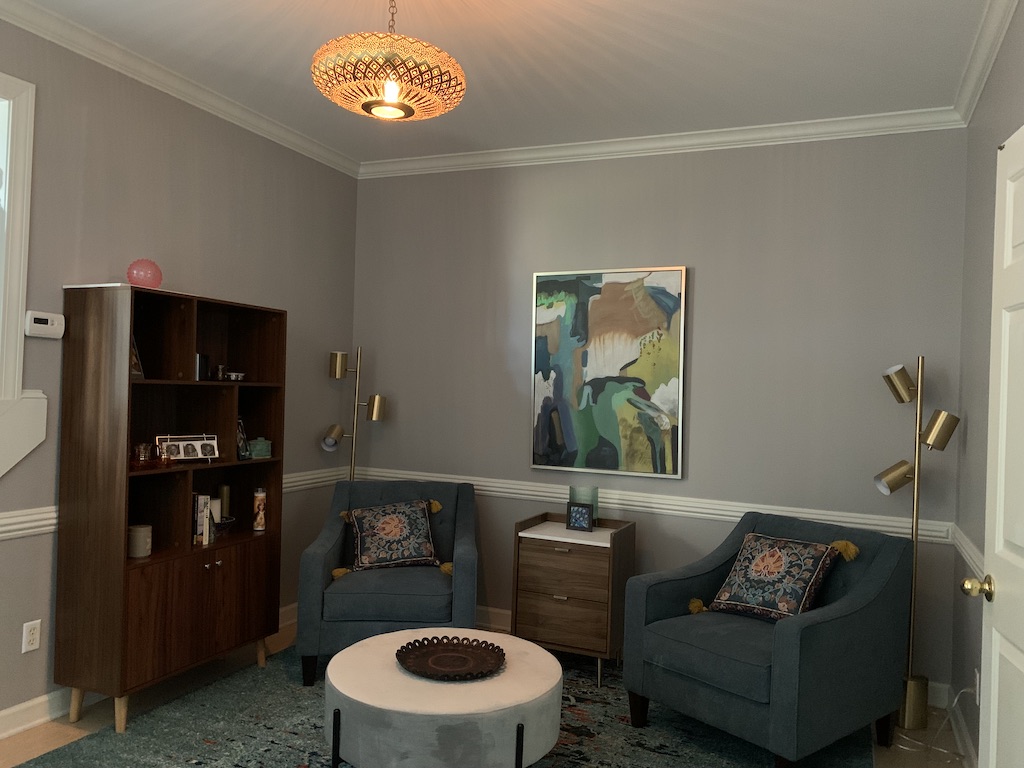
For the second-floor office, I decided on the light grey color that we had recently painted for my wife and for which I still had the bucket of paint, our former dining room now turned into her Moroccan sitting room (so inspired by the overhead light fixture and furnishings).
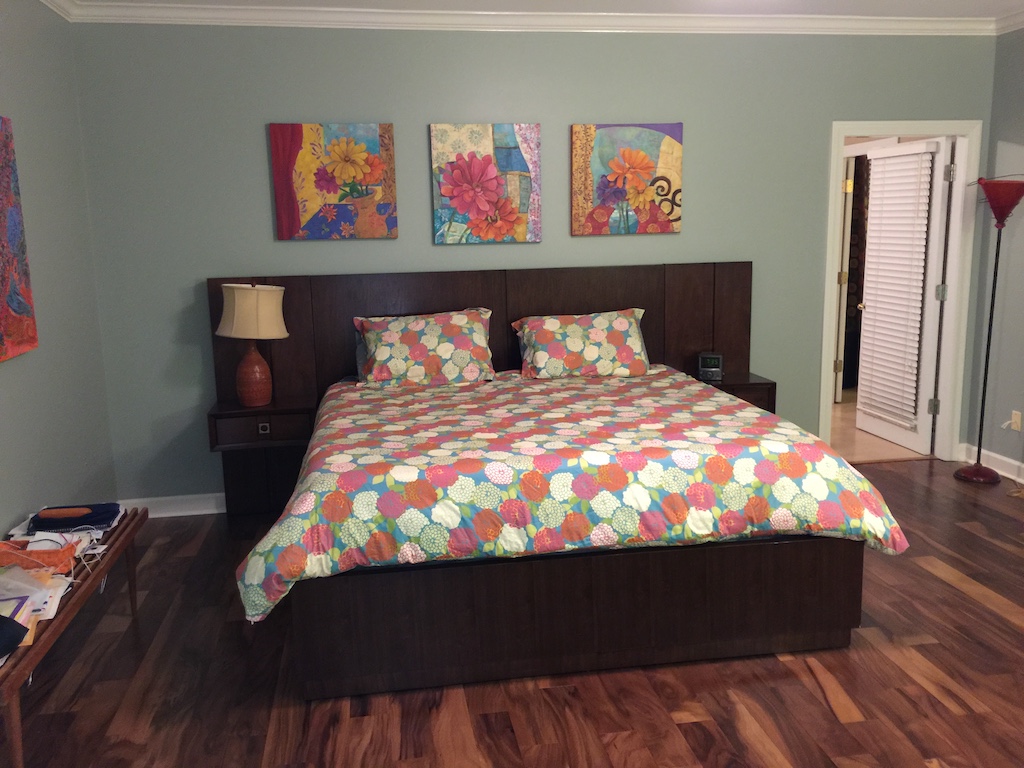
For the doll house bedroom, I decided to use the same grey green color in our bedroom.
This is actually the same color we painted the bedroom in our midtown condo back in 2013.
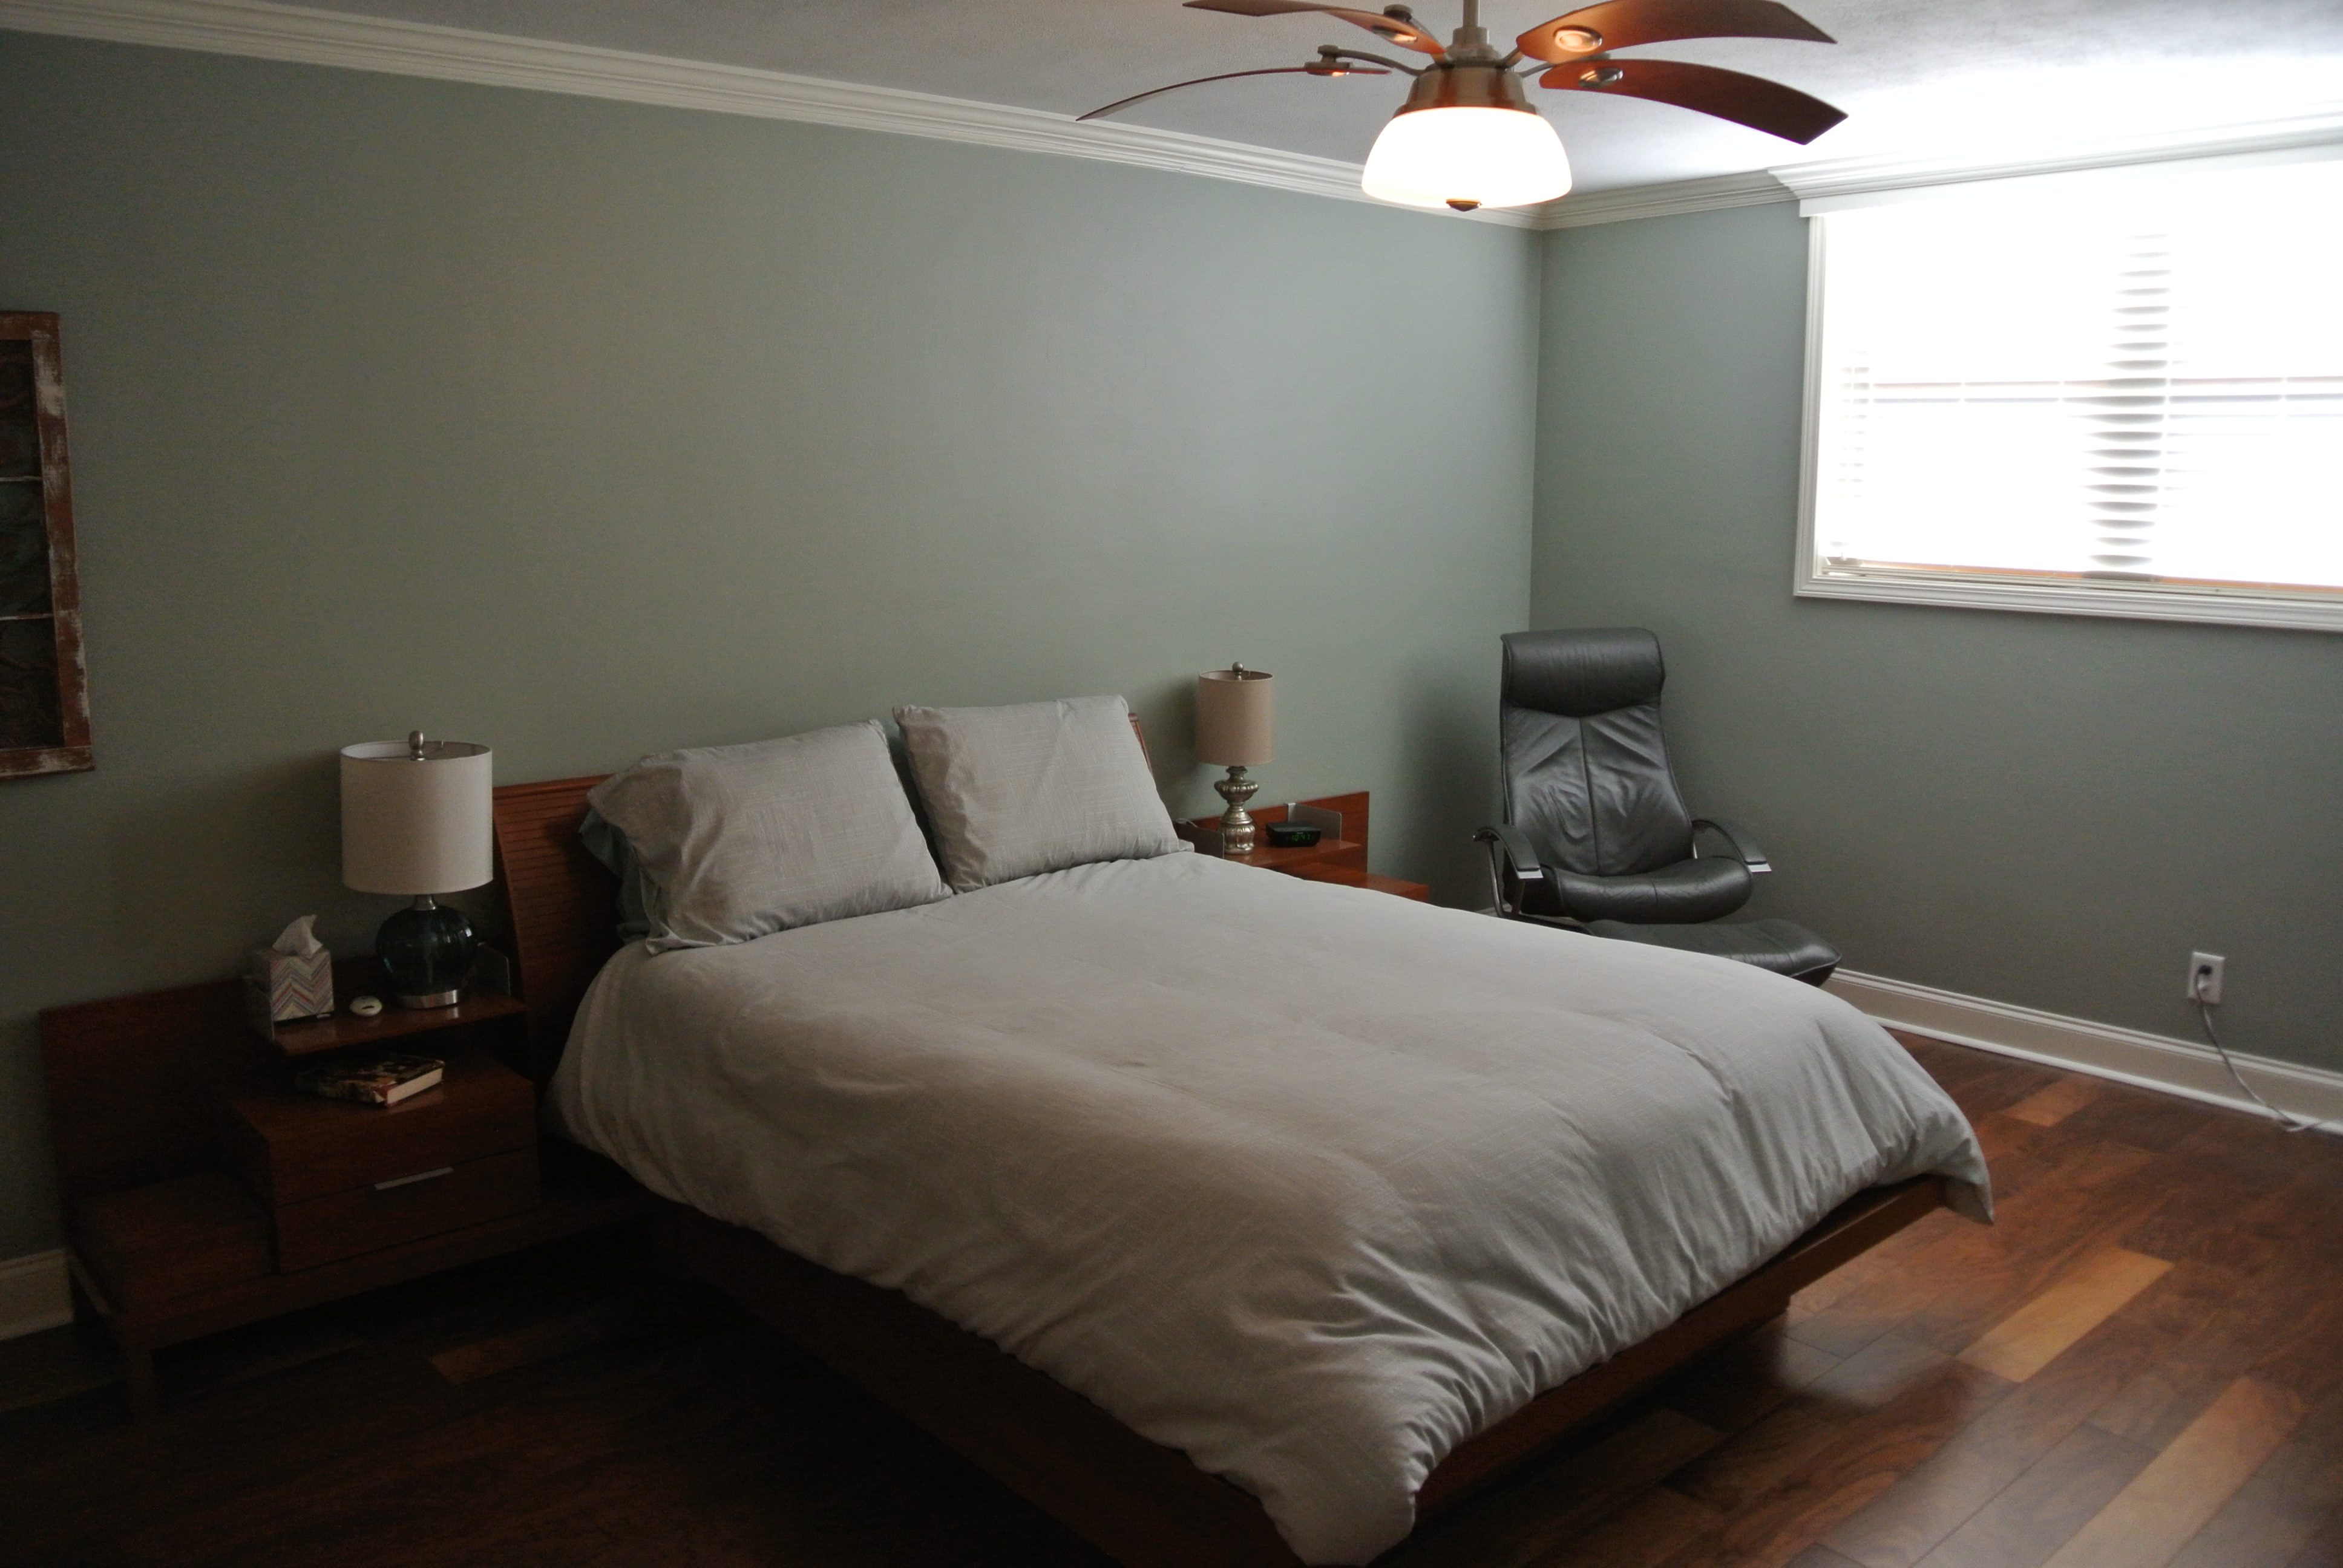
In 2018, when we incurred significant water damage in the bedroom of our home from a clogged A/C condensation drain (click here for that story), we decided to switch from the soft yellow color the room had been painted to the same grey green color from the condo. I still had the paint bucket but after five years, it was completely dried up. Thankfully, I was able to buy a paint sample of the same color.
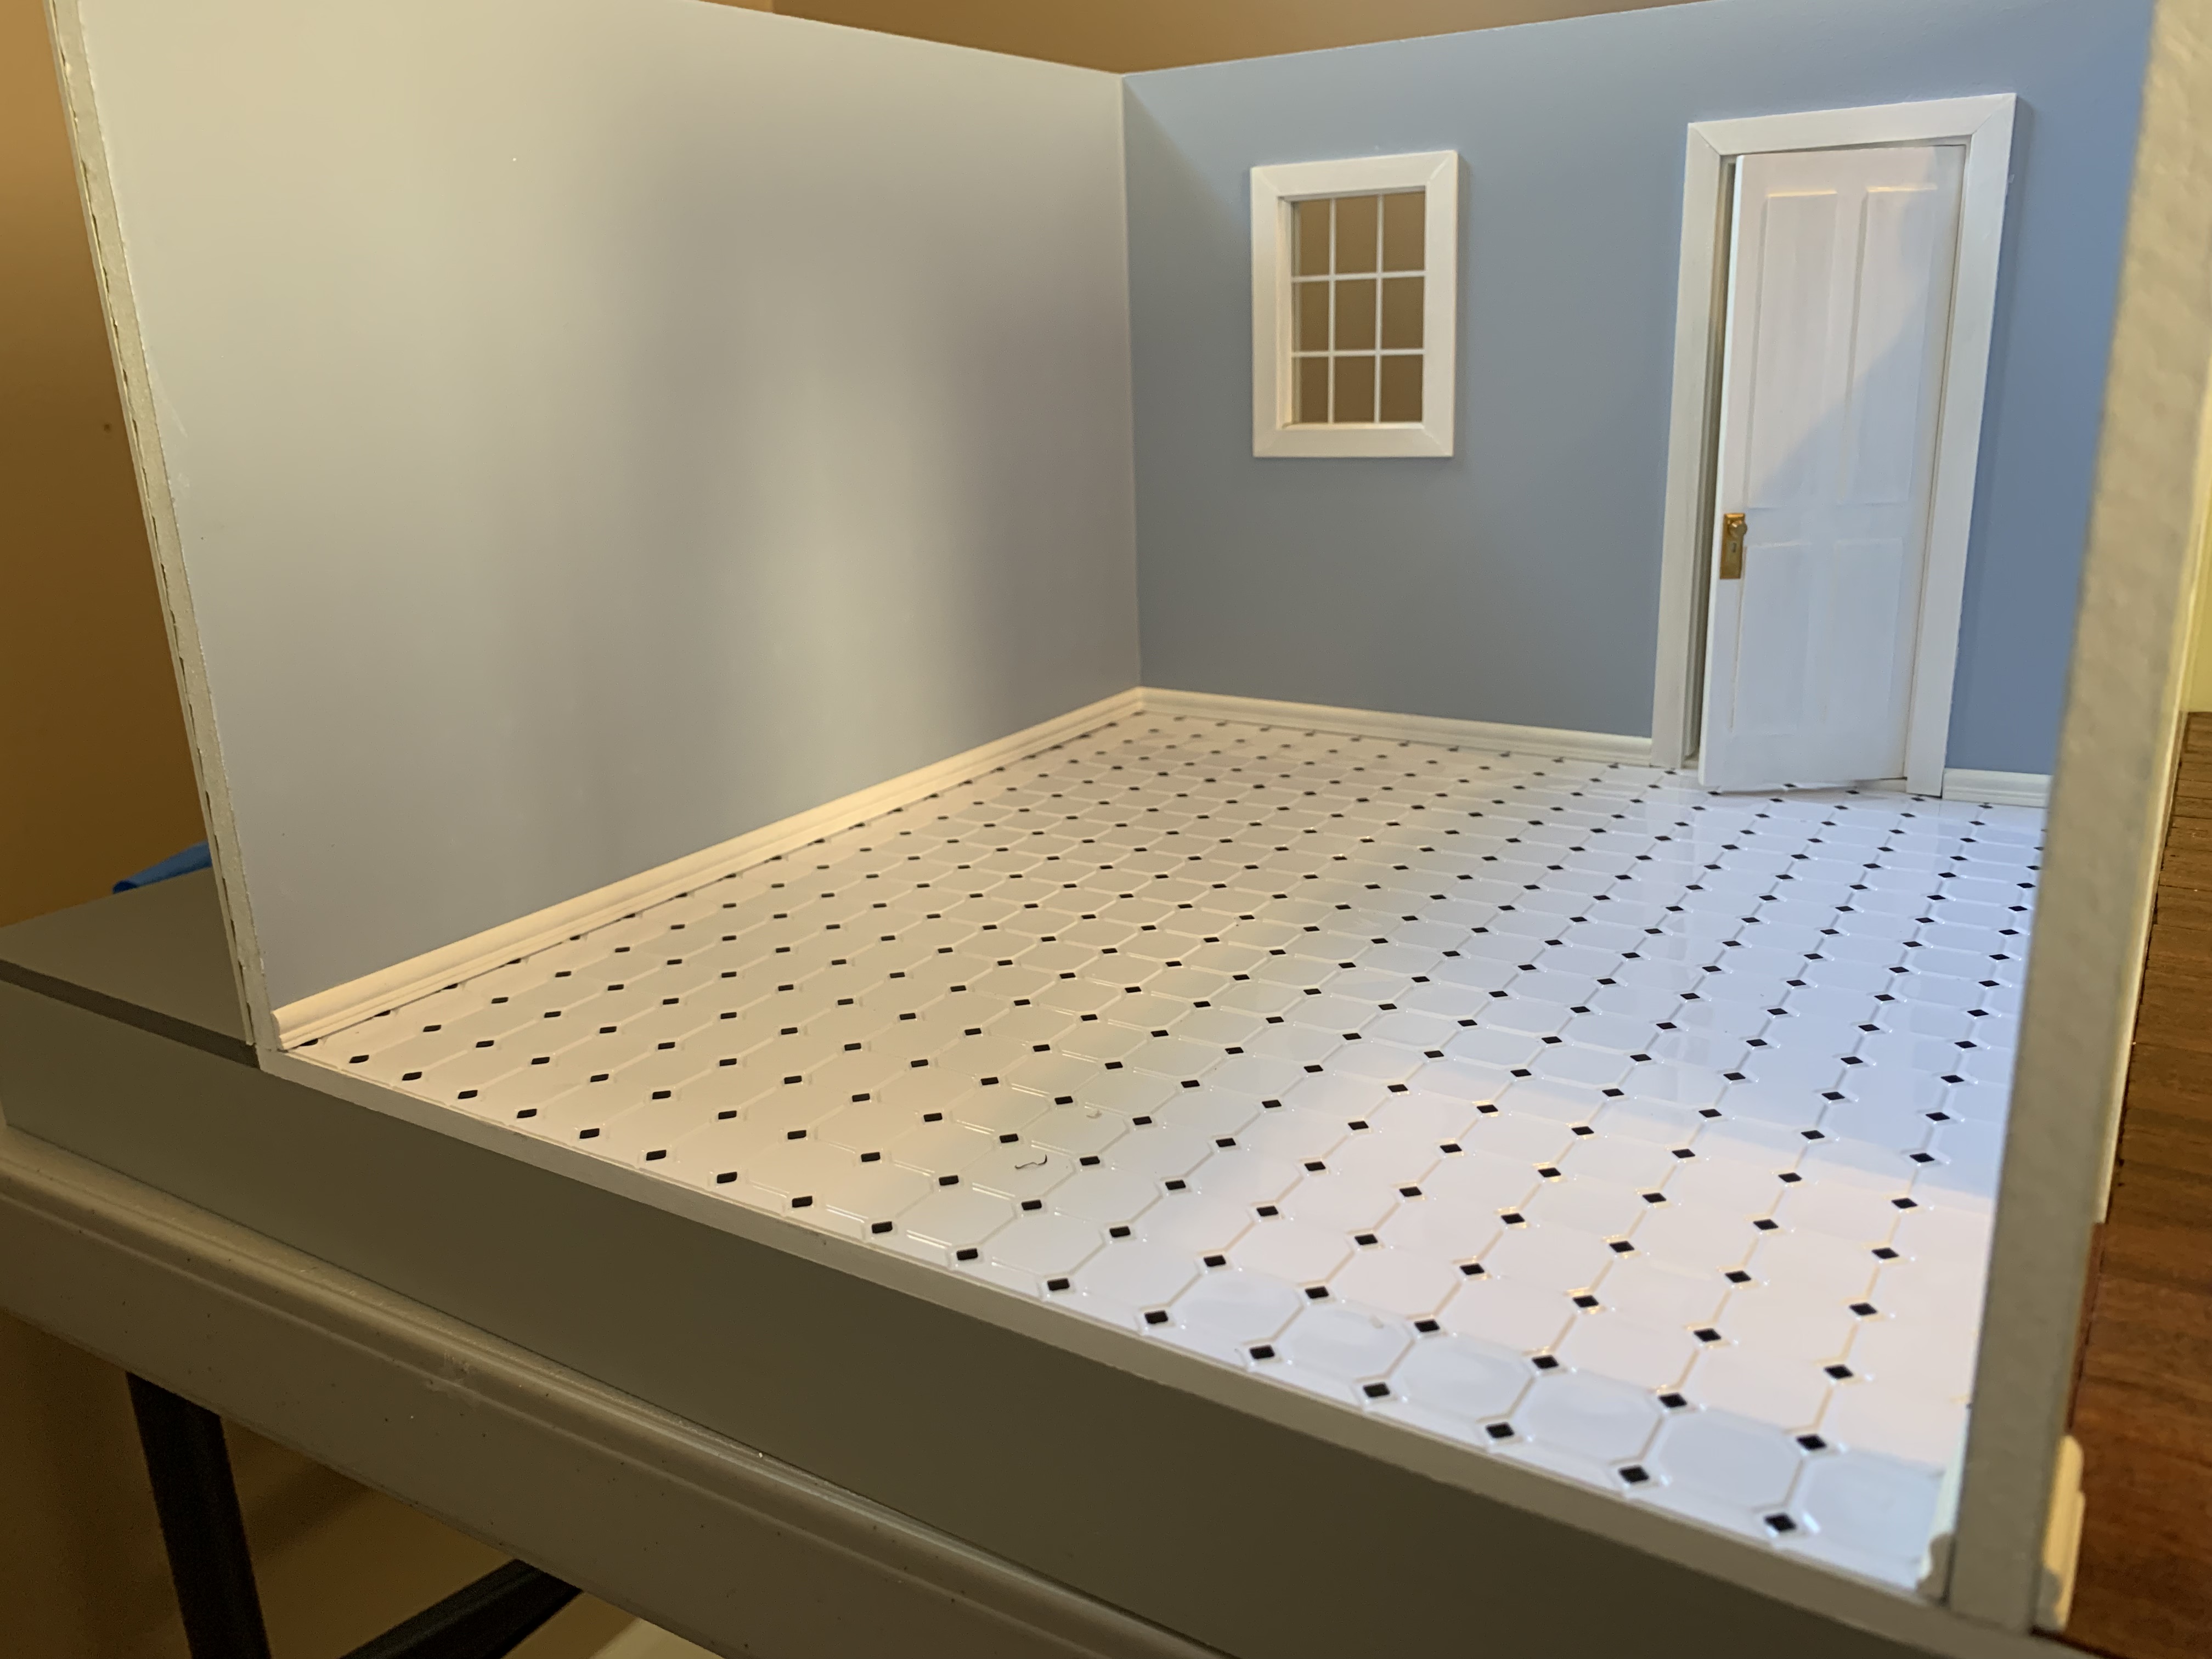
For the doll house bathroom, I thought I would use the color from the bathroom off our second-floor playroom.
We had painted this bathroom in 2008 when we redid the playroom, and I even still had the 15-year-old paint bucket. But when I held the bucket up to our bedroom wall, the color dot on the top of the can seemed too close to the bedroom color, almost as if they had been mismatched. So, I thought a much lighter shade paint might work—that is until I consulted with my sister.
I took the lighter shade paint chip that I had picked out with me when I delivered my oldest sister’s doll house. But when my sister looked at it, she quickly said it would not do. So, while at my sister’s house, we drove to the paint store that sold the brand of paint I had been using. There we found the exact paint chip for the existing bedroom color. She then suggested going darker in the same family and picked one out for me.
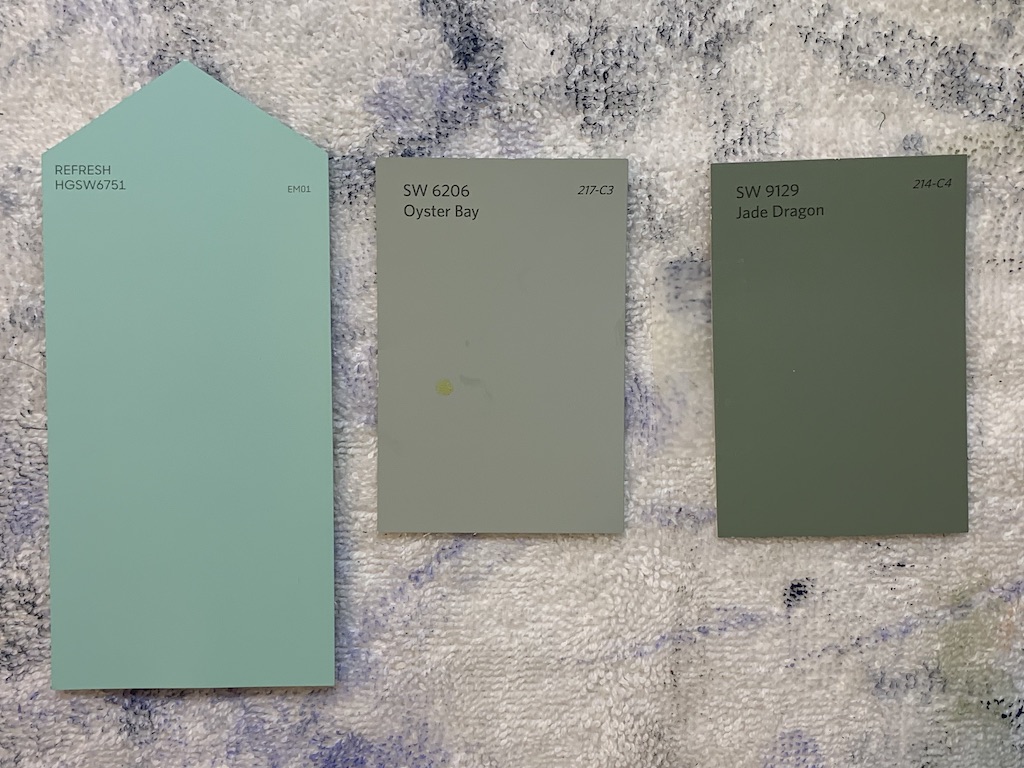
In the photo above, the existing bedroom color is in the middle and the lighter shade I picked to the left. The darker shade she picked is to the right. Thank goodness I have my sister to help me pick out these colors and not make glaringly poor paint choices.
With the five paint colors selected, I just needed to figure out where the first-floor wall would go and then I could paint all the interior walls. This choice, in effect came down to how big I wanted to make the kitchen. That decision was actually driven by a flooring choice (more on that later).
Using the small paint roller, I have used previously, I rolled three coats of paint on the walls of each room, taping off with blue painter’s tape between rooms.
The last interior painting required was to roll the ceiling with white paint (first-floor ceiling is underside of second-floor floor), but before I could do that, there were some additional flooring steps I needed to take.
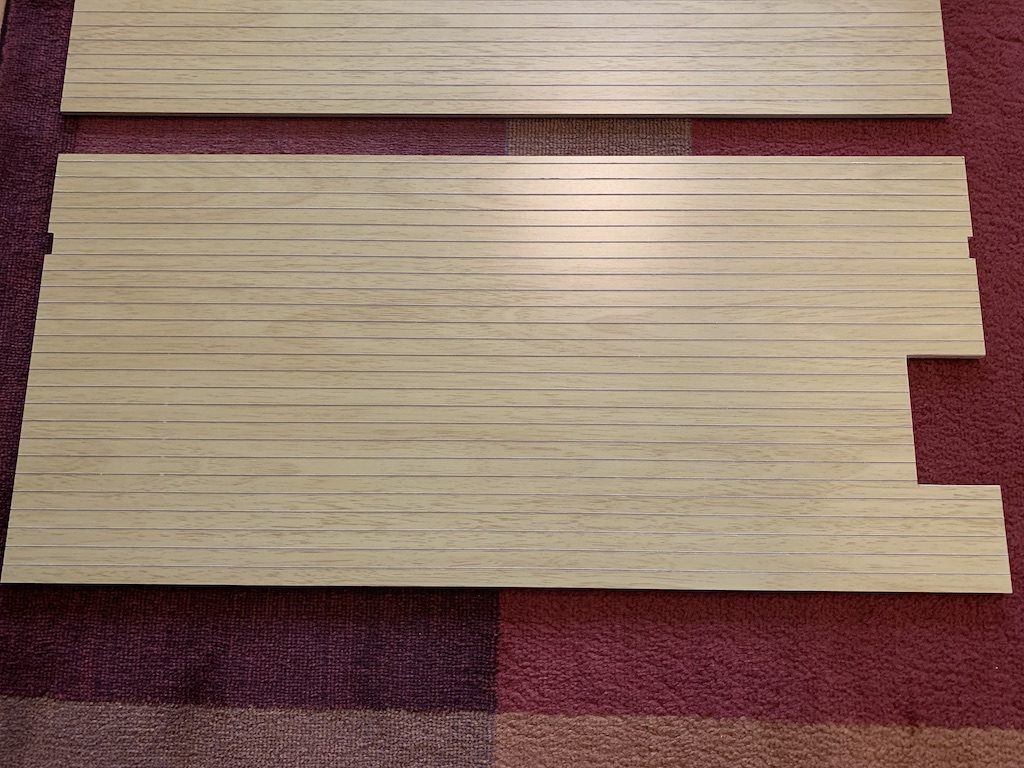
This doll house kit included the same pre-finished floors that were in my oldest sister’s doll house.

While any miniature builder could certainly appreciate how easy these are to use, only requiring a couple of coats of polyurethane to protect the finish, for me they had one significant draw back. In a real home, no wooden planks of flooring would run the entire length of the home and since I always want the most realistic look in my models, this just would not do. I knew selecting an alternative flooring option would greatly increase the amount of work involved but, hey, this isn’t work. It’s play!
To be continued…
Categories

David, I look forward to reading about the progression of this dollhouse. With your attention to detail, I am sure it will be fabulous. I understand your “flooring issue.” With my own dollhouse, I had moved the bathroom to the 3rd floor, but later I realized the scale was not quite right for what I intended. That’s where I stopped. The colors you chose are perfect. I look forward to future posts about this new home of yours.
Thanks, Betty the next update is less than a month away. Hope you have a nice day!
Hope you have a nice day, too!