
A New Christmas Tree!
Merry Christmas!
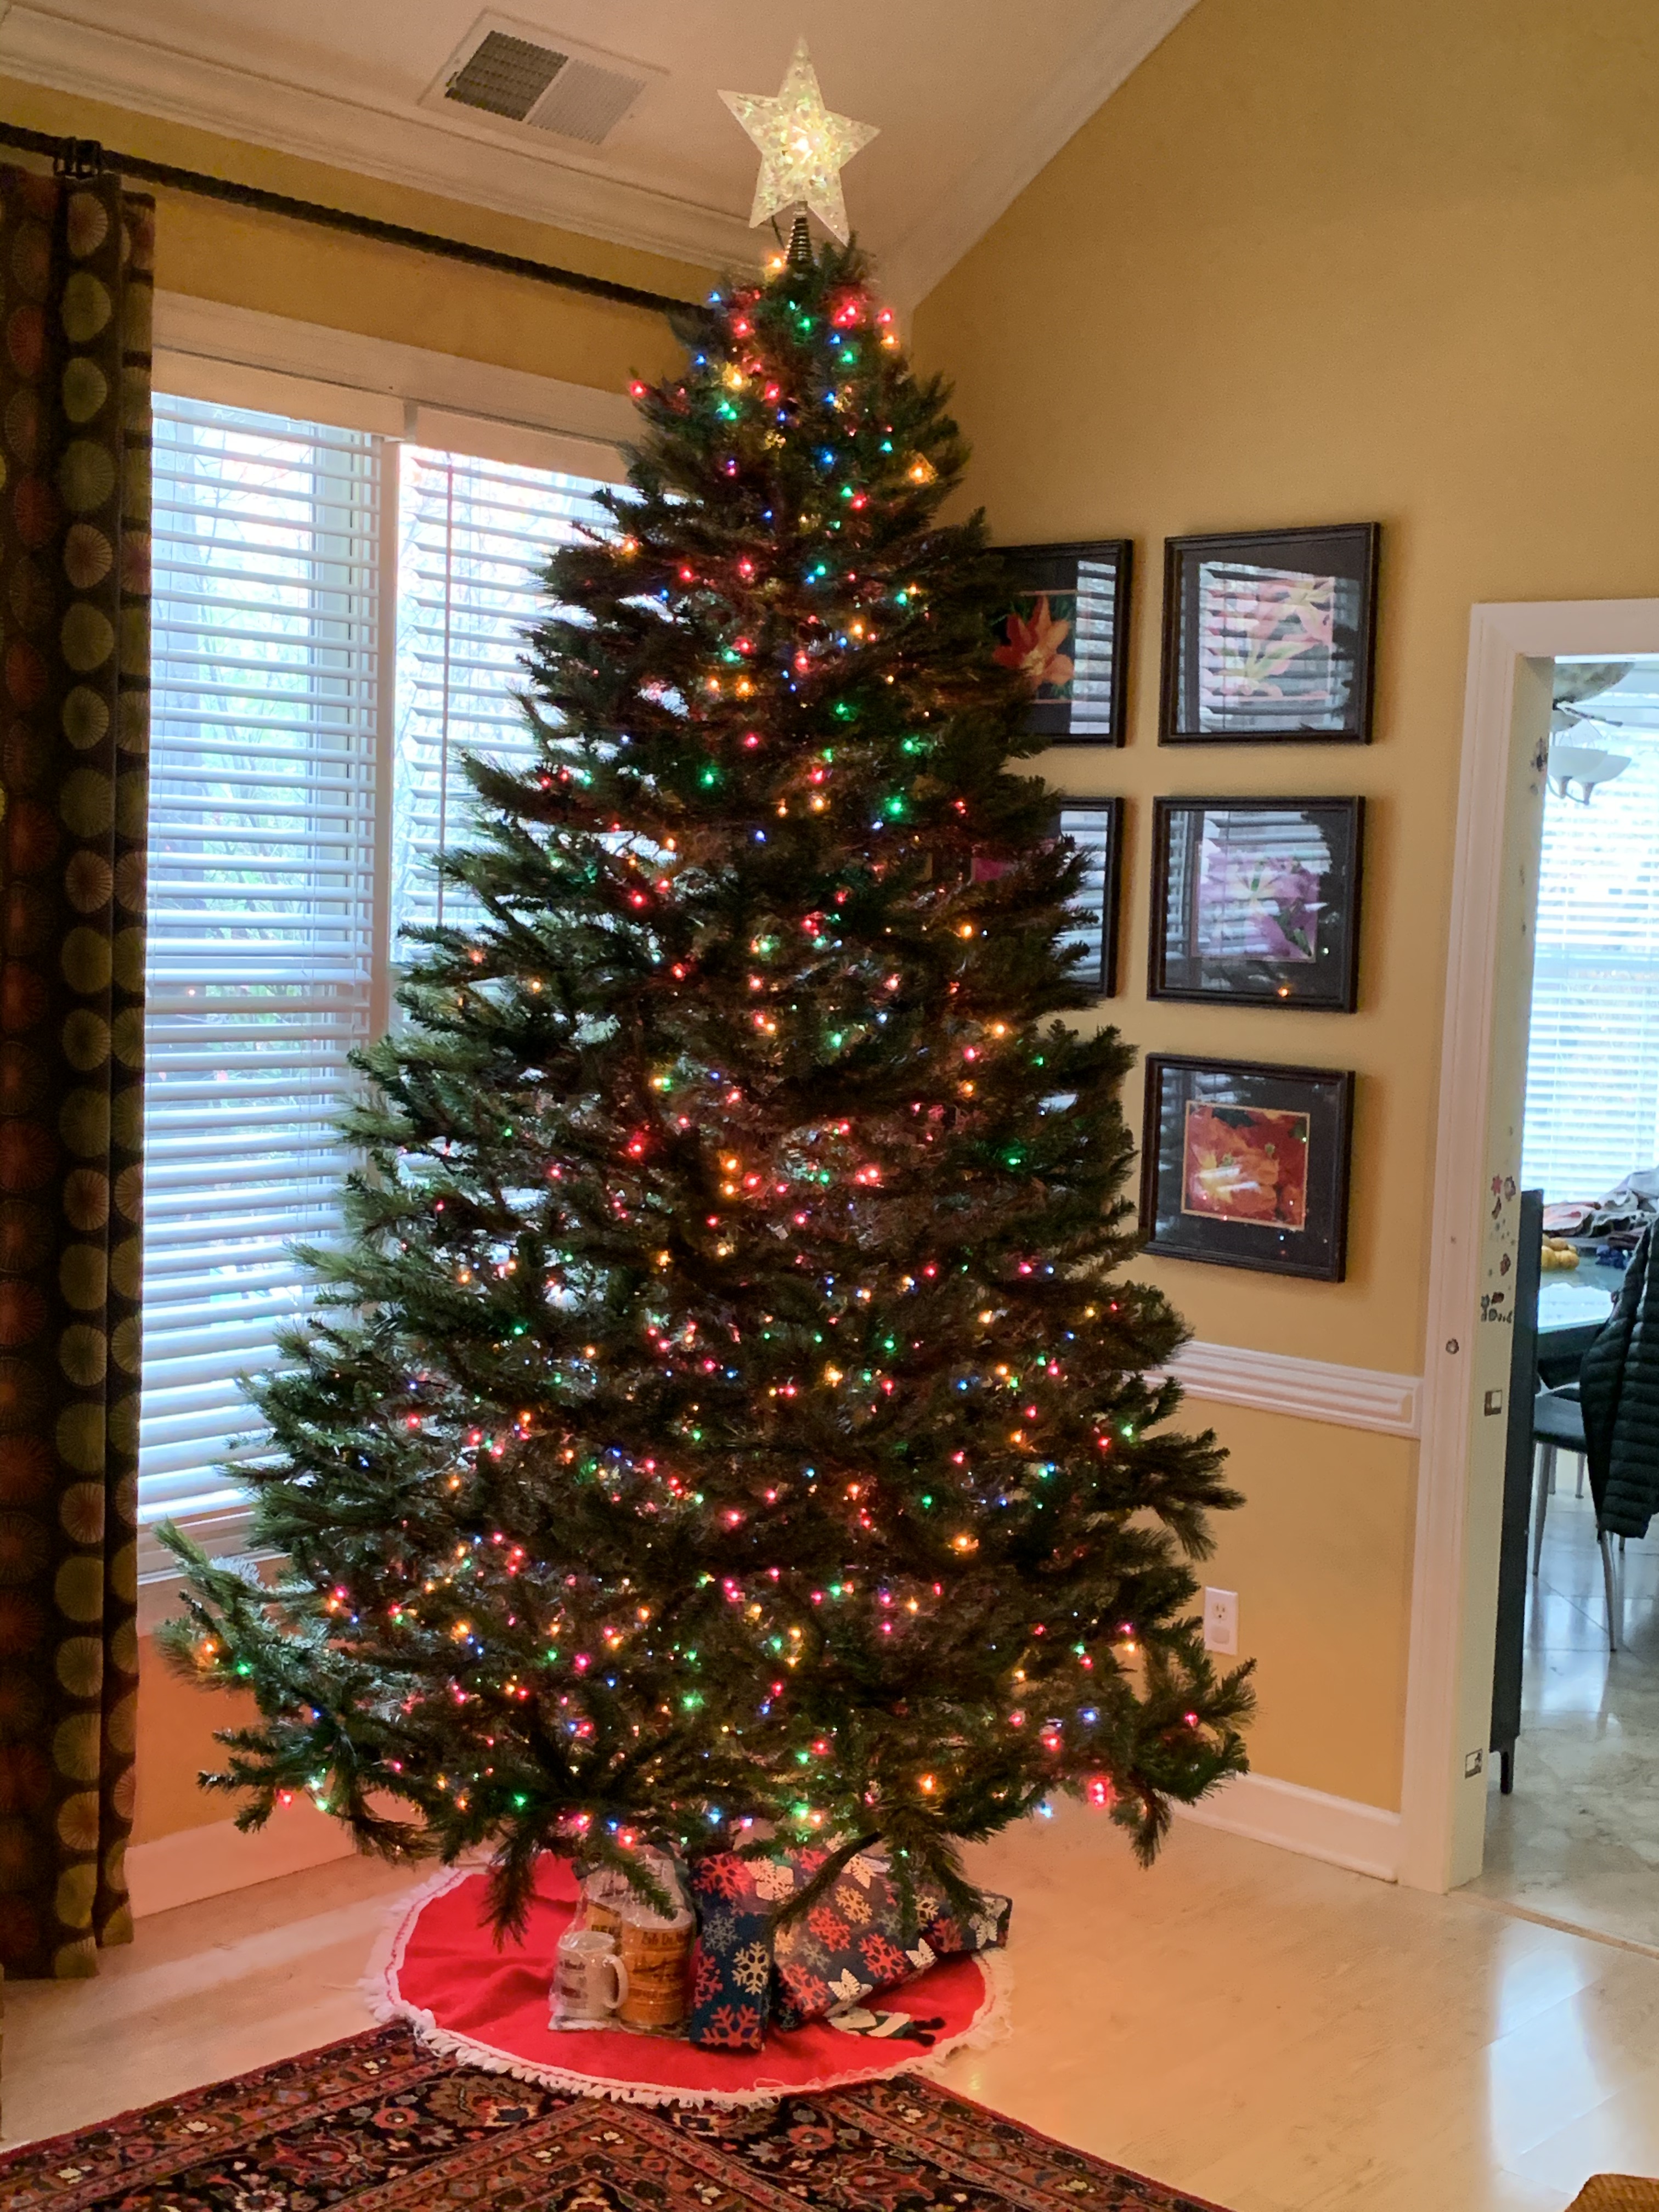
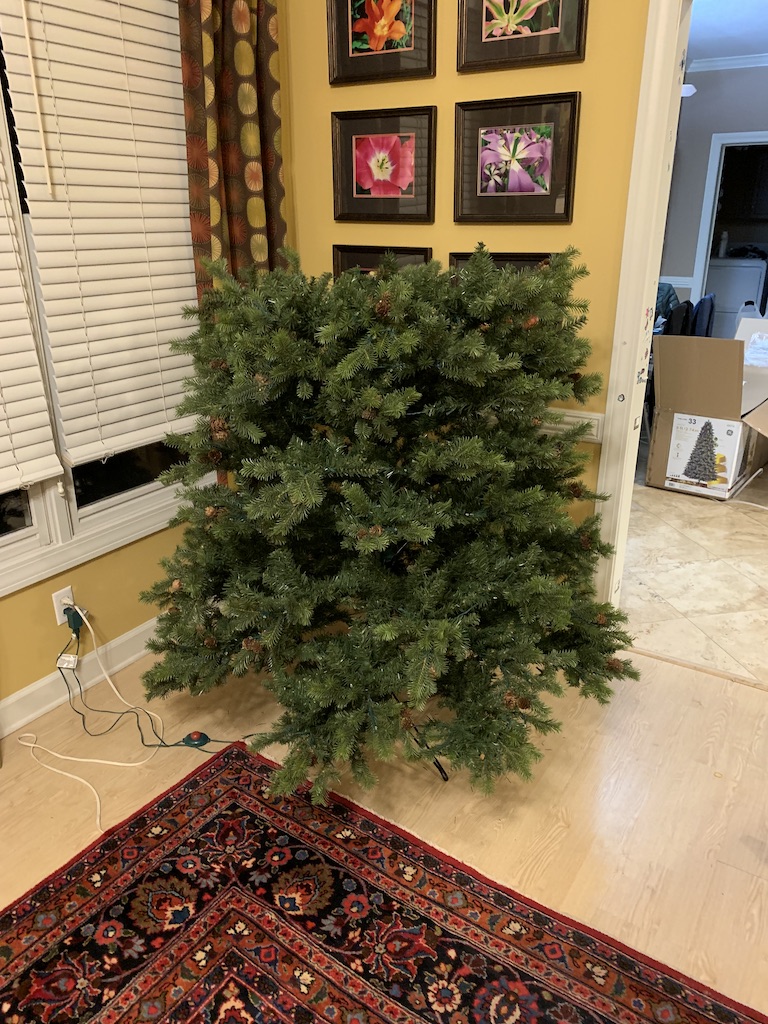
Last year, my wife finally talked me into purchasing a pre-lit LED Christmas tree. Several years ago, I wrote about the artificial non-lit 9-foot tree (Oh Christmas Tree) that I had been assembling for many years (tree pictured above). In that post, I speculated that having put it up for the 18th time, I would continue celebrating the holiday with that tree even though the assembly and lighting process took over four hours. Well, after 20 years, I decided to retire that tree and its painstaking assembling.
There were two reasons I had been resistive to buying a new pre-lit tree. I had not run across one that had as many lights as the 1,600 I typically put on our tree. The other reason is I had also not seen a tree that was as large in diameter. But the hours-long pain of attaching its 94 individual branches while simultaneously weaving the 16 separate 100-light strands overcame my hesitancy.

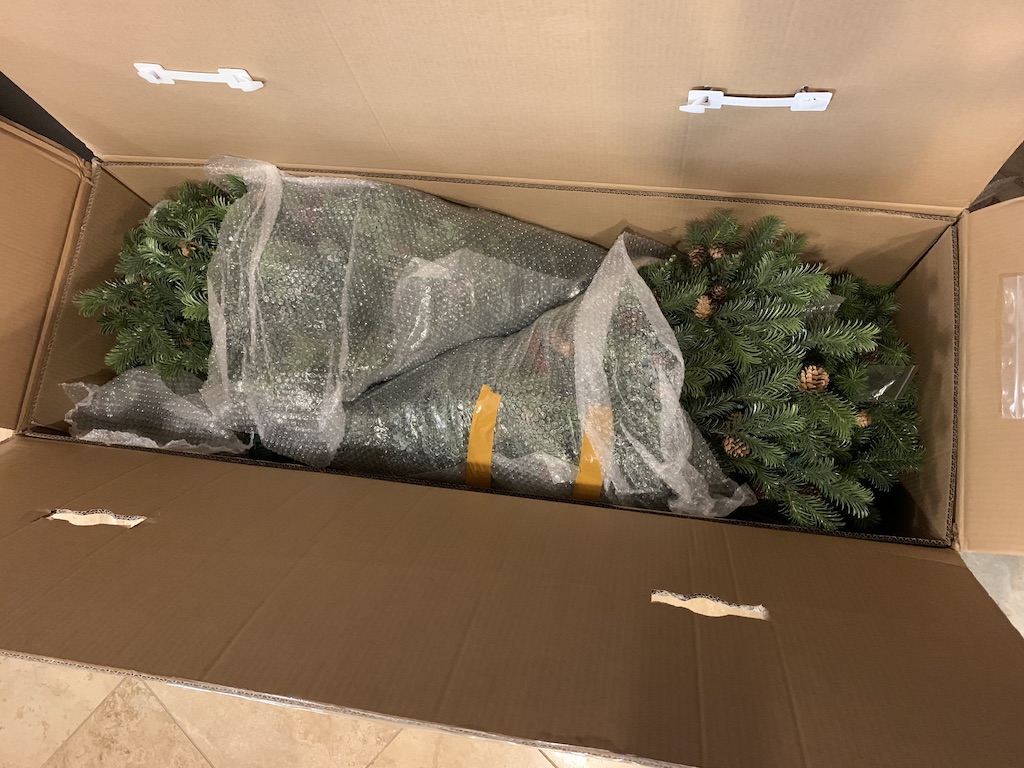
Intending to still locate the tree in our great room with its vaulted ceiling, we purchased a tree of the same height (9-foot) as our old tree. When I cut the straps and opened the box, it was nice to discover that the tree was made up of just four sections. Opening the instructions, I was surprised to learn that the time to assemble the tree was 5 to 10 minutes. Wow!
But reading the details of the instructions, I learned that the small individual branches on each main hinged branch had to be spread out from the tightly bound location, no doubt to allow the tree to fit into such a small box.
Knowing that the process would take longer than 10 minutes, I decided to time myself to compare to the time required for the old tree.
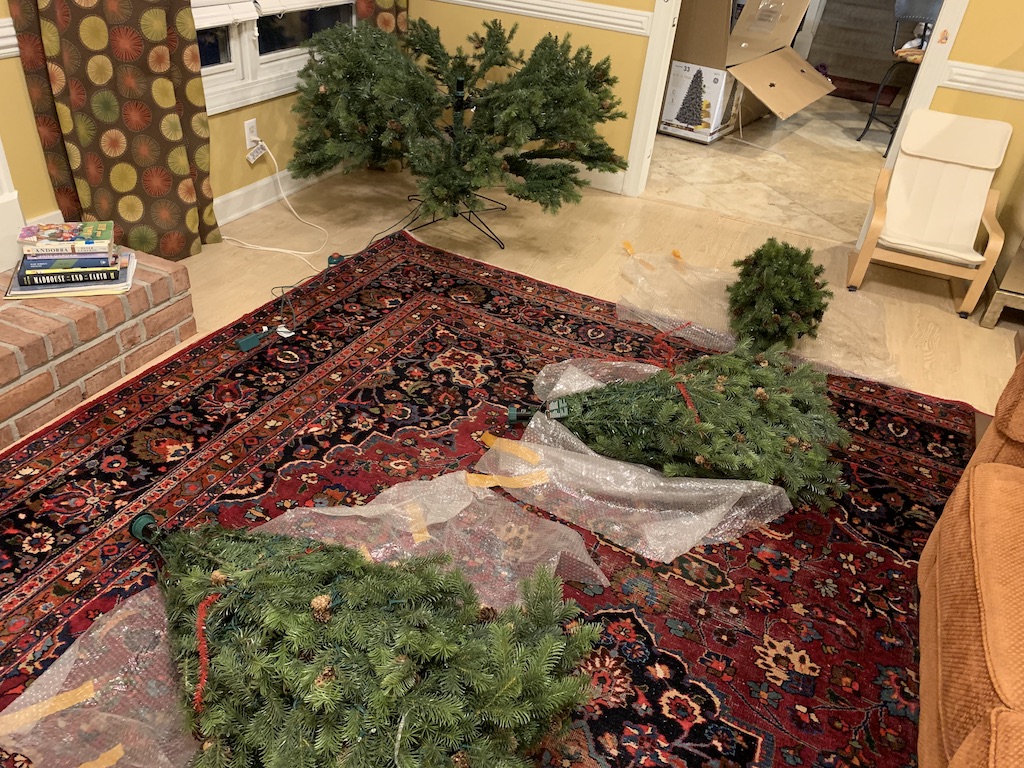
It took me about 15 minutes to unpack everything, read through the instructions and get the bottom section in place.
Fifteen minutes later, I had the bottom section adequately fanned out and the second section attached.
Another 15 minutes and the second section was adequately fanned out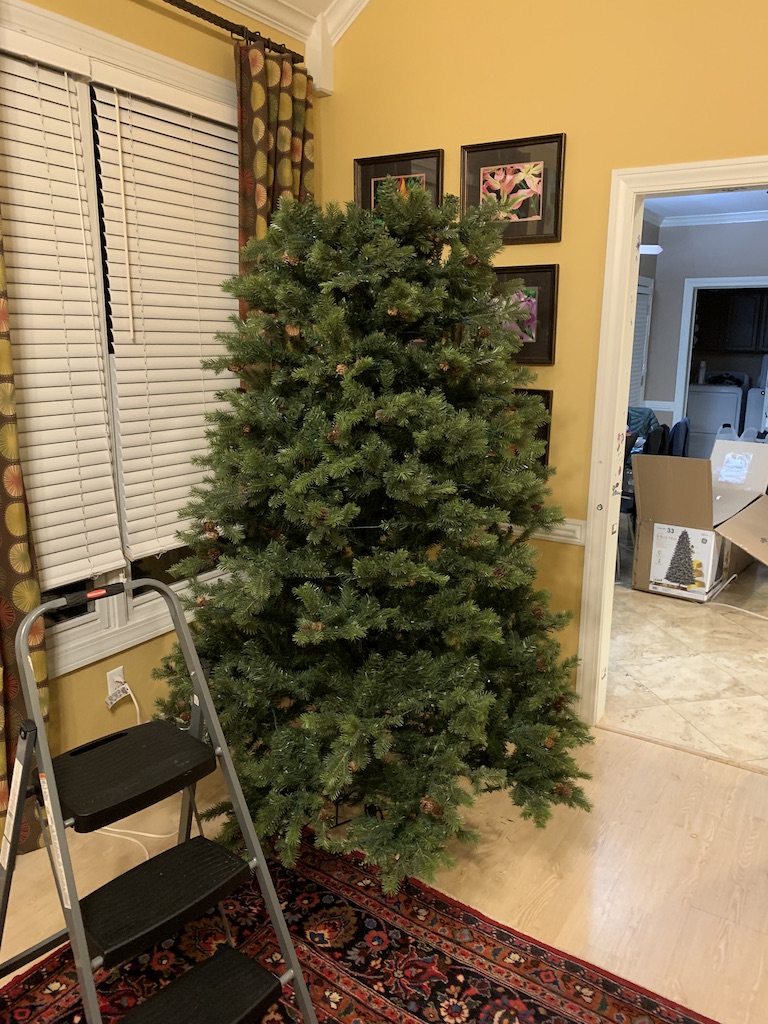
Another 15 minutes (seeing a pattern here?) and the third section was done, with the aid of my stepladder.
For the top section, I decided to fan out the branches before attaching it to avoid having to repeatedly move my ladder to access all sides of it. As I was completing this step, I was pleased to find a wired receptacle that would accept the plug for our lighted tree topper. Only, like most string lights that can be connected end-to-end, it would not accept a polarized plug.
It gave me pause to wonder why the light for our tree topper was polarized in the first place given it was just a single night-light size bulb. On our old tree, I always wound an extension cord around the center post of the tree (what you would call the trunk on a real tree) so I could attach it. But for this tree, I just decided to replace the plug with a non-polarized plug so it could be plugged into the receptacle provided.
Not having a replacement plug handy, I went ahead and attached the top section and turned on the tree. The total assembly time was 1 hour, and 15 minutes and I surmised it would be even faster the next time since the branches would already be fanned out—a big improvement over the old tree (although fanned out, it would never fit back into the same single box). In fact, this year, total tree assembly time was right at 5 minutes, just as the instructions indicated!
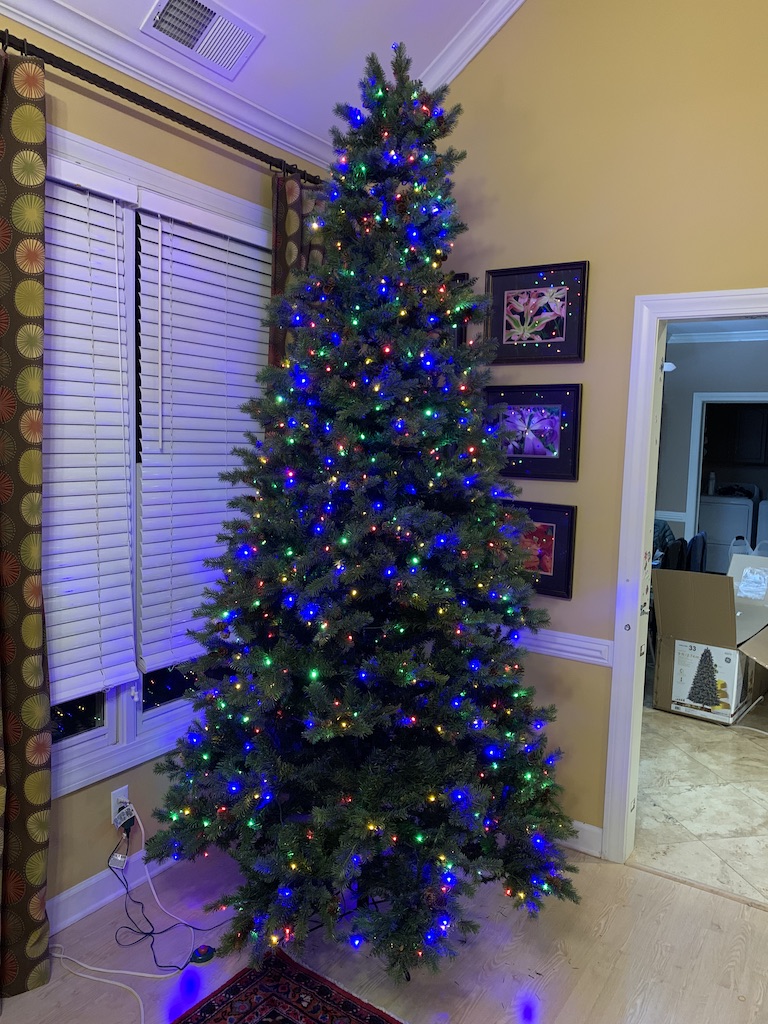
The nice thing about LED trees is that they offer several different settings either as all white or multi-colored lights. Since the flashing option flashed the entire tree, I simply selected the multi-colored static setting.
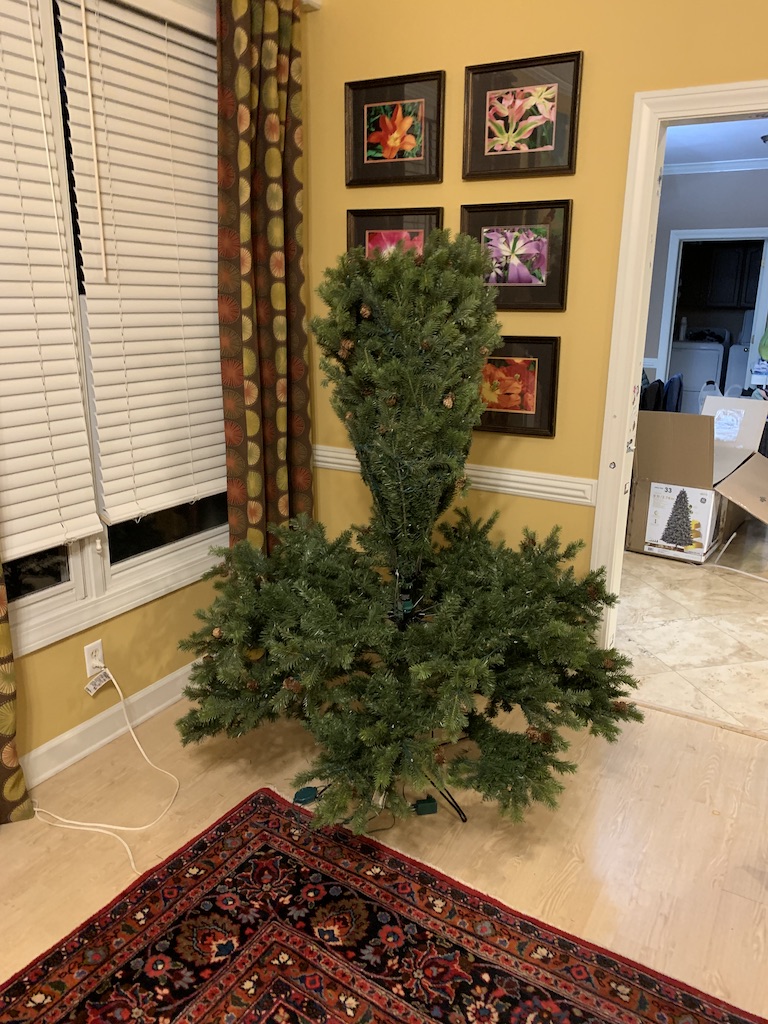
The next day, I bought a non-polarized plug and replacing the old one was a cinch for someone who has done this before. But when it came to mounting the tree topper on the top of the tree, there was no branch strong enough to hold the weight of the star tree topper. It kept flopping over to one side or the other.
I pondered this for a bit and after 30 minutes of futile attempts, I finally strapped about a 6-inch piece of ½” X ½” bass wood to the top branch and down to the metal tree trunk using some twist ties. Jamming this stick up into the base of the star made it stand up straight although with a bit of wobble. I figured when I took the tree down, I could come up with a better solution.
When you compare the old tree…
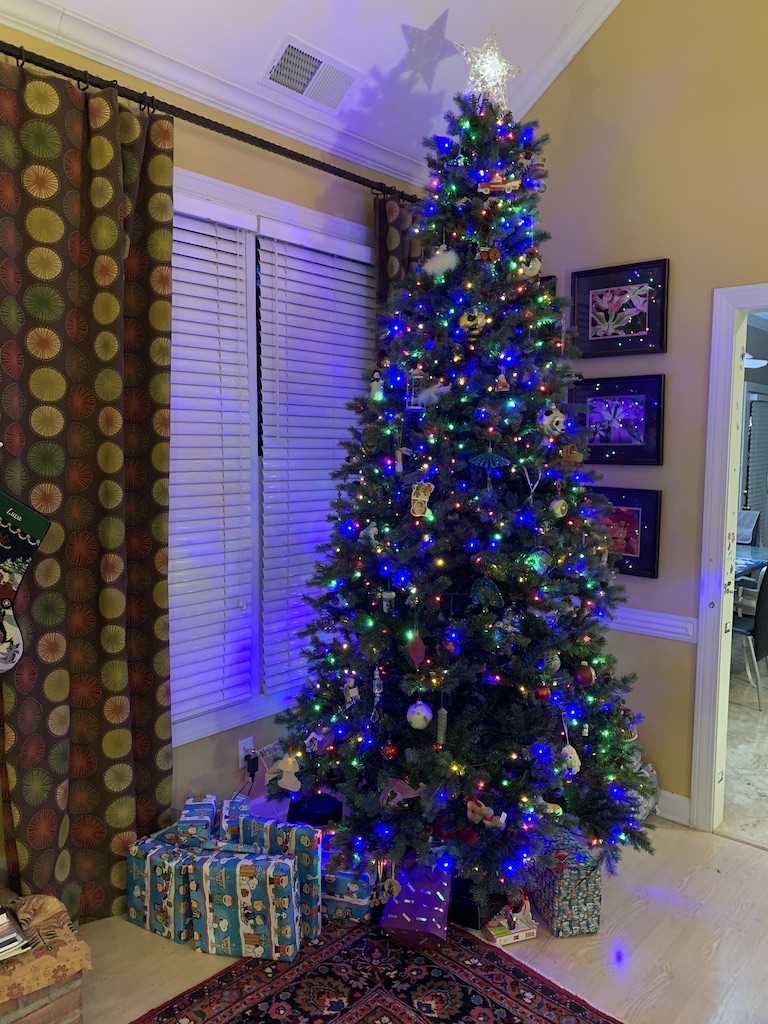
…to the new tree…
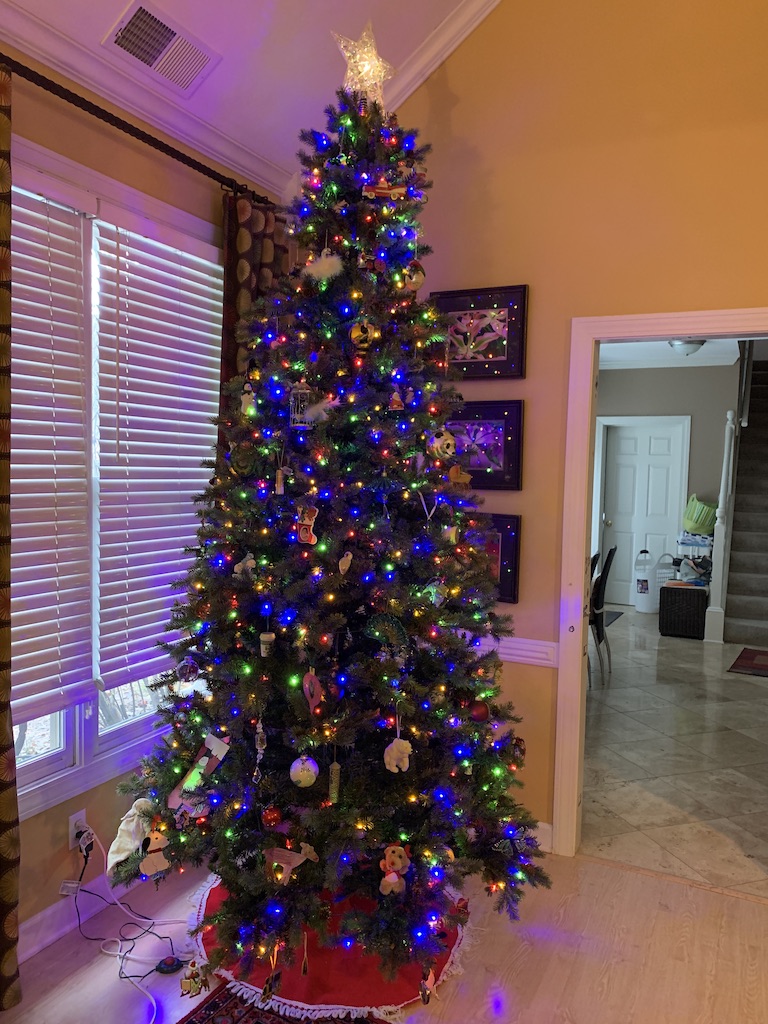
…it is easy to see the differences that had discouraged me from buying a new tree. But the ease of assembly far outweighed those short comings and for me turned what had been an onerous task into a simple four step process. Yes, this was definitely a tree I could easily live with for years to come!

And it made a great backdrop for our Christmas card photo for the next year.
Categories

The old tree was gorgeous Dave, but I’m with you on ease! My little tree goes up in about 15 minutes. Now if we could find a way to get ornaments on quickly and easily! Great post!
Thanks, Sis! It was so easy to put up the new one this year.
That’s a funny story, David! Enjoyed the post. Merry Christmas!
Thanks, Bro!
David, it’s a beautiful tree and a very nice picture of you and your wife! And the ease of putting it up is sure worth a bit of width. I remember the Christmas trees growing up where we put tinsel on one piece at a time. Thank heavens we don’t do that anymore! A very Merry Christmas to you and your family, and all the best wishes and blessings in the new year.
Thank you, Betty, yes it was so easy to put up this year and I am more than happy to live without the extra width. I too remember that and even recall if you balled one up, it was really heavy.
And thank for you the Christmas and New Year’s wishes and Merry Christmas and happy New Year to you as well!
You are such a nurturing soul David! How lucky your family is to have you! Beautiful tree! Beautiful couple! Love you mucho! Happy Christmas Eve to you and yours.
Thank you so much Mare! Hope y’all have a nice peaceful time together until the start of y’all’s celebration on Tuesday.
Very cool! I’m so glad it’s much quicker than before! You deserve a break after all those years!
Oh yes I’ll never go back. It was so easy this year. Love you sweetie!