
Doll House for ??? – Phase 1

Are you up for another doll house saga? So far this year, I have finished and posted about two dollhouses, one for each of my two sisters. In fact, since the pandemic began, I have built a total of five doll houses and even delivered two of them to family members on the west coast. After building so many houses for other relatives, I thought to myself; why not build one for me? So, to answer the question marks in the title above, this will be my doll house.

Now that may sound a bit odd for a male senior citizen, so a little explanation is probably in order. I love miniature models of almost any variety, but particularly cars as my prior work office confirmed.
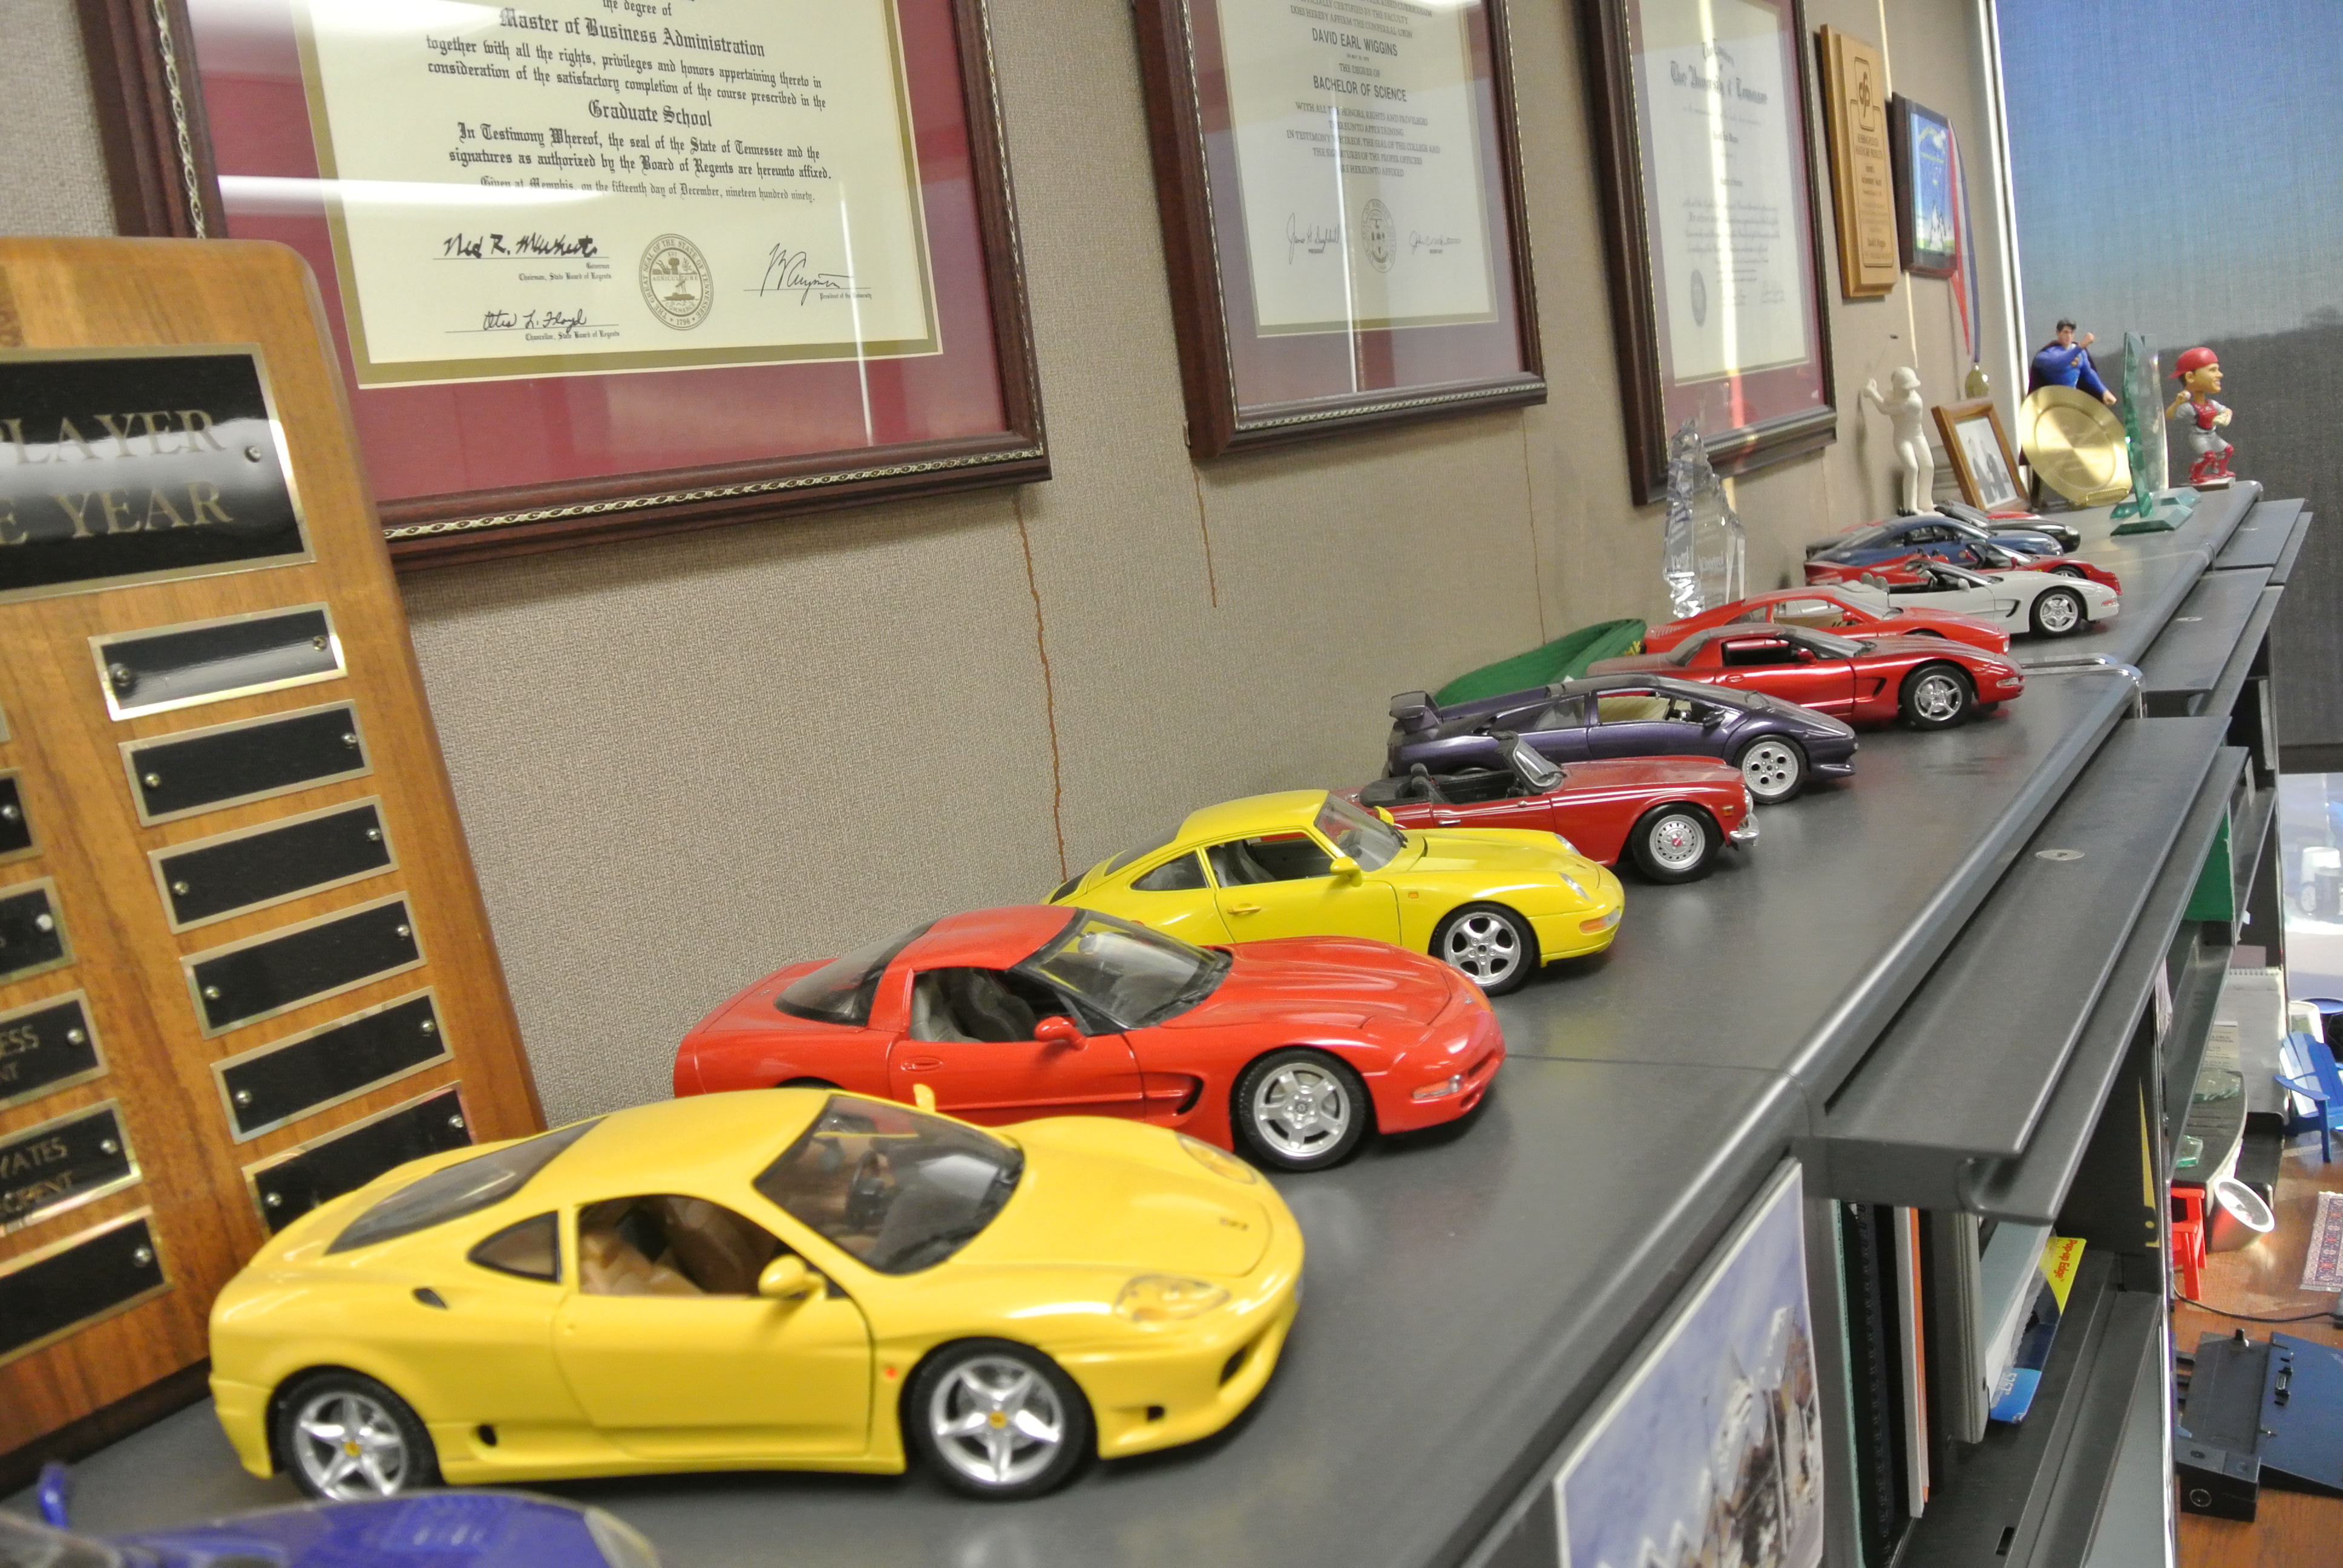
For me going all the way back to my pre-teen years, the fun was in building them and then looking at them, not playing with them. So, you can rest assured, I won’t be playing with this dollhouse much less dolls.
Each of the doll houses that I have built have been selected by either the adult, the parent, or the grandparent of the recipient and this one is no exception—I specifically picked it out for myself.
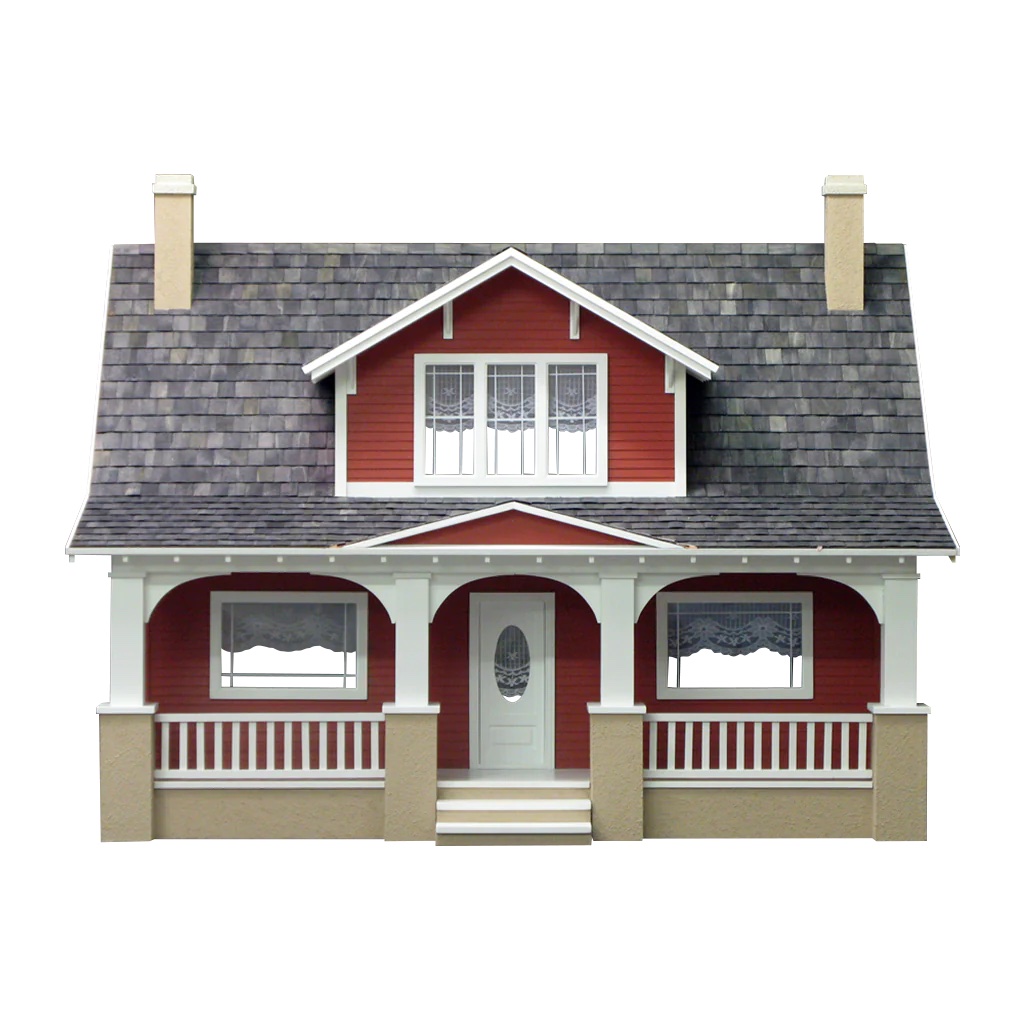
I have always loved Craftsman style homes and this one just fits the bill for me. Manufactured by the same company as all the ones I have built since 2020, the style and thus the assembly of this one will be very similar to the Beachside Bungalow I just finished for my oldest sister.

So, to avoid repeating myself (and to avoid deluging you with possibly boring details), I will only blog about the unique aspects of this doll house.
To begin, I obviously consulted with my sister the artist on the exterior color for my doll house. She had picked all of the interior and exterior colors for her grandchildren’s doll house as well as the companion one that I built for her (seen in the photo above). She had previously told me that many Craftsman style homes are painted a dark exterior color. With that in mind, I explored the Internet and found this real home in my favorite color—blue.
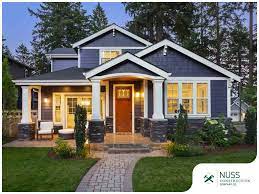
When I texted the photo to her, she immediately loved it and said it looked like a very nice Wedgewood blue. Since she did not have a trip planned to Memphis when we could select a matching color together, I had a FaceTime call with her while I was at my favorite big box hardware store to select just the right shade. After looking over several different options, she suggested this blue (darkest shade at the top).
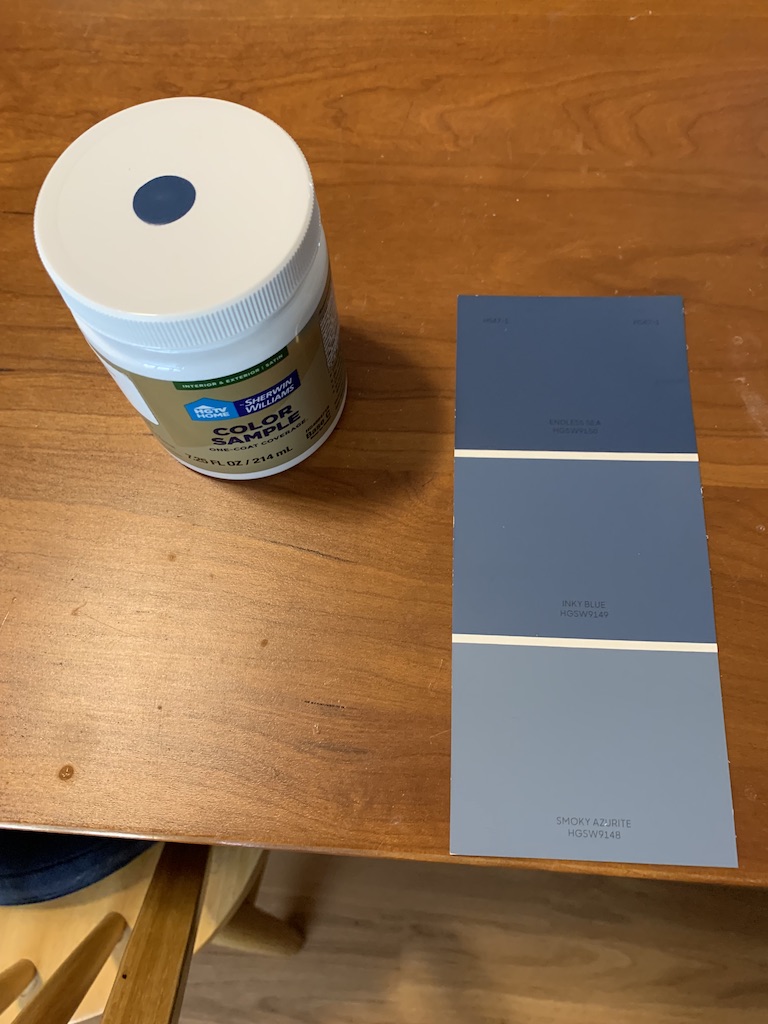
With the exterior color selected, she also said the trim could be the same color white that I had used on several of the other doll houses.
These were the two most pressing decisions that had to be made as no assembly could begin without them being known since painting is always required prior to gluing any parts together.
Now I was ready to get started in earnest.
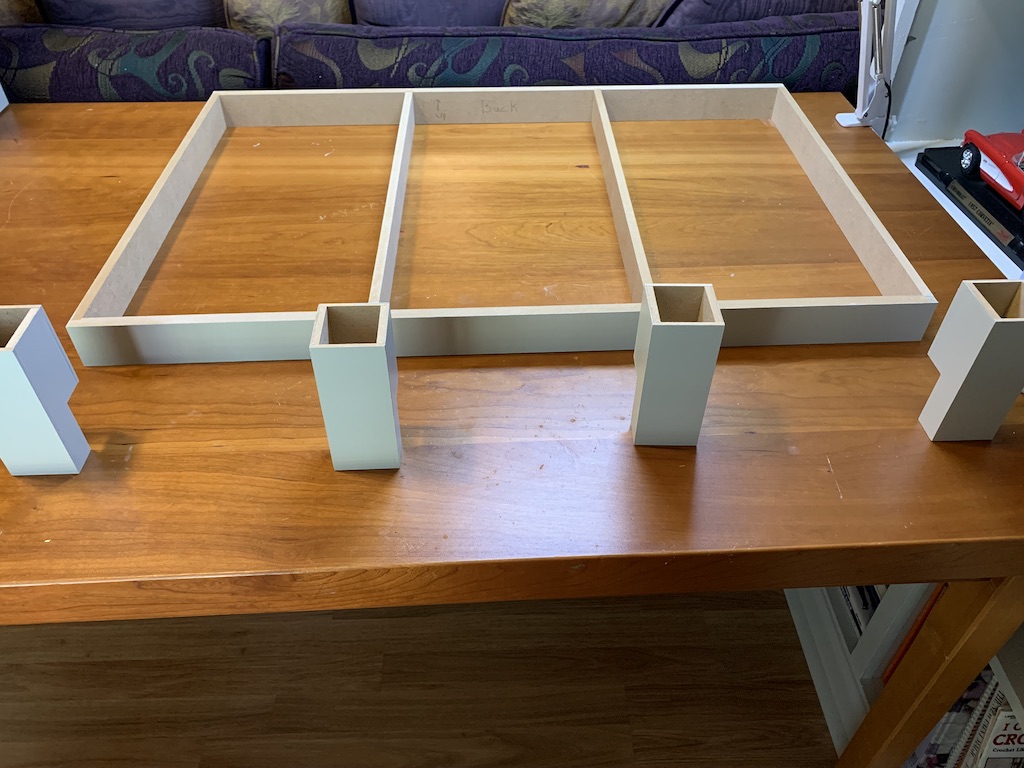
Unlike the last doll house that I built where I skipped the first step of painting and assembling the porch railings, I decided to follow the recommended assembly order in the instructions this time. That was because I realized on the last doll house, that by applying the stucco finish to the porch posts first, I unknowingly ran the risk of not having a smooth surface upon which to glue the assembled porch railings to the porch posts. For that one, I actually lucked out.
But this time, I was thwarted. When I performed the suggested inventory of all the parts in the kit to make sure none were missing and none were damaged, I found that two of the long porch rails were warped. Fortunately, the manufacturer is very good about providing replacement parts at no cost. So again, I skipped the first step and started assembling and painting the porch posts and the foundation with the base cement-colored-paint upon which the stucco finish would be applied.
Once I received the replacement parts in the mail, I could then return to step #1, painting and assembling the four porch railings.

This then allowed me to know exactly where the porch post bases and railings would go thus allowing me to mask off those areas where the stucco finish should not be applied, leaving a smooth finish where the parts will be glued together.
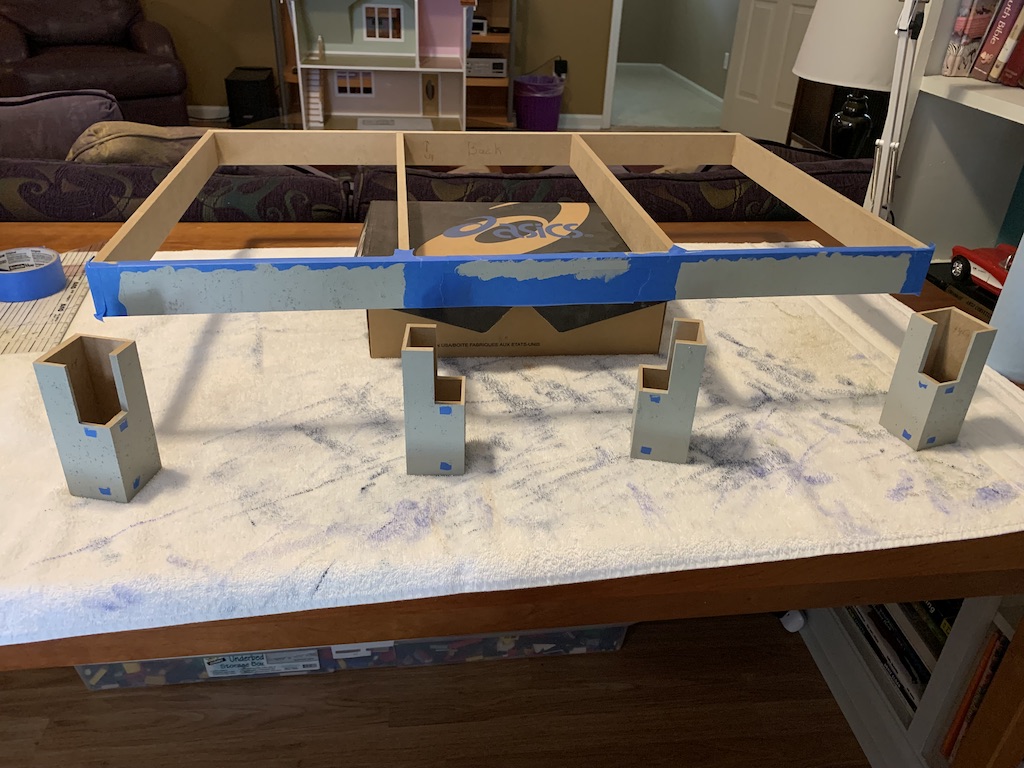
This seemed a better approach to me than the ones in the instruction which have you applying the stucco finish as the porch and railings are being glued in place with the resultant challenge of keeping stucco off the porch and railings.
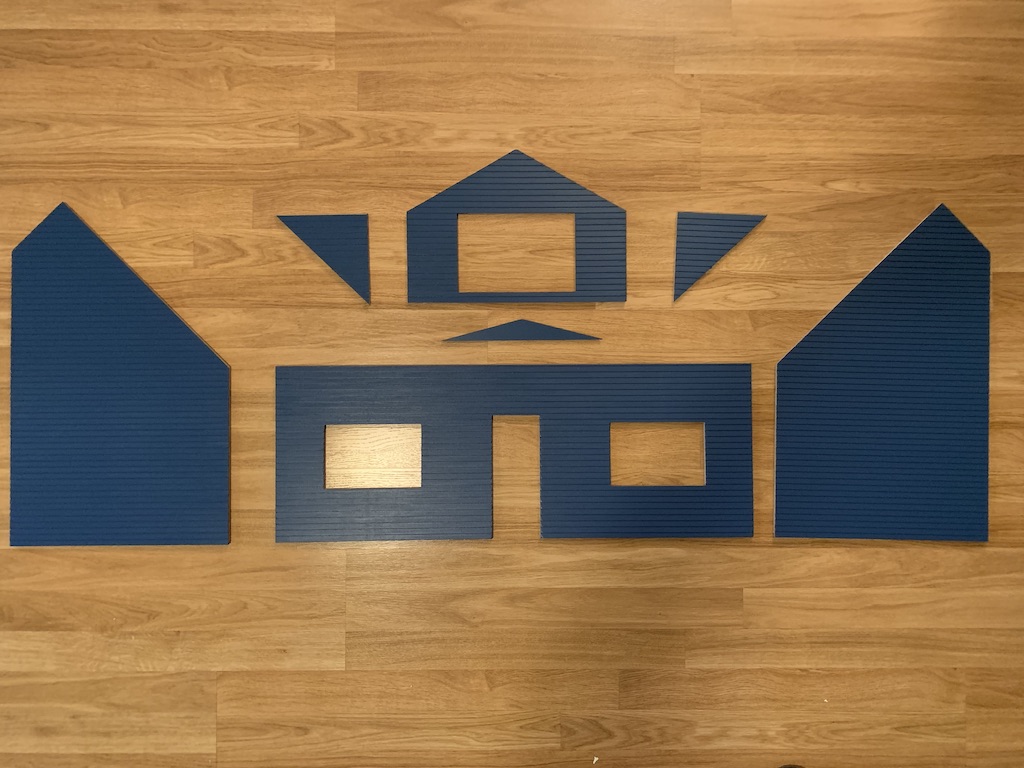
I have written multiple times before about painting the exterior of the doll house and all the challenges that presents so, I will skip over covering those details and just provide you with the finished walls.
But before I could paint the interior walls, I had to decide where the walls would be and if I would use them all as my oldest sister had left out two of the walls in her doll house.
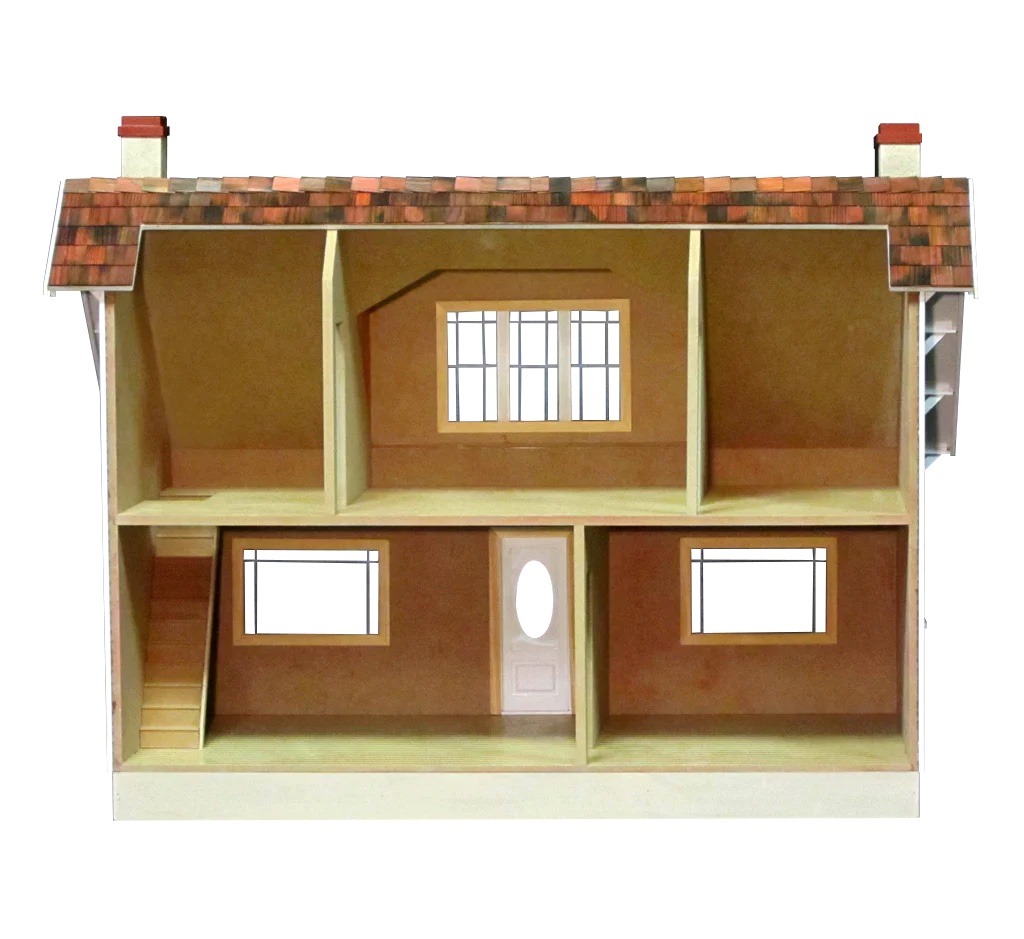
This kit, like my oldest sister’s, included one first floor wall and two second floor walls. Placement of the second-floor walls is basically established as they have to be aligned with the exterior dormer walls to avoid covering part of the dormer window while at the same time, leaving the largest room size possible. Where the first-floor wall was to be located was a bit more flexible and really depended upon what the two first-floor rooms would be.
I pondered this decision for a while and then came up with a house plan. To the right of the wall, I would create a kitchen. To the left, which included the front door, I would build a living room/den.
On the second floor, on the left side where the stairs came up, I would create an office. The largest room with the dormer window would then be the bedroom, and in the last room to the right on the second floor, I would create a bathroom. I thought this layout would give me the possibility of furnishing the doll house with a number of different and unique furniture and fixtures.
The last detail before walls could go up was to select interior paint colors—which turned out to be much more difficult than I imagined.
To be continued…
Categories

Of course, I love this post, David! The house is a great choice, and I think your sister’s choice for the exterior color is perfect. I think it’s great that you are building one for yourself. I also like how you chose a variety of rooms which will allow lots of variety in furnishings and decor. Lots of fun! I look forward to your next post and to seeing the unique furniture and fixtures!
Thanks Betty, I knew you would enjoy this one. I’ve had so much building these I didn’t want to stop so making one for me seemed the right choice. Look for an update in February.