
Doll House for My Oldest Sister – 3rd Phase
Continued from: Doll House for My Oldest Sister – 2nd Phase
You may recall from my earliest post about this doll house that I had skipped the first step in the instructions which called for painting and assembling the porch railings. Now that I was ready to finish out the second floor, I had to return to that step because the biggest wall on the second floor was actually the underside of the roof. And the roof could not be installed until the front porch was complete as the two corner porch posts support the front of the roof. Ergo, the need for the finished railings.

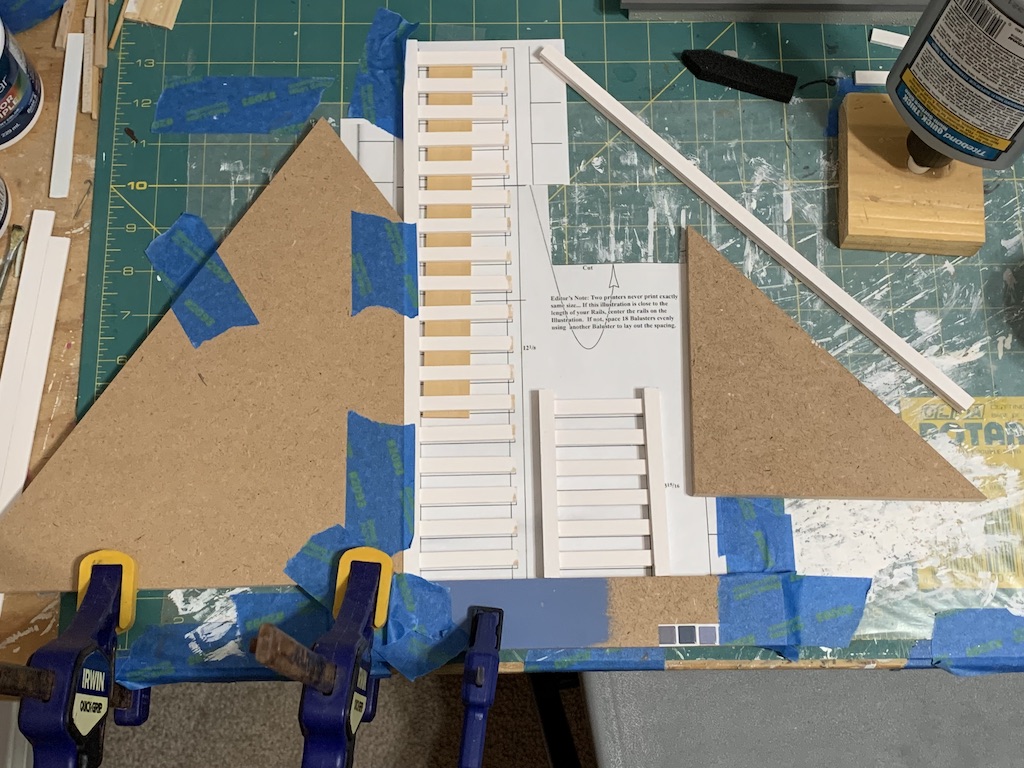
Unlike the previous doll houses that I had built that used dowel rods for balusters, this doll house used planks instead, 30 in all. Along with the top and bottom railings, these had to be painted with three coats of paint on four sides, with sanding in between. Then as on previous doll houses, a template was used to glue them in place.
With the railings complete, the front porch could now be assembled, along with the porch beam that would support the front of the porch.

Once all the glue had dried, the roof could then be put in place.
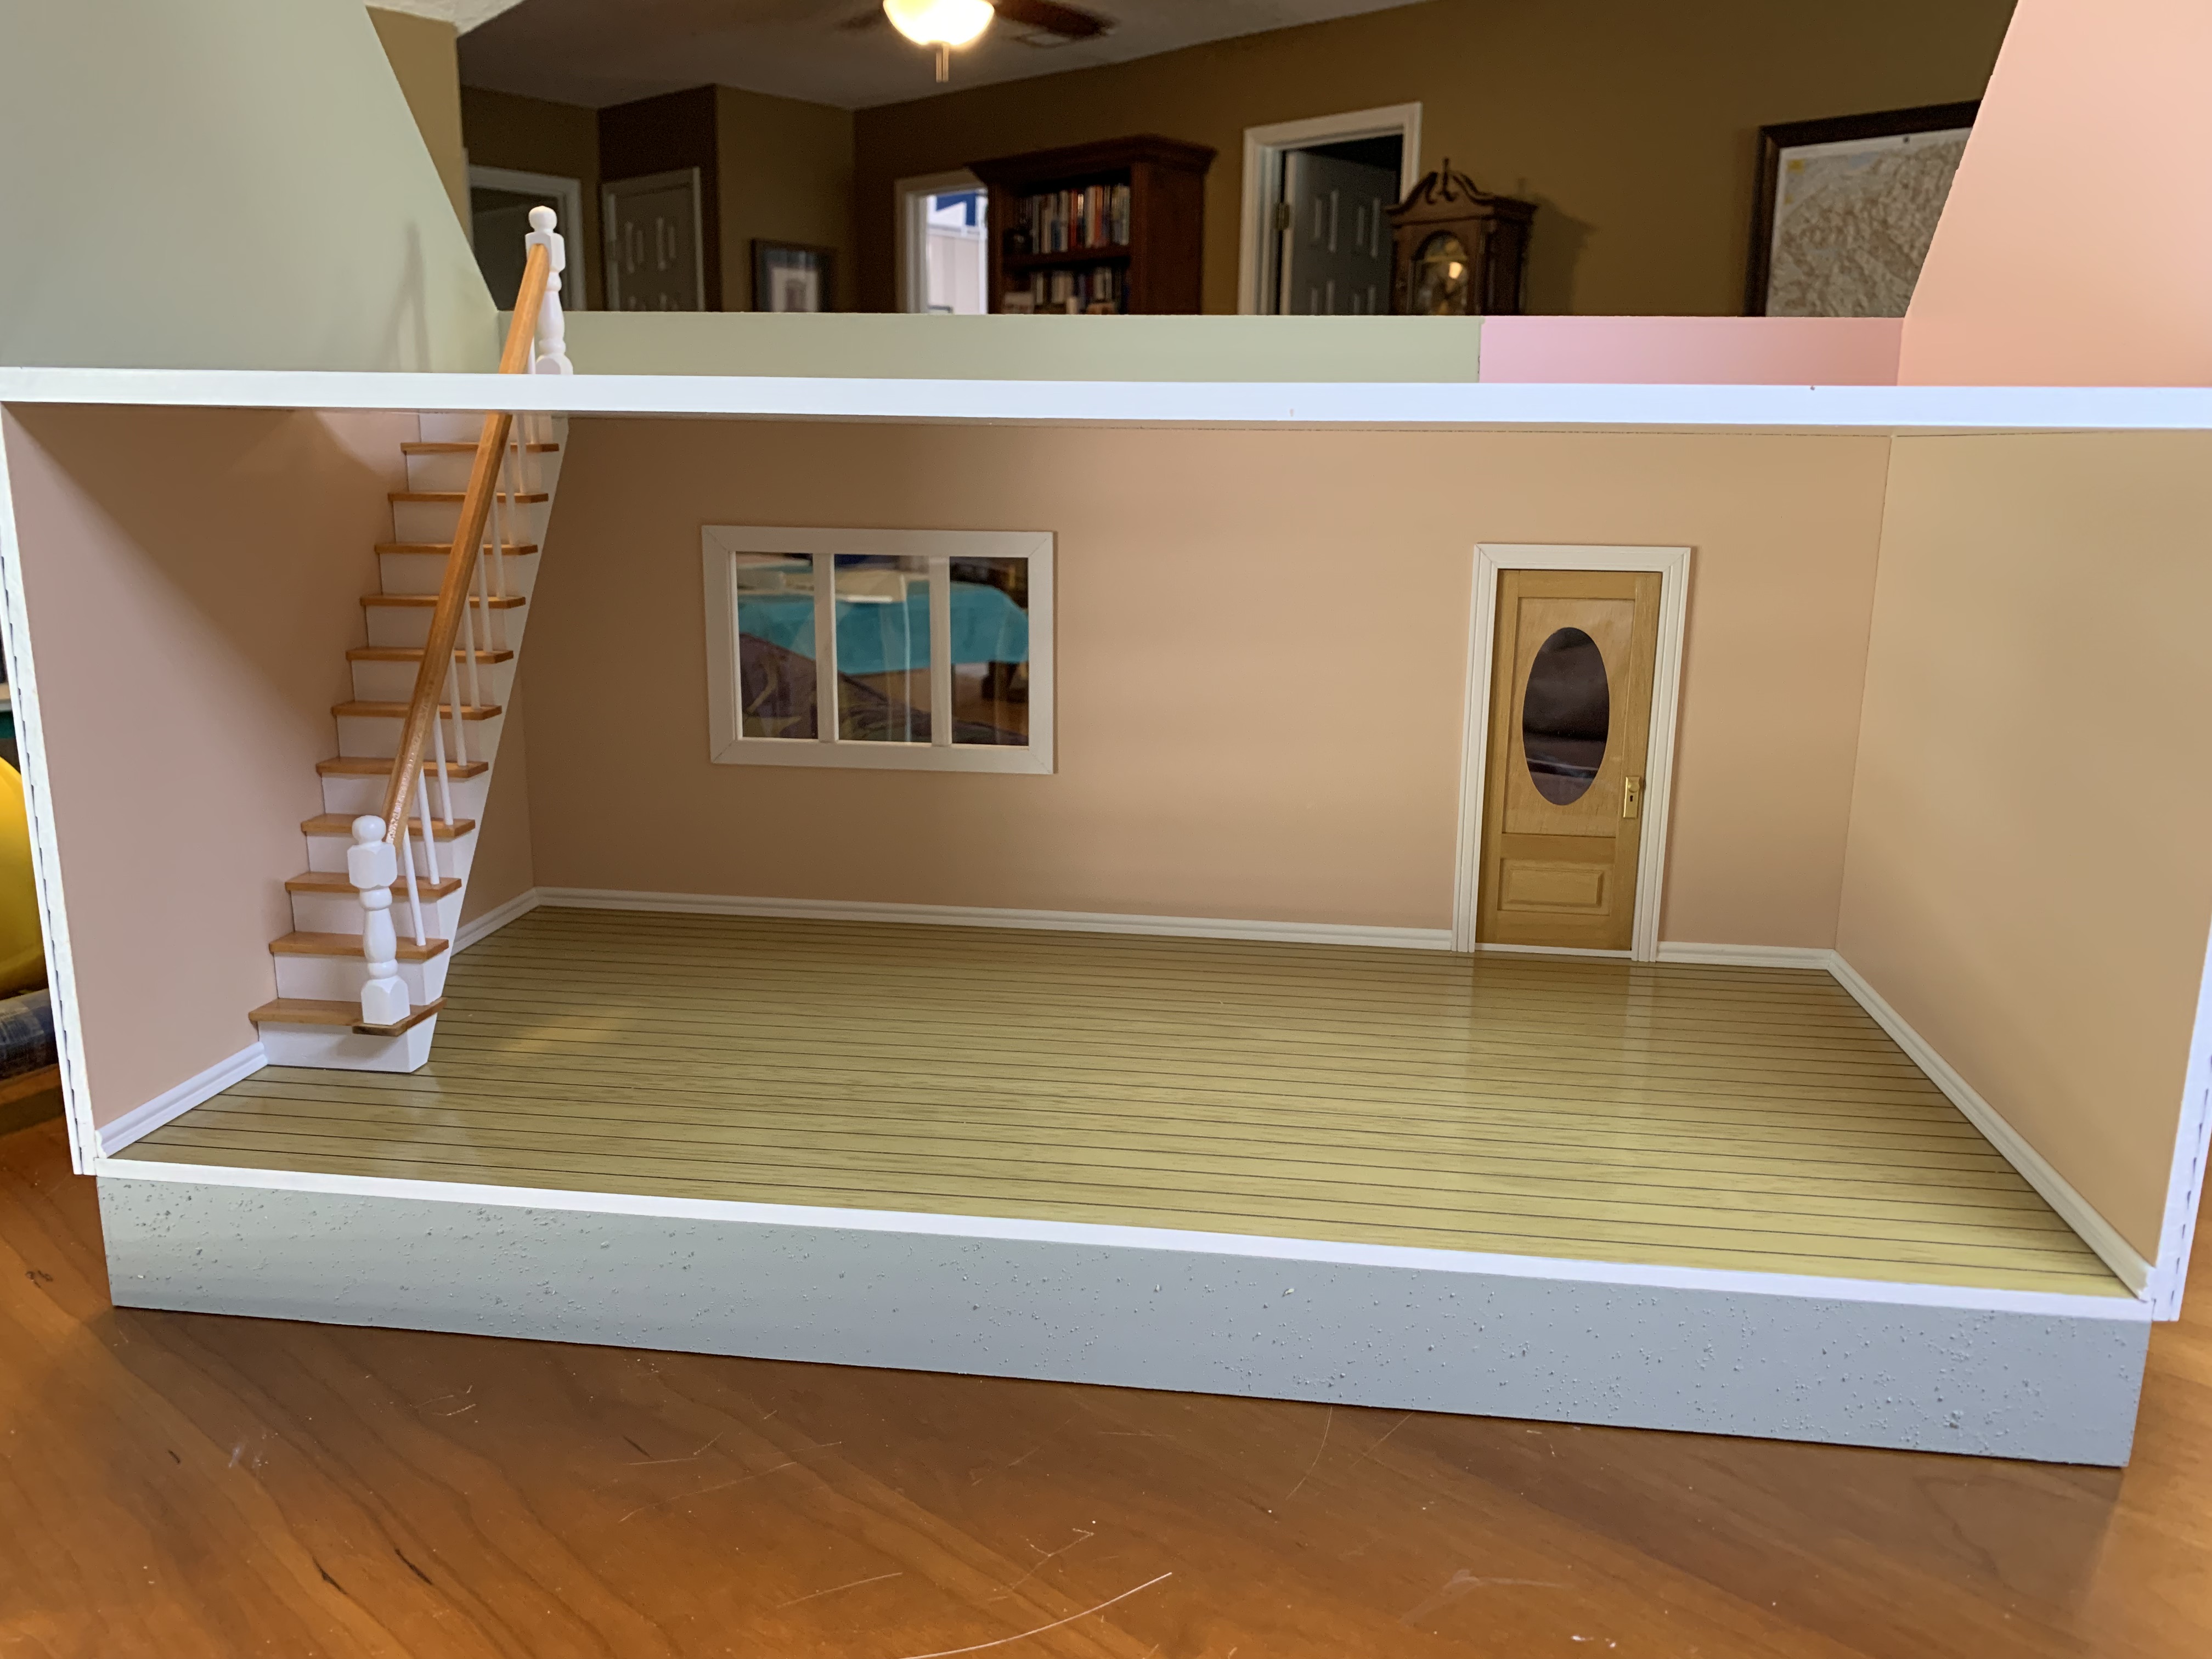
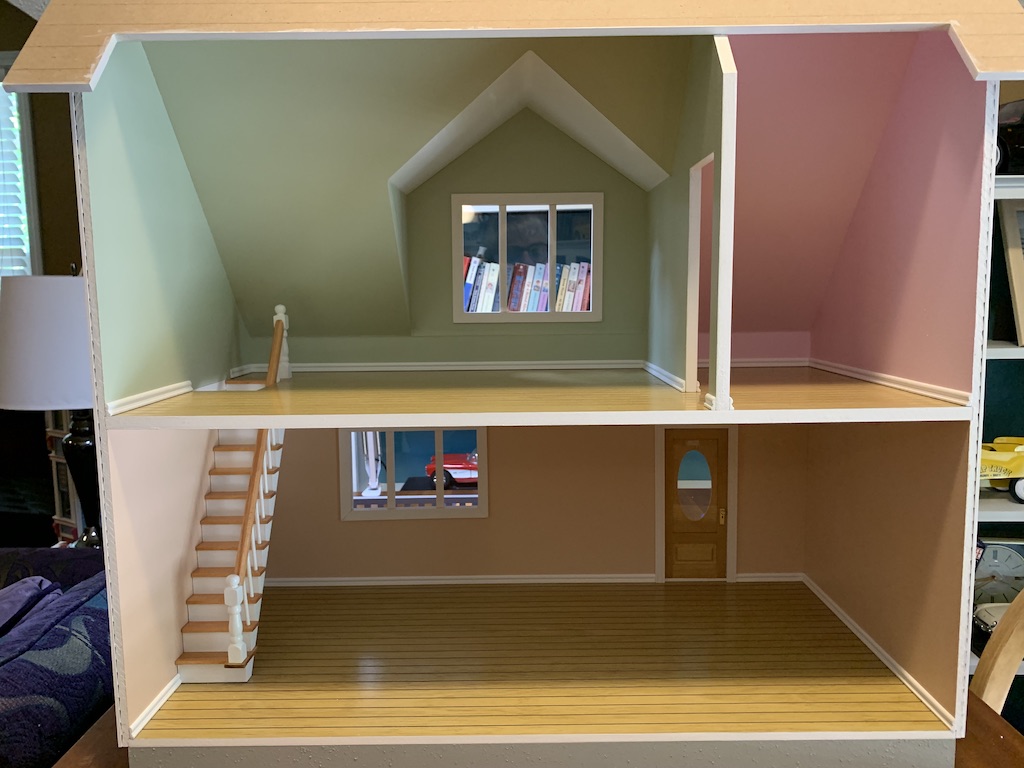
Now I was ready to return to finishing the second floor with the first step being to install the wall separating the bedroom from the nursery. I found this most challenging as I had never glued in a wall with a pitched roof, front and back. After struggling for some time and sanding the top down to try to get it to fit, I decided to read the instructions. Turns out, the trick was to lift up the roof and push down on the floor while placing the wall in its proper location. Since I only had two hands but needed four, next time I will get assistance.
With the wall in place, I could then add the baseboards.

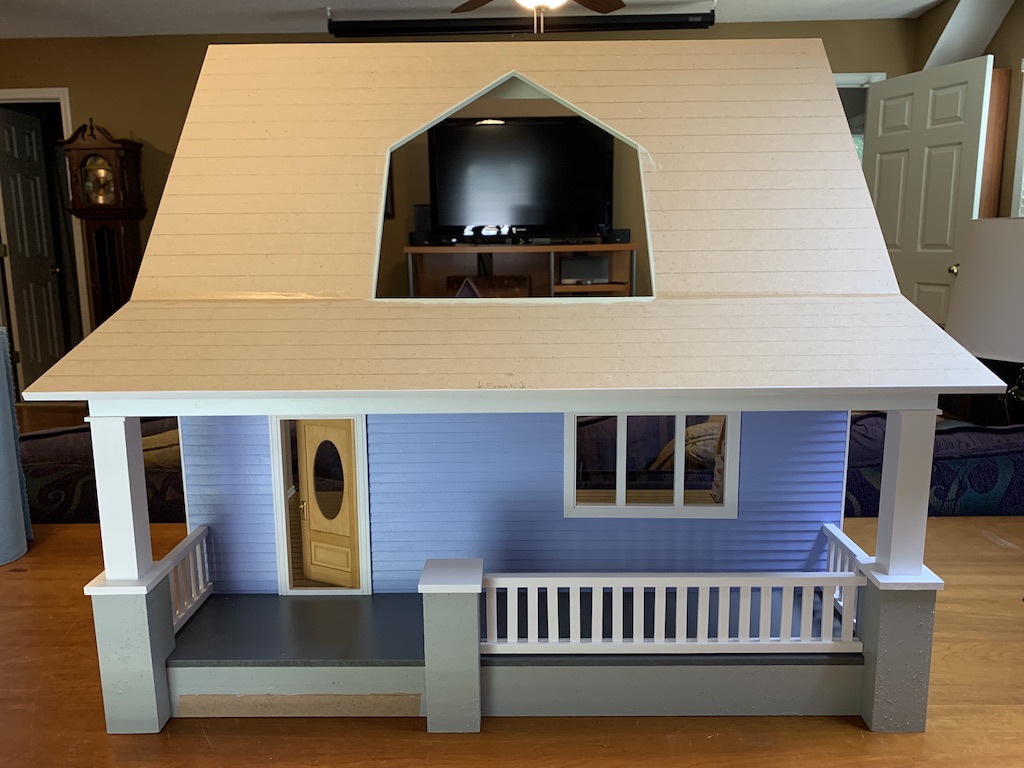
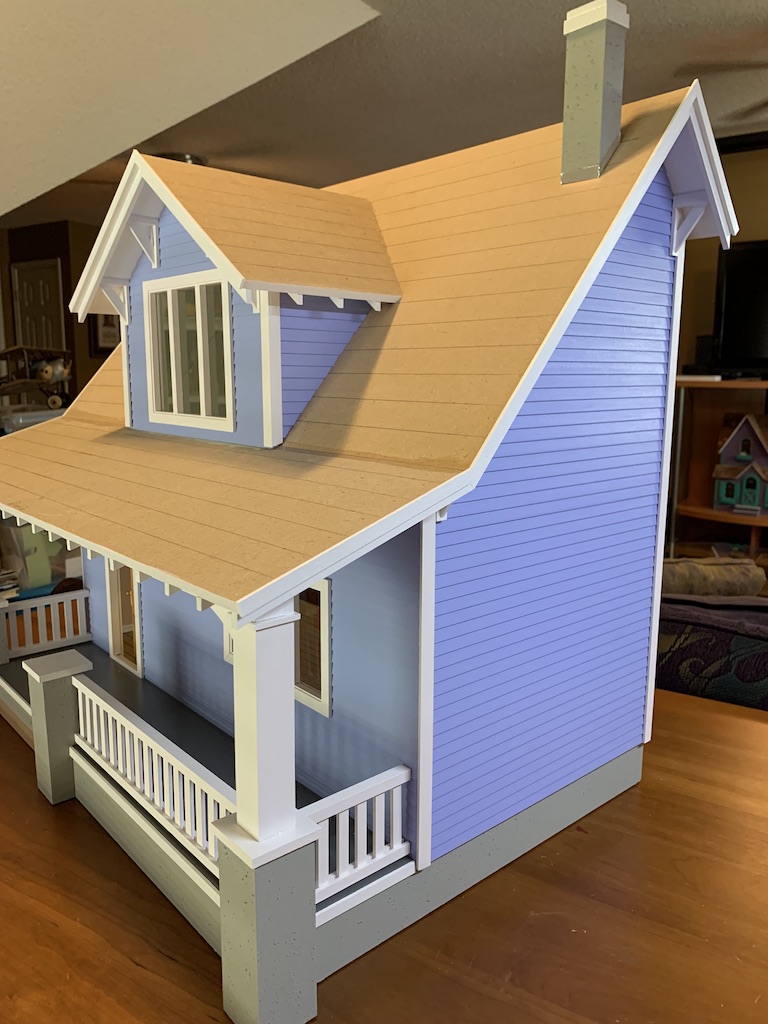
The large opening is where the dormer would go which was the next step.
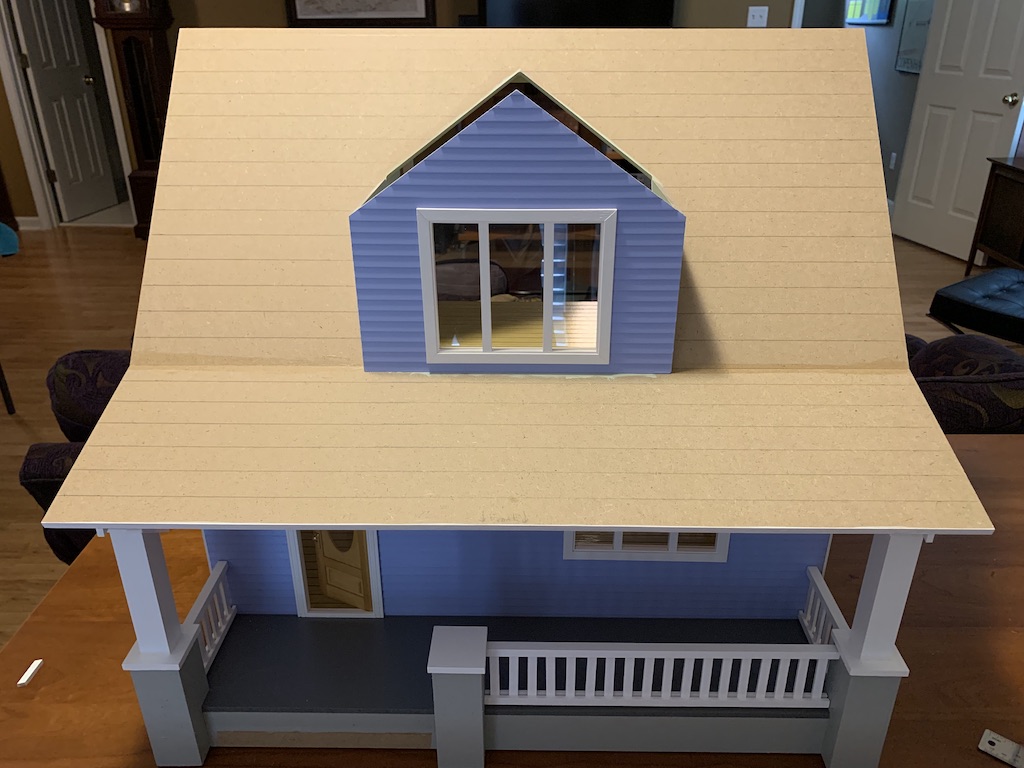
Once the dormer was glued in place, then the dormer roof could be glued on.

This addition then completed the interior of the dollhouse making both floors move-in-ready.
At this point, all that remained were several exterior trim steps, dyeing and attaching the roof shingles, and finally gluing on the front step.
First up was to add the front porch rafters which I had previously painted with three coats of paint. The instructions indicated that small marks should be made every 1.5 inches from left to right and then again from right to left leaving seventeen pairs of lines 3/8 of an inch wide, the exact width of the rafters. Rather than making marks on the underside of the roof, I crafted a paper template that I then taped to the porch beam to guide the placement of the rafters.
Next came the addition of fourteen roof brackets. Each of these were made from three separate pre-cut pieces of wood trim, that had to be painted…
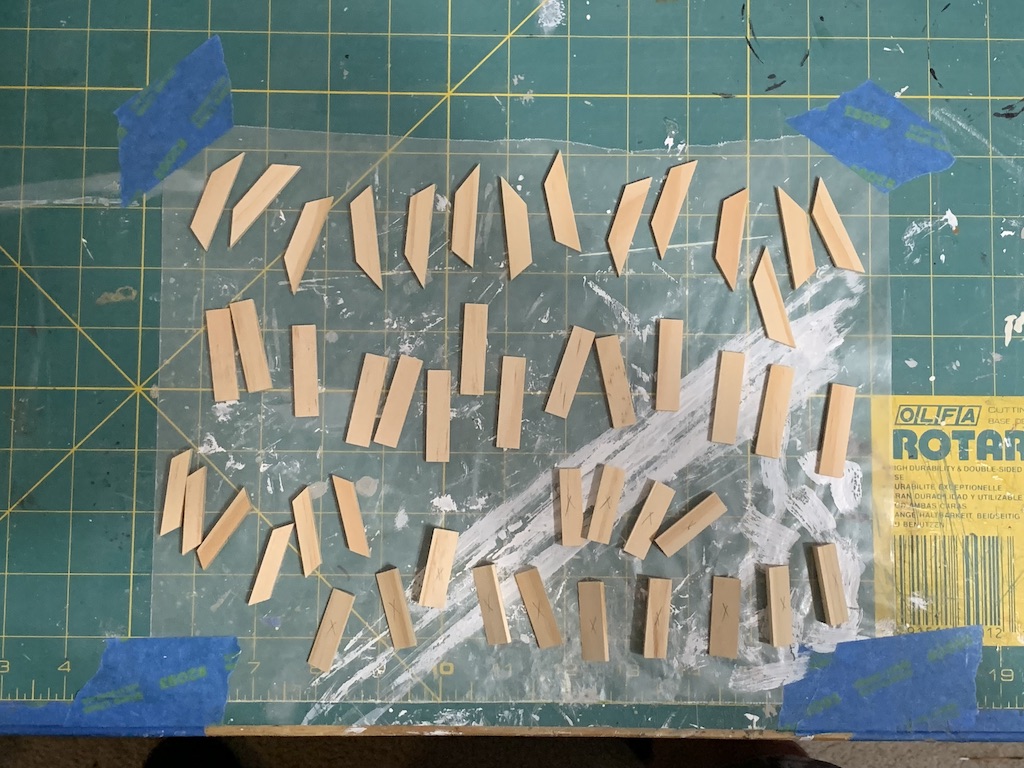
…and then assembled…
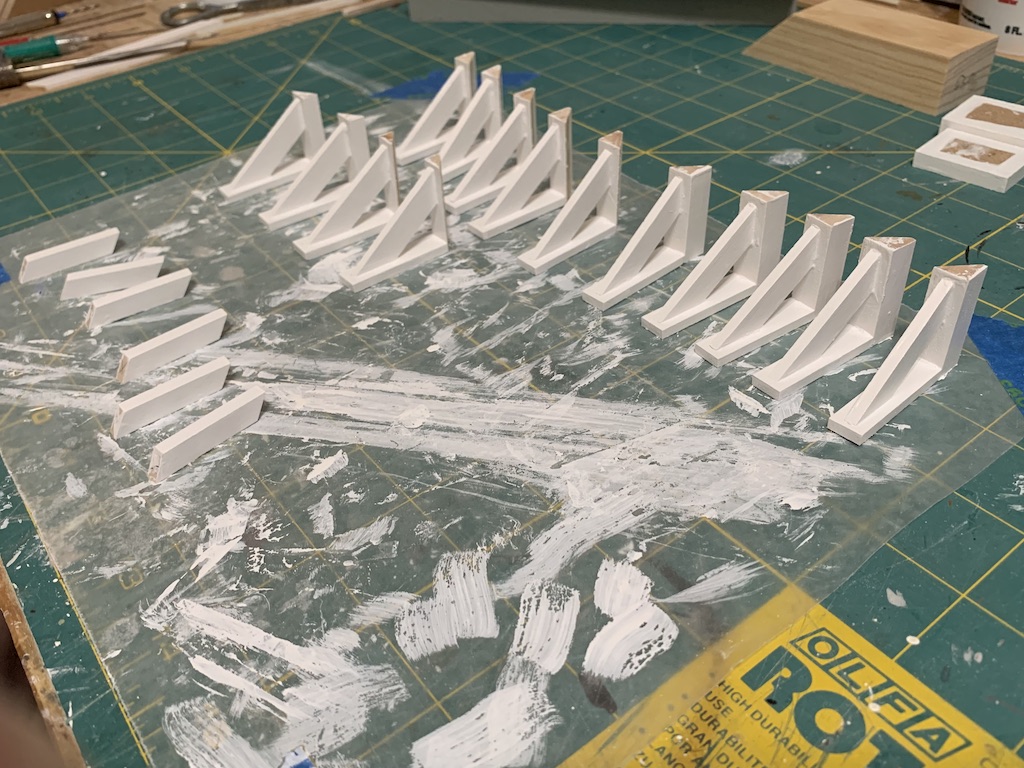
…followed by gluing them in place, as indicated in the instructions with the house upside down (obviously not a real-life construction technique).
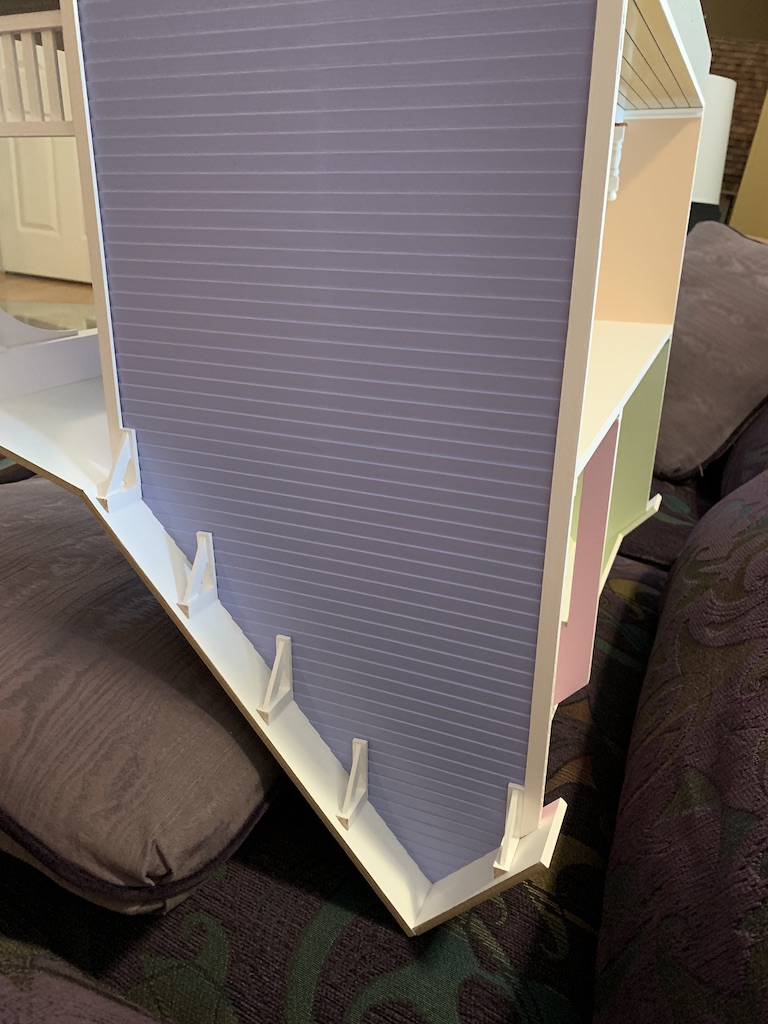
I encountered trouble again in the next step—affixing the roof edge rafters.
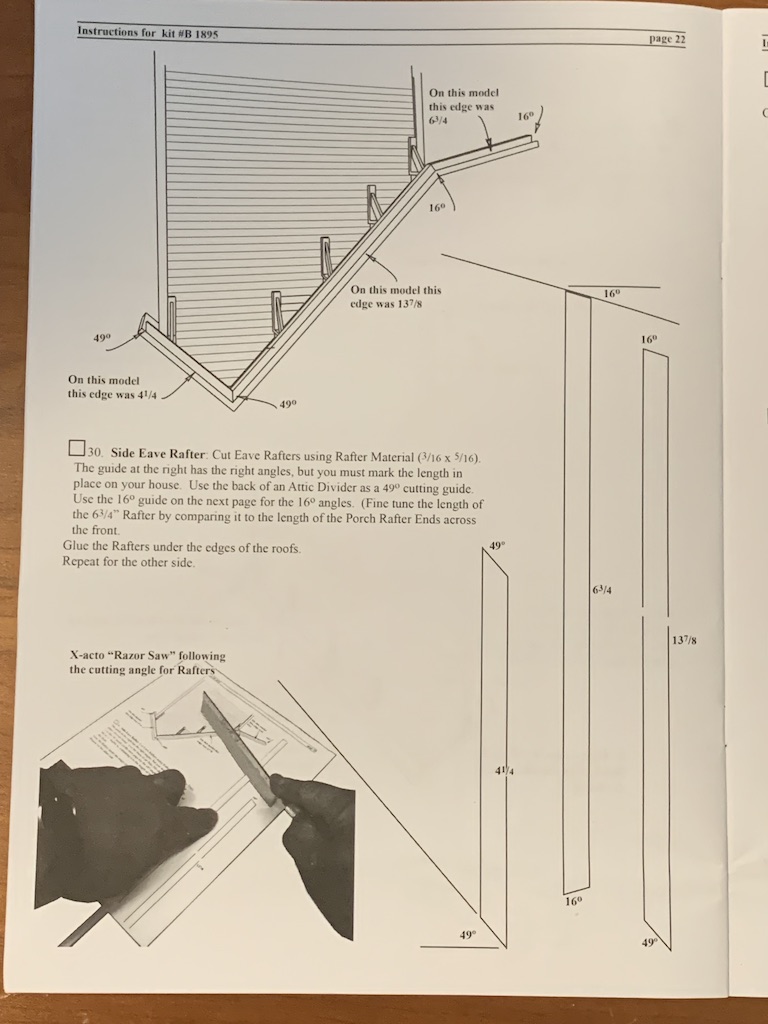
There were two angles needed for these rafters (49° and 16°) and the instructions included a diagram of how to cut them on the template provided. I first cut the two 49° angled pieces that would fit together at the peak of the roof. When I held them in place, they were way off from fitting together without a gap.

I got out my trusty protractor and discovered that the angle formed between the front and back roof was actually 84°, not the 98° you would expect to get fitting two 49° pieces together (summing the two 49° angles). Not knowing if I had somehow made an error in attaching the roof, I cut the pieces to 42°…
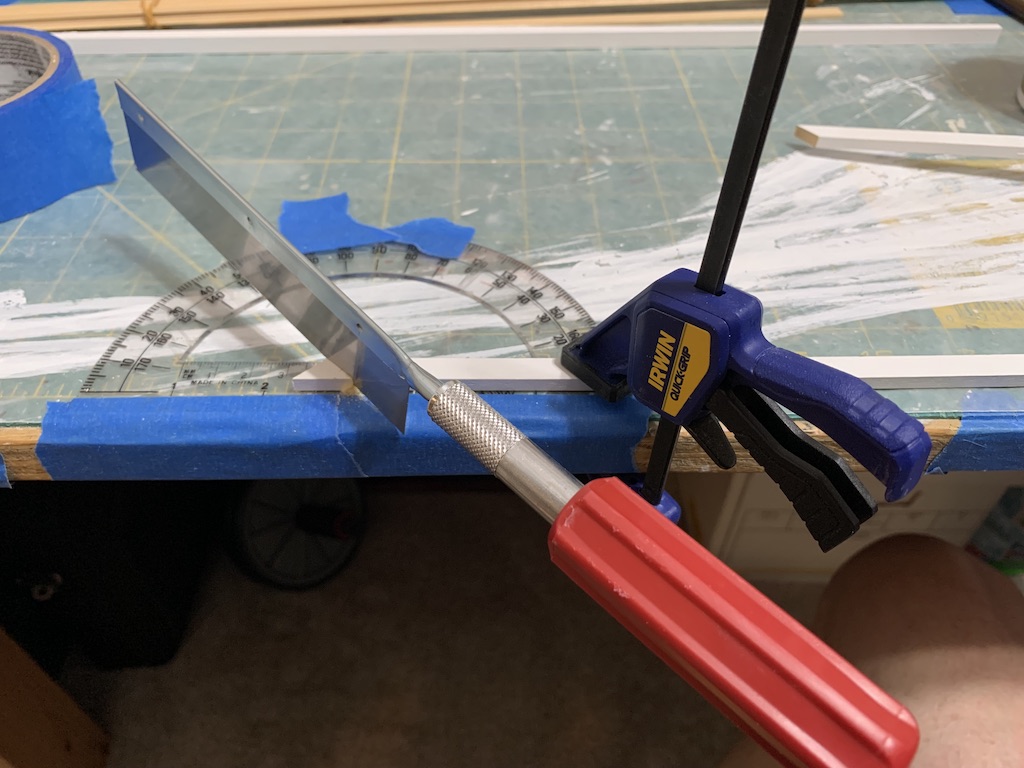
… (actually, I mistakenly cut them first to 44° forgetting that golden rule: “measure twice and cut once”).
At this point, I decided to “tweak” my angles with small cuts and sanding to achieve a gap-free finish which meant rather than guessing the angle, once I had empirically obtained a gap-free fit, I could then use these as a template to cut the rafters for the other side of the house.
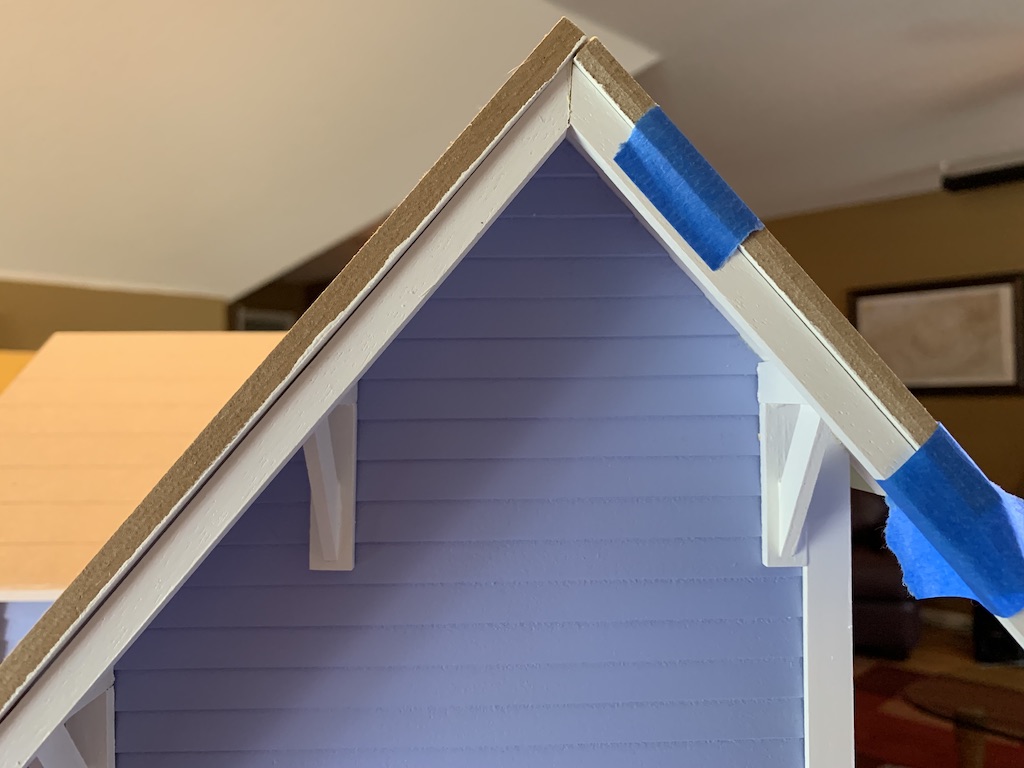
I never could figure out what I did wrong in the roof assembly to cause this angle to be so far off. But surprisingly, all the other angles I needed for the rafters on the sides and dormer matched the instructions. Once all these were cut, I could glue them in place.

At this point, I really felt like I was in the homestretch with just the roof shingles, roof eave trim pieces, porch edge trim pieces, and the front steps remaining.
Cutting the porch edges to length and gluing them in place was a breeze. The eave edges required cutting the same angles as the rafters but this time following the directions, they were correct. The scientist in me wanted to figure out why the angles were off the first time but the practical side of me won out skipping the investigation and so I got them all cut and glued in place.
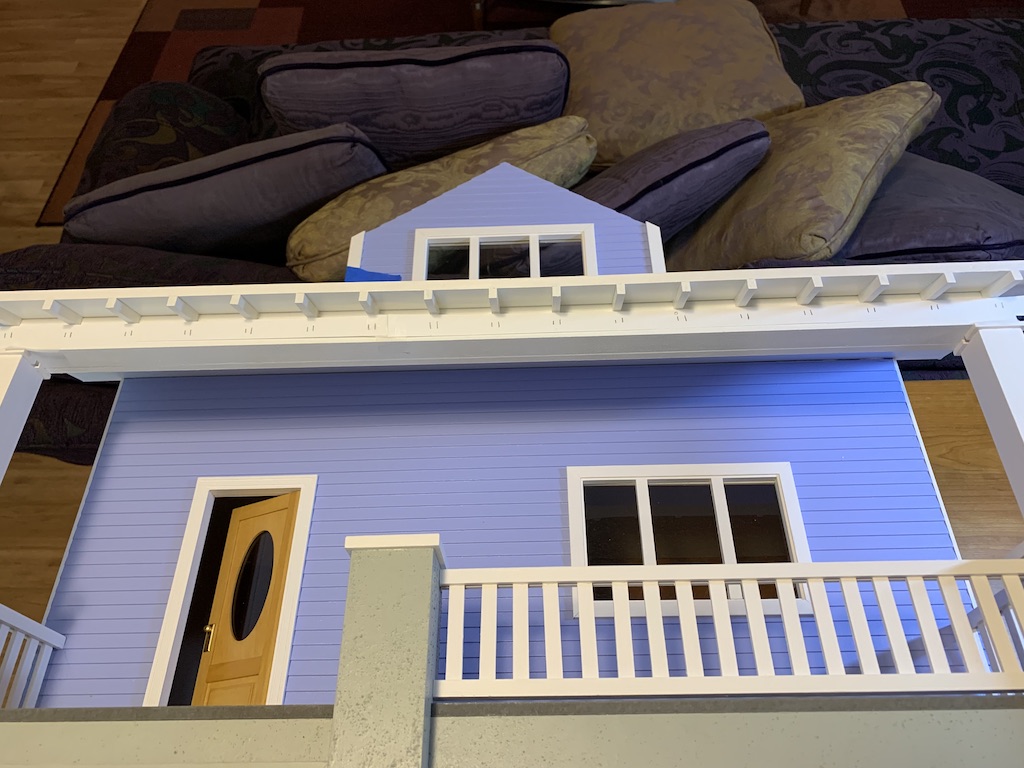
I’ve written before about how the shingles are dyed and glued to the roof, so I won’t repeat myself. Each doll house I have built presented unique shingling challenges and this one was no exception as for the first time, I had to shingle around a dormer…

…with the valley angle between the dormer roof and the main roof different left to right, thus necessitating custom shingle cuts for every row. Suffice it to say that it is a good thing the kit comes with a lot of extra shingles.
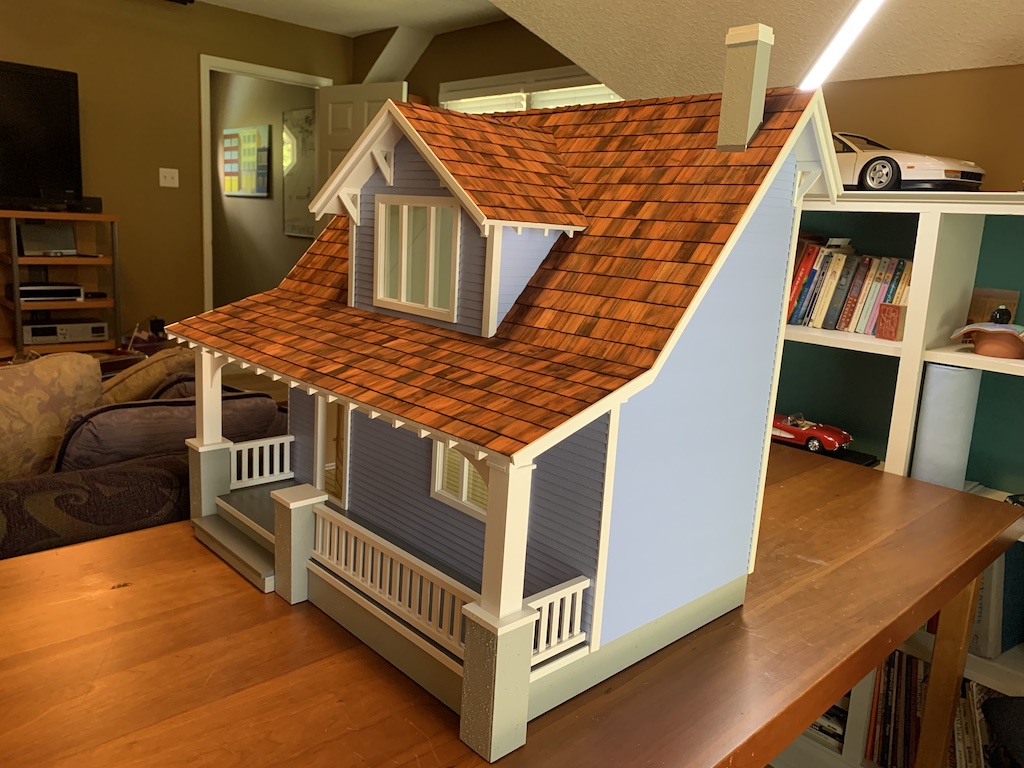
So, without boring you with any further details, I will just present you with the final move-in ready home, next up for my miniature house delivery service to my oldest sister.


You probably won’t be surprised to learn that I have already purchased my next doll house kit given how much fun I have had building five so far since the beginning of the pandemic. What may surprise you is who this one will be for. So, stay tuned for what to some of you may seem like a never-ending saga of 1/12-scale home construction!
Categories

David, this is absolutely beautiful! I do have to wonder how many hours you spent on this house. Knowing how precise you are, I would guess the trim rafter pieces not lining up would drive you crazy and would be the only thing you would “see” when looking at the dollhouse. Does it still bother you why it was off in the first place? I would guess you have accepted it because of practical reasons, but you still would like to know why it was off. I am sure your sister is thrilled with this cottage and will enjoy furnishing it, rearranging the furniture and looking at it again and again. I look forward to reading about your next selection.
Thanks Betty! No I don’t know how long it took me to build. Turned out the shingling was probably the most time consuming part.
Once I got the angles just right I was satisfied. It’s still a puzzle but the practical side of me didn’t think it was worth trying to figure out the cause. My next house is similar but different so I may run across that issue again. But this time I’ll cut some short left over scraps first to try out if the angle is right.