
Doll House for My Oldest Sister – 2nd Phase
Continued from: Doll House for My Oldest Sister – 1st Phase

On a trip to Memphis, my sister the artist (for whom I had just finished the last doll house), helped my oldest sister pick out paint colors for her doll house, which I then purchased at my favorite box hardware store.
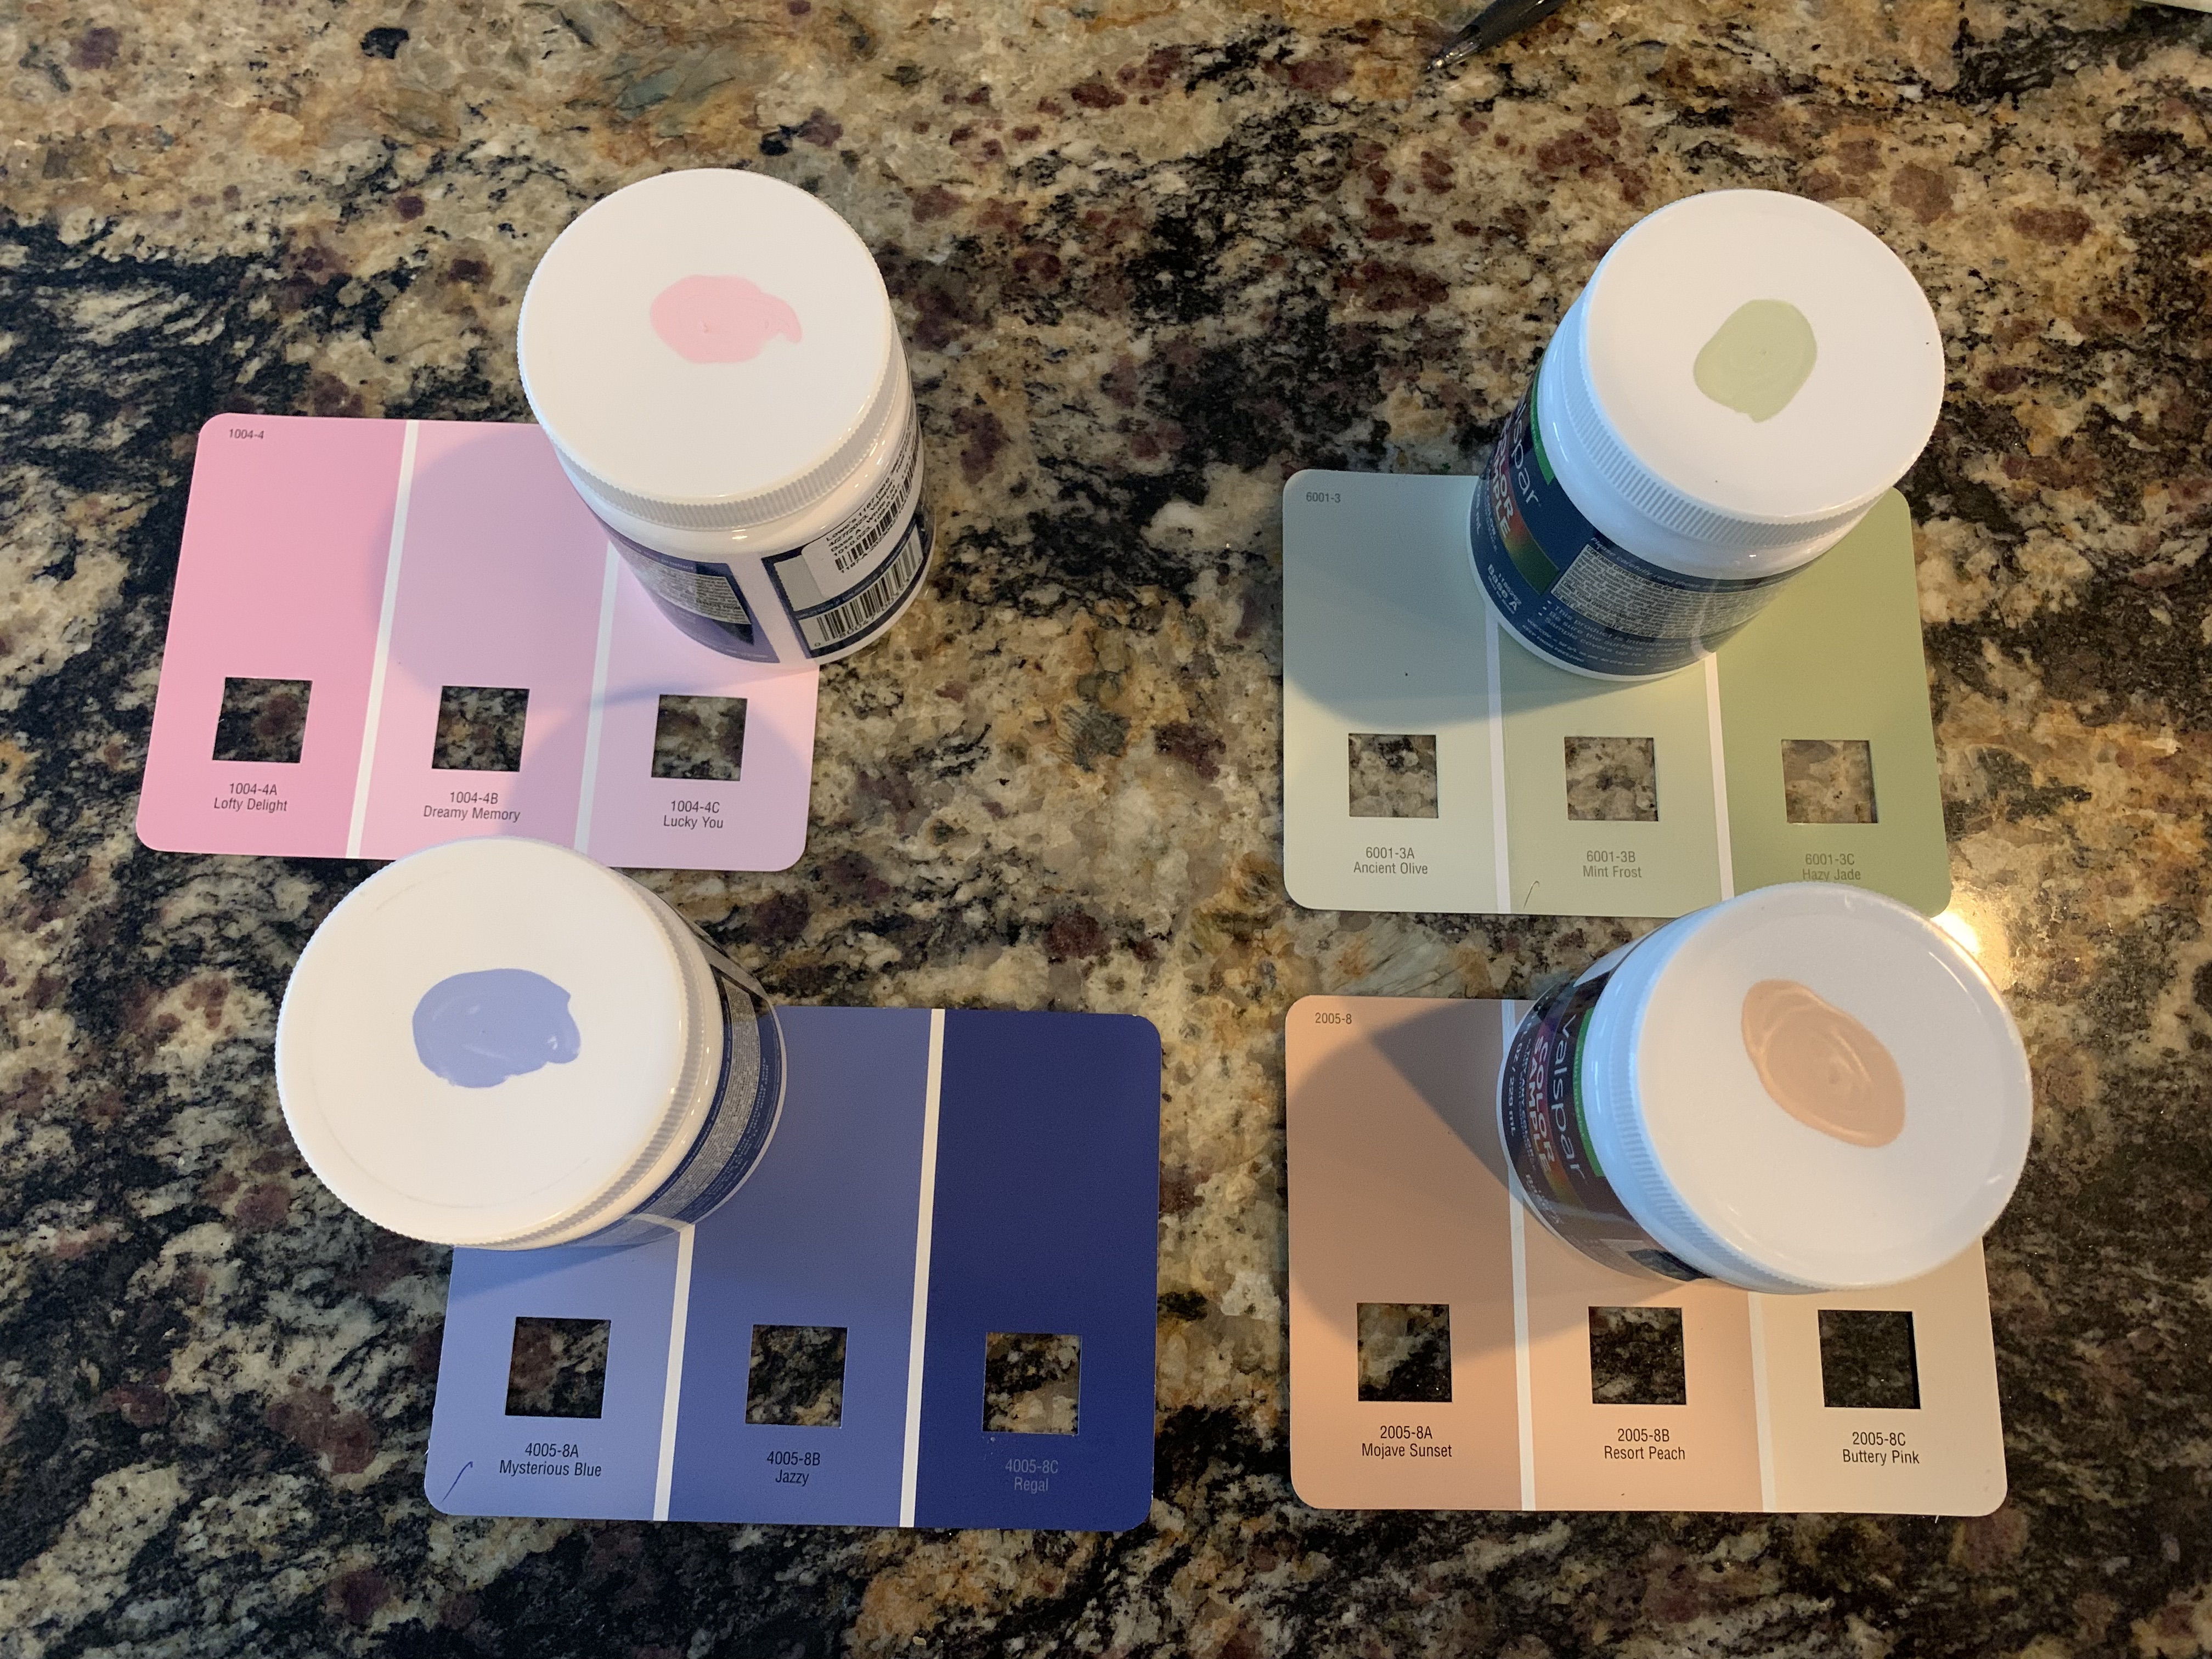
The painting process is the same for each doll house; first paint the exterior and then the interior.
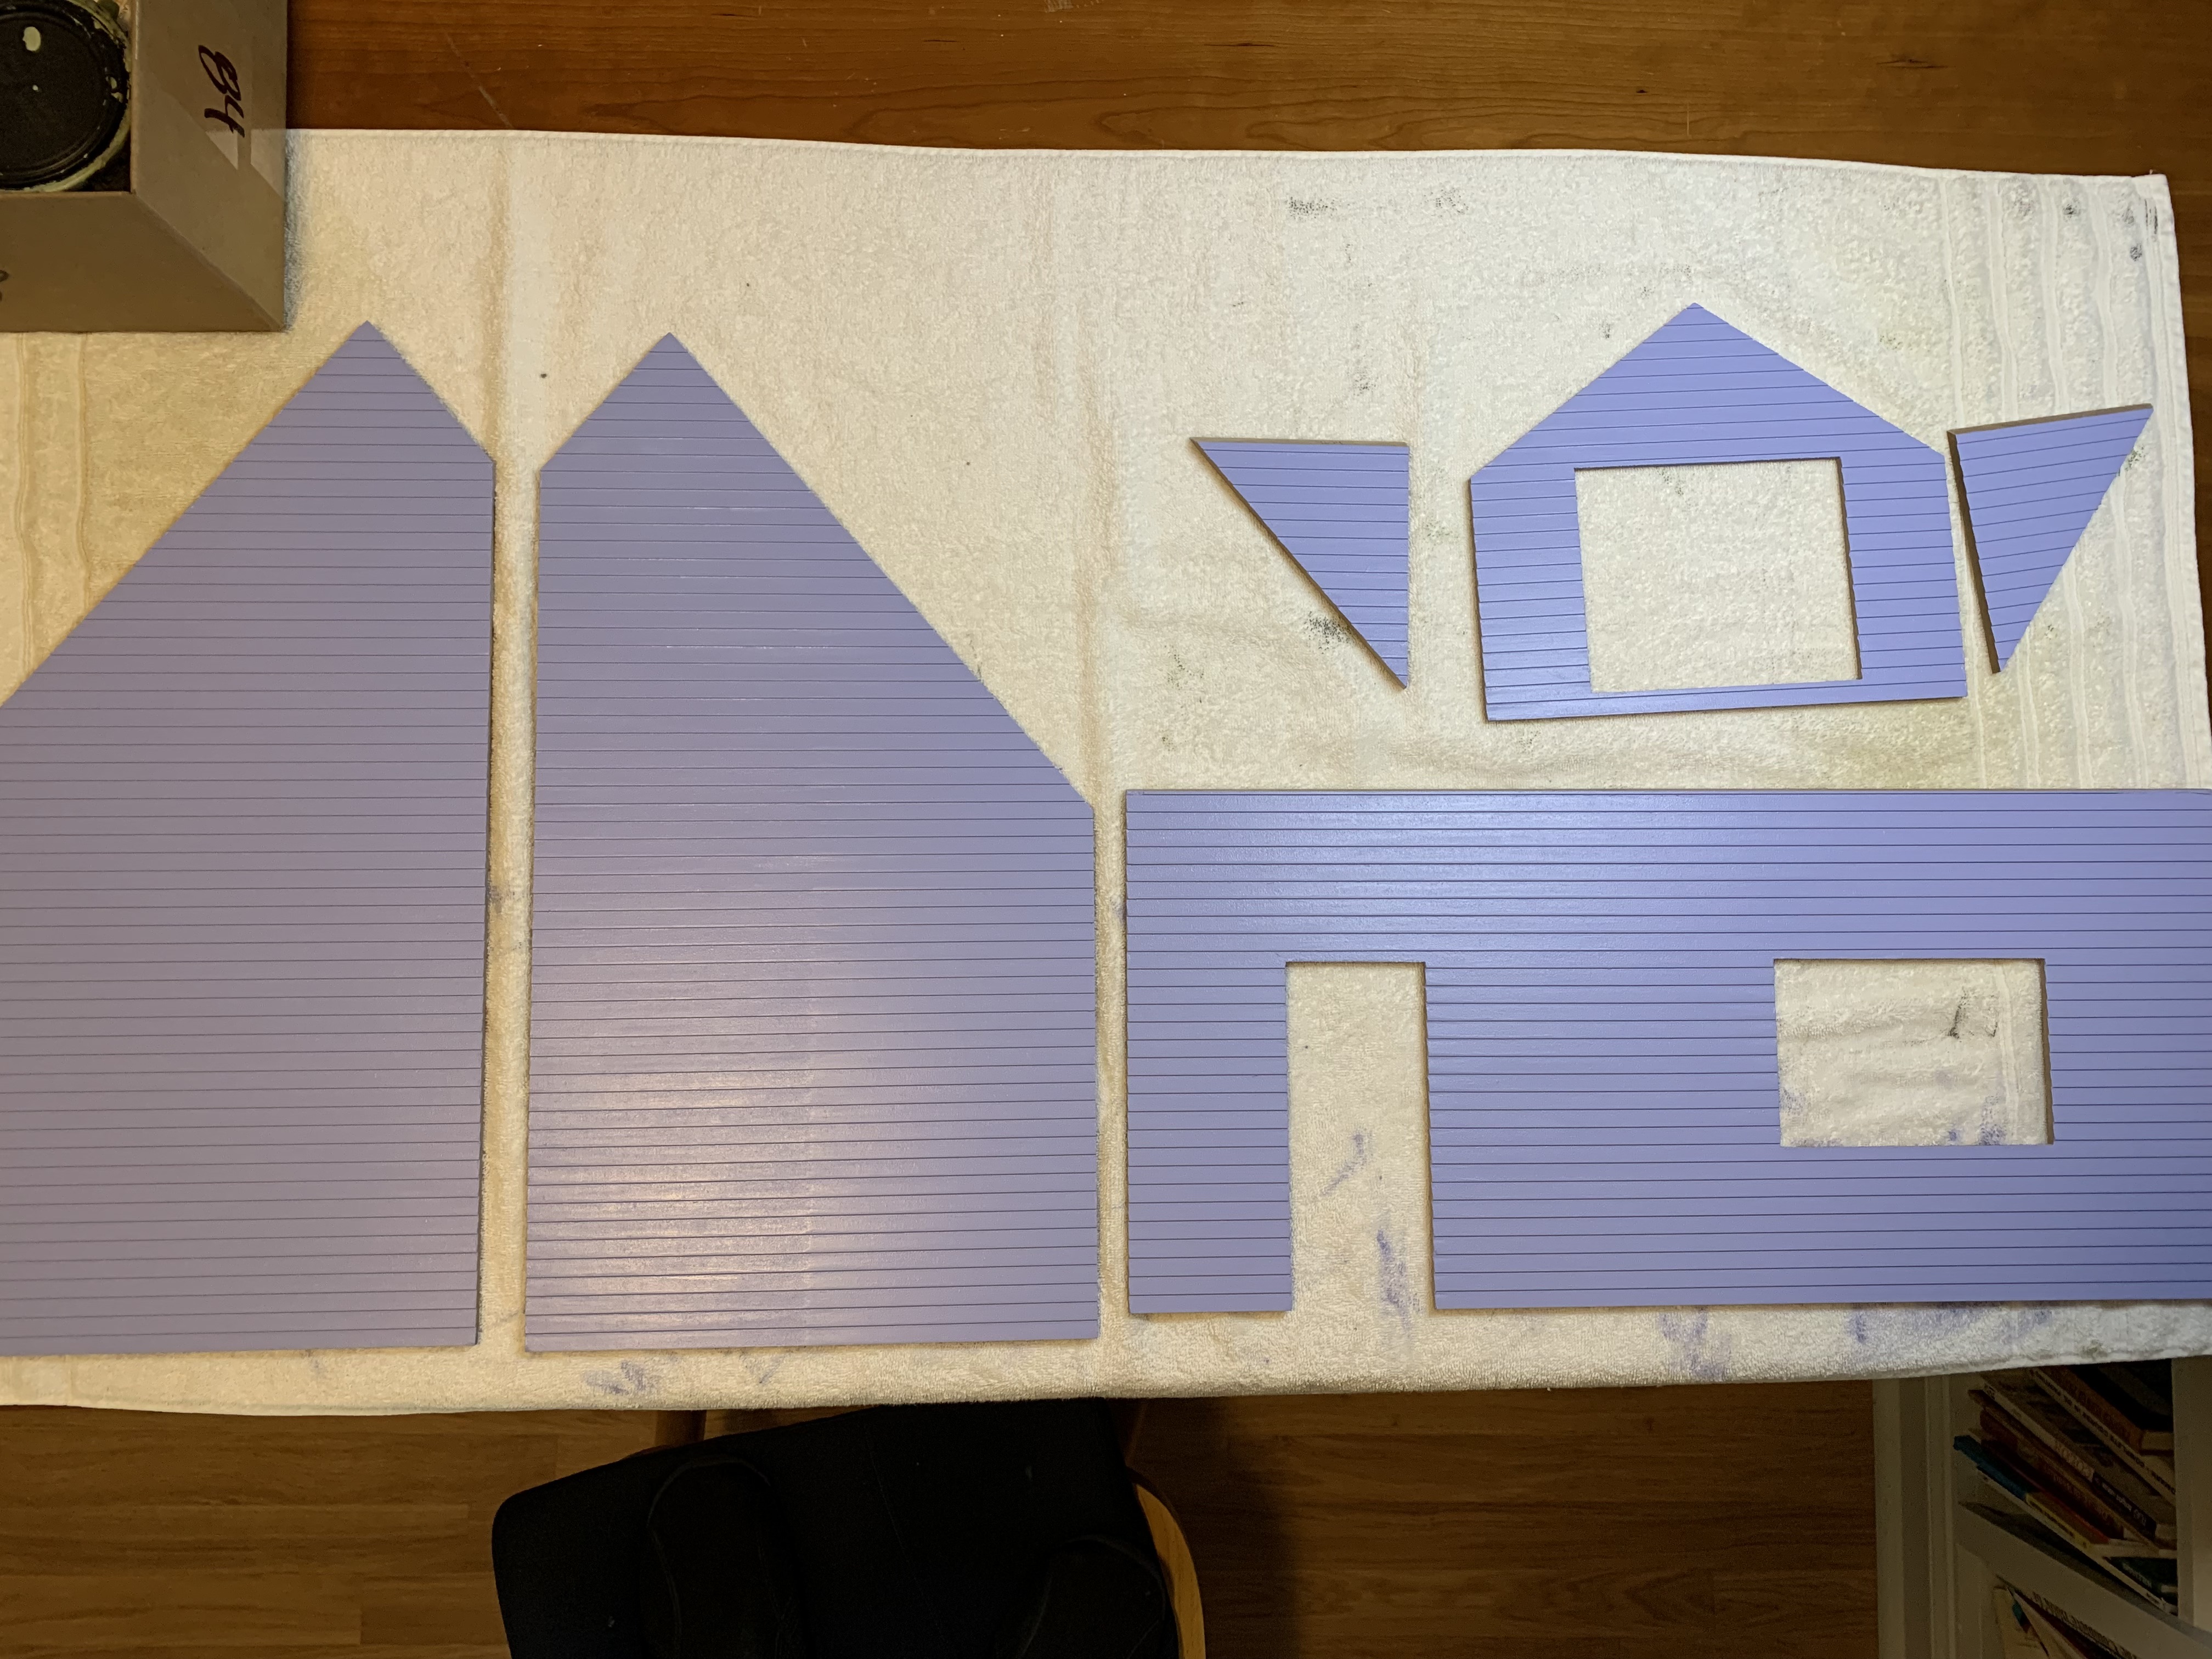
I have written several times before how painting and sanding the exterior clapboards between coats of paint is one of the most tedious, tiring, and labor-intensive steps. With the four different doll houses that I have built in the last few years, each time I have tried a different technique to try to simplify and improve this process, but with little success. For this doll house, I returned to one of those techniques whereby I painted a first coat, sanded it with a 220-grit sanding block, painted a second coat, sanded it with a 400-grit sanding block, and then painted two more coats to achieve a fairly smooth finish. Once I had painted that last coat, I was relieved that this step was once again finished.
Before I could paint the interior walls, I needed to confirm some construction modifications with my oldest sister.
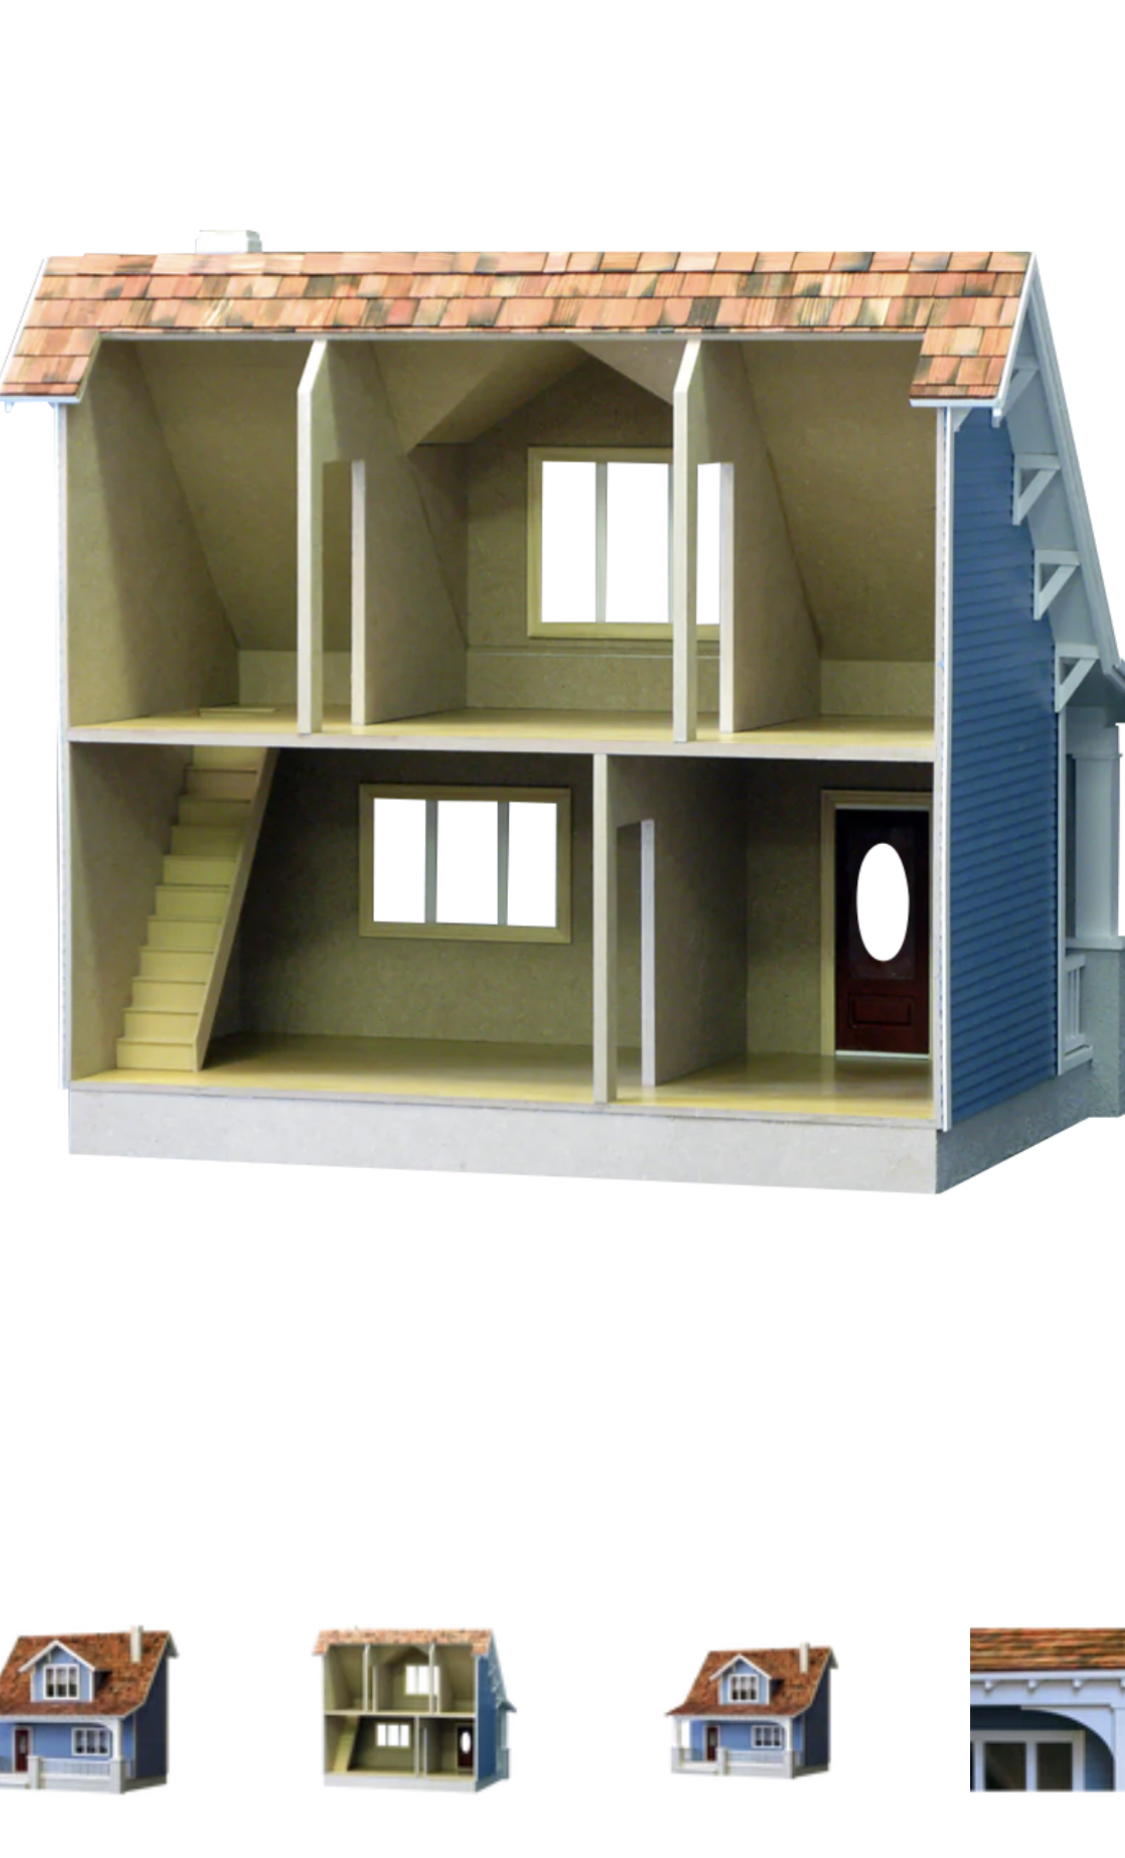
The stock interior finish for this doll house includes partial walls to create two rooms on the first floor and three rooms on the second floor. With this being a smaller house, this makes some of the rooms quite small. To create more open space, my sister decided to delete the wall on the first floor to create one large room and delete the left side wall to create a large master bedroom and then a smaller nursery. This meant that painting the first-floor walls would be quite simple as I would only need to paint three walls.
For the second floor, I needed to figure out where the wall would be so that I would know where to paint the two different room colors.
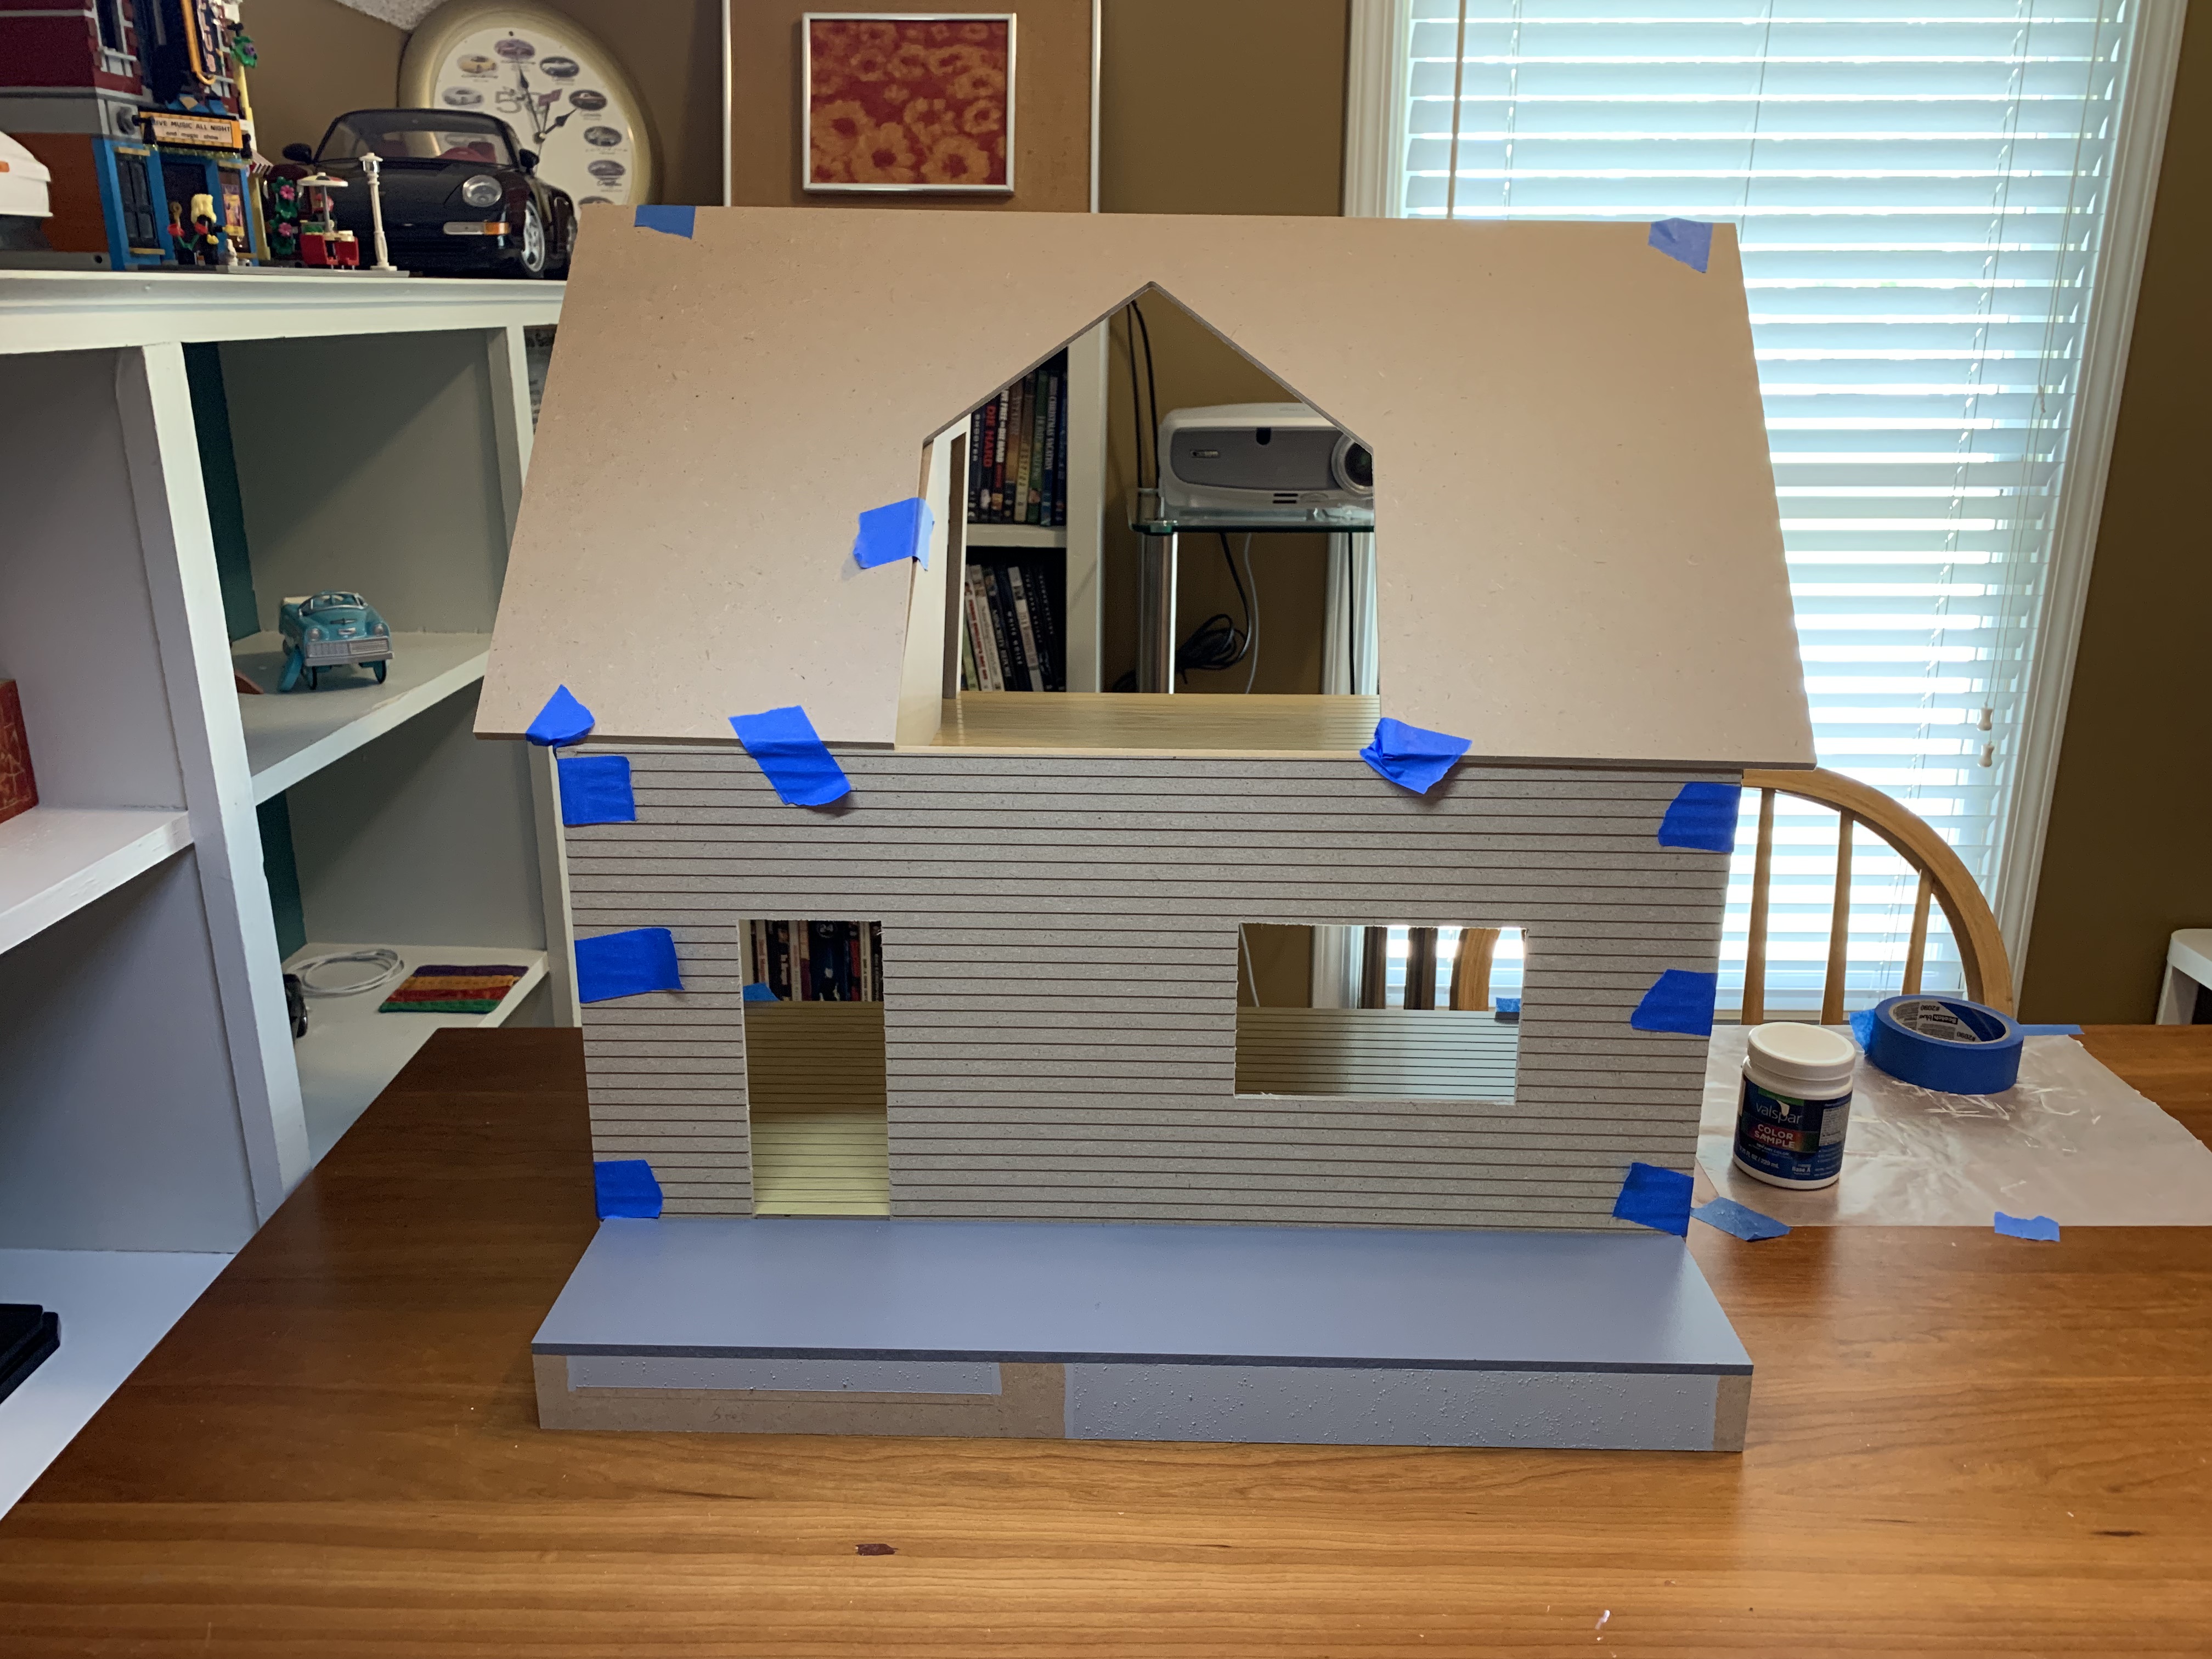
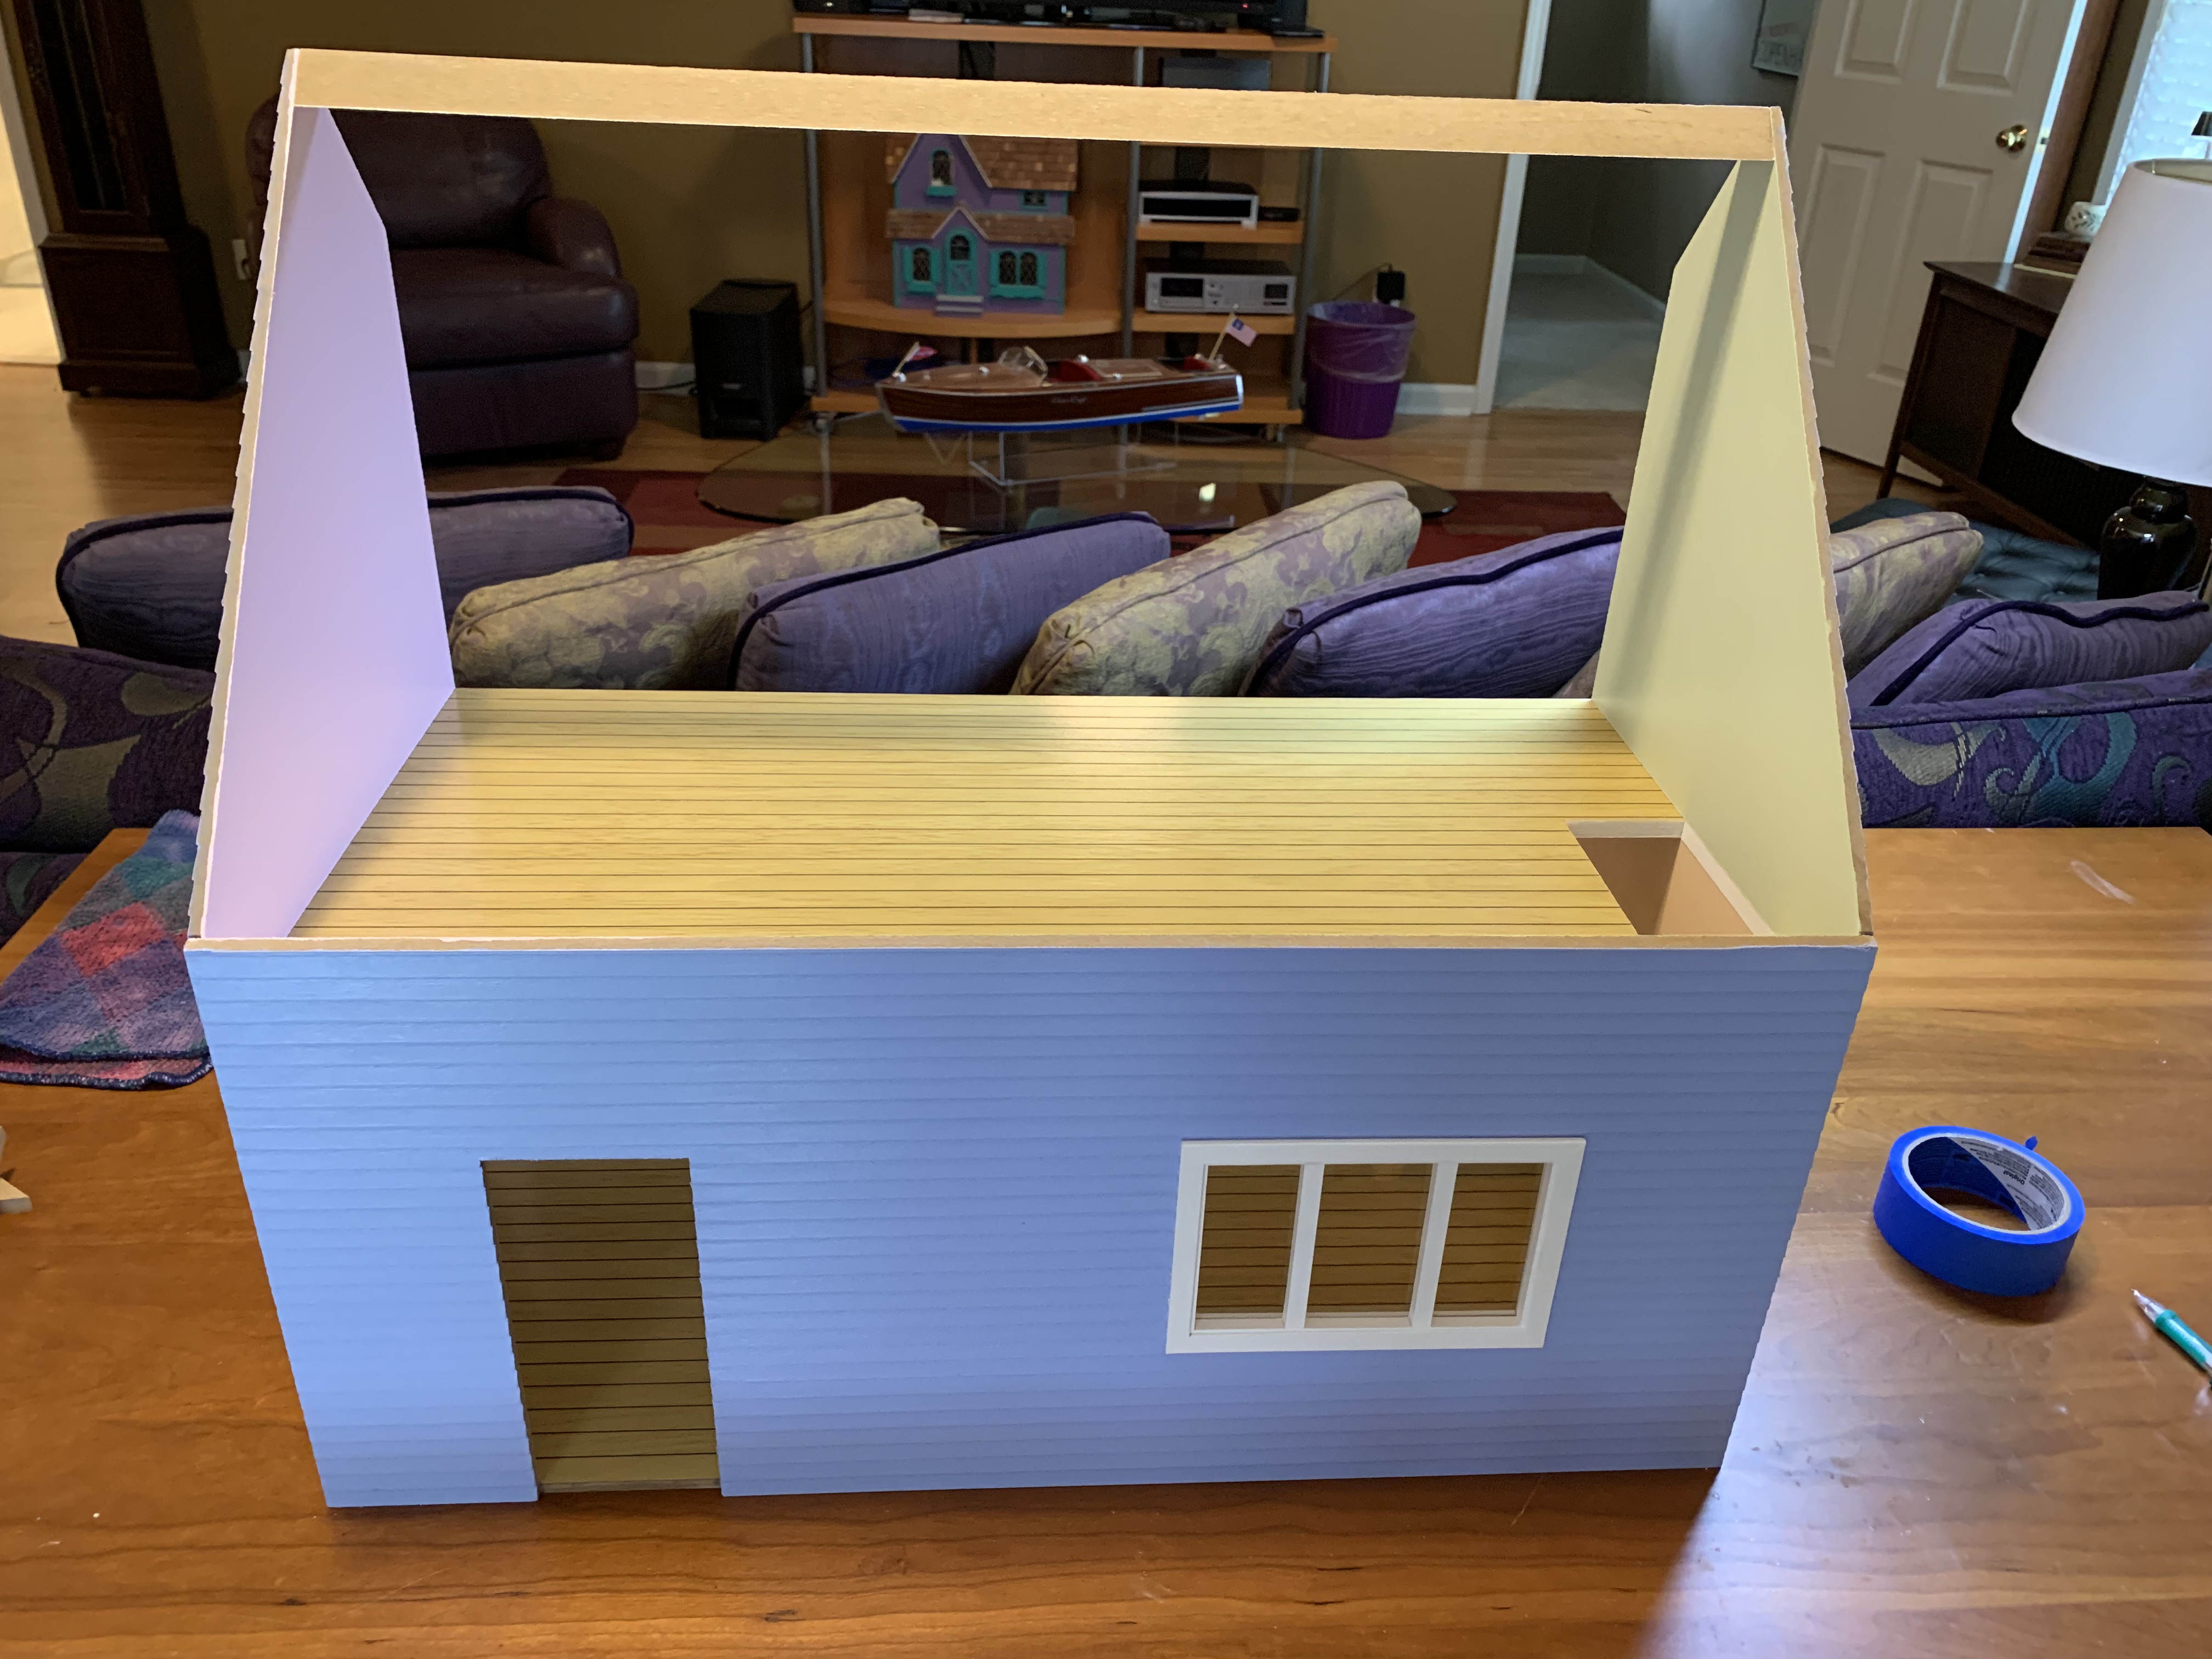
To help in this determination, I taped the house together using my oldest sister’s modified configuration.
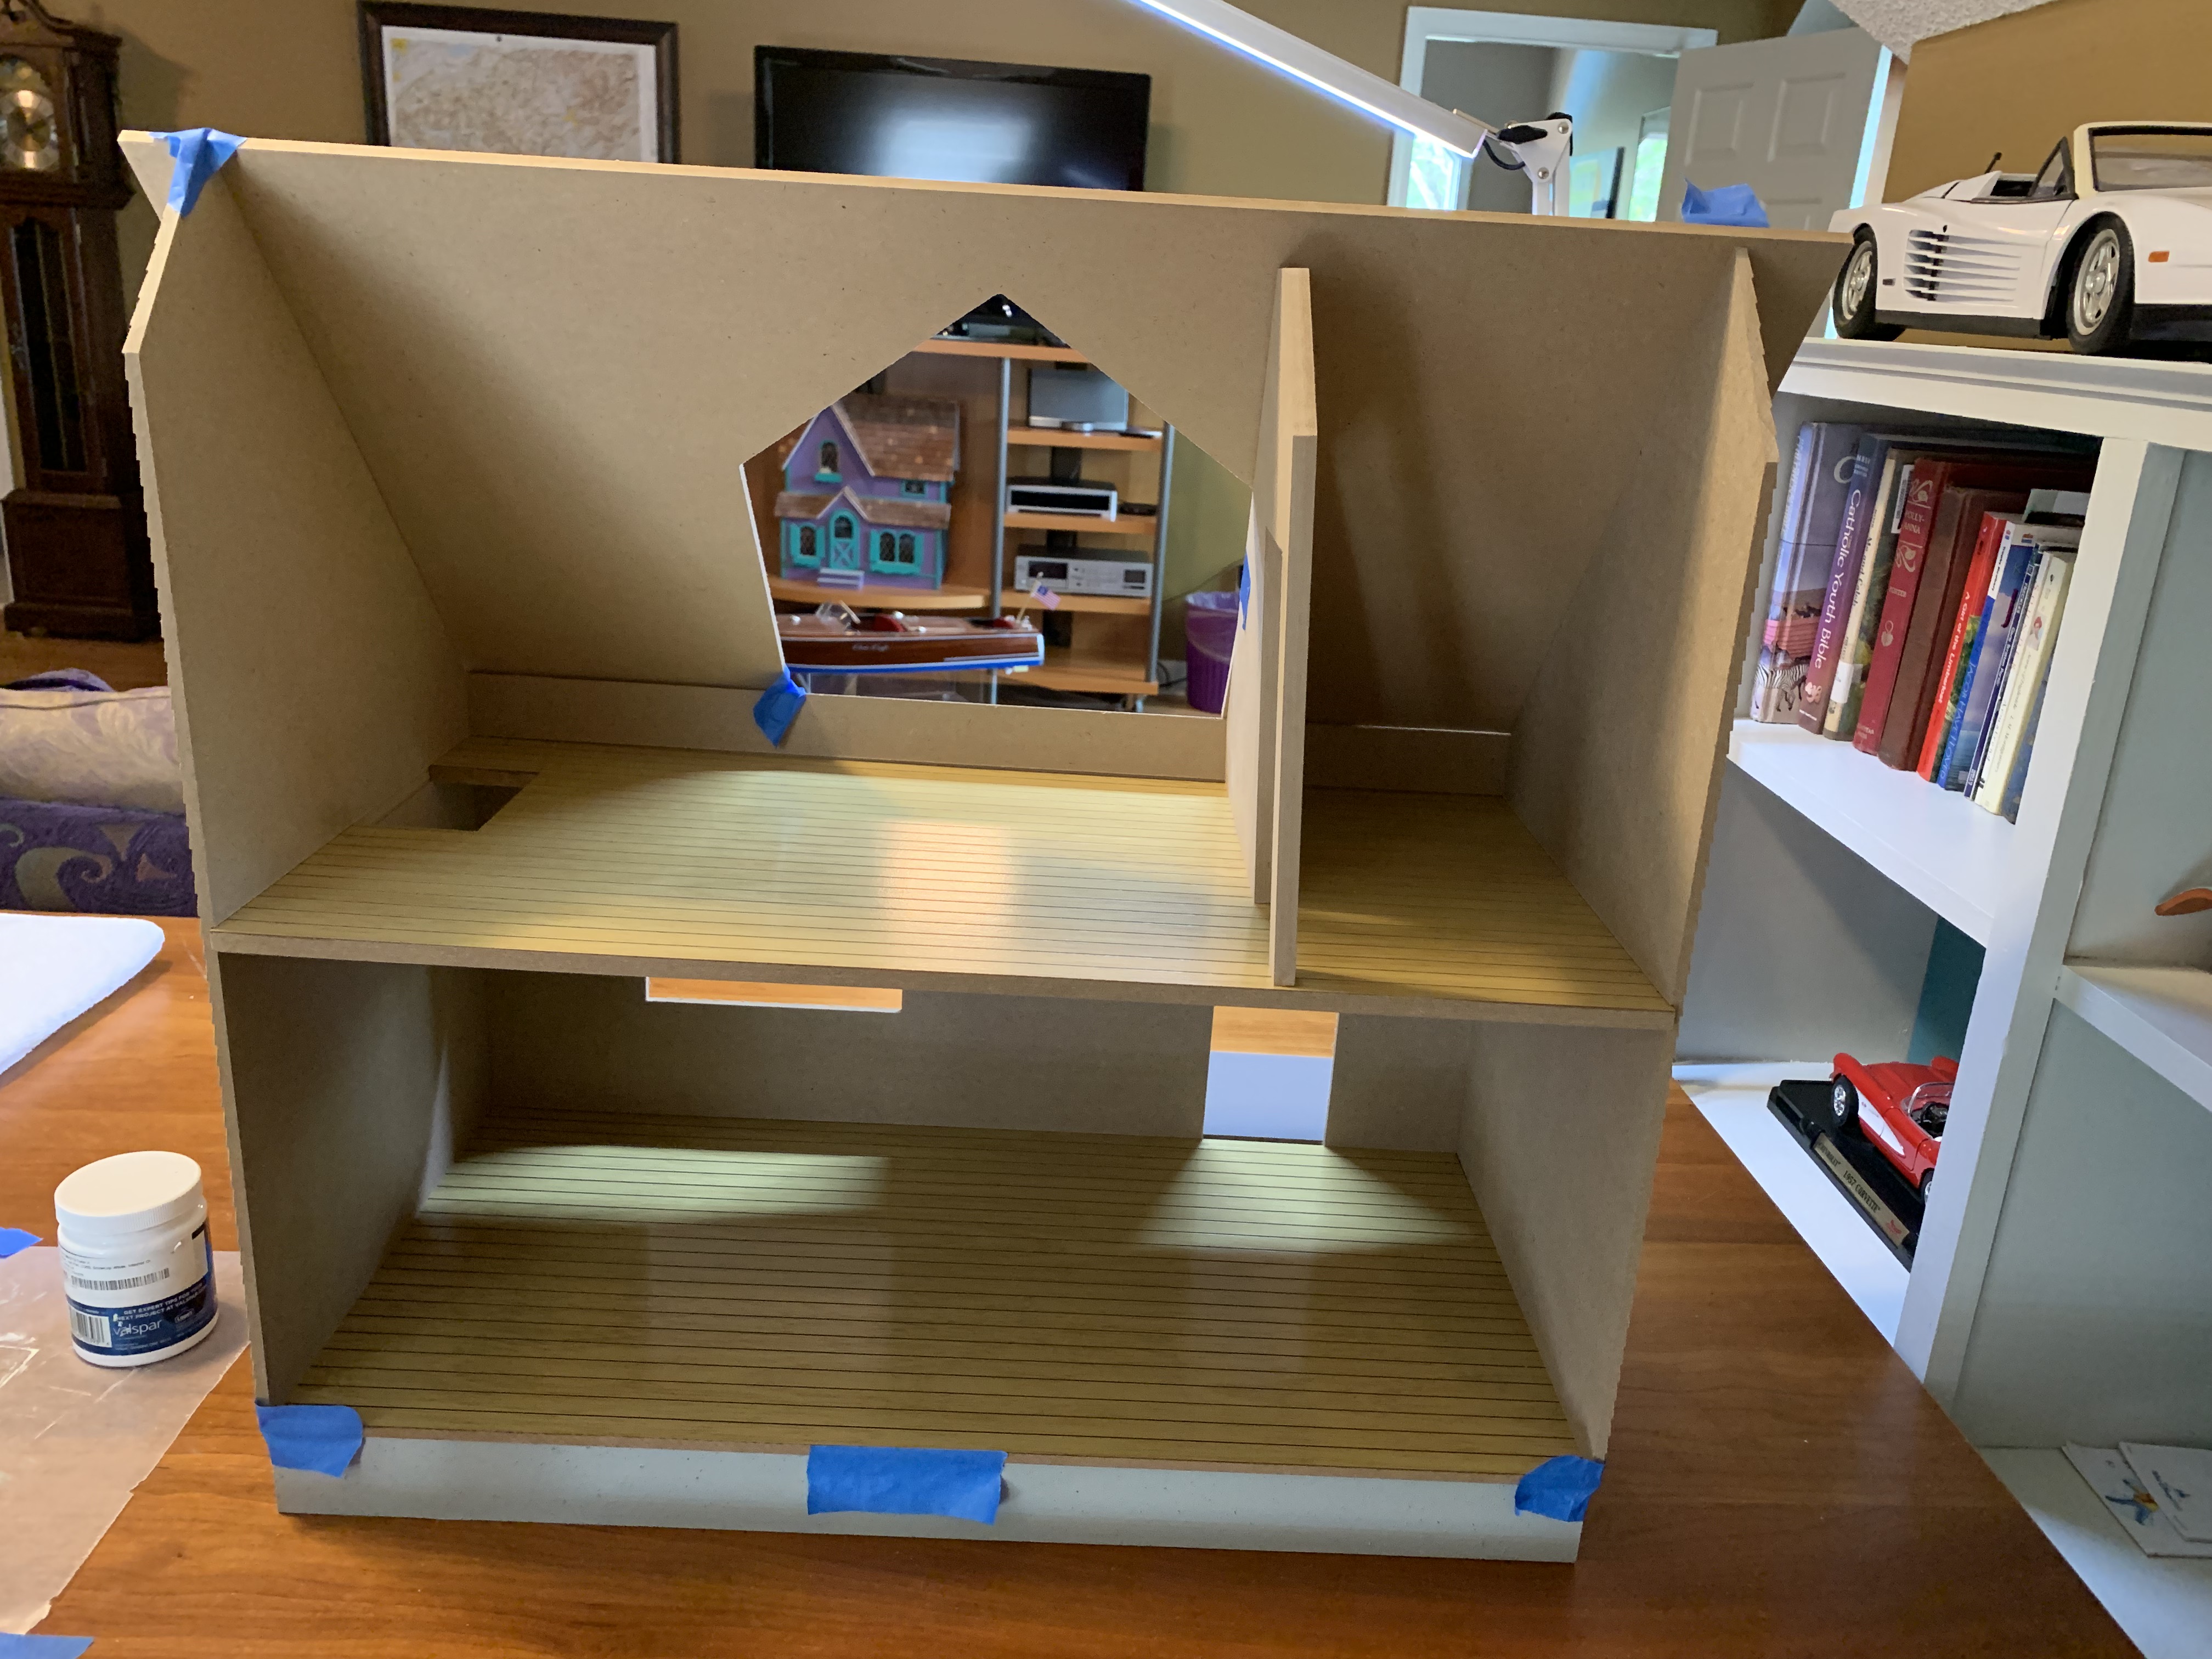
Turned out the wall placement aligned with the roof dormer opening so that made knowing where the two different colors would be easy (and my sharp-eyed readers probably realized that placement was obvious from the stock interior photo above obviating the need for me taping the house together). But then I had to ponder something. Should I paint the ceiling white as typical? If so, then there would only be a very small amount of wall painted the room color (just about 1.5 inches of wall between the 2nd floor and ceiling). Or should I paint the ceiling the room color? Or should I create an artificial wall partway up the ceiling by drawing a line say, 4.5 inches up and then painting below the line room color to create a six-inch wall?
I posed the questions to my oldest sister, but she could not decide and so told me to make the call. My other sister was coming back to town for a wedding and so I decided to pose the question to her when she could see the doll house in person. She thought about it a minute and then said that painting the ceiling white would be too much white in the room. Technically, the front ceiling in this doll house is more like an angled wall and so I agreed with my sister that it made sense to paint it the room color.
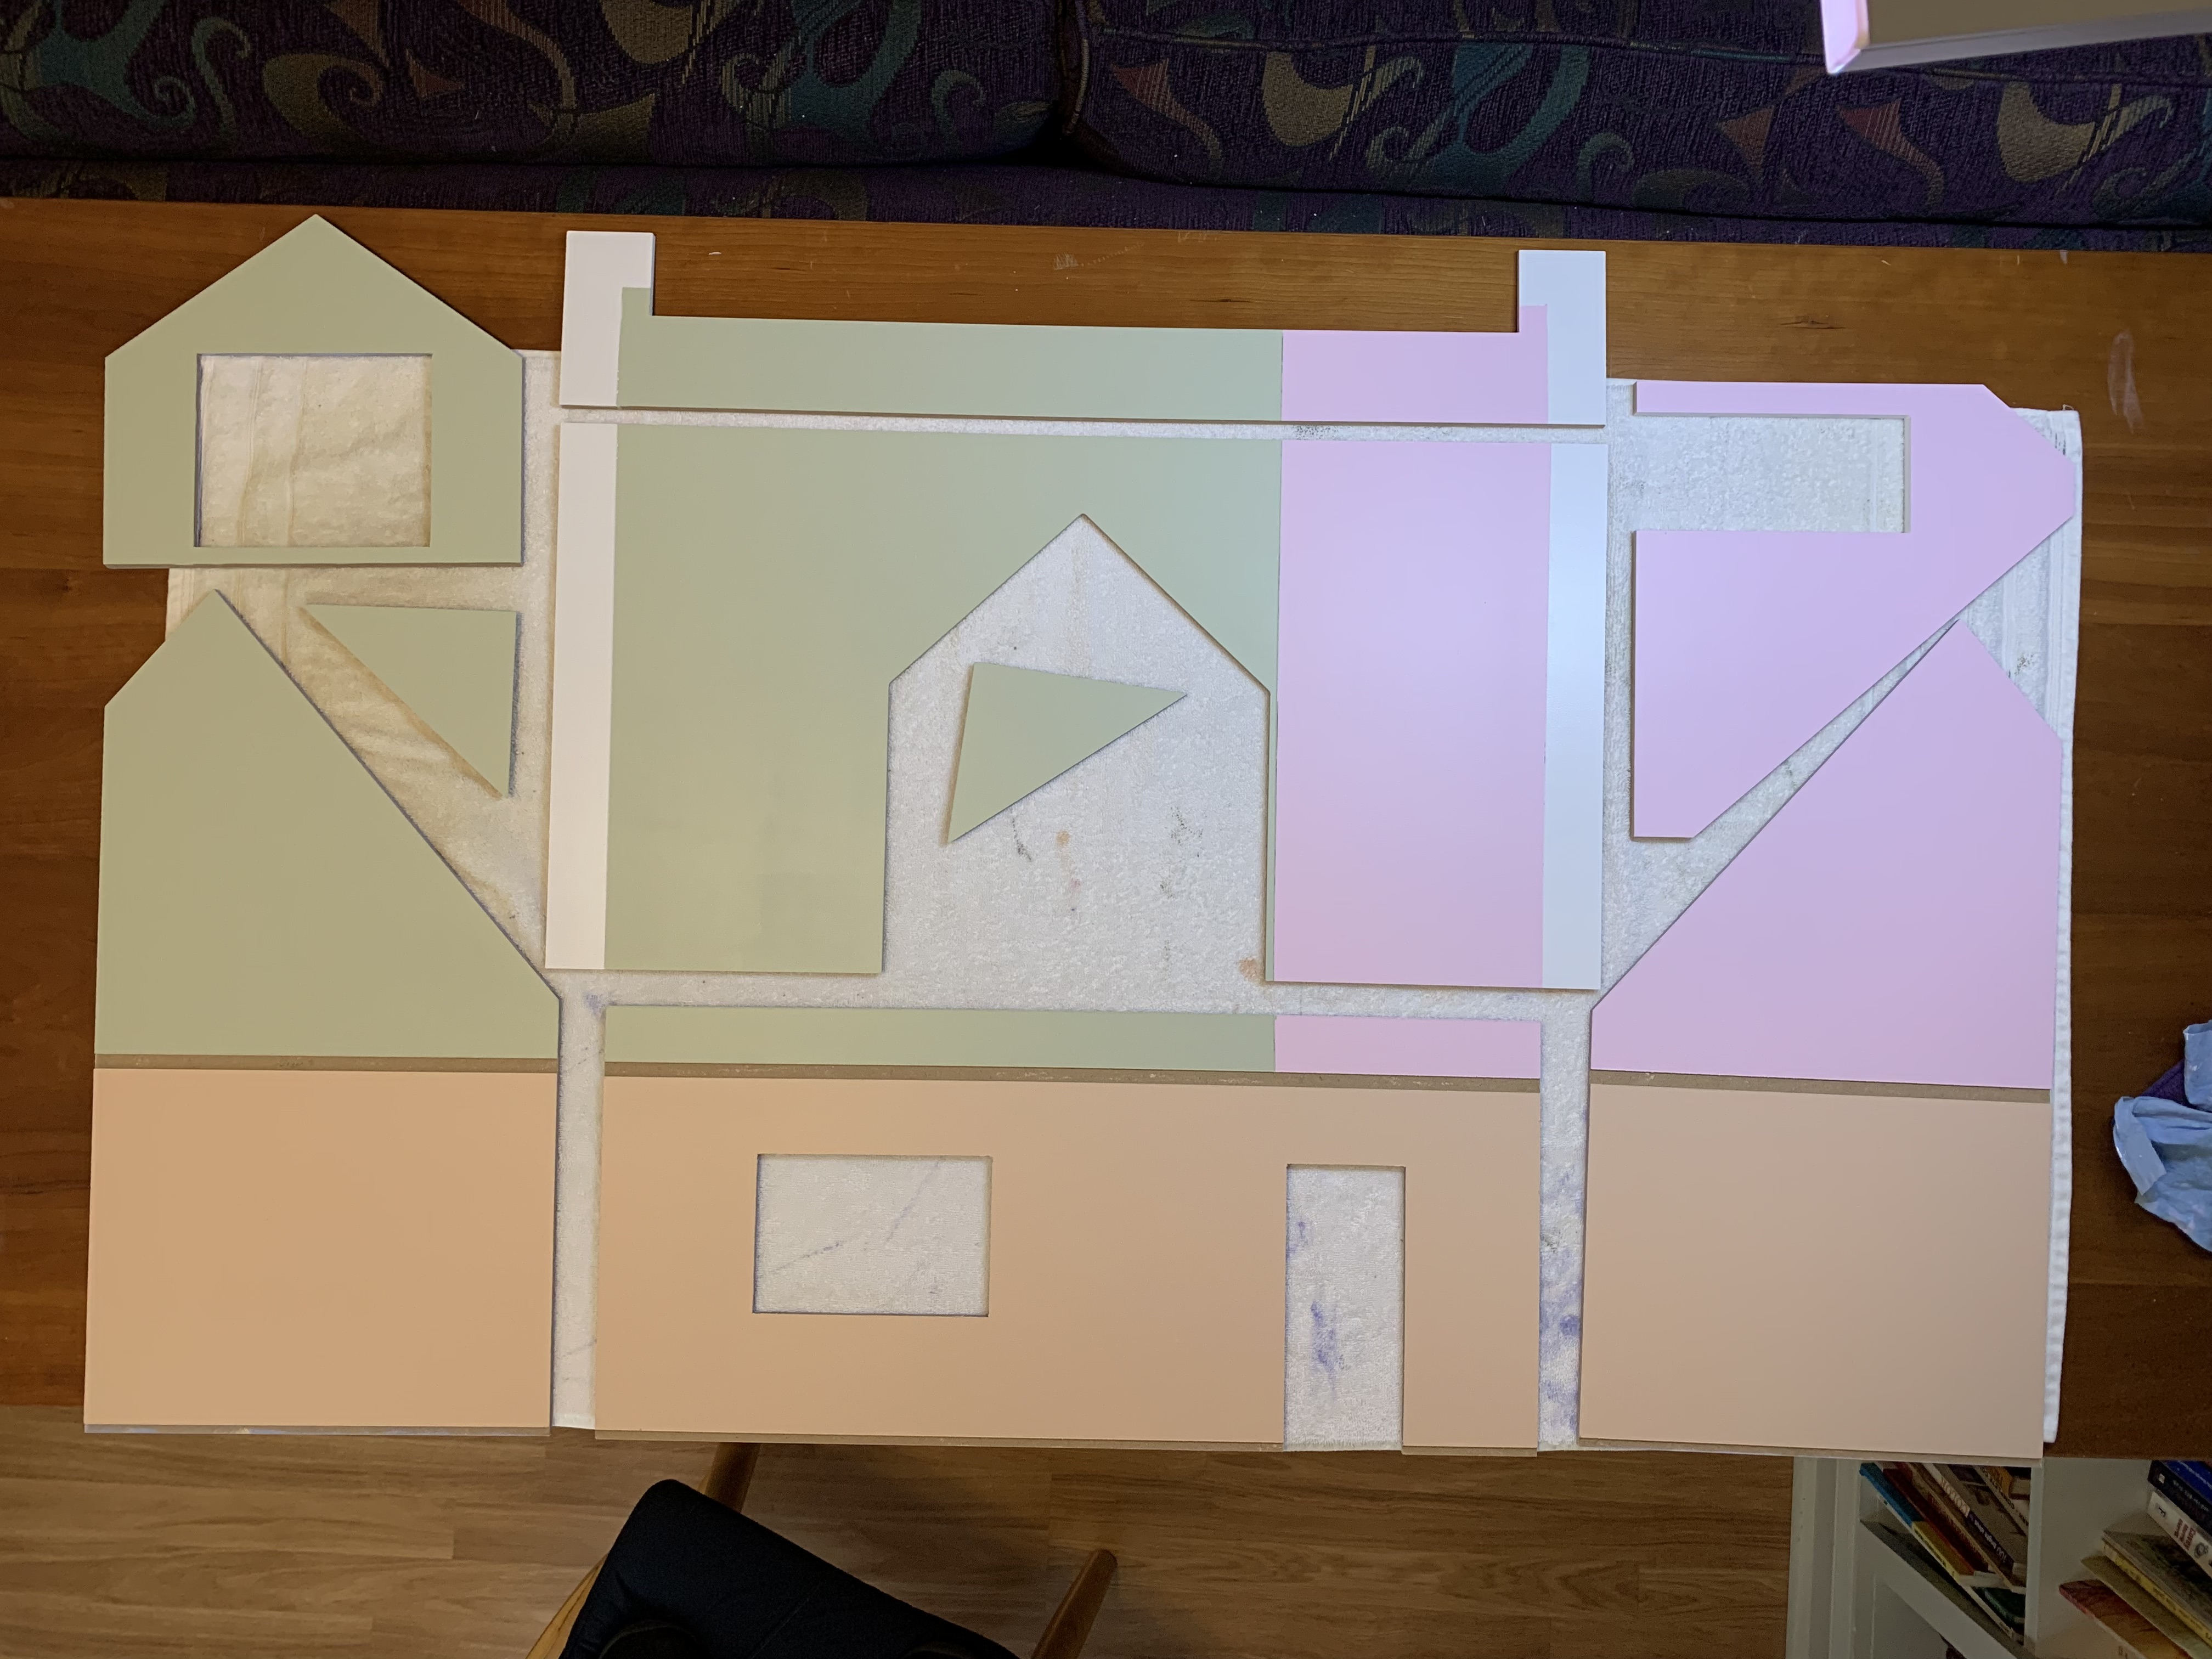
That decided, I proceeded to paint the rooms their selected color.
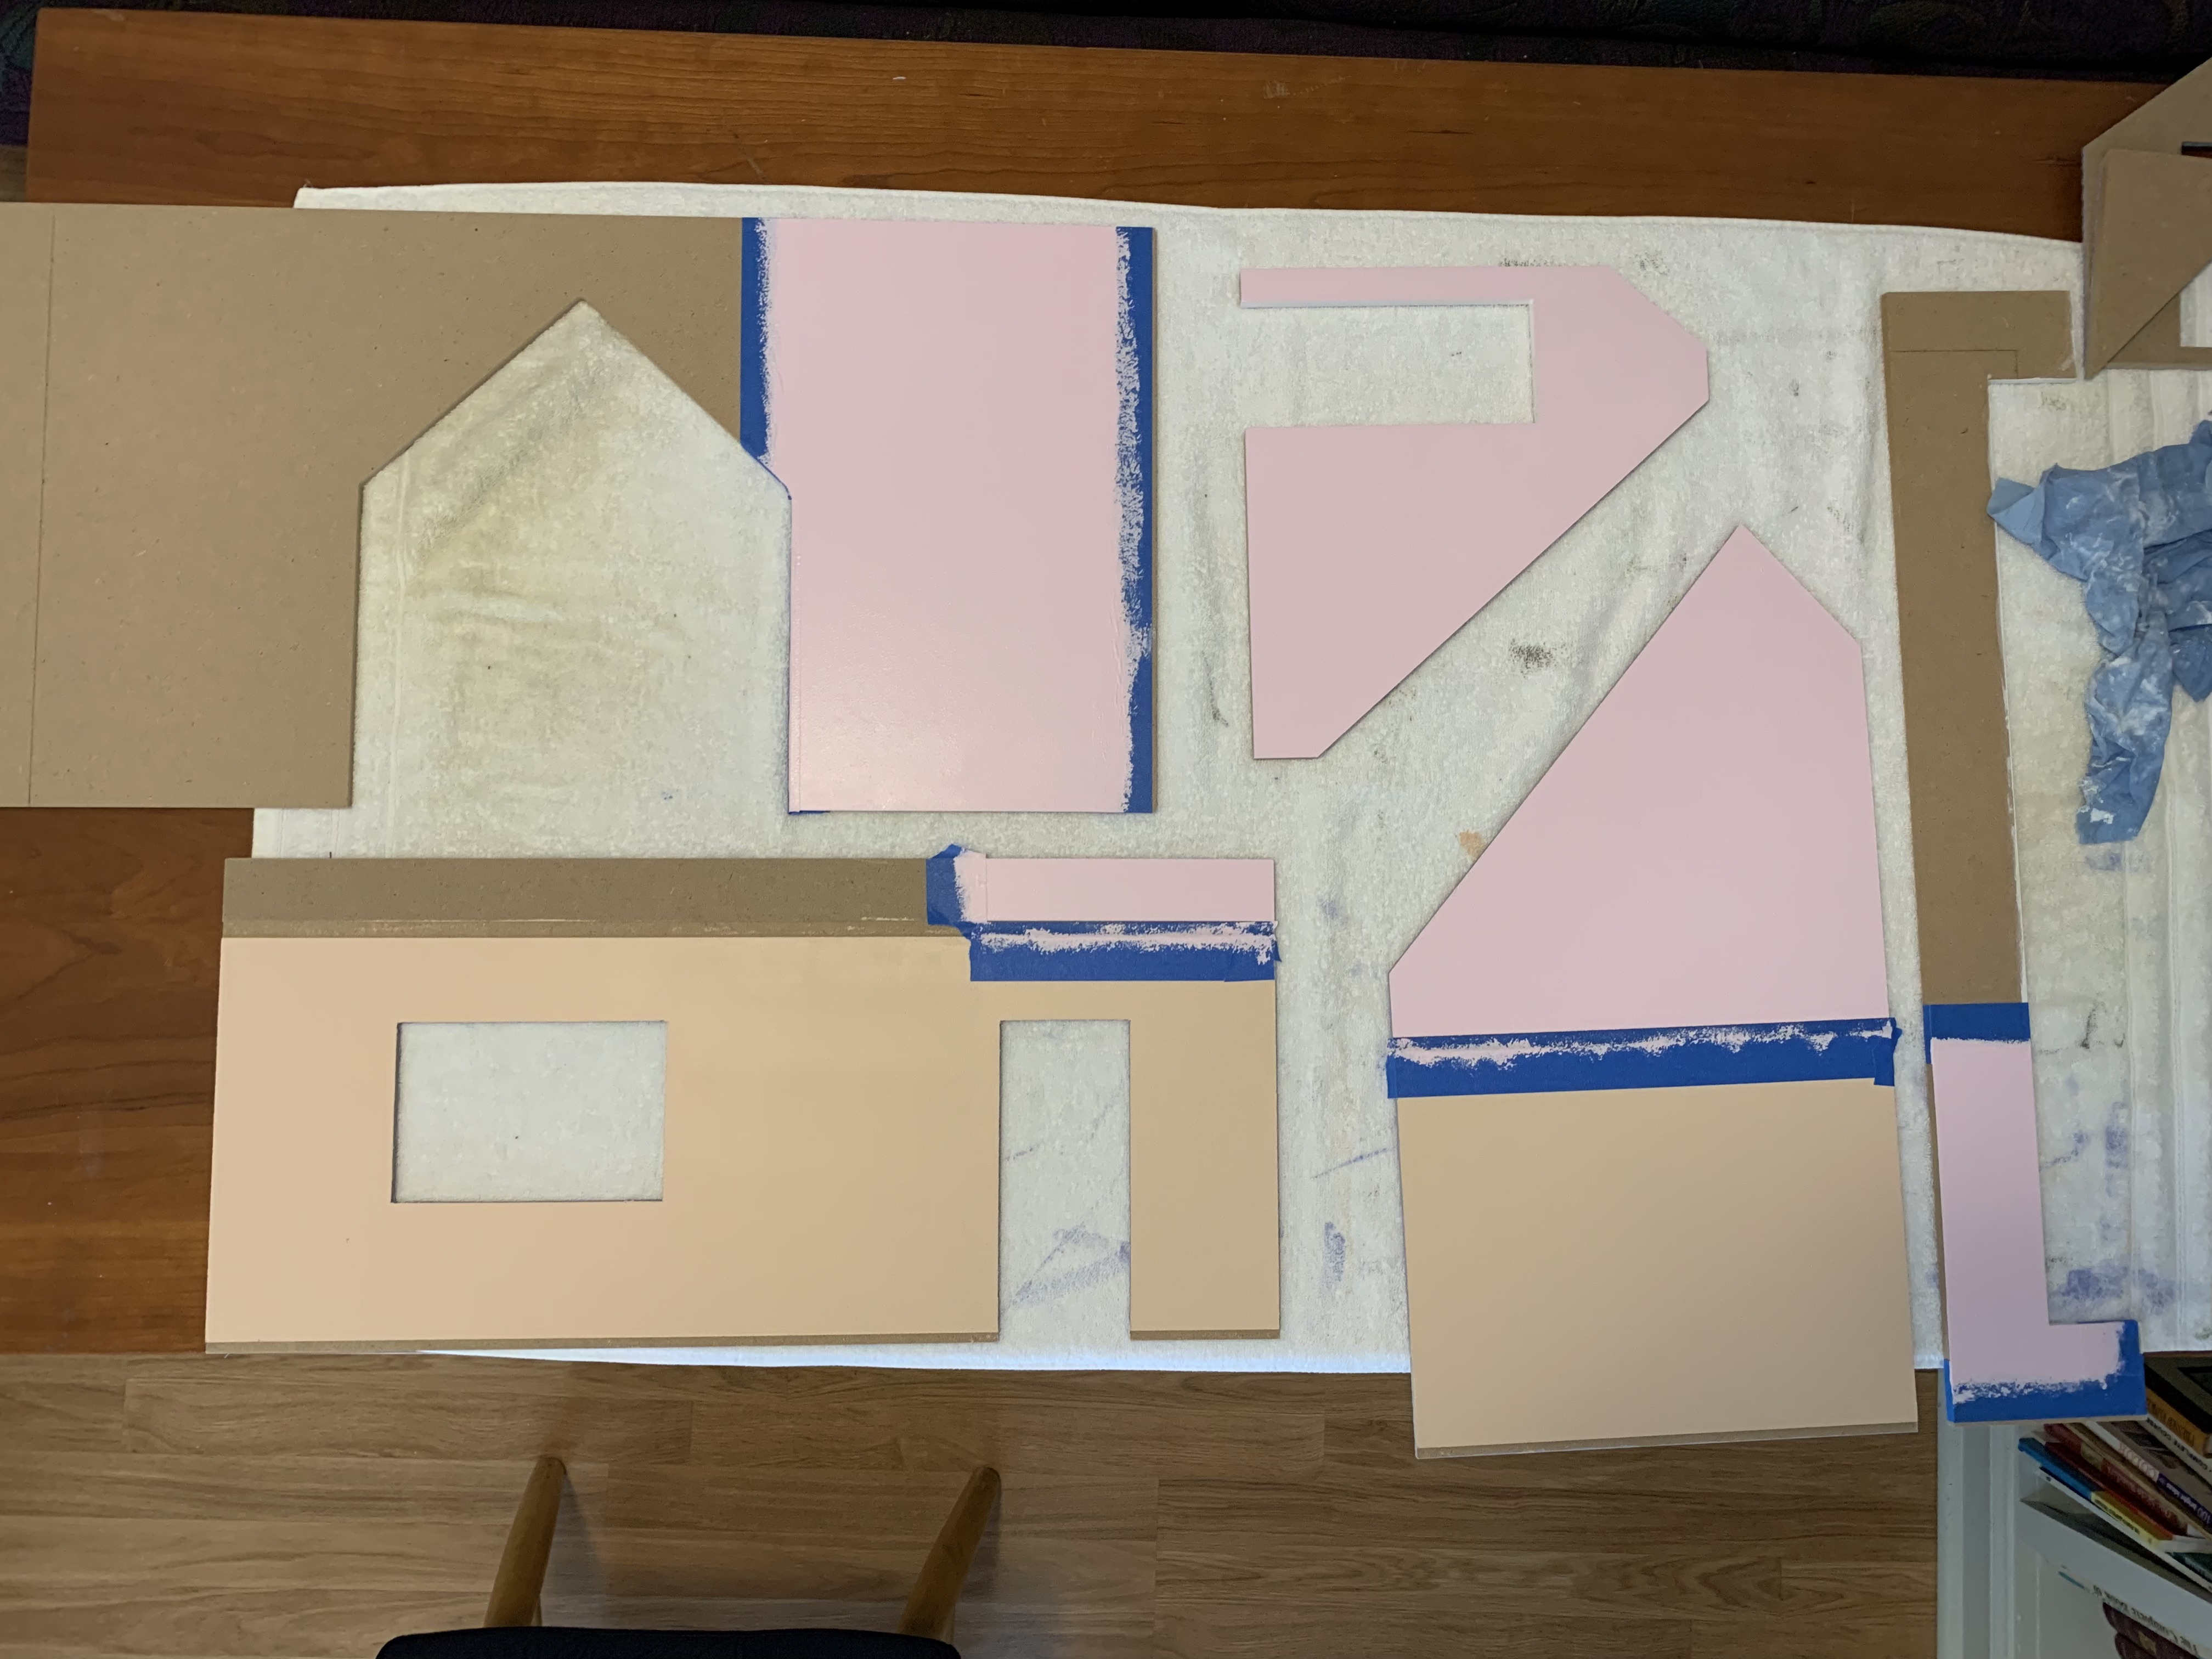
Not painting the second-floor ceiling white added several taping steps as the main slanted roof would be painted three separate colors: green for the master bedroom, pink for the nursery, and white for the eaves. But the rooms would look much better this way and besides, that is what blue painter’s tape is for.
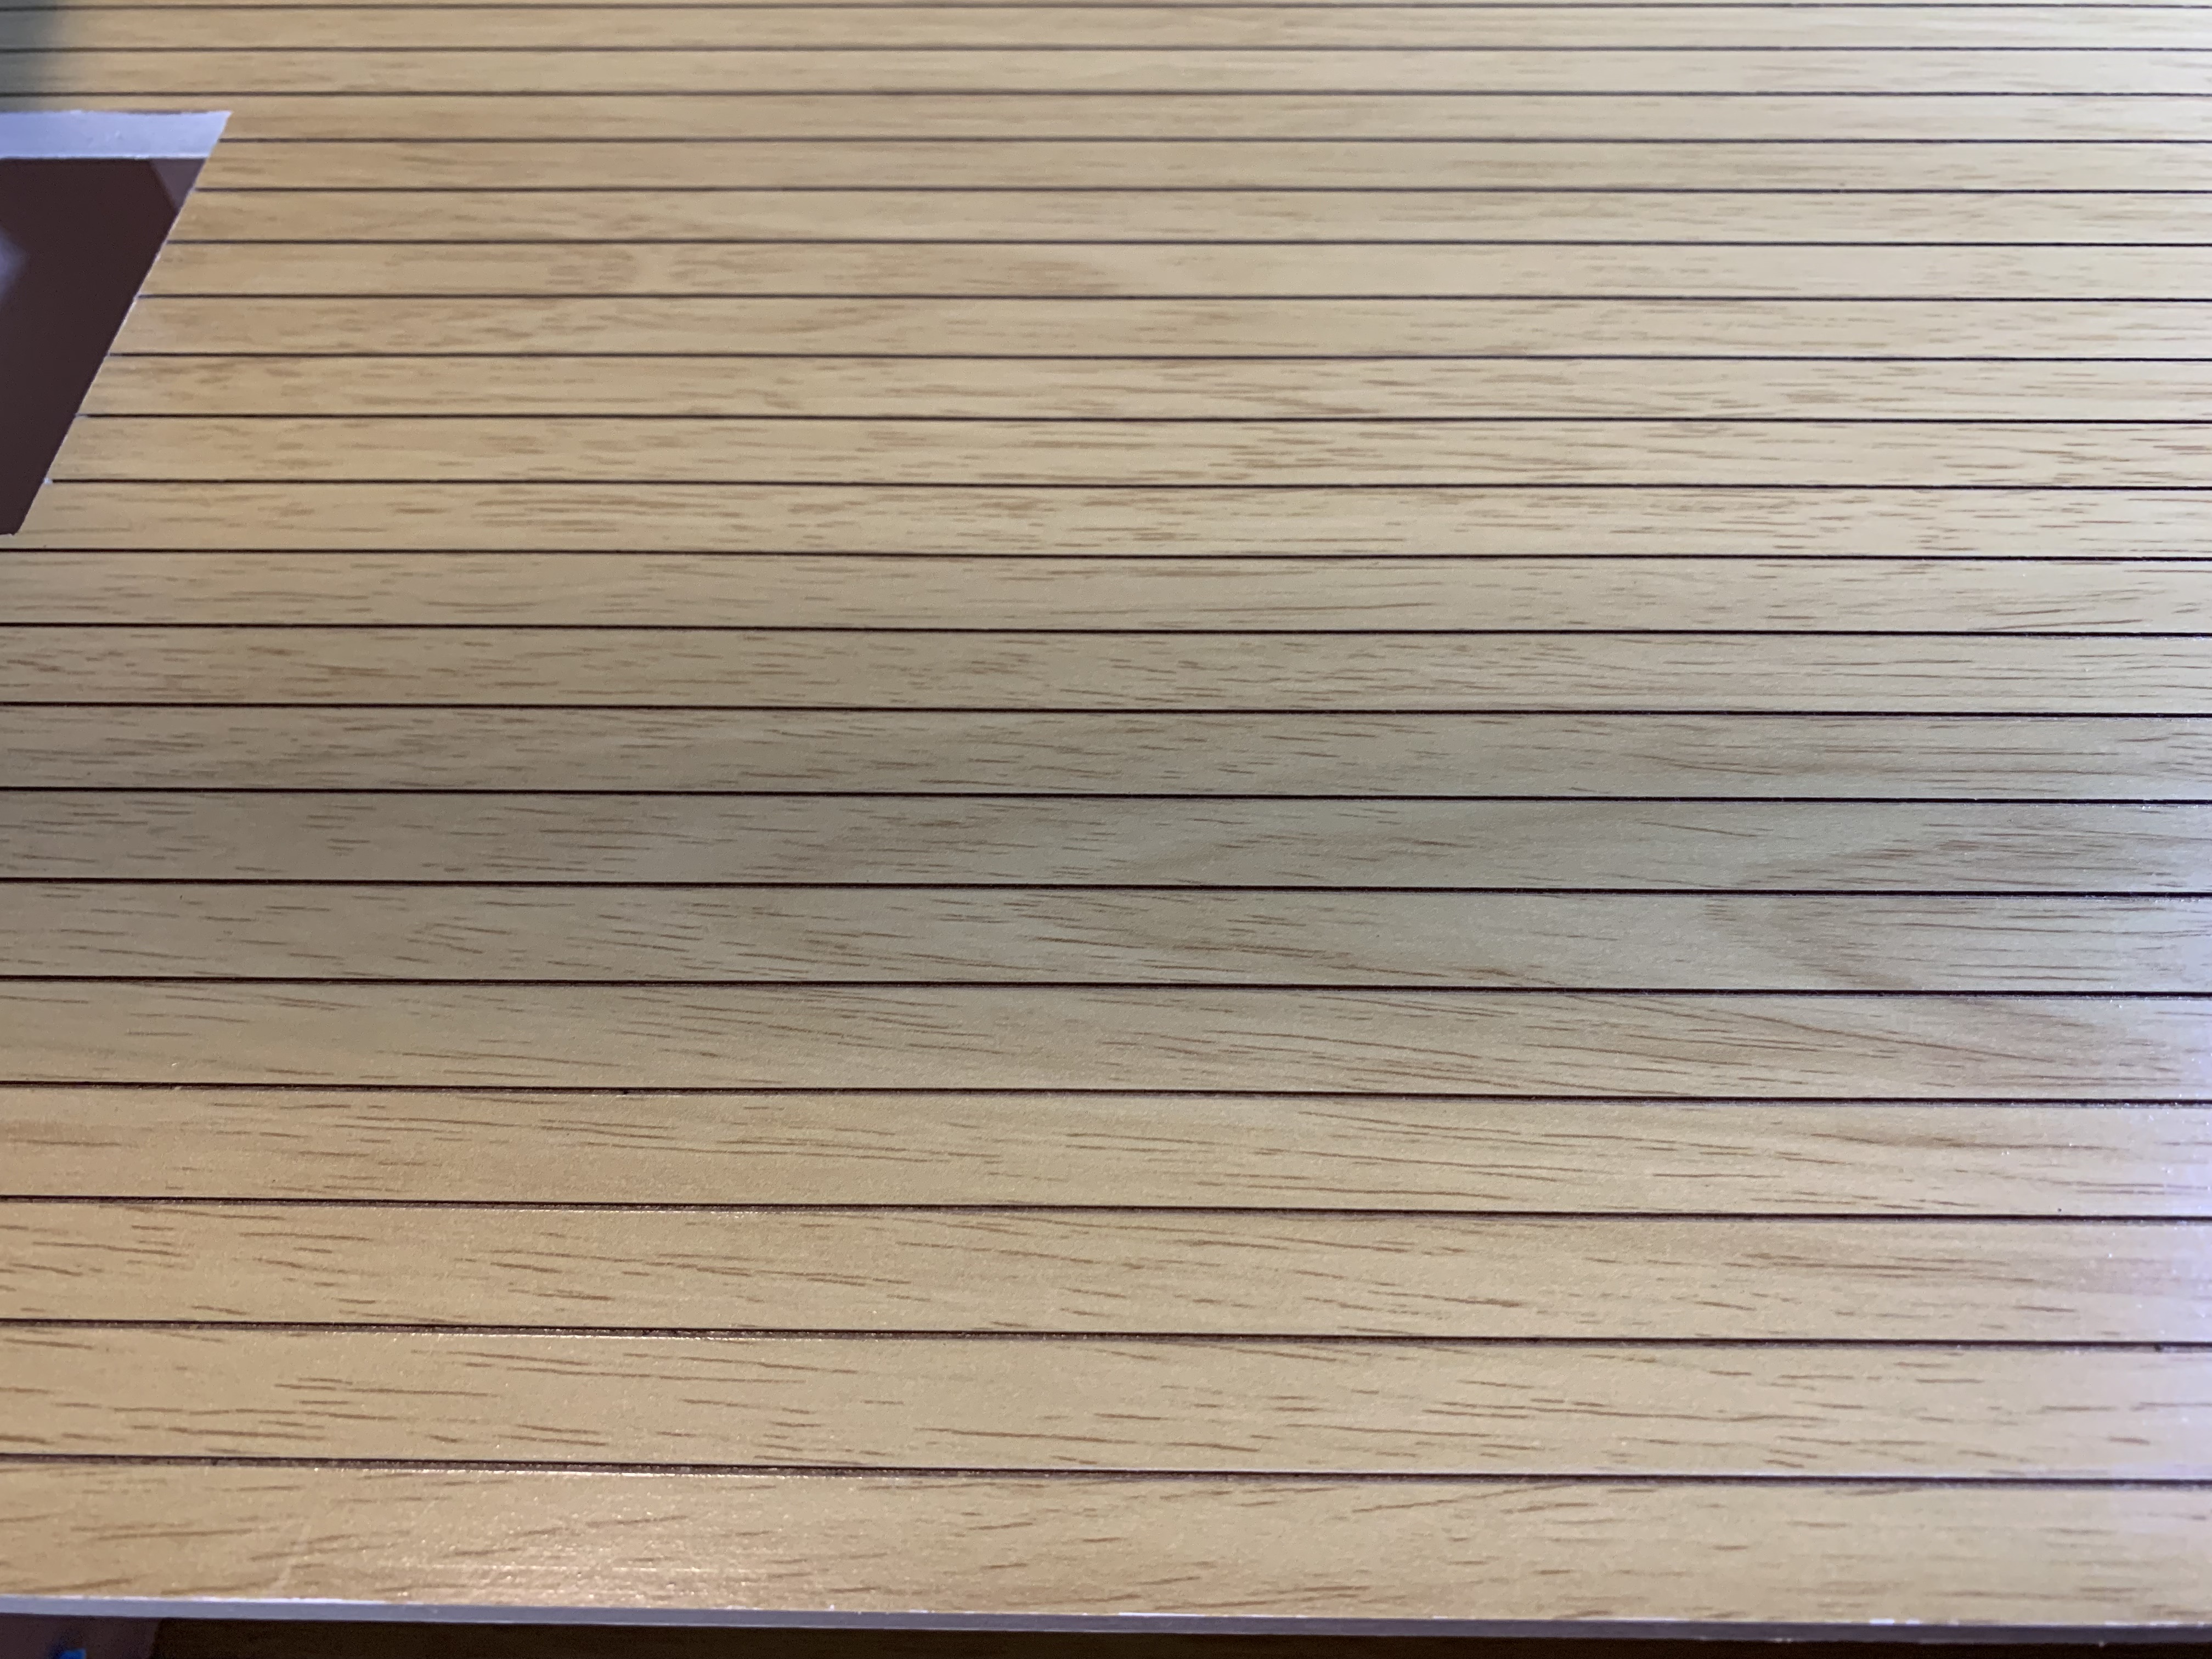
If you read my previous posts about the Farmhouse dollhouses, you will recall the kit came with unfinished floors and so figuring out what to use for a floor and then installing it was a lengthy undertaking. This kit came with faux wood finished floors. All they required was a few coats of polyurethane to protect them.
Two other steps preceded my continuing with assembly.
I found on the last two doll houses that I built that it was much easier to install the windows when the walls were flat on the work surface rather than with the walls up. This house only had two windows so that did not involve a lot of pre-painting the individual pieces. But these were nice windows with the two middle trim pieces as an added feature.

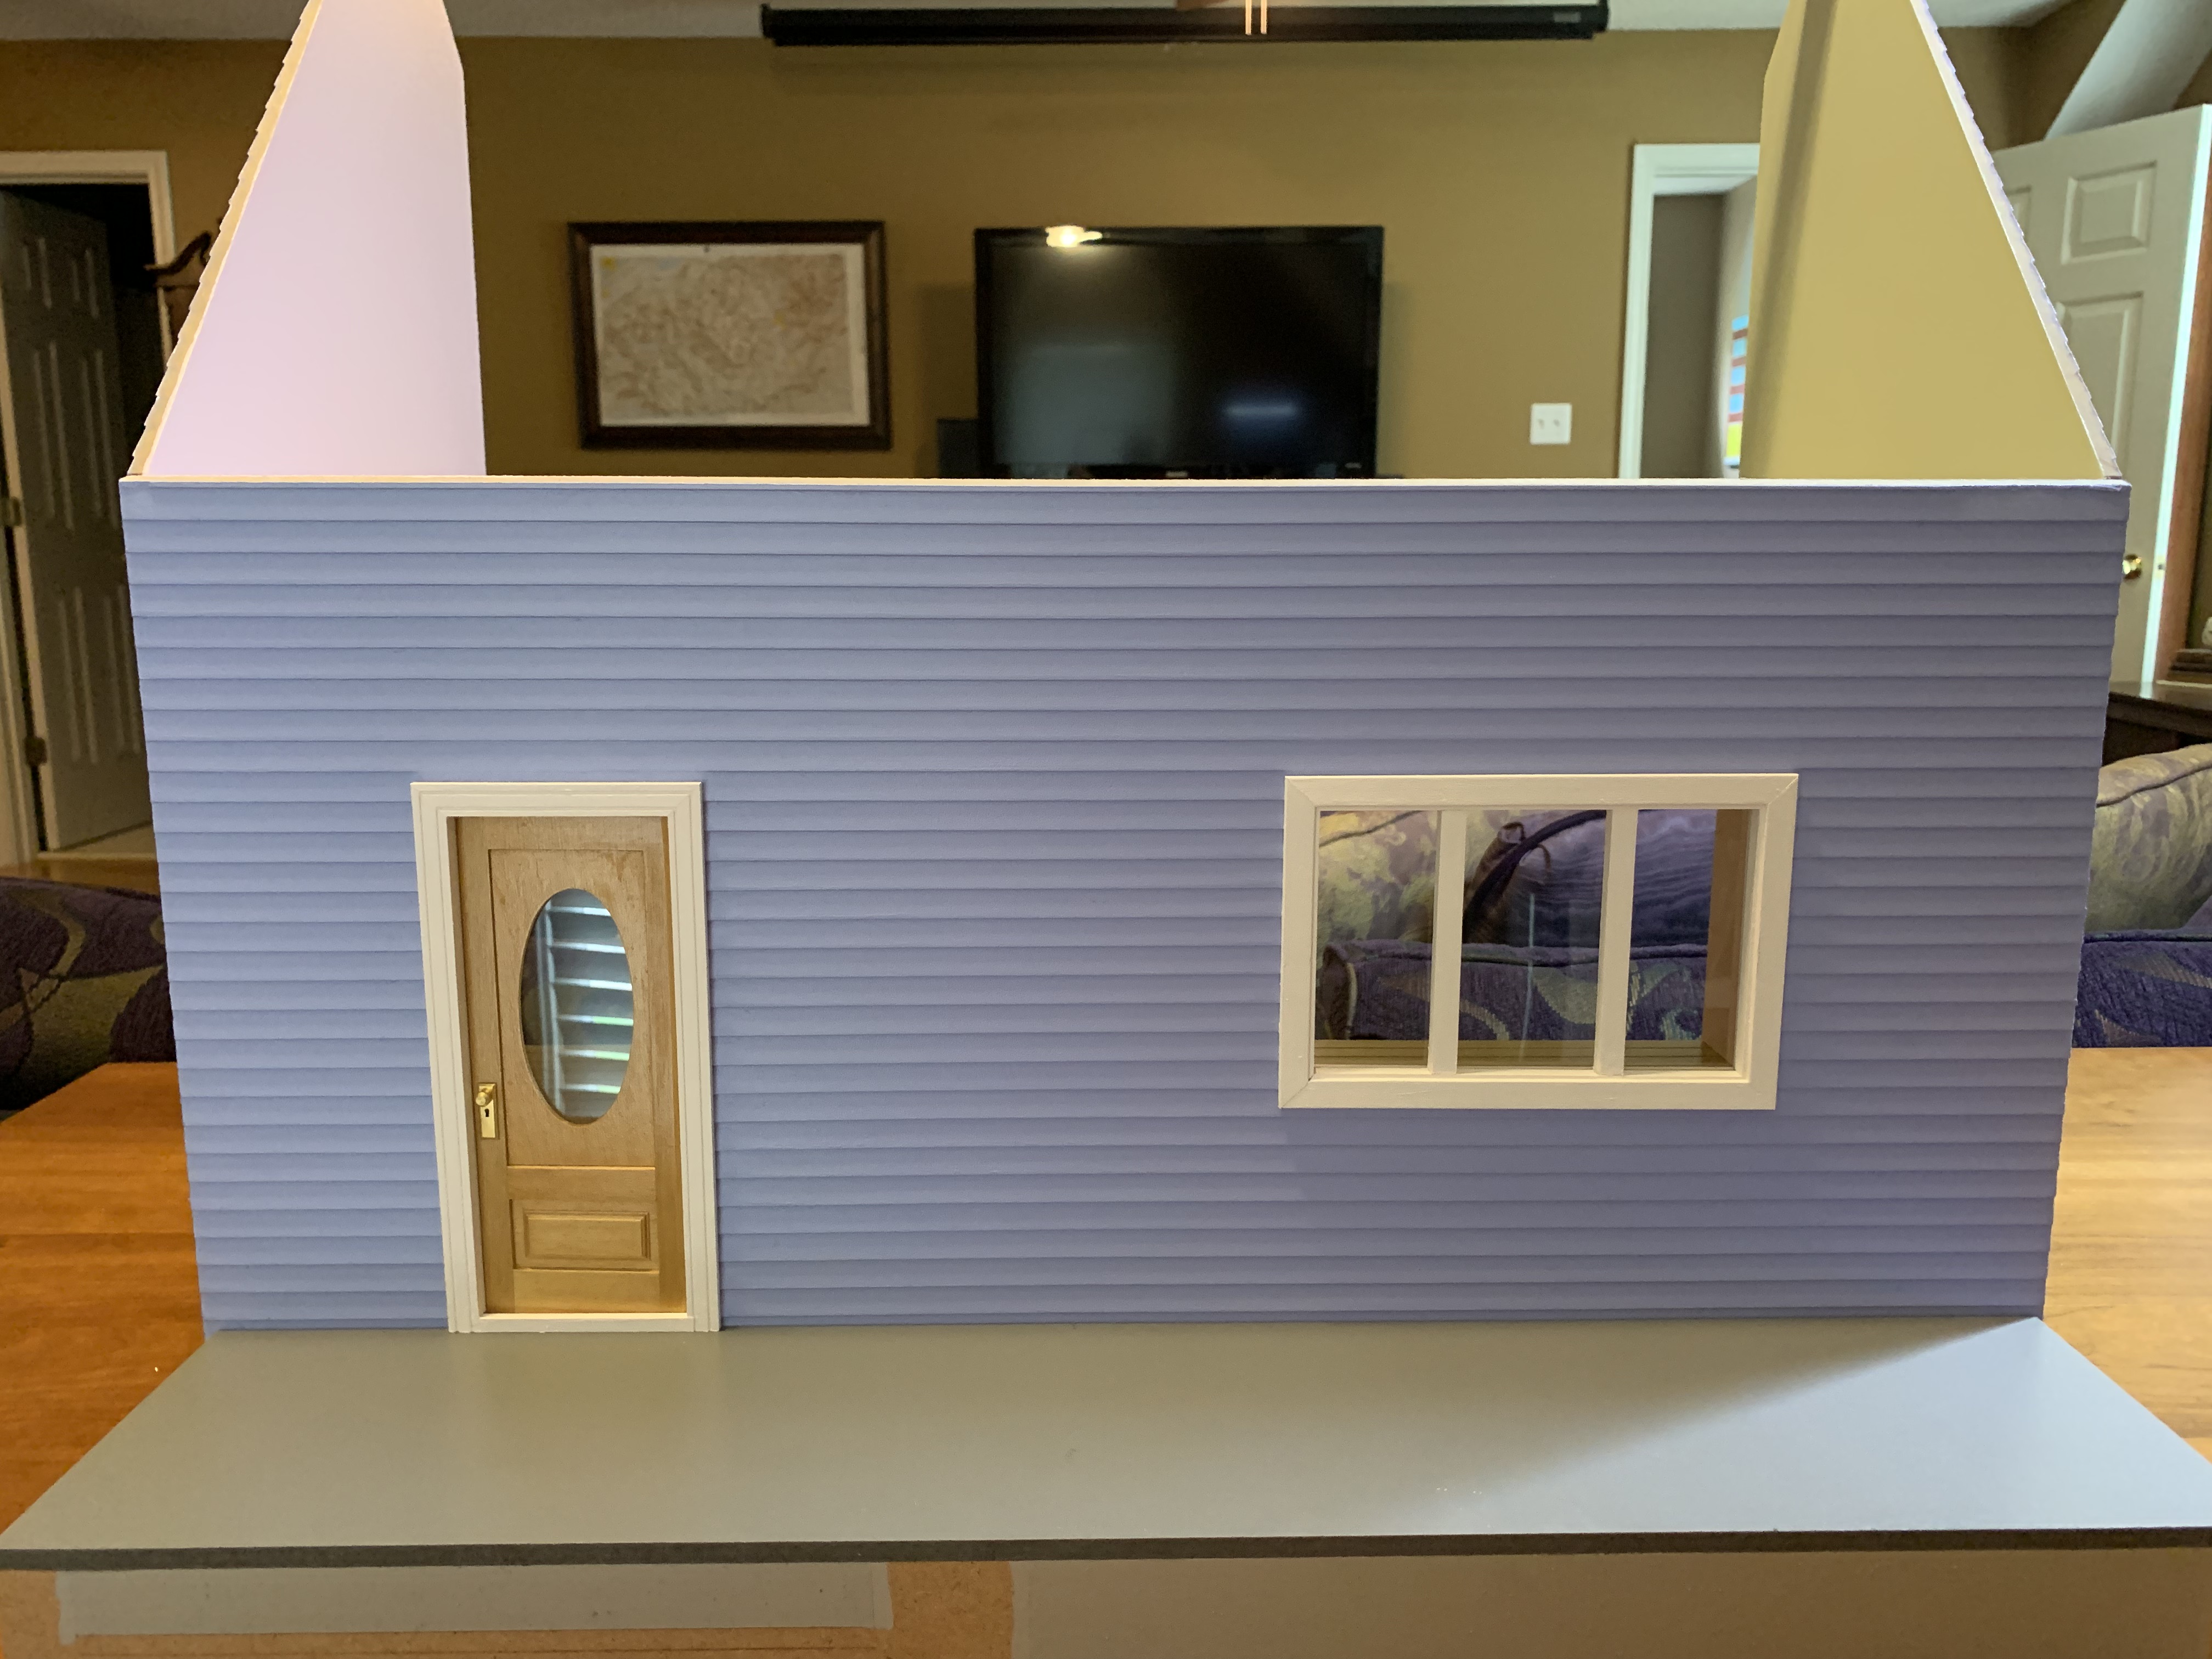
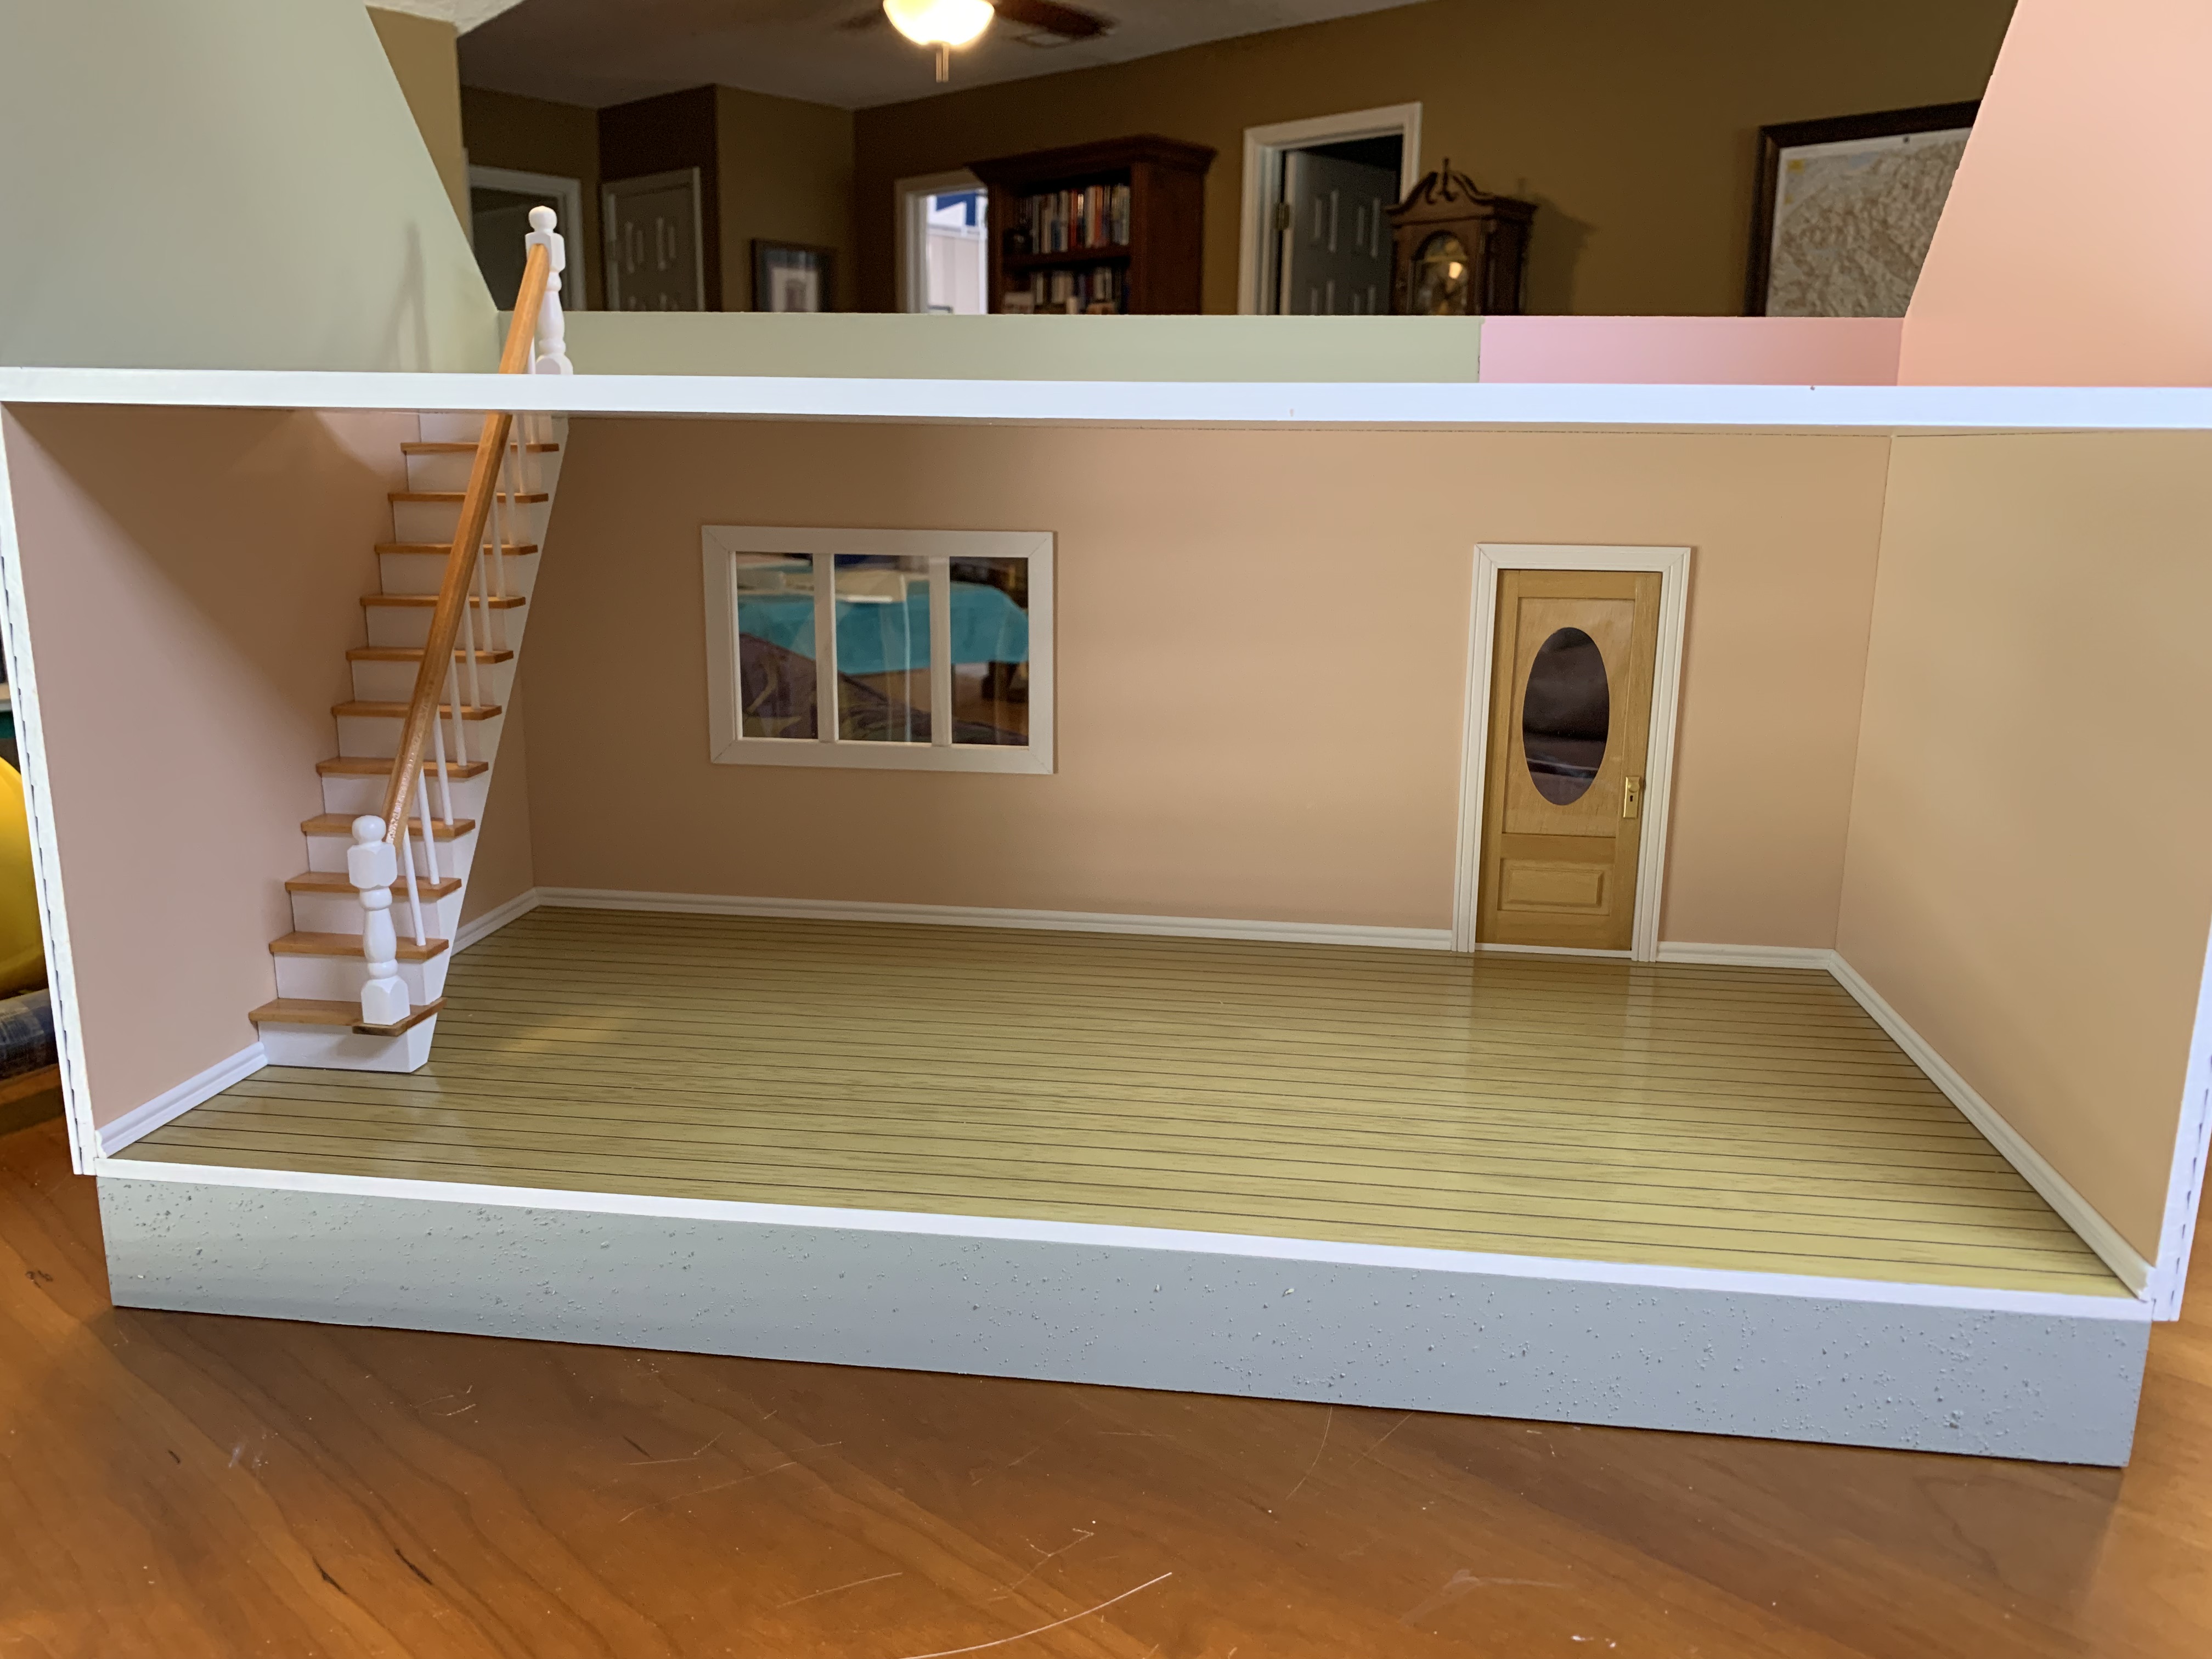
The last item I wanted to finish before assembling the house was the front door. This kit came with a very nice door with large oval light. Staining it a light pine color and brushing on three coats of polyurethane (with sanding in between) gave the door an inviting look.

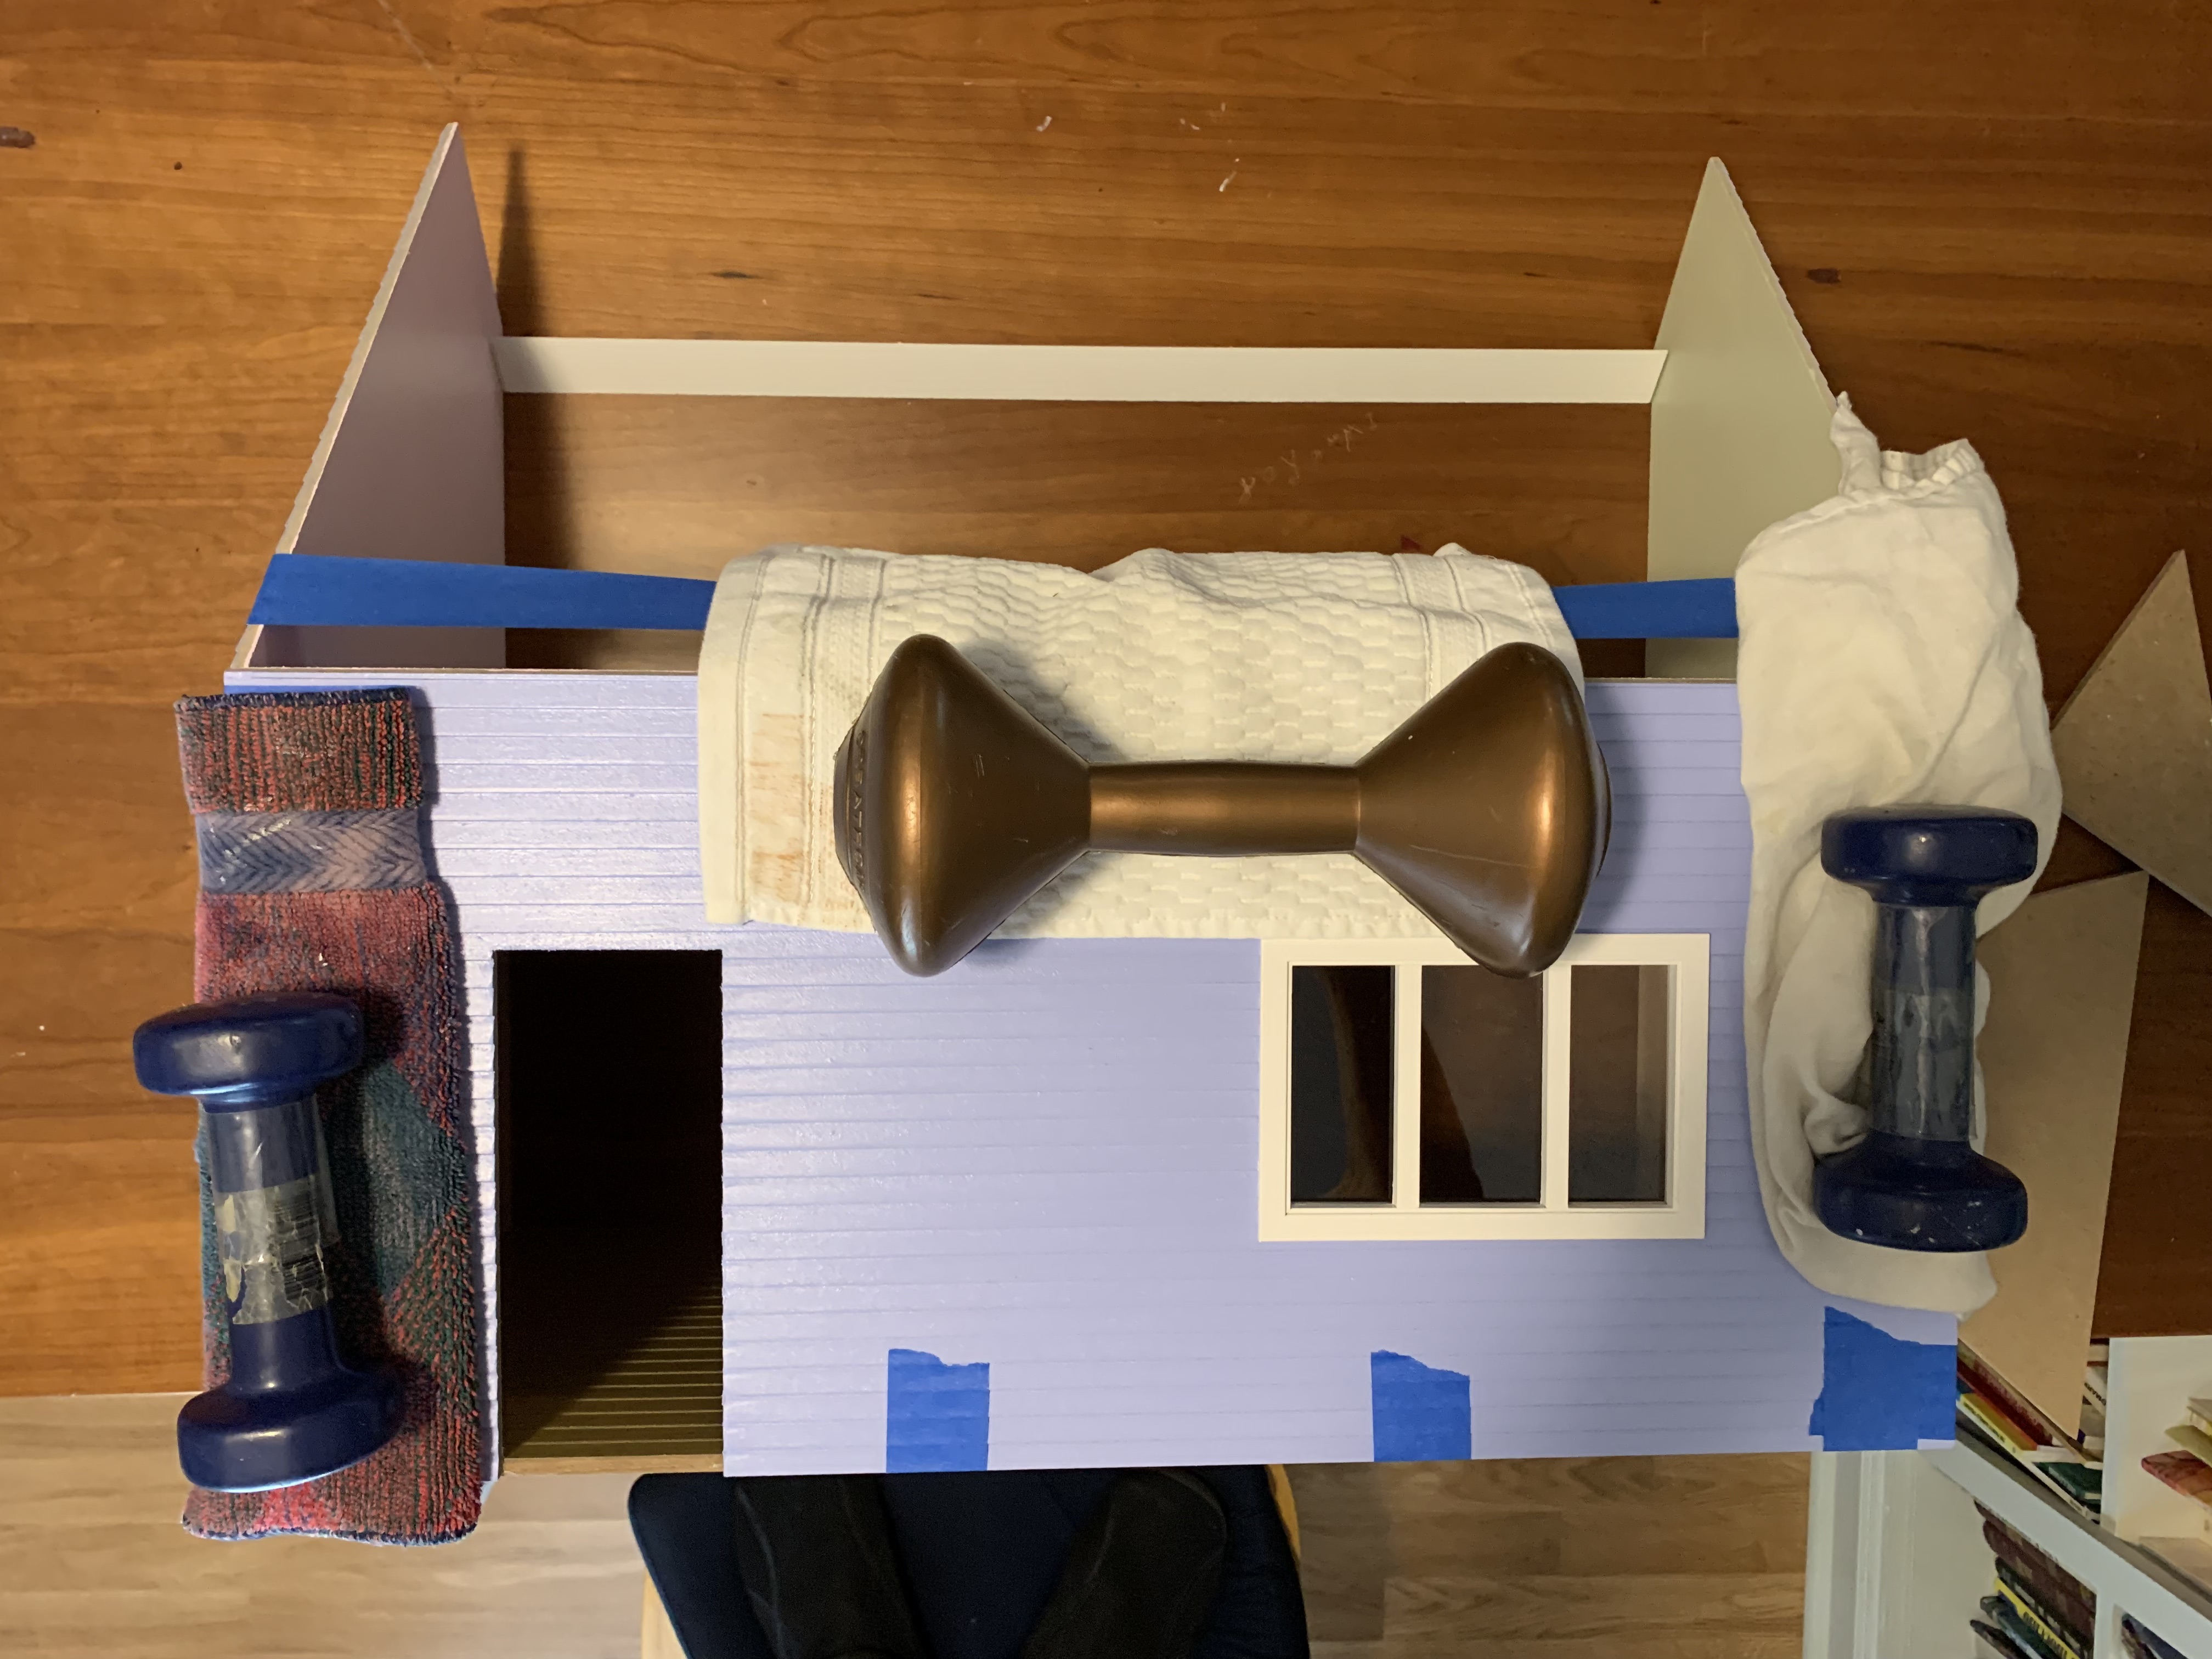
Now, I was ready to begin the real assembly of the doll house. This first step involved gluing the left- and right-side walls to both the first and second floors, and then gluing the front wall in place. To ensure a tight fit, all glued walls were taped together and then hand weights placed on the front wall.
After letting the glue dry overnight, I had the making of a real doll house…
…which I then glued onto the foundation incorporating the finished door as well.
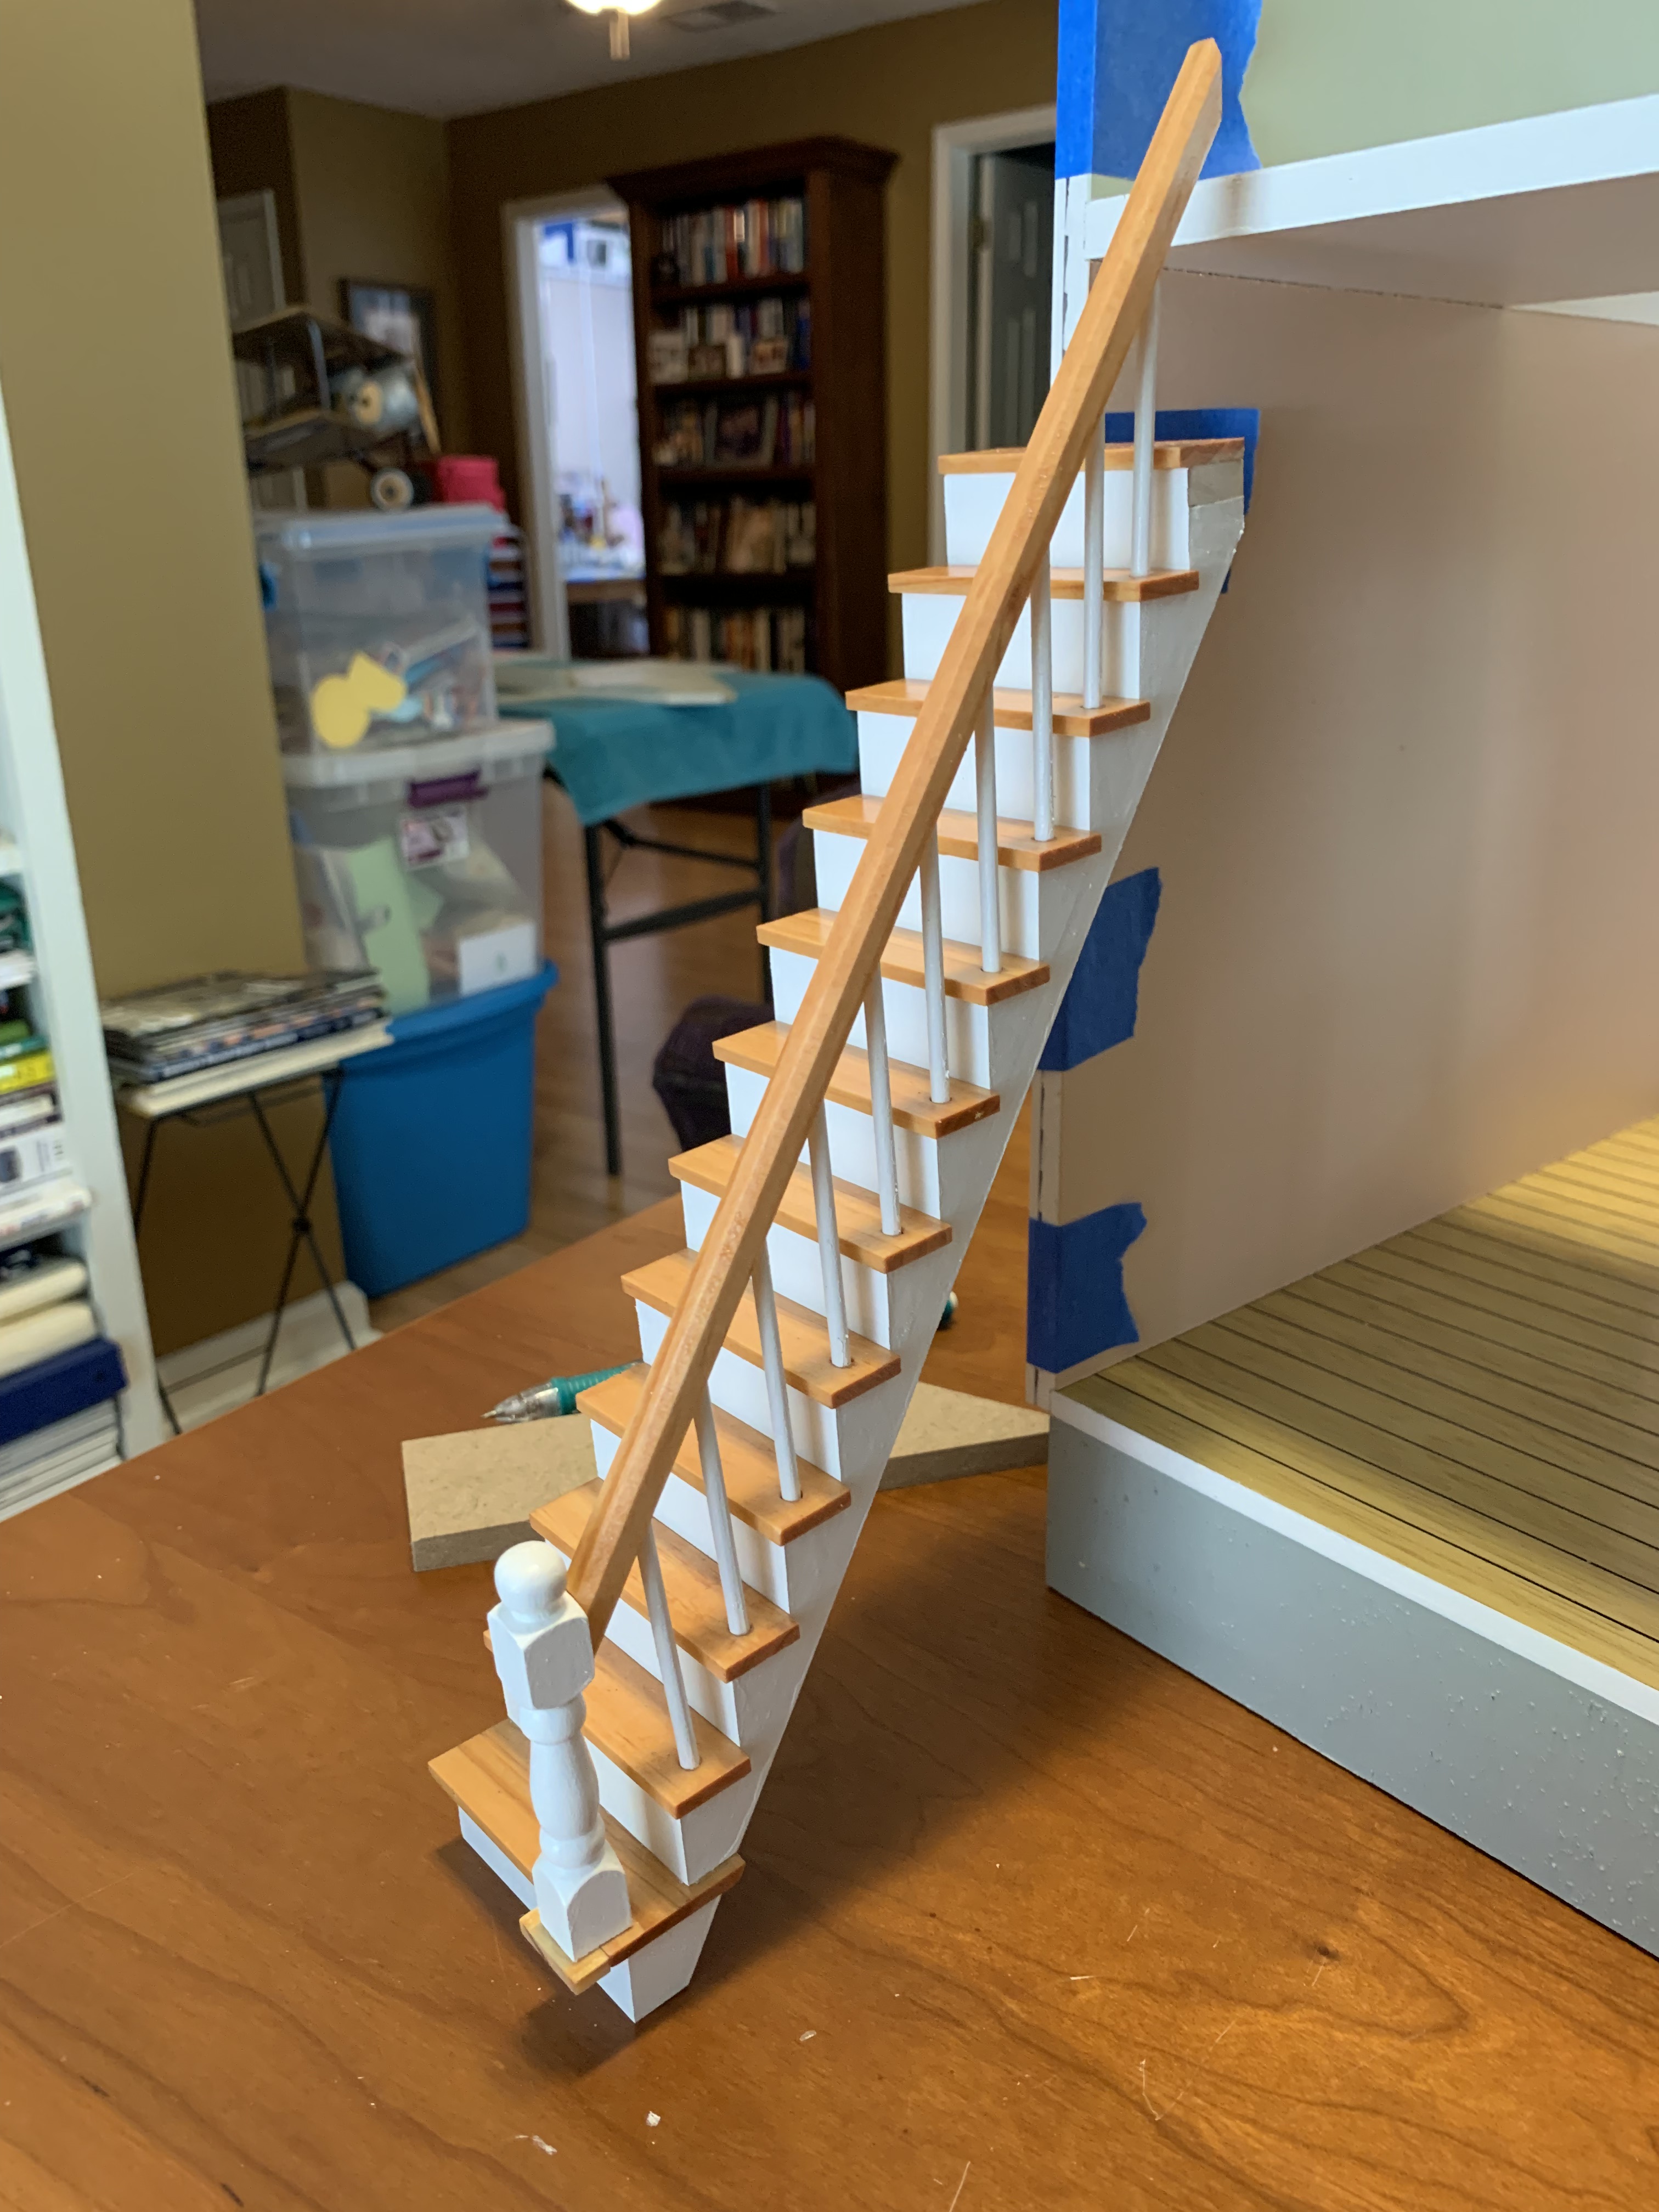
For this kit, we once again upgraded the staircase instead of using the MDF stairs included in the kit.
Gluing this in place then allowed me to add the baseboards to the first floor, another addition that I have included on all the doll houses I have built.
But before I could start finishing out the second floor, I had to return to the very first step in the instructions which I had skipped previously.
To be continued…
Categories

One thought on “Doll House for My Oldest Sister – 2nd Phase” Leave a comment ›