
Doll House for My Oldest Sister – 1st Phase

For those of you who are regular readers of my blog, you are probably thinking: “Now wait didn’t he just recently post a series about building a doll house for his sister?” The answer to your query is yes, but now I am building one for my oldest sister. To which some of you may be thinking: “Sounds like he’s started a miniature construction company.”
Having “semi-retired” in 2017 (six years later, I am still doing a small amount of consulting just for fun), I wanted to spend some of my newfound free time building models like I enjoyed when I was young.
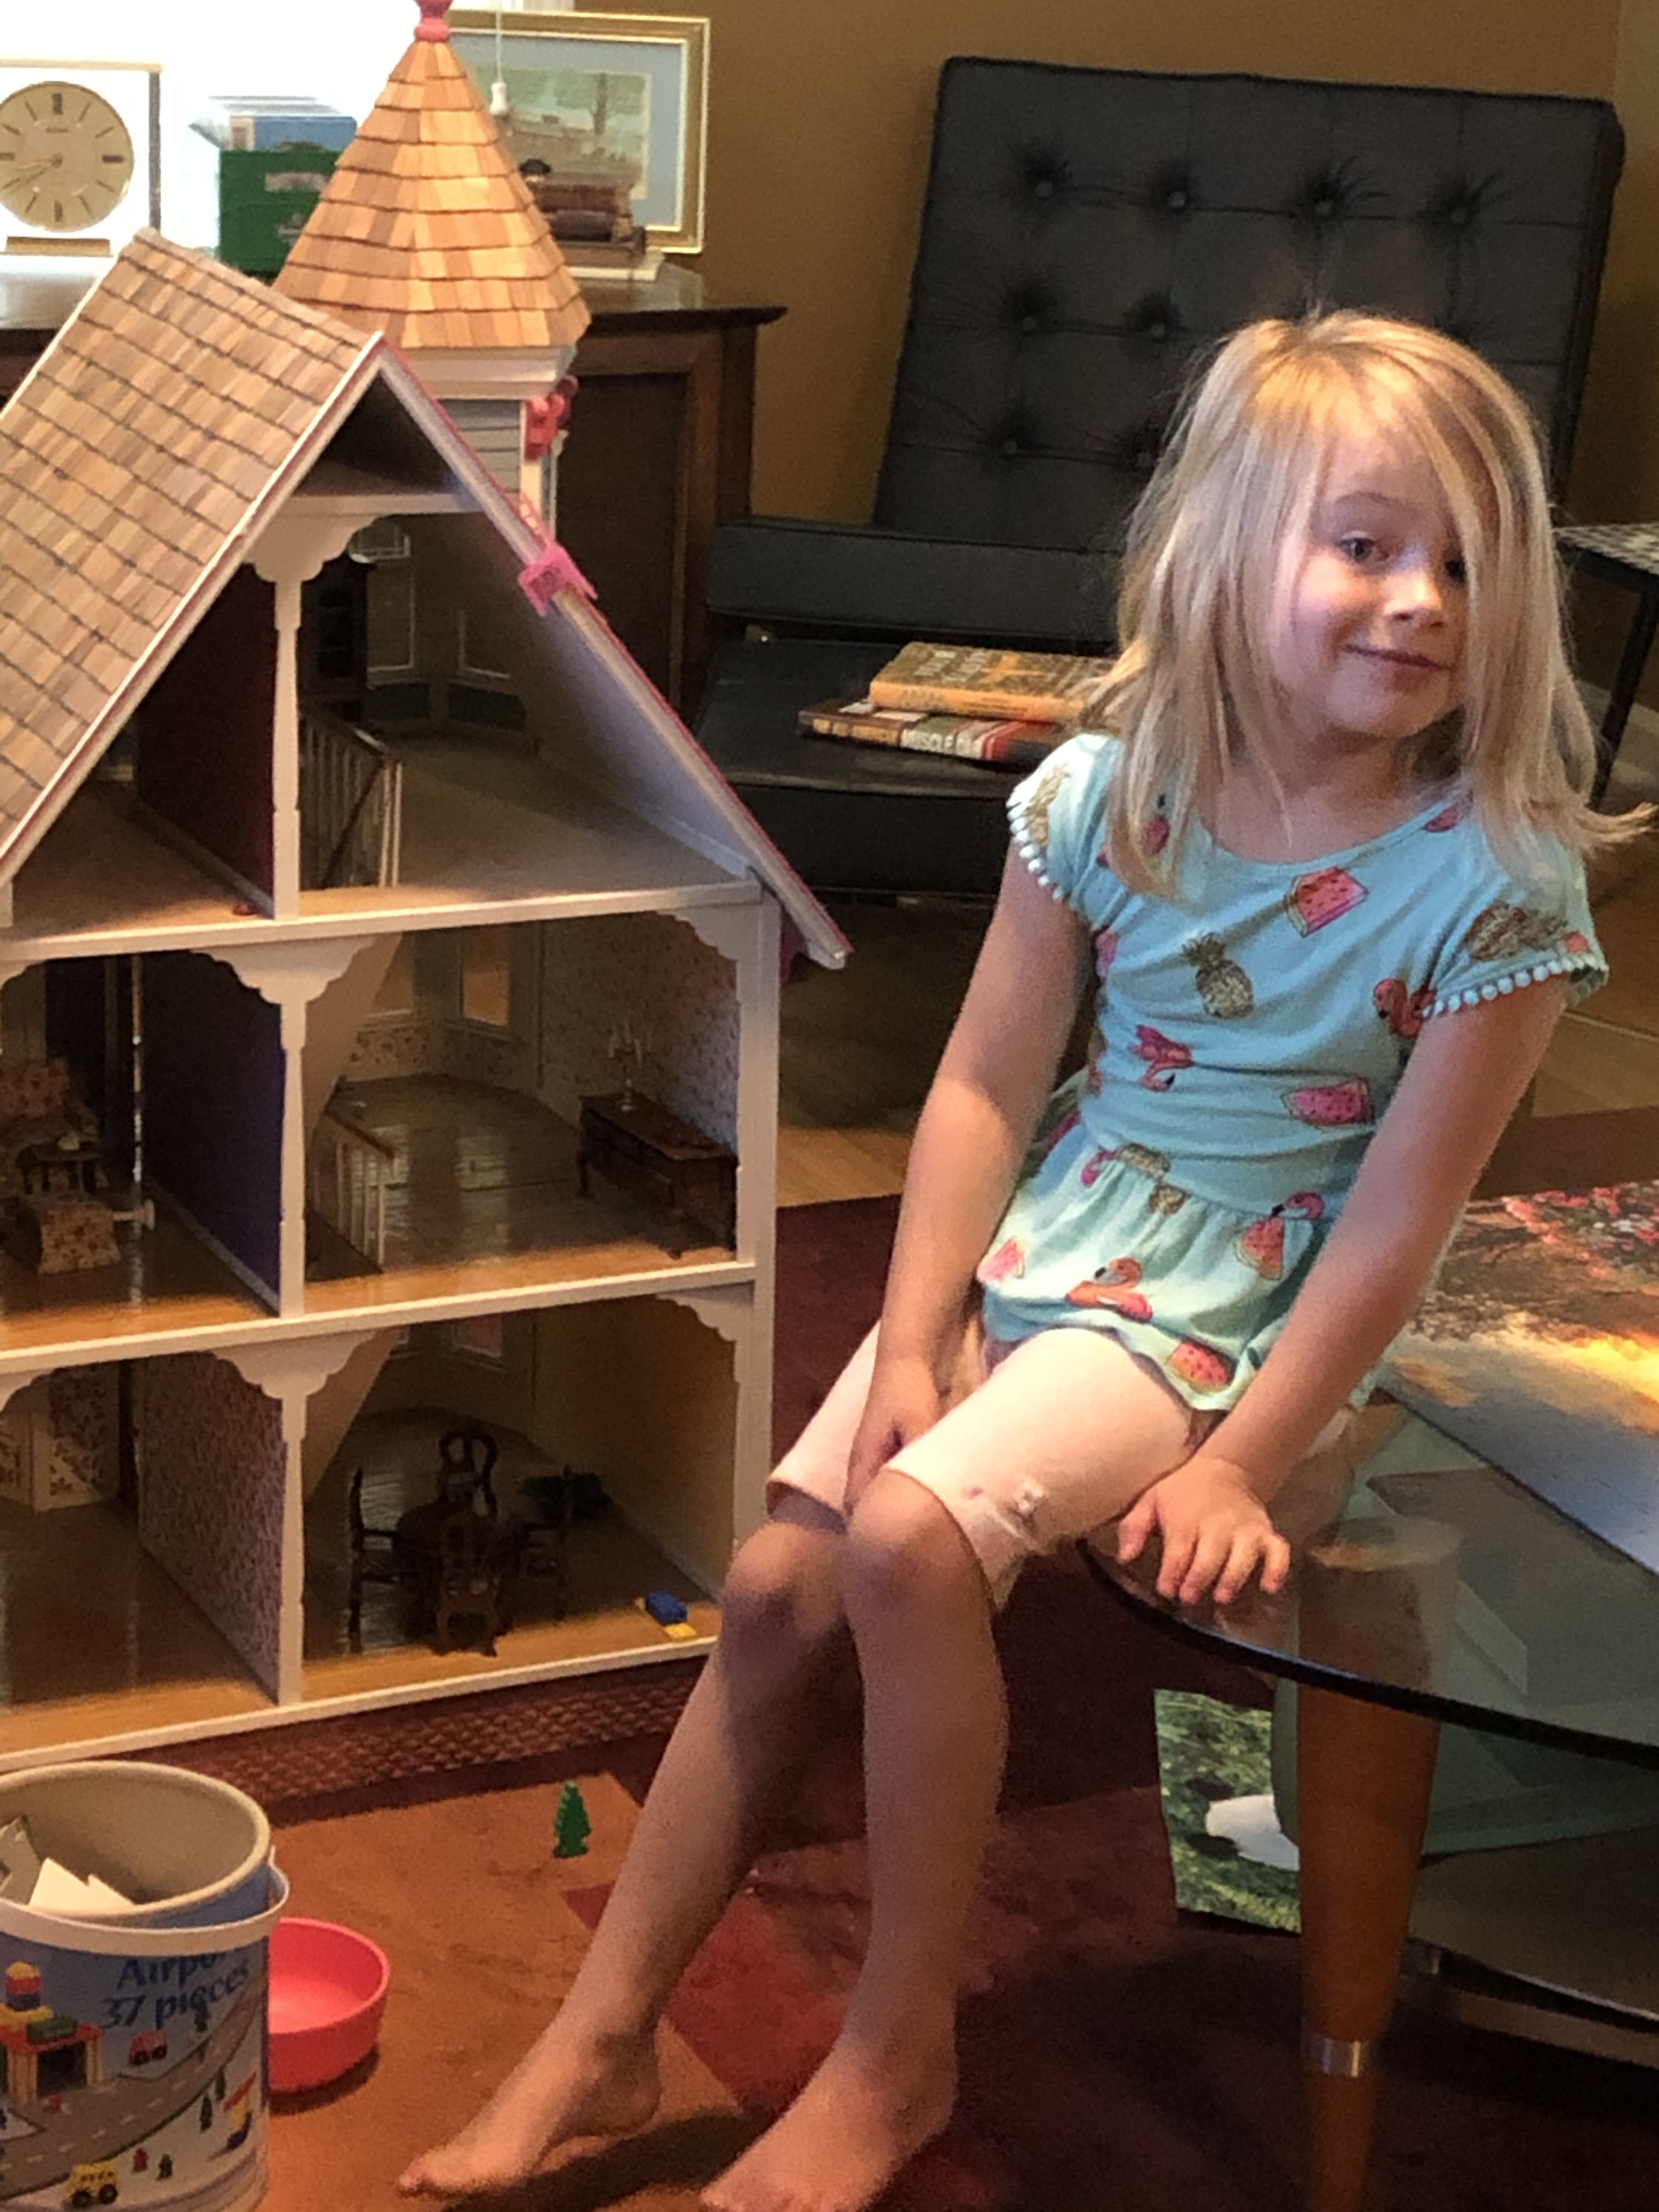
And it was witnessing my in-town granddaughter playing with the doll houses I had built many years ago for our daughter that got me antsy to build one for her. Since 2020 at the beginning of the pandemic, I have built four doll houses: One for each of our two granddaughters, one for my sister’s grandchildren in CA, and most recently one just like that one for my sister. Seeing the doll houses we built for my sister and her grandchildren, my oldest sister decided she would like one as well to which I readily agreed. And I had already committed to building one for her granddaughter once she was old enough.

Having enjoyed living near a beach earlier in her life, my sister chose this Beach Bungalow for herself—this being the fourth different style I have built since 2020.
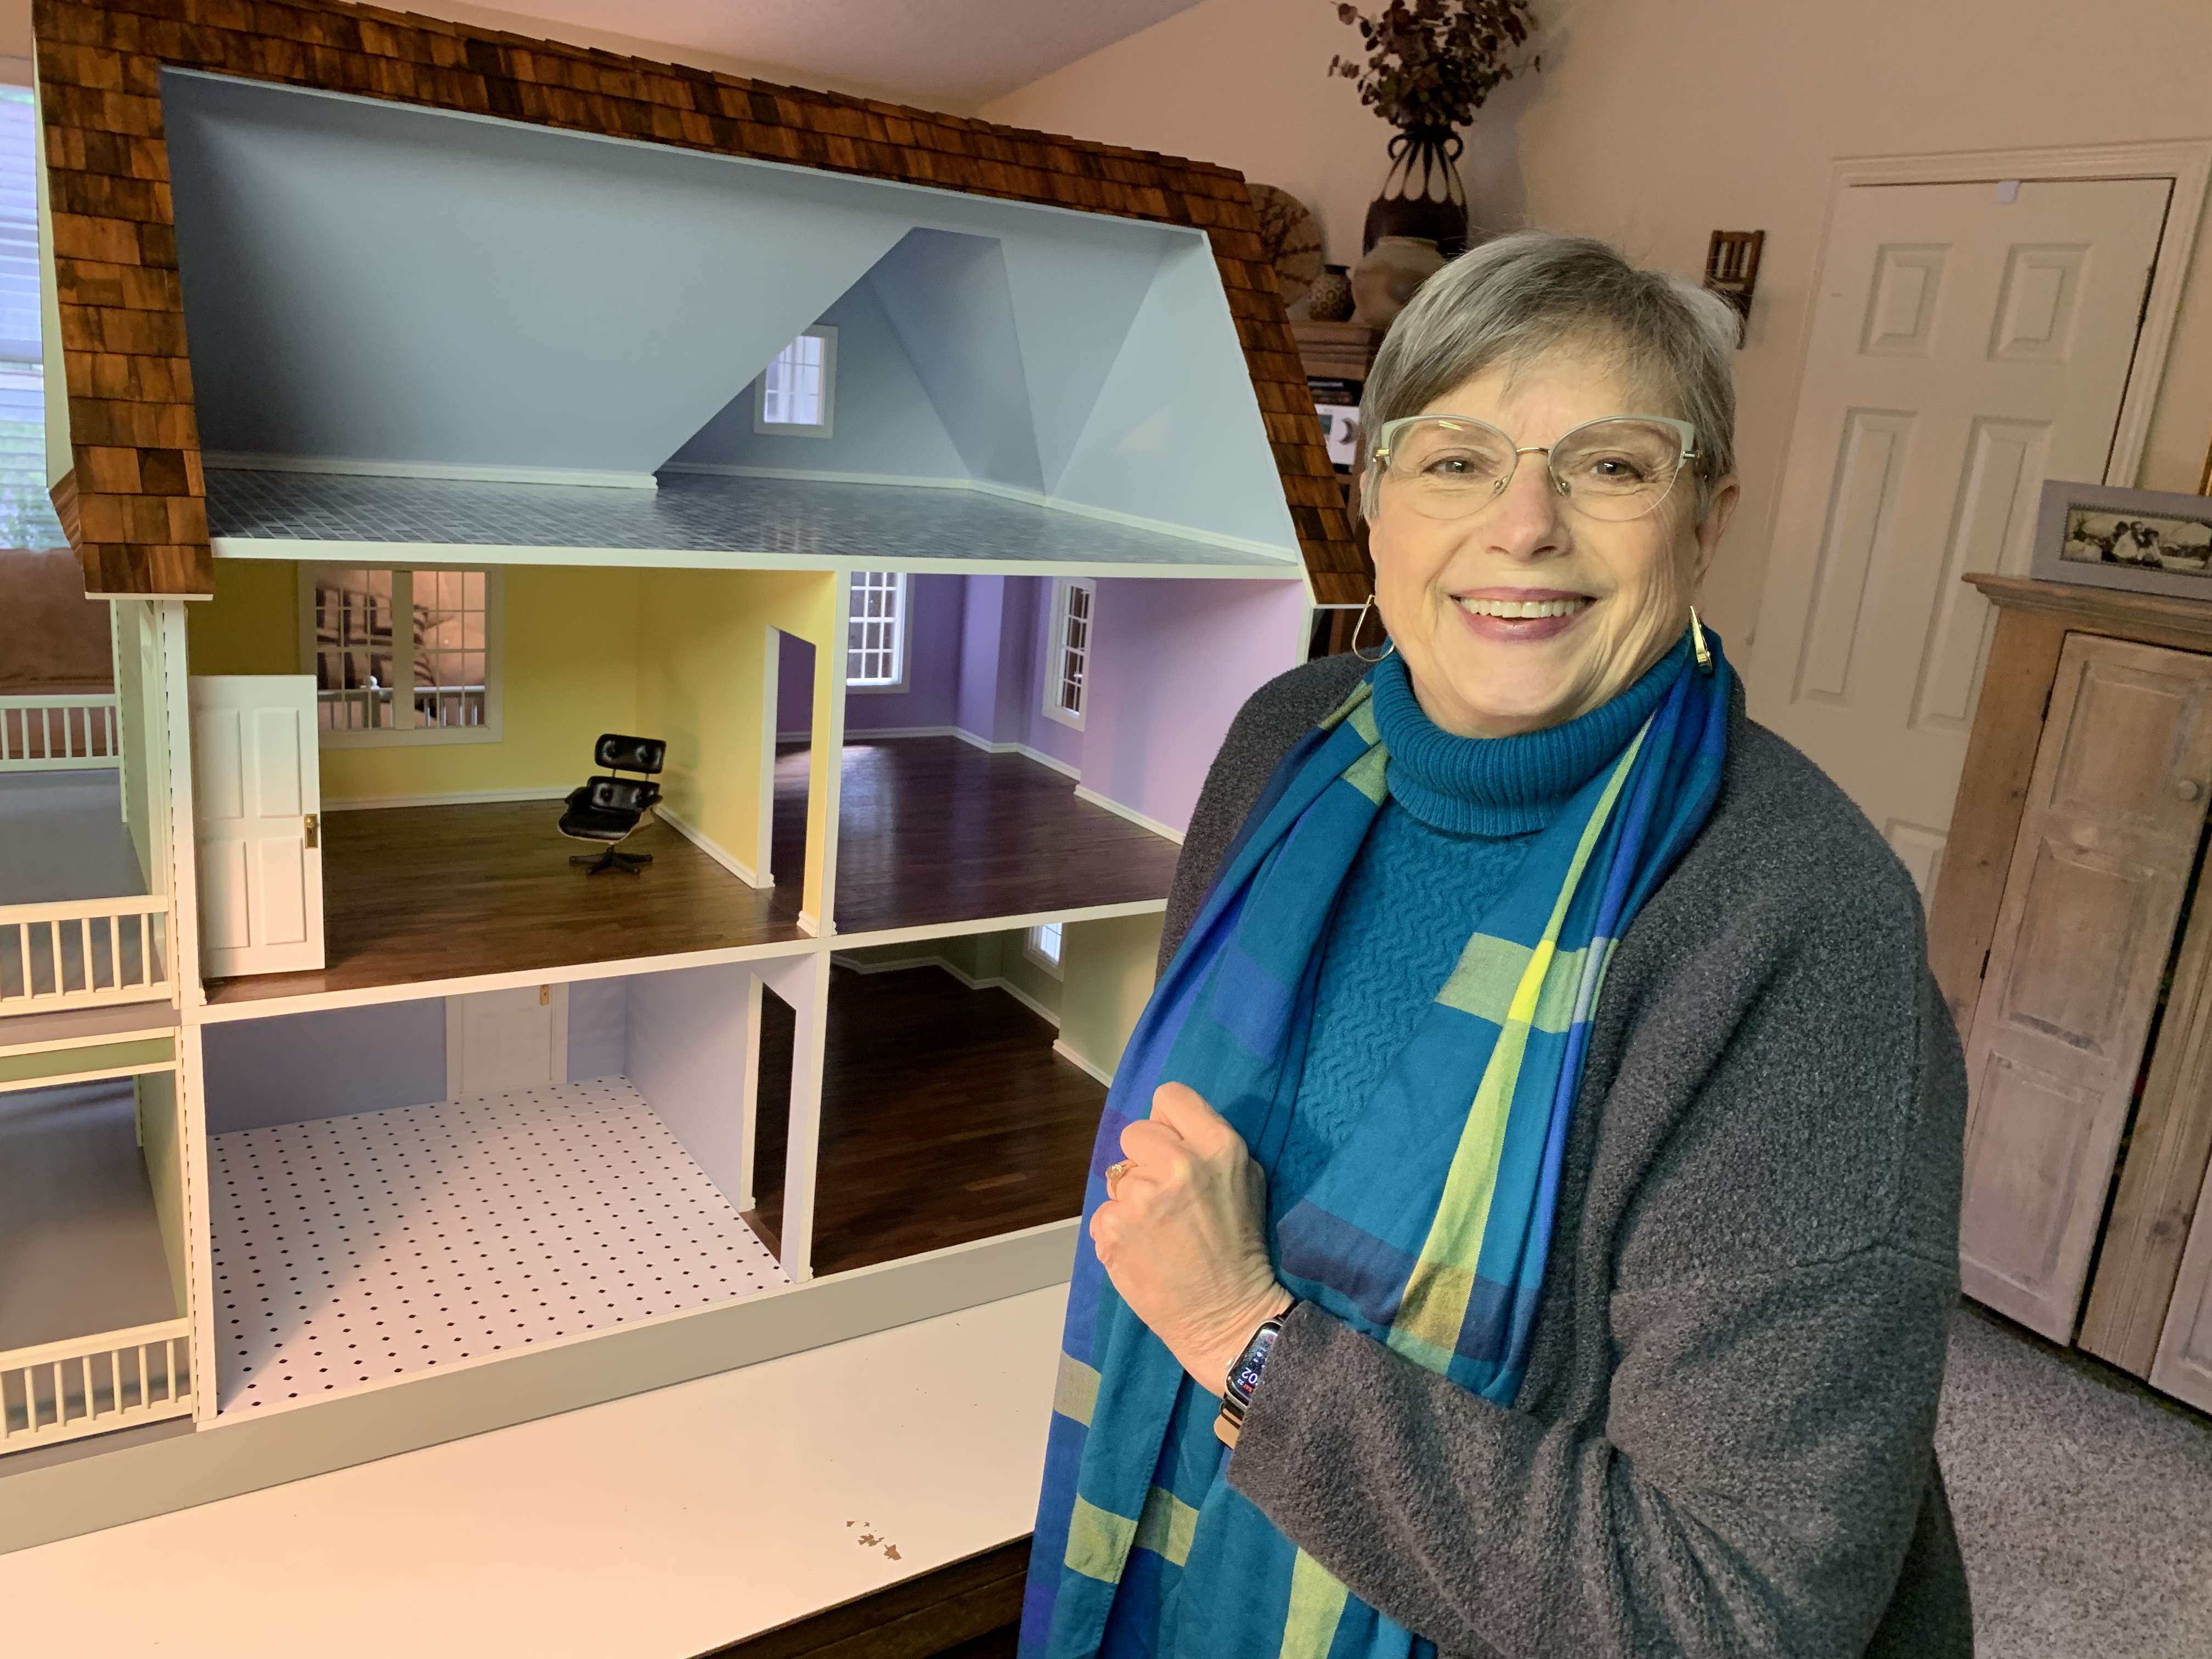
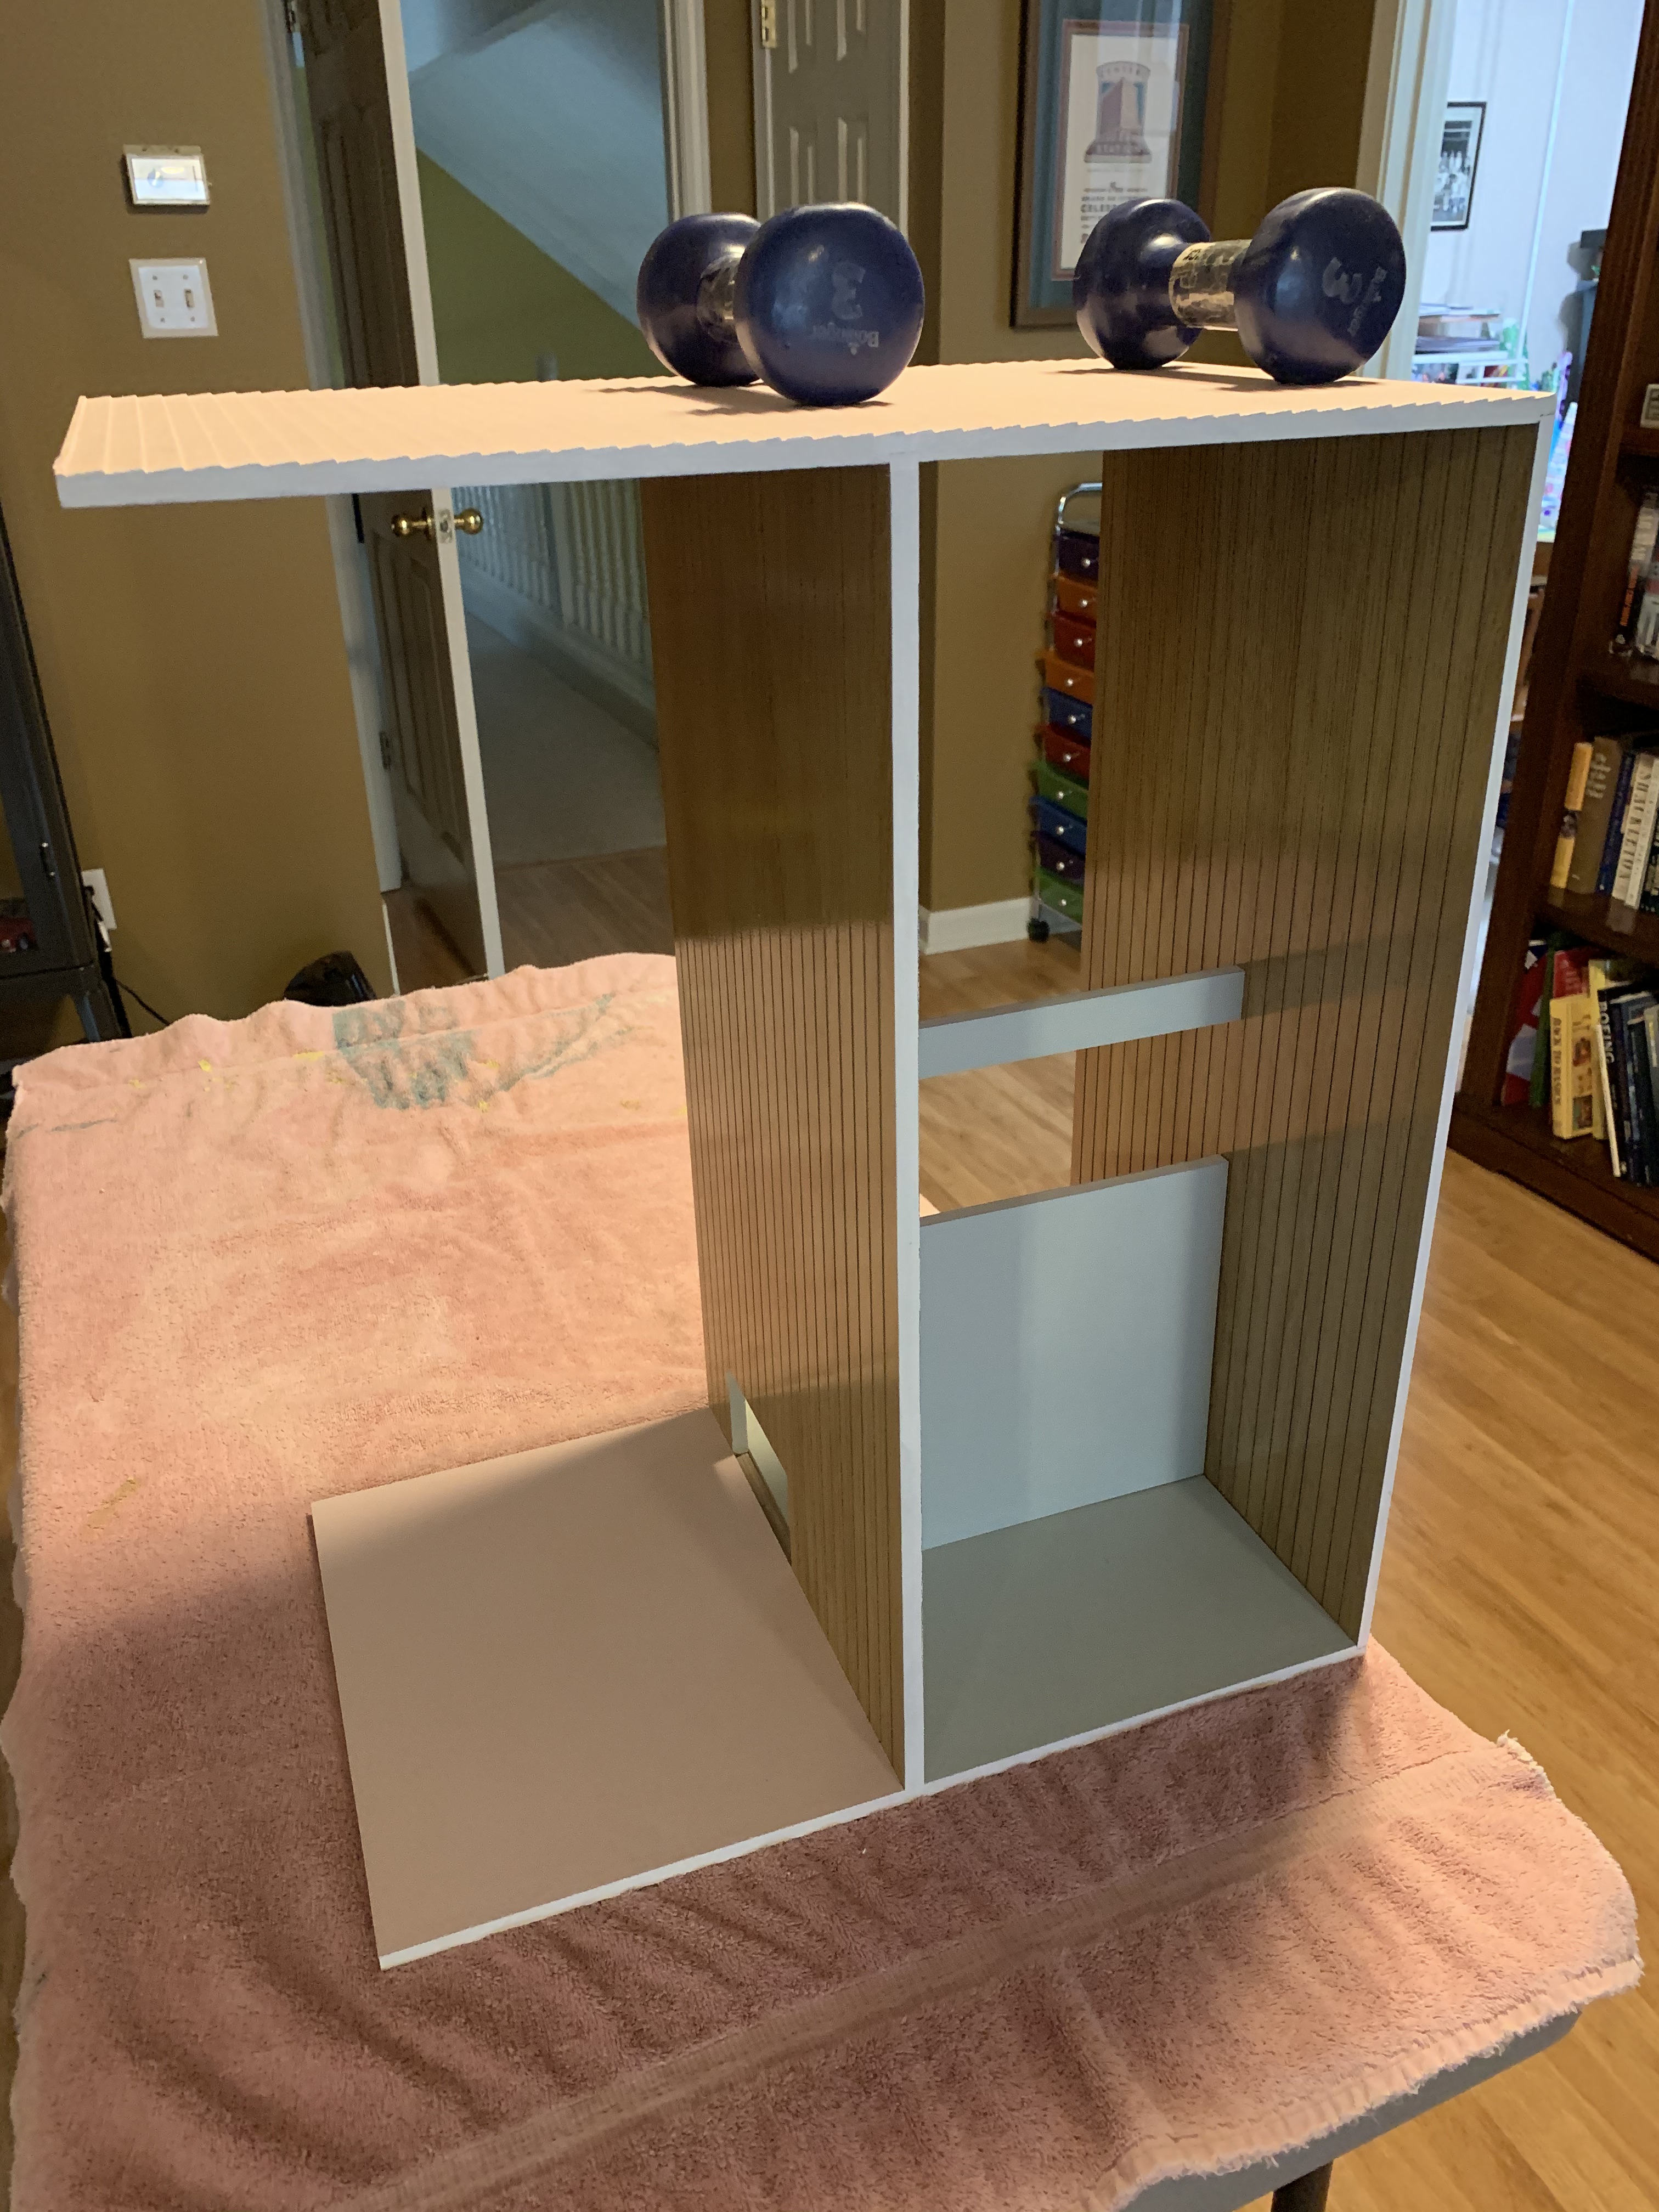
With this last doll house finished and delivered, I could begin in earnest working on this next one. When I unpacked the box and looked through the instructions, I was surprised to see that the first step involved painting and assembling the porch railings. This seemed odd as in all the previous kits, assembling the railings was one of the last steps. Not understanding the need for those first, I skipped ahead to work on what I thought was the necessary first step, building the foundation, a step I actually completed before delivering my other sister’s doll house (seen next to it in photo below).

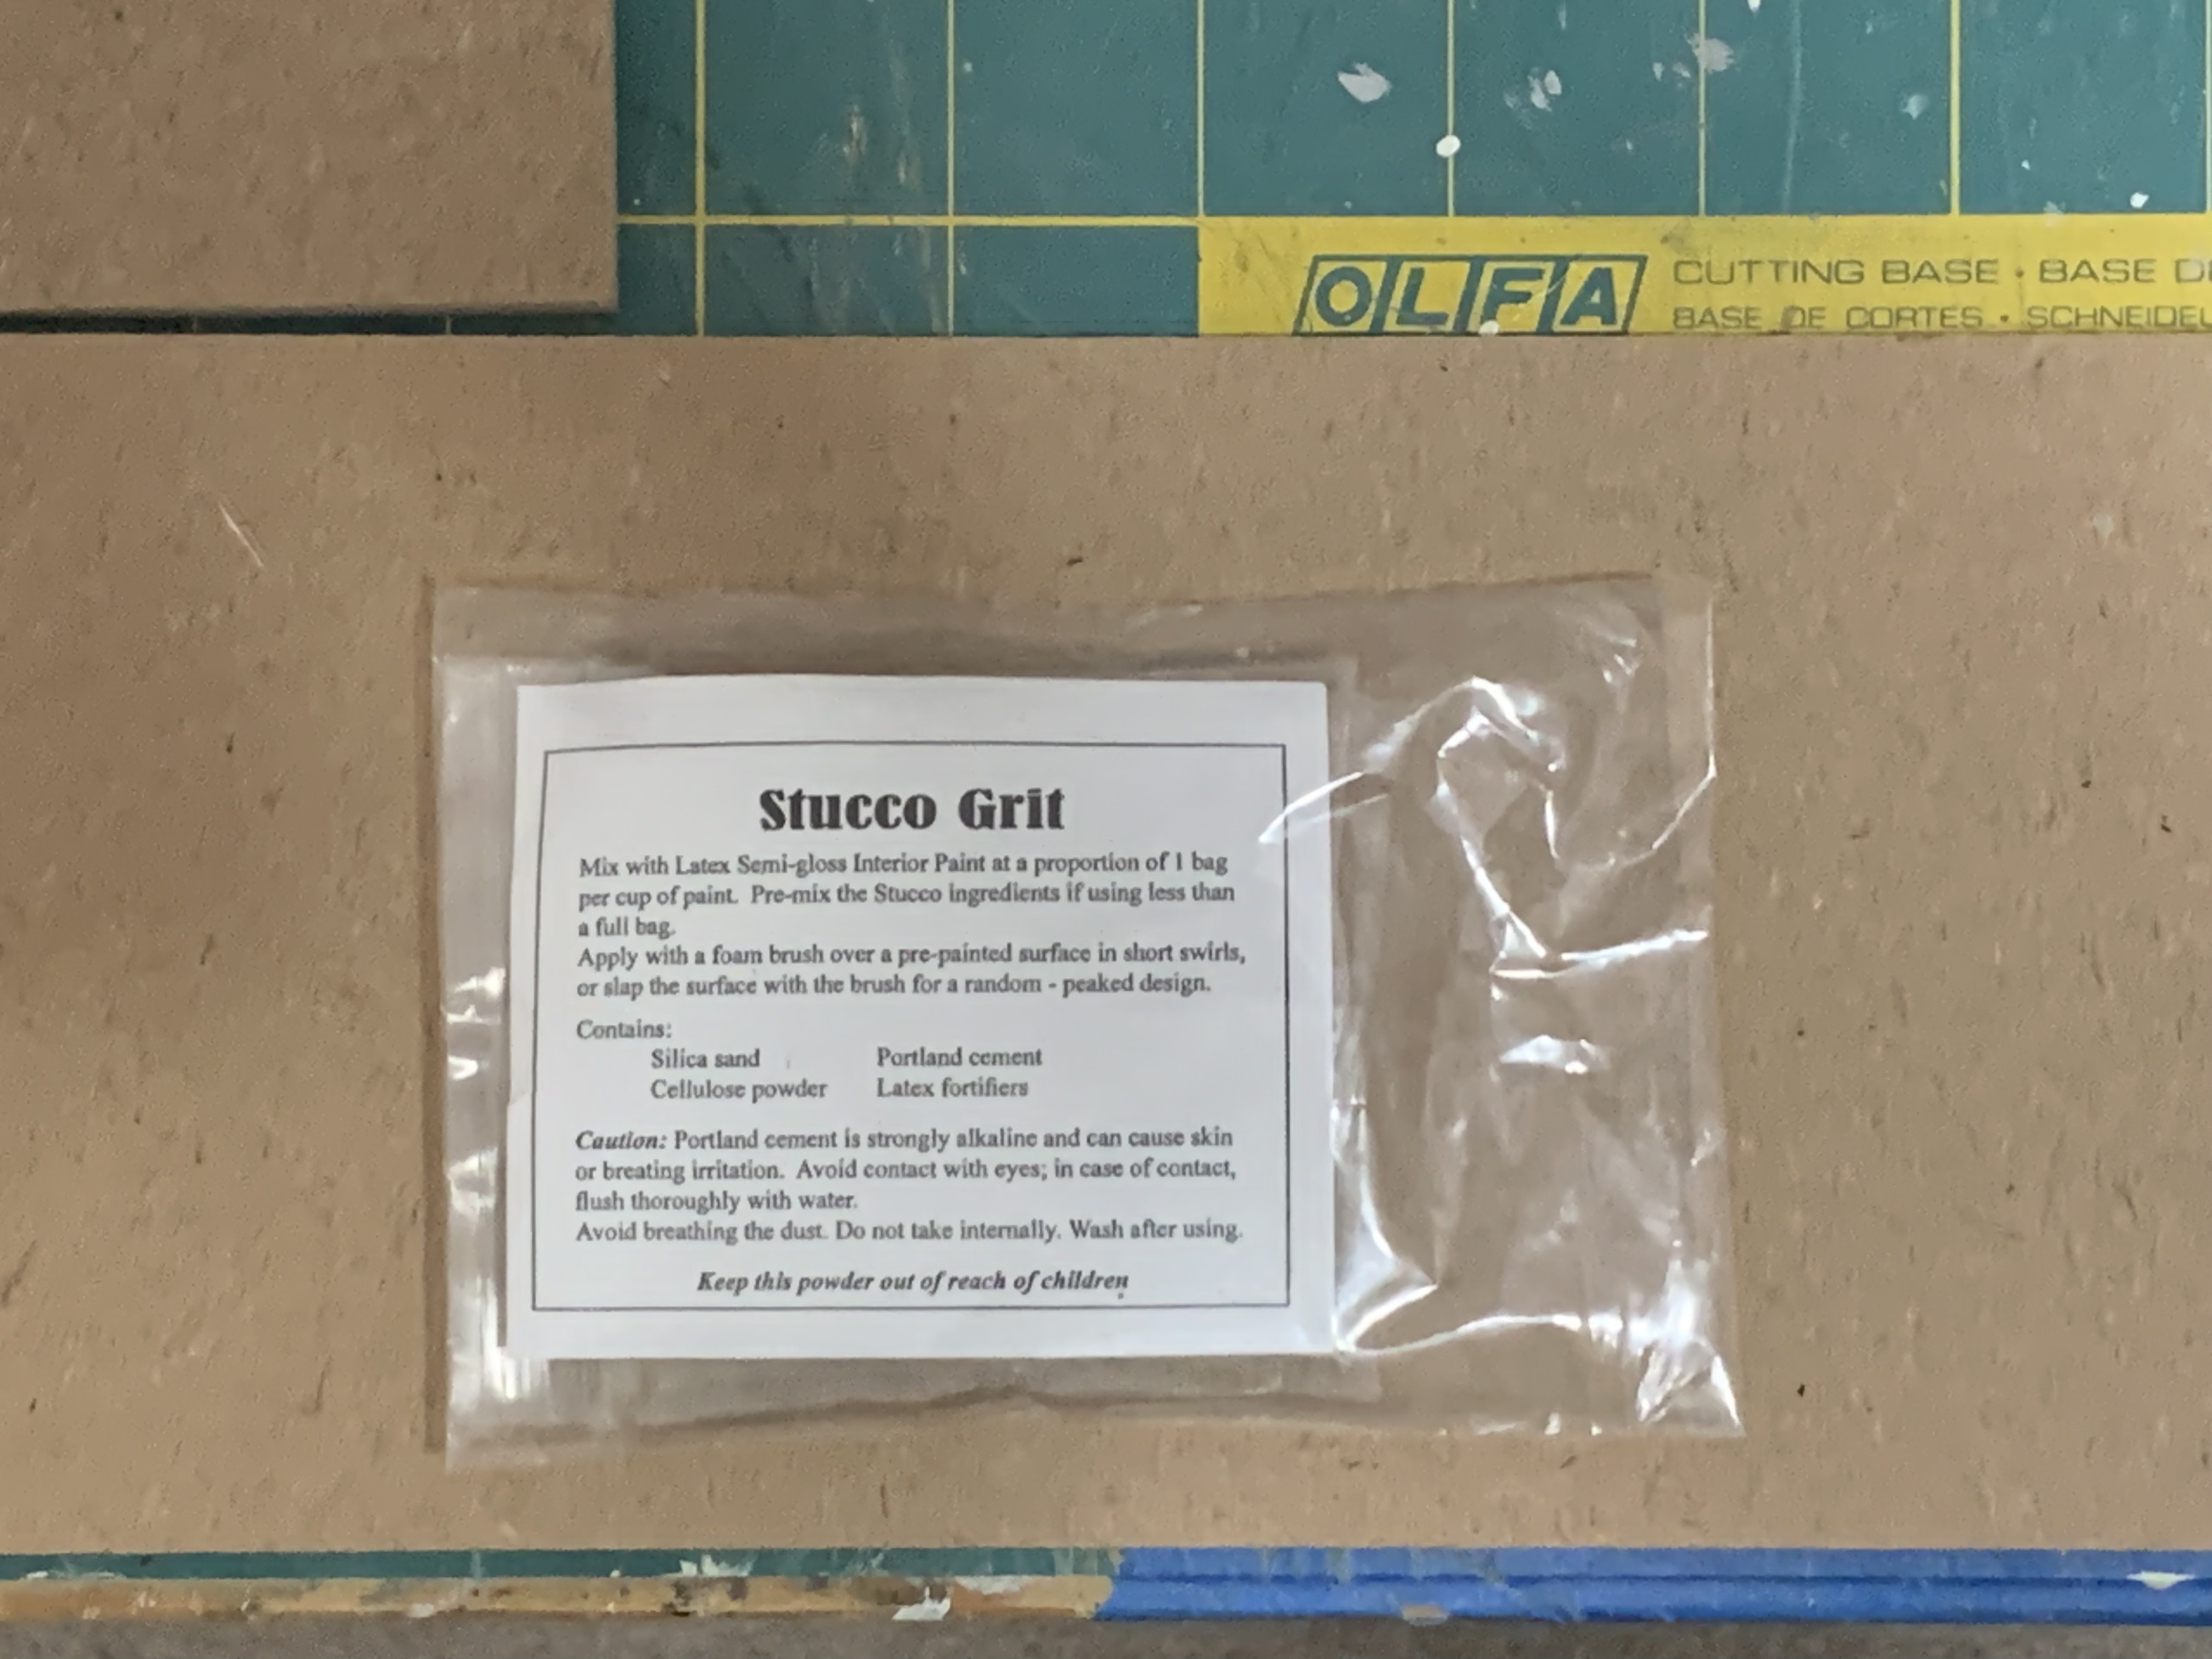
If you zoom in on the photo of the box above, you can see that the foundation and porch post bases have a textured “stucco-like” finish to them. When my sister saw this, she decided she would like that finish as well. So, once I had assembled the foundation and the porch post bases and painted them the same wet cement colored paint I had been using on the foundations of all the doll houses, I was ready to apply the grit.

The instructions for the grit indicated that the entire bag should be mixed with 8 fl. Oz. of paint.
I knew I didn’t need that much—it was probably at least four times as much as I needed—so I spent a few days trying to figure out to accurately measure 2 fl. Oz. of thick house paint and then subdivide the bag of grit into fourths. I had the means to measure that amount of paint but no good way to quantitatively transfer it (an analytical chemist term) to a mixing vessel. In the end, I decided the paint wasn’t that expensive and so just bought a new paint sample (which prior to tinting is 7.5 fl. Oz.).
When I opened the paint jar, I wasn’t sure if there was enough room in the jar to add the whole bag of grit (a non-experiential, un-scientific hypothesis or for nonscientists, a SWAG). Knowing if it did not all fit, I would have a huge gritty mess on my hands, I decided to remove a little of the paint before mixing in the grit bag. I’m glad I did as it barely all fit.
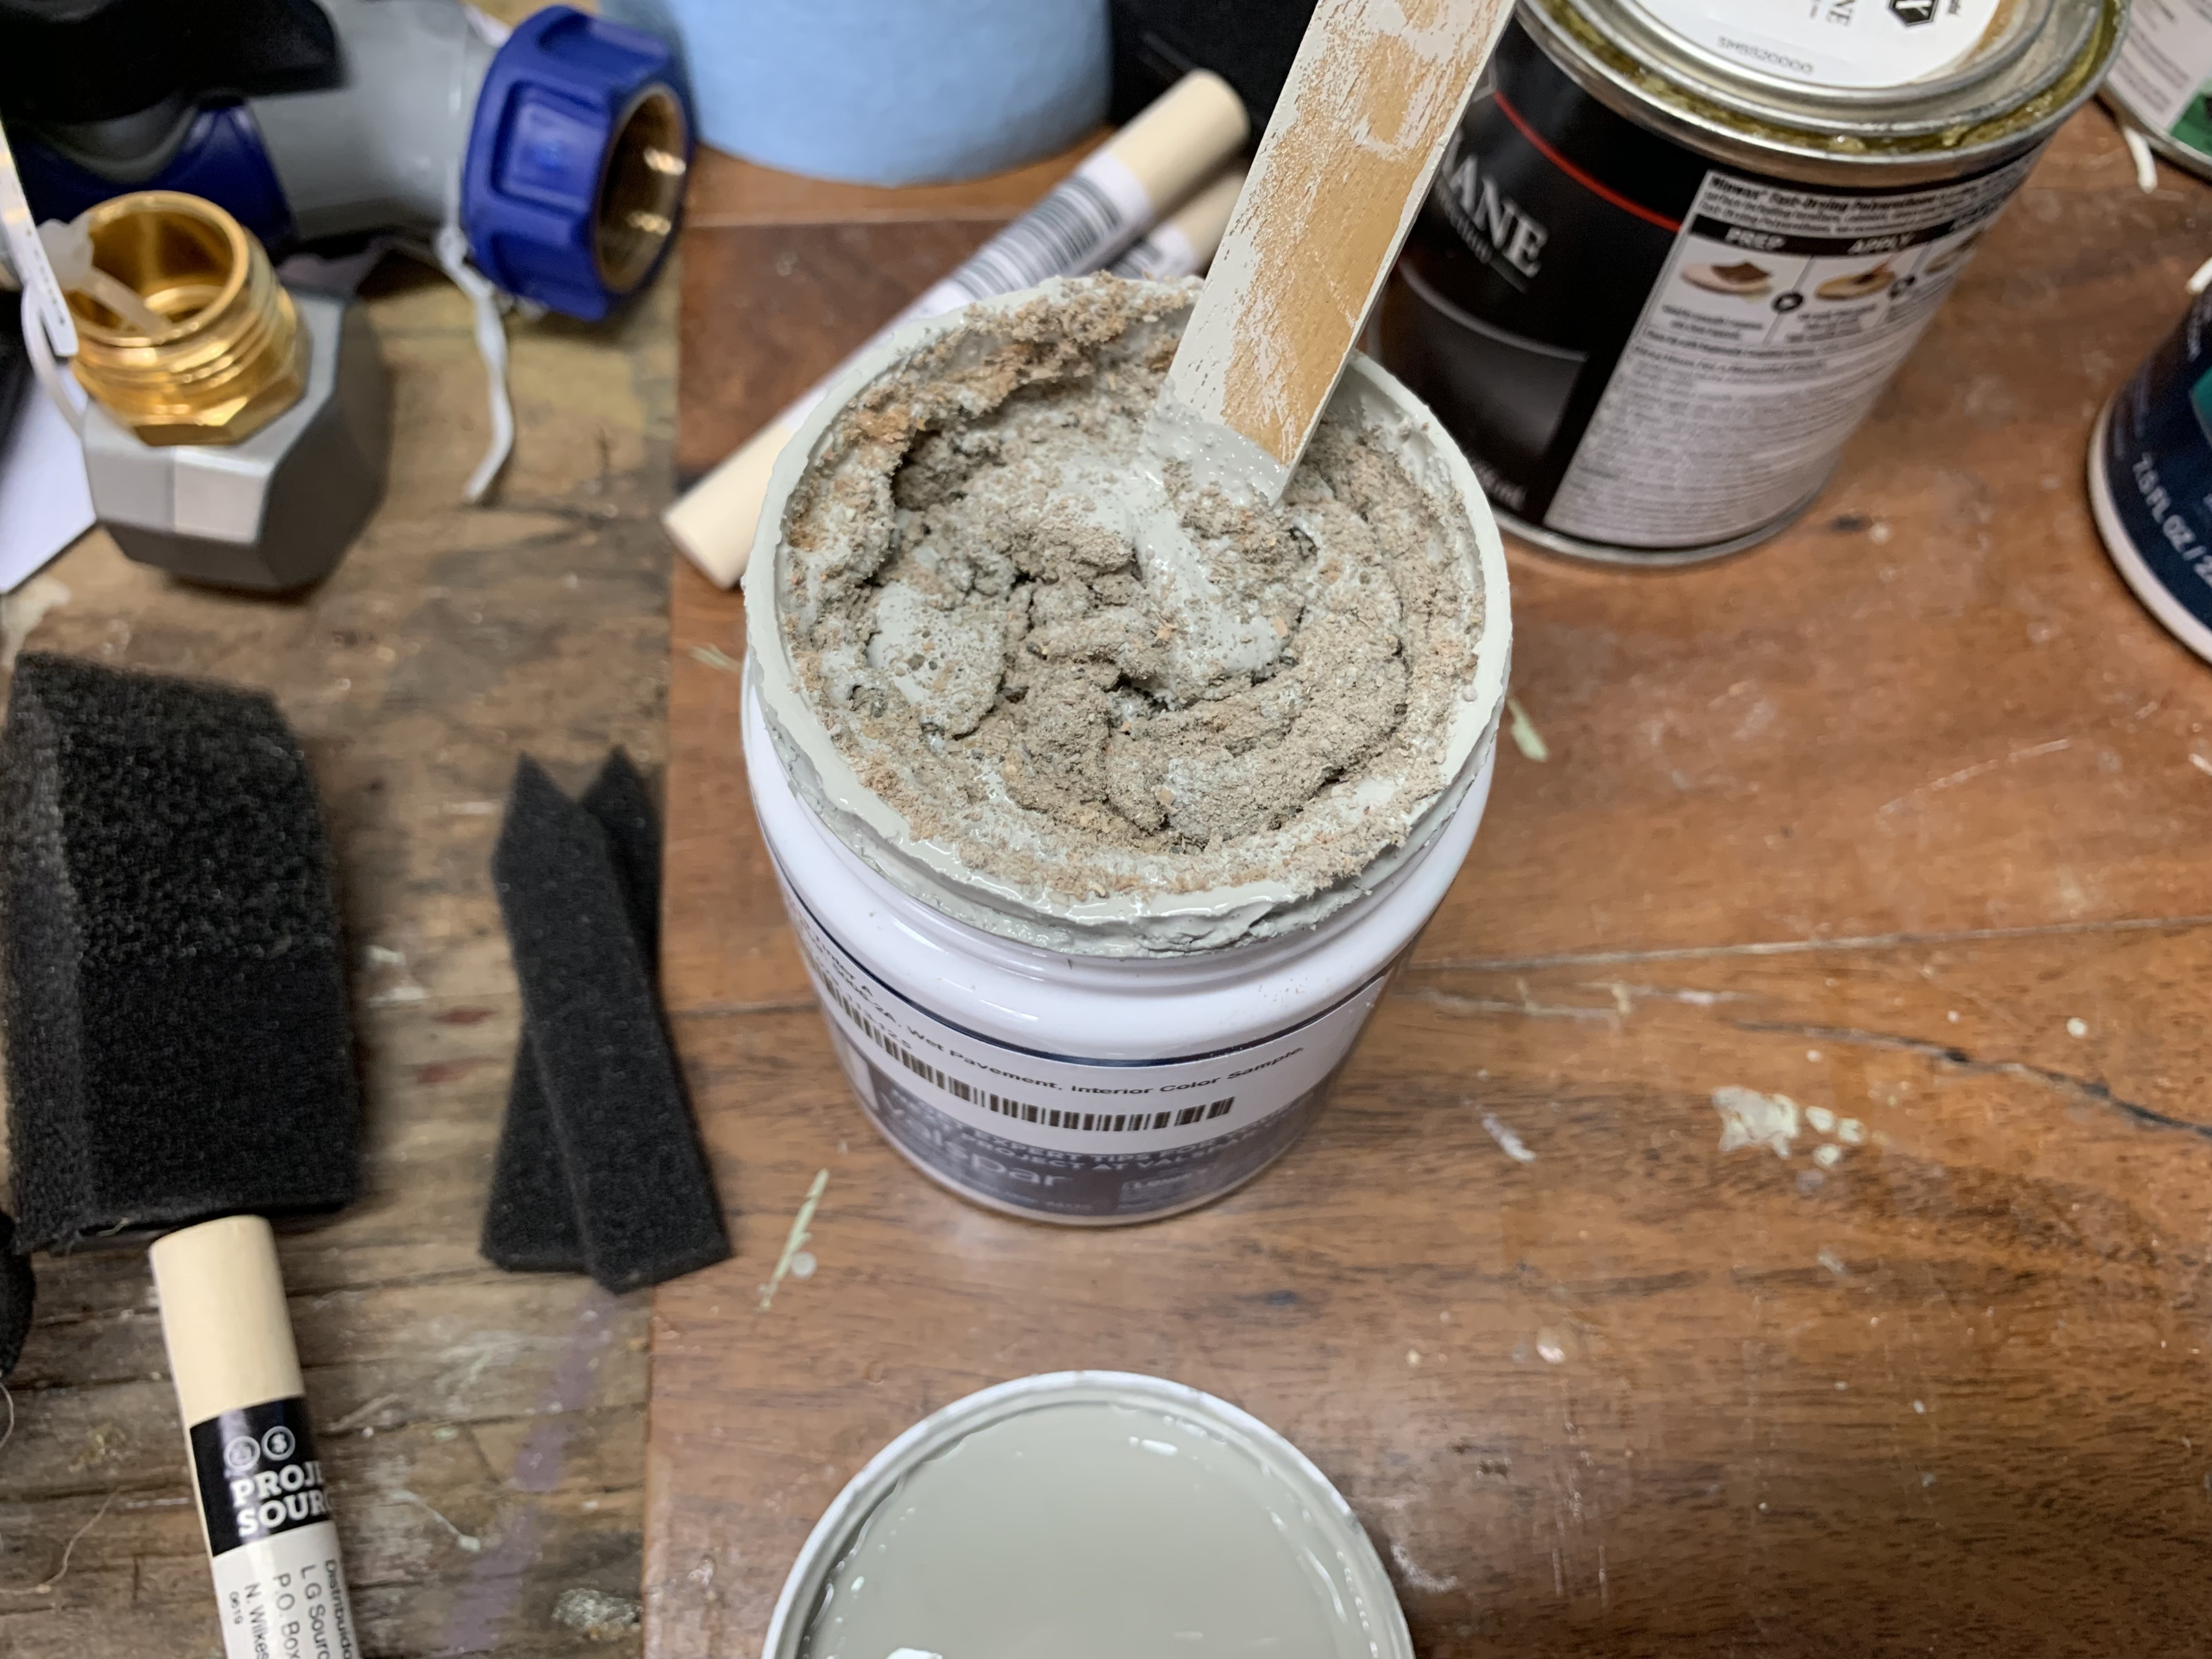
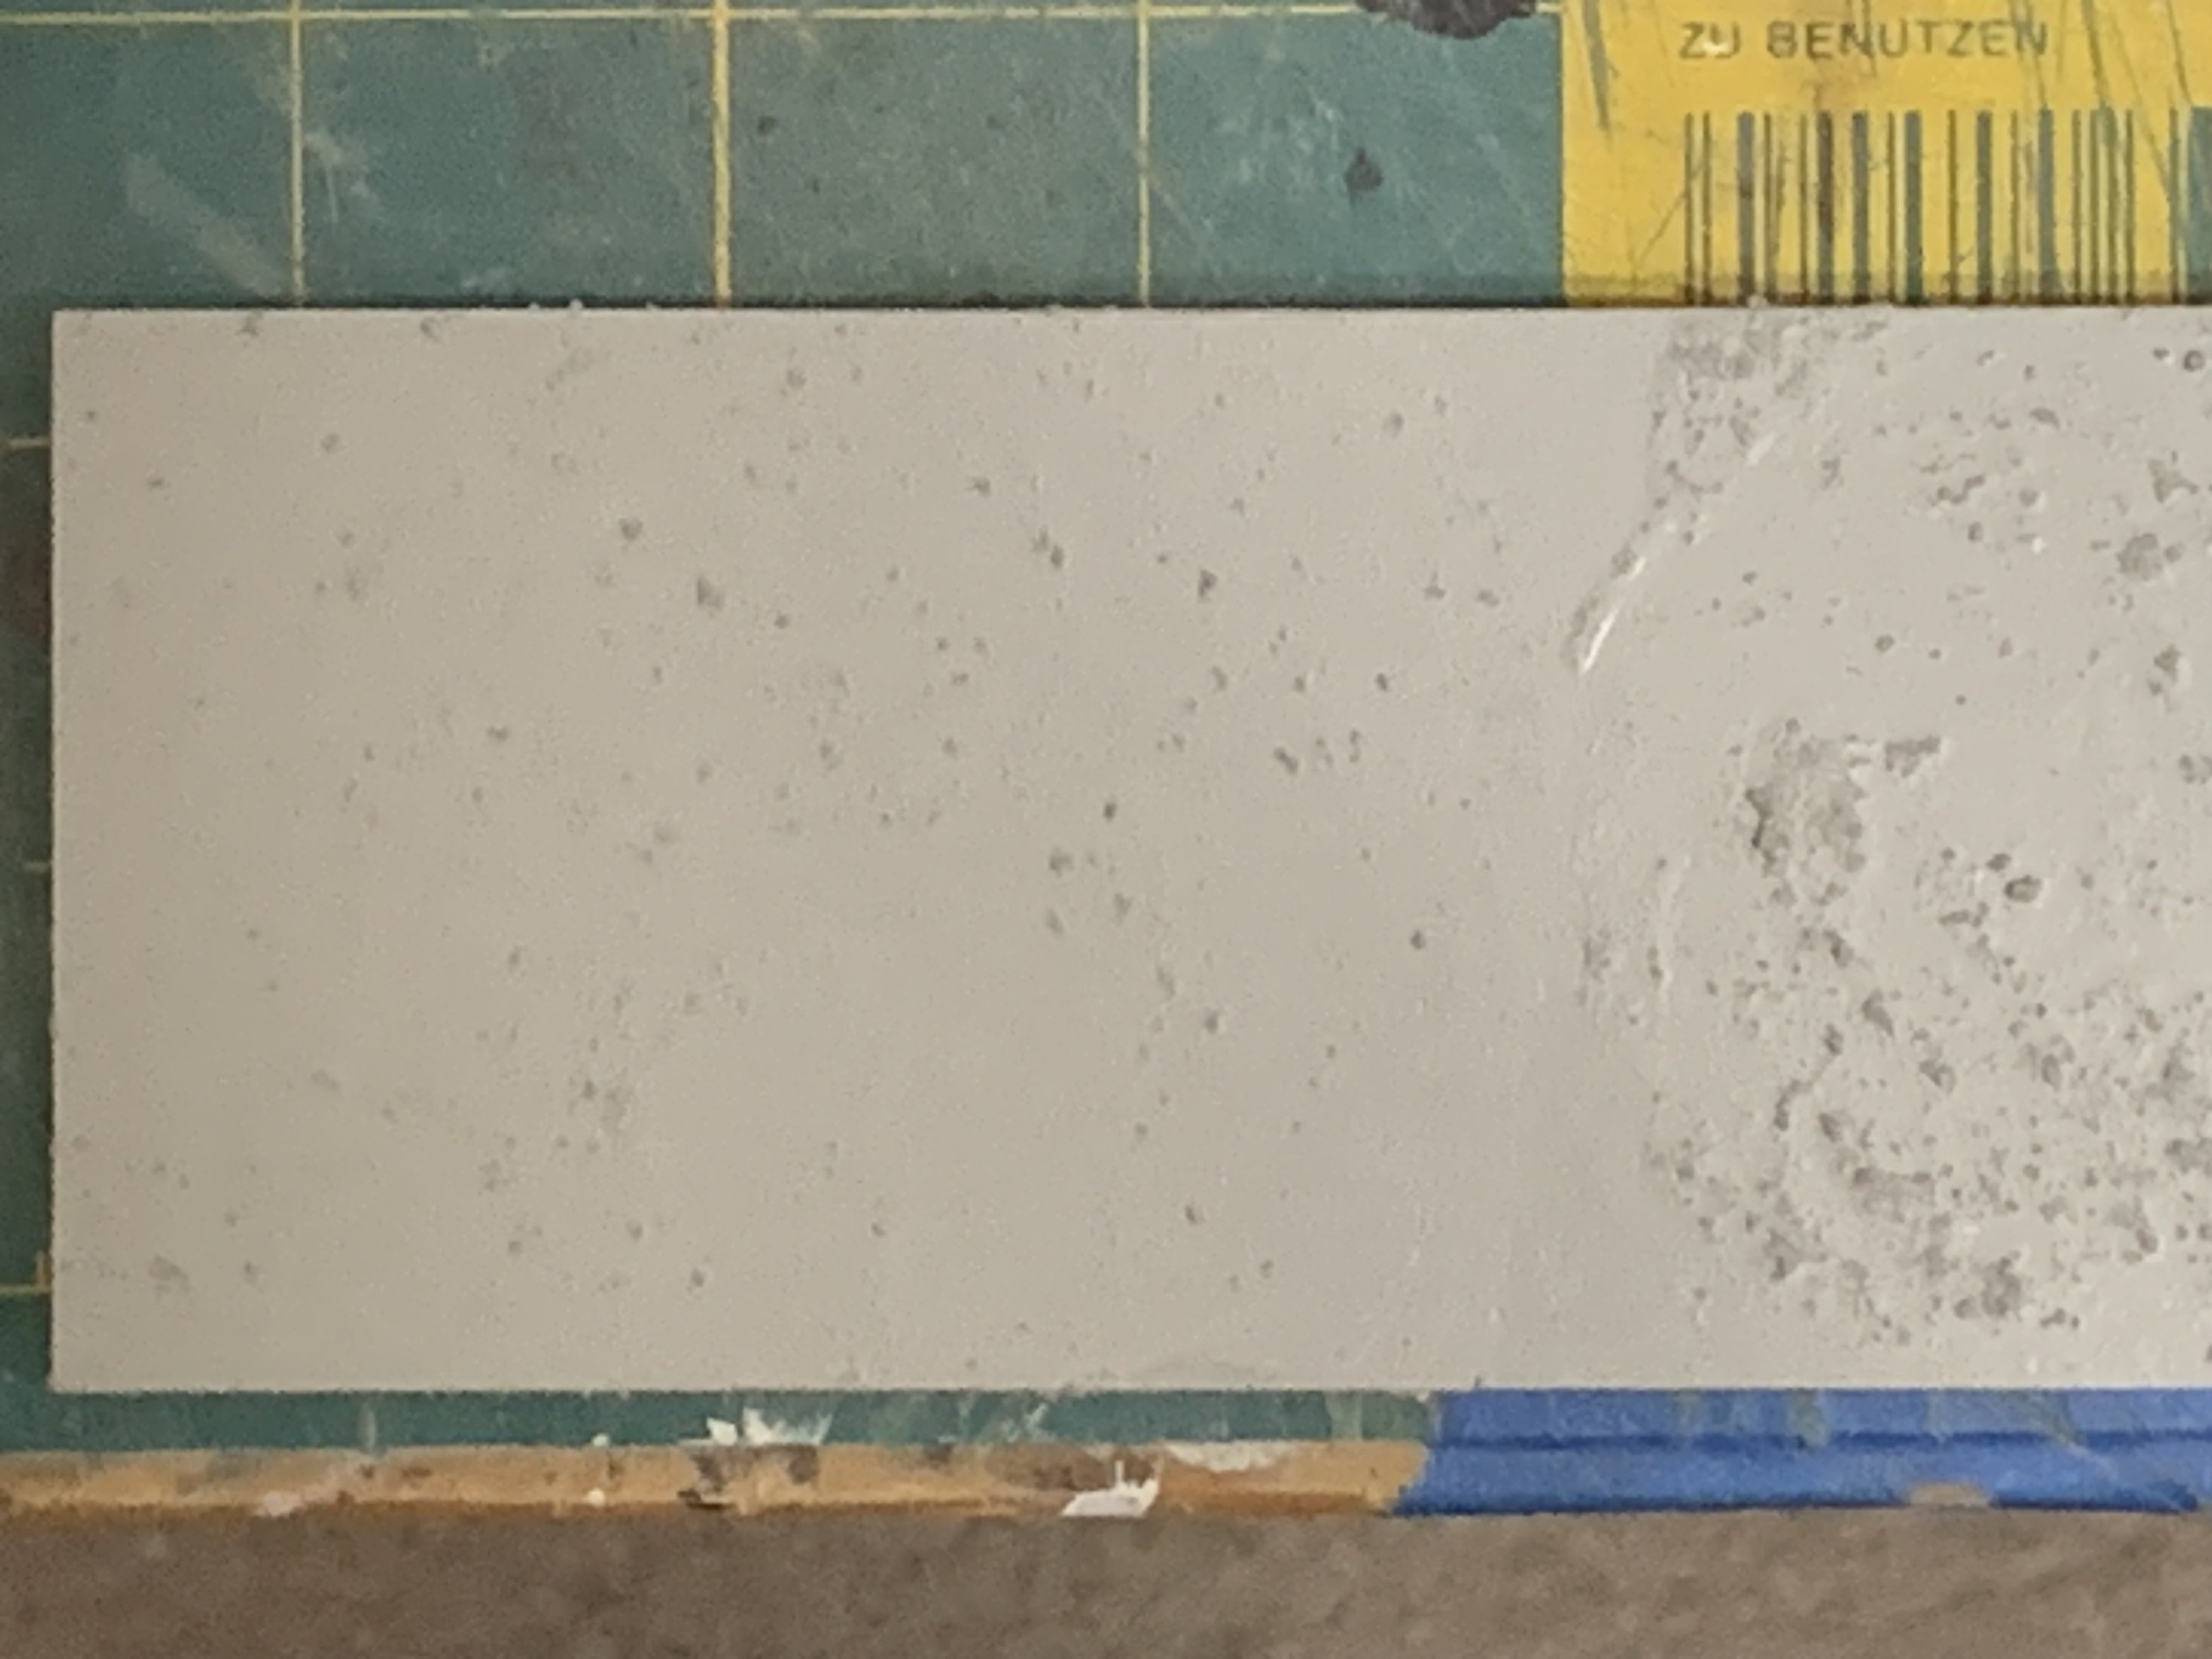
Once it was thoroughly mixed, it had the texture of real cement. How cool? I thought it would be wise to follow the instructions and apply it in a circular fashion with a sponge brush. Since I had never done this technique before, I decided to practice it on a couple of pieces of MDF that I had already painted the wet cement color. Brushing on just about half of the piece, I could tell there was definitely some technique involved in keeping it from clumping together.
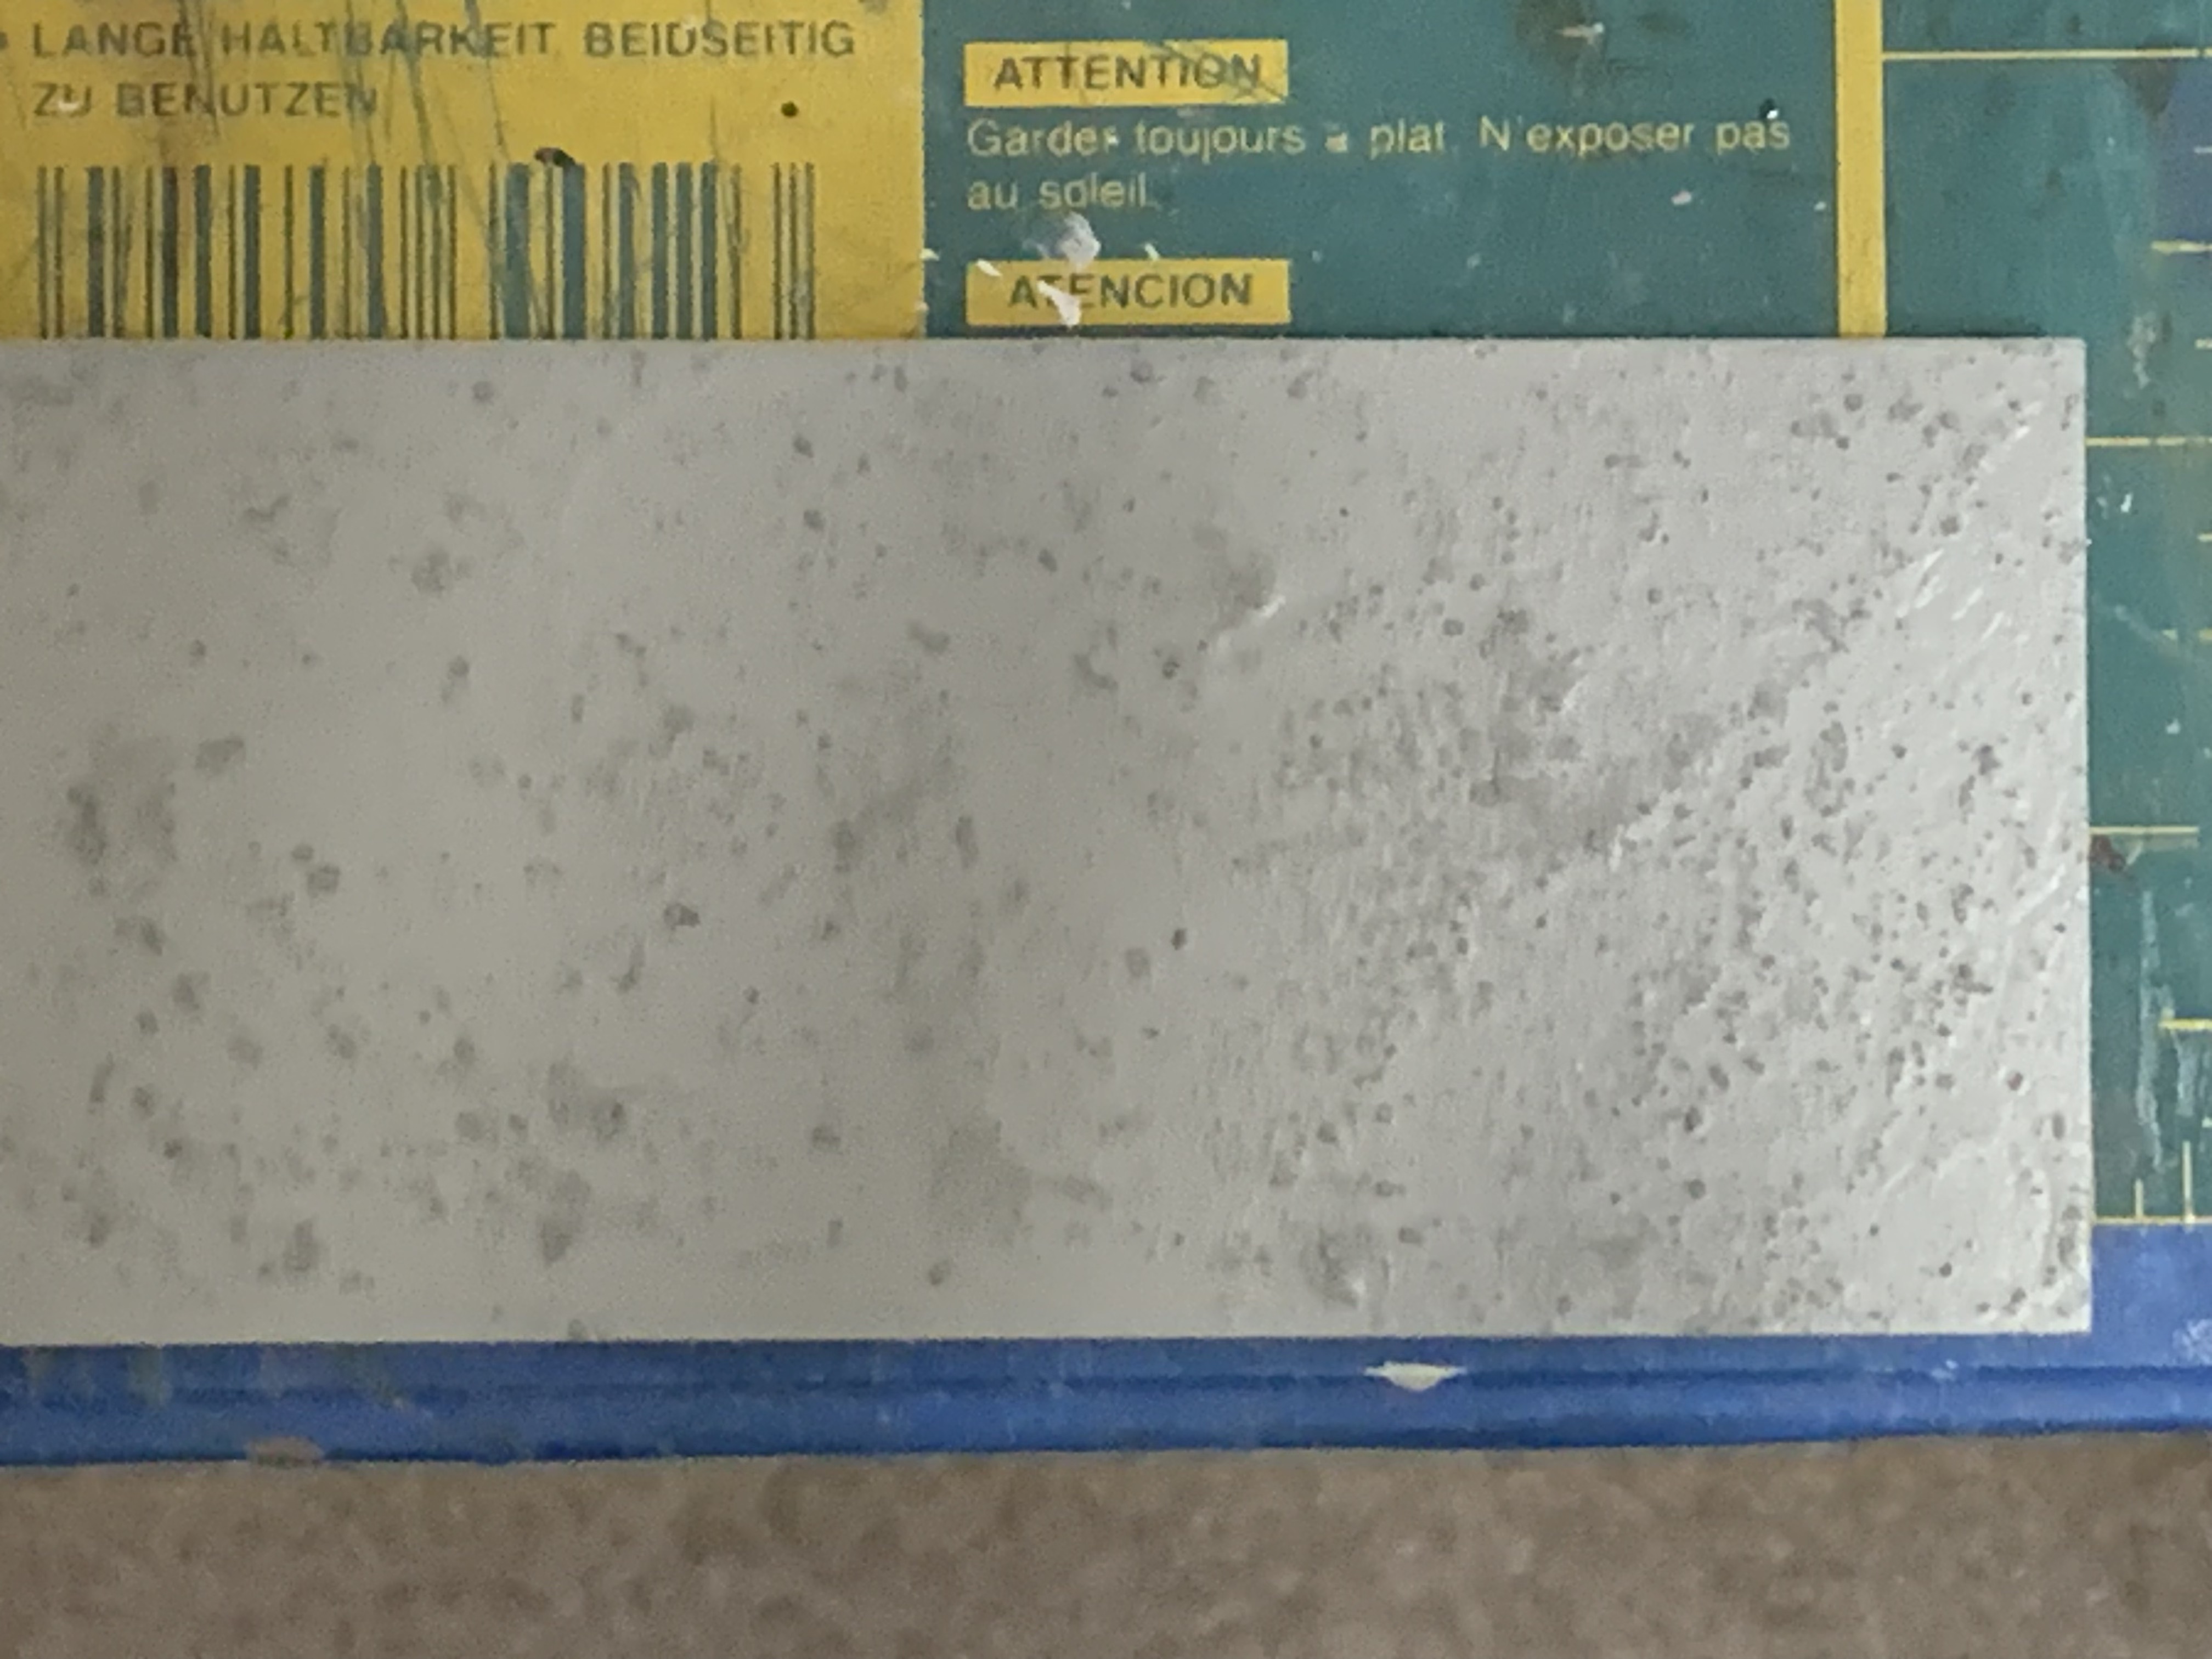
I tried another piece of pre-painted MDF with less paint but then it didn’t seem to have much grit. So, I tried using straight brush strokes but that was not satisfactory either.

I then realized to get a good gritty paint, I needed to stir the paint rather than shaking it as the paint is fairly thick. With freshly stirred grit paint, I again used a circular motion on the other end of the first piece of MDF. In comparison to the lumpy texture to the right, this seemed to work best.
With this practice experience under my belt, I decided to paint the real pieces. I started with the foundation and was pleased with the texture.

I then brushed on the post bases and front step, and they too turned out nicely.

Meanwhile, I painted the porch and step tread the same dark grey that I had used for the two previous doll houses.

I did this because a painted porch floor was needed for the next step in building the foundation, gluing the porch floor to the foundation. With the porch floor in place, I could temporarily set the porch post bases in place along with the front step and tread to see what the stucco-like portion of the porch would look like.

Moving on from this step, the doll house was really going to begin to take shape. The house assembly technique for this kit was similar to the one I did for my in-town granddaughter whereby the walls and floors are glued together as a single unit, like a big box.
But obviously not before the walls were painted, both exterior and interior.

To be continued…
Categories

David, could you adopt me?
I knew you’d like this next series of posts. No adoption required if you need a 1/12 scale construction contractor in the future.
Thank you, David. You are very kind. I was mostly kidding, but I will keep your comment in mind. I am very interested in these next posts! This looks like a great house. It also looks smaller, and I wondered if it would be something I could handle. However, I will not start a new project until I have my current dollhouse finished. That will be a while. A post of mine later in the week will reveal why. Enjoy your Sunday!
Thanks Betty and you too! I have been out of town and behind in keeping up with your posts. I look forward to reading them.